If you have important data or sensitive information in your Microsoft Excel workbook that you want to keep secure, password-protecting it is a wise decision. By adding a password to your Excel workbook, you can control who can access and modify the entire file, providing an extra layer of security. In this user-friendly guide, we will walk you through the step-by-step process of password-protecting your Microsoft Excel workbook, allowing you to keep your data confidential and protected.
How to Password Protect Microsoft Excel Workbook?
Follow these easy steps to password-protect your Microsoft Excel Workbook:-
Step 1. Open the Excel workbook that you want to password-protect.
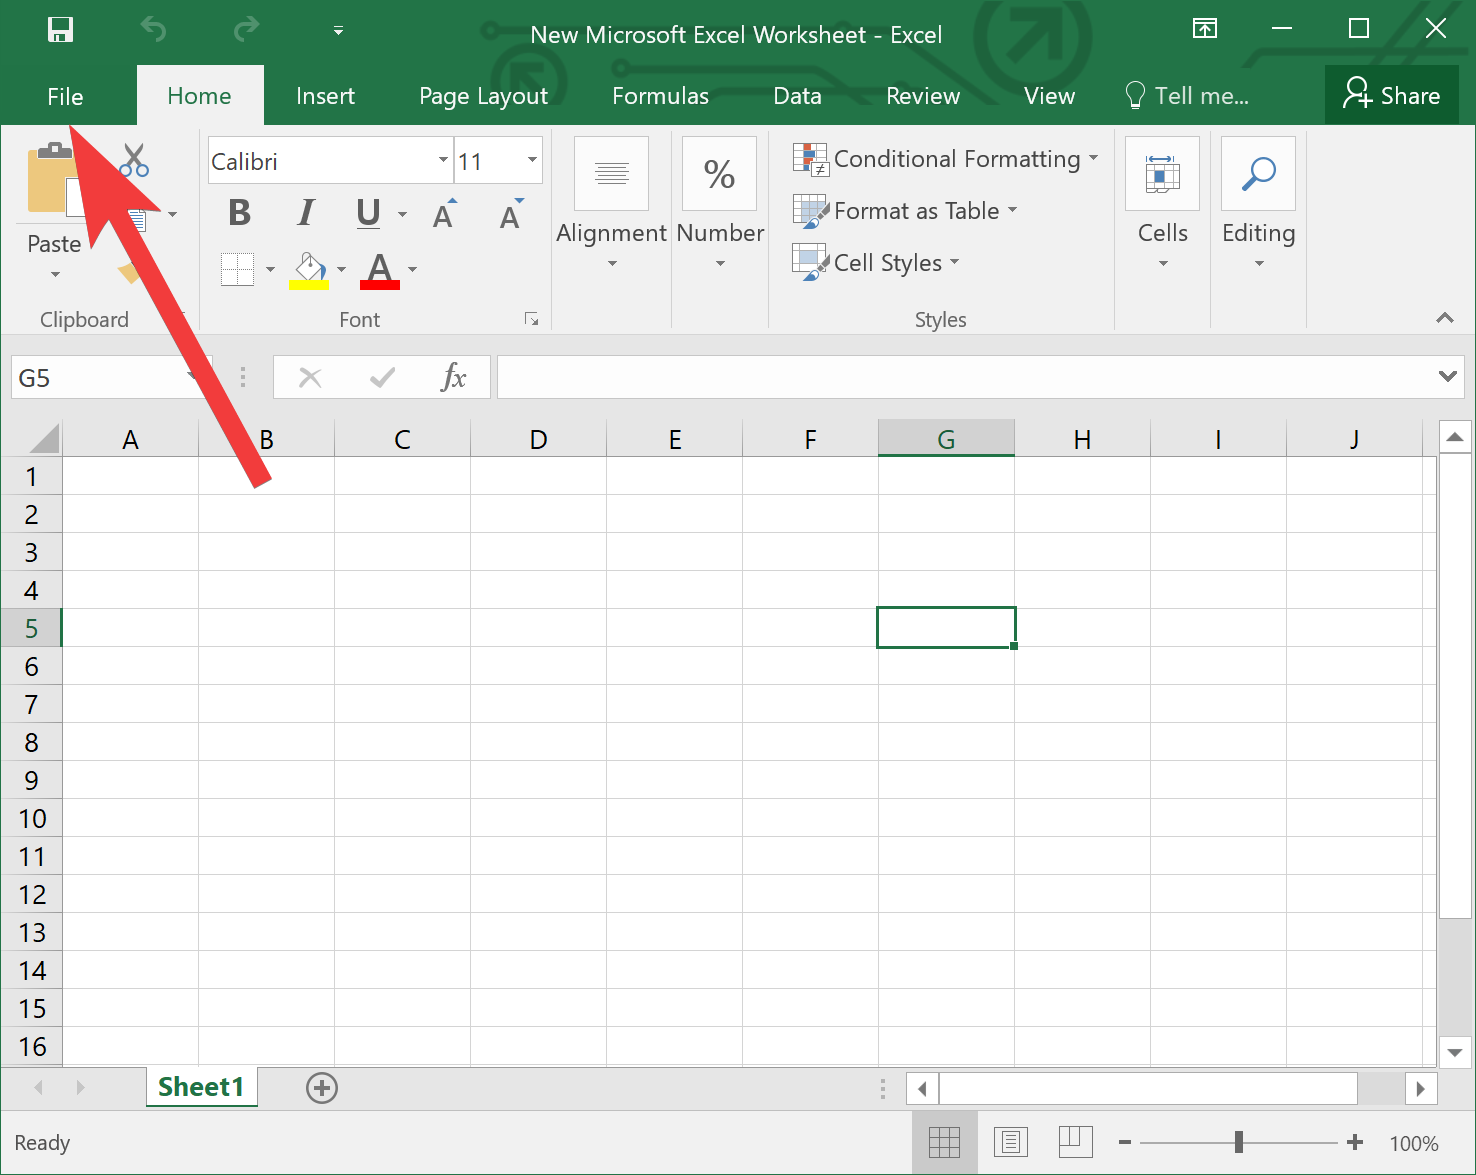
Step 2. Click on the “File” tab located at the top of the Excel window. This will display the File menu options.
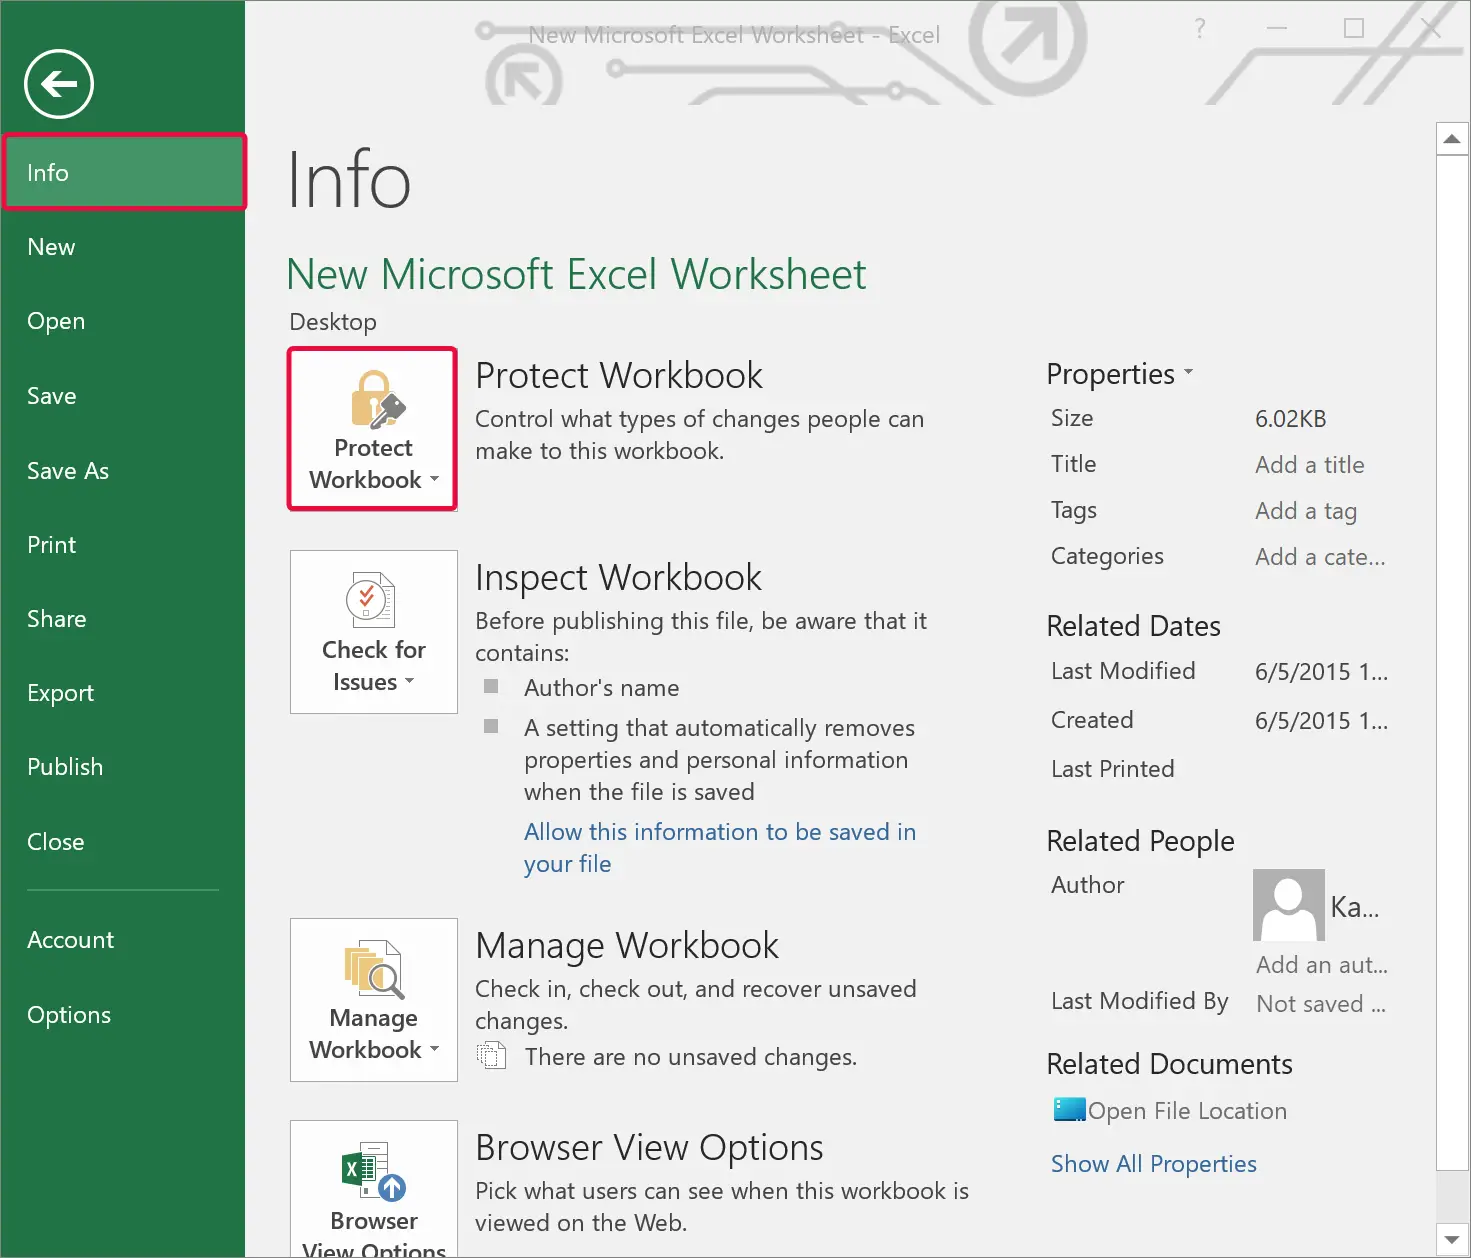
Step 3: In the File menu, click on the Info tab in the left sidebar and then click on the “Protect Workbook” option. A drop-down menu will appear.
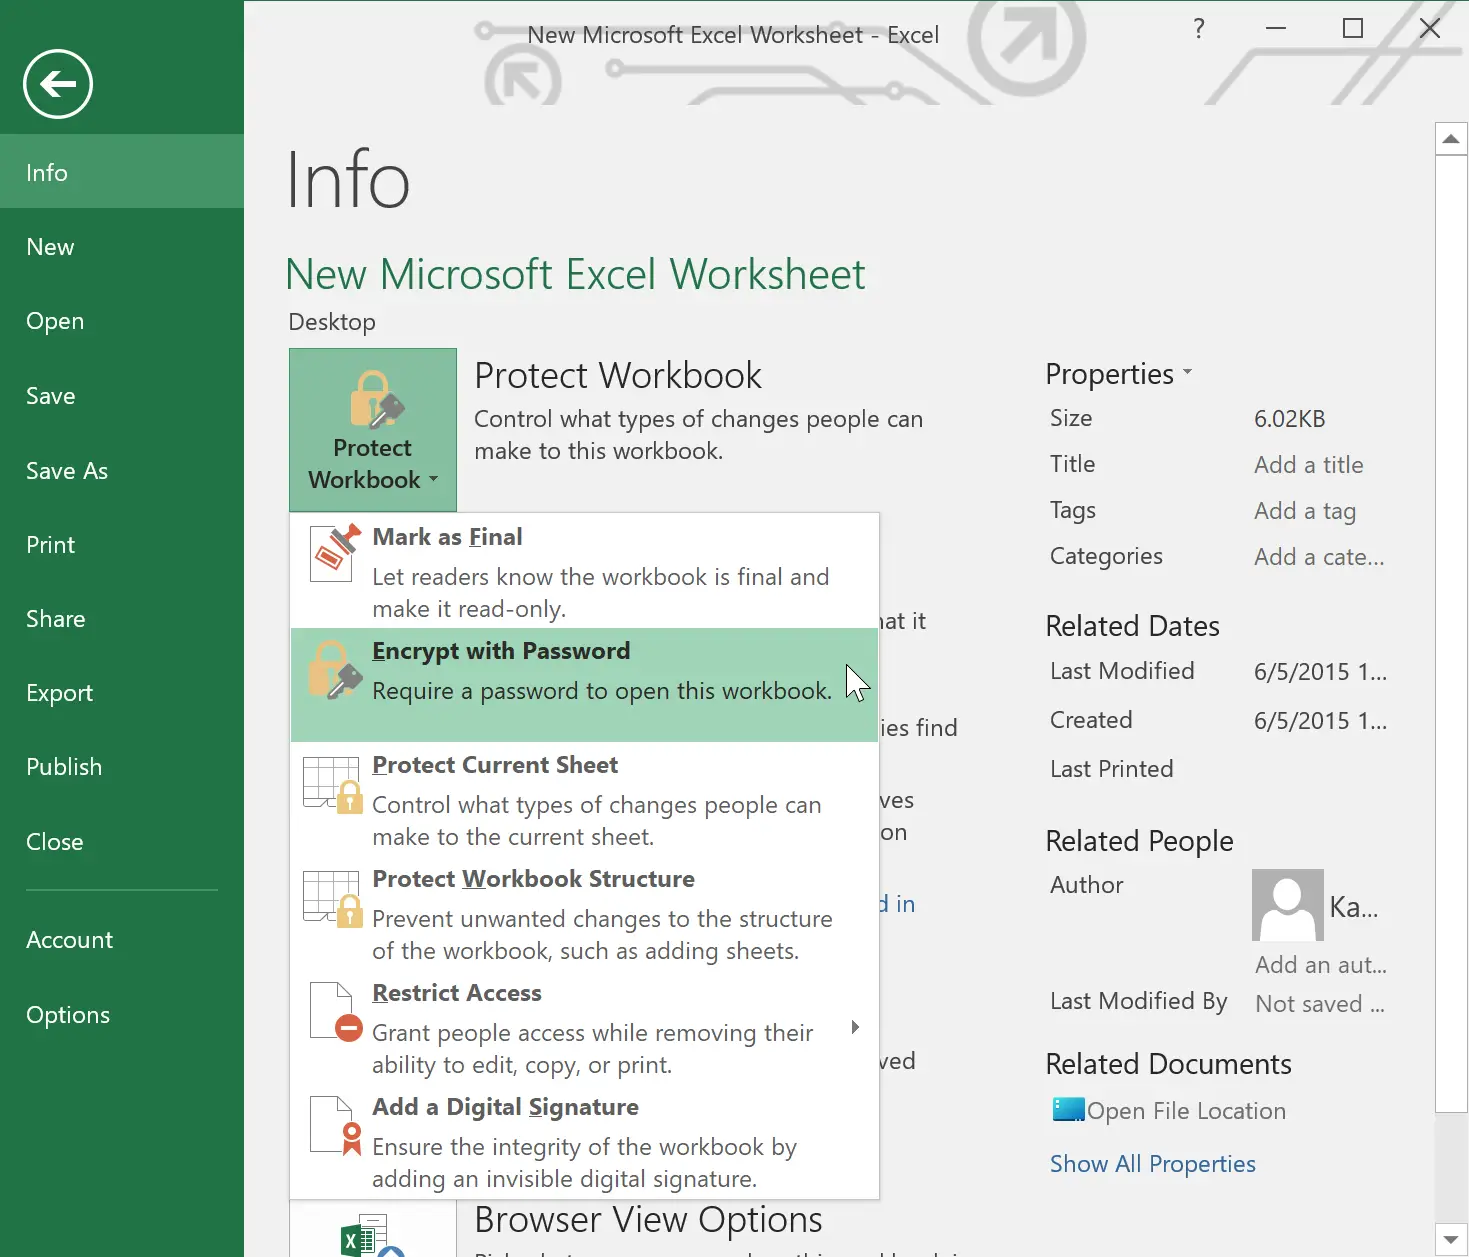
Step 4. From the drop-down menu, select the “Encrypt with Password” option. A dialog box will appear, prompting you to enter a password.
Step 5. Enter a strong and unique password in the provided field. Make sure to choose a password that is not easily guessable but is memorable to you.
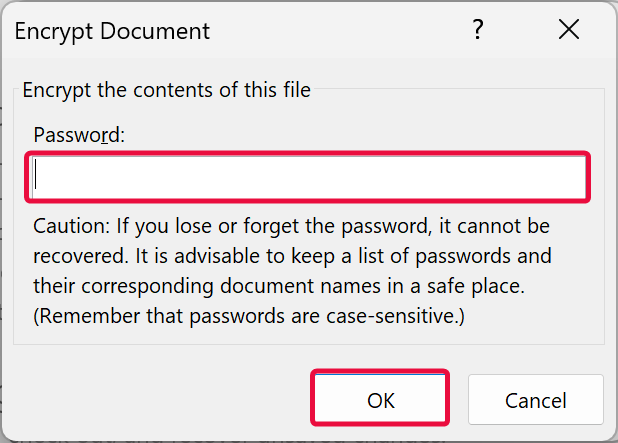
Step 6. After entering the password, click on the “OK” button. A confirmation dialog box will appear, asking you to re-enter the password.
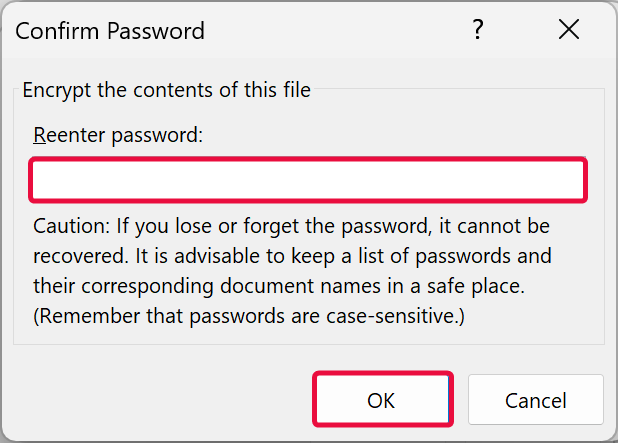
Step 7. Re-enter the same password in the confirmation field and click on “OK.” Your Excel workbook is now password protected.
Congratulations! You have successfully password-protected your Microsoft Excel workbook. From now on, whenever someone tries to open the workbook, they will be prompted to enter the password you set. It’s important to keep the password secure and share it only with trusted individuals.
To test the effectiveness of password protection, close the Excel workbook and reopen it. You will notice that Excel prompts you to enter the password before granting access to the protected workbook. This added layer of security ensures that only authorized users can view and modify the workbook.
Remember these important tips when password-protecting your Excel workbook:-
- Choose a strong password: Use a combination of uppercase and lowercase letters, numbers, and special characters to create a robust and unique password.
- Avoid easily guessable passwords: Stay away from common passwords, such as your name, birth date, or simple patterns.
- Keep your password confidential: Share the password only with trusted individuals who have a legitimate need to access or modify the workbook.
- Don’t forget the password: Losing or forgetting the password can result in permanent data loss. Consider storing the password in a secure location or using password management tools.
By following these user-friendly steps and implementing password protection for your Microsoft Excel workbook, you can have peace of mind knowing that your sensitive information remains secure and protected.
Conclusion
Password-protecting your Microsoft Excel workbook is an essential step in safeguarding your sensitive data and maintaining its confidentiality. By following the user-friendly steps outlined in this guide, you can easily add an extra layer of security to your Excel workbook, ensuring that only authorized individuals can access and modify it. Remember to choose a strong password, keep it confidential, and share it only with trusted individuals. With password protection in place, you can have peace of mind knowing that your data is safe from unauthorized access.
