By default, Windows 11 decreases the brightness of your computer screen when you enable the Battery Saver feature. However, if you need, you can configure Windows 11 Settings to stop adjusting brightness when the Battery Saver is enabled. In this gearupwindows article, we will guide you on enabling and disabling the brightness adjustment with the help of Windows Settings.
The Battery Saver feature of Windows allows you to gain more backup than usual when your laptop is on battery. When Battery Saver is turned on, it finds and reduces the number of the background process, disables background synchronization, etc. Apart from that, Windows also decreases the screen brightness to consume less battery.
How to Stop Windows 11 from Decreasing Brightness when using Battery Saver?
If you want to discourage Windows 11 from lowering brightness when using Battery Saver, use the following steps:-
Step 1. First, hit Windows + I keys on the keyboard to open Windows Settings app on your PC.

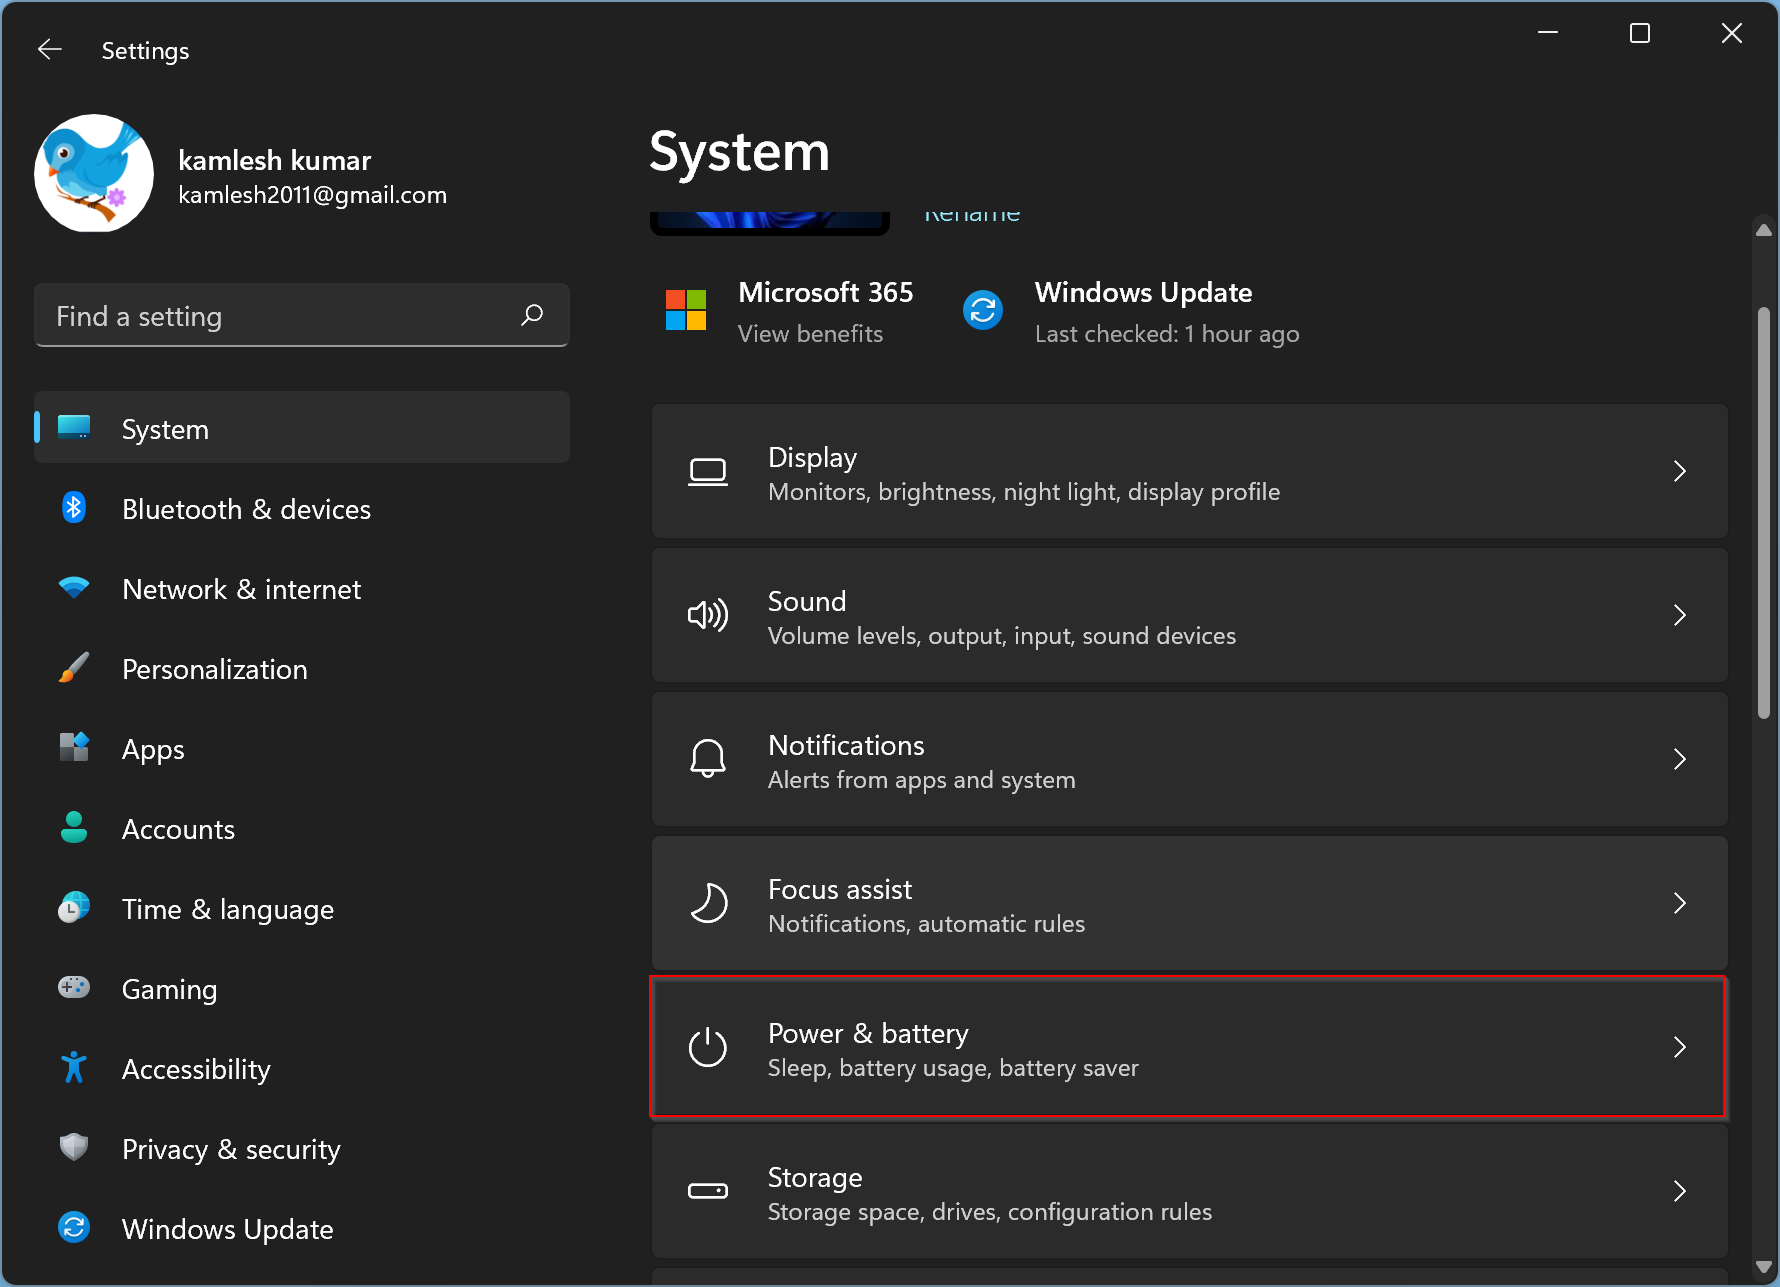
Step 2. Then select the System tab in the left sidebar of the Settings window.
Step 3. After that, click on the Power & battery option on the right-hand side.
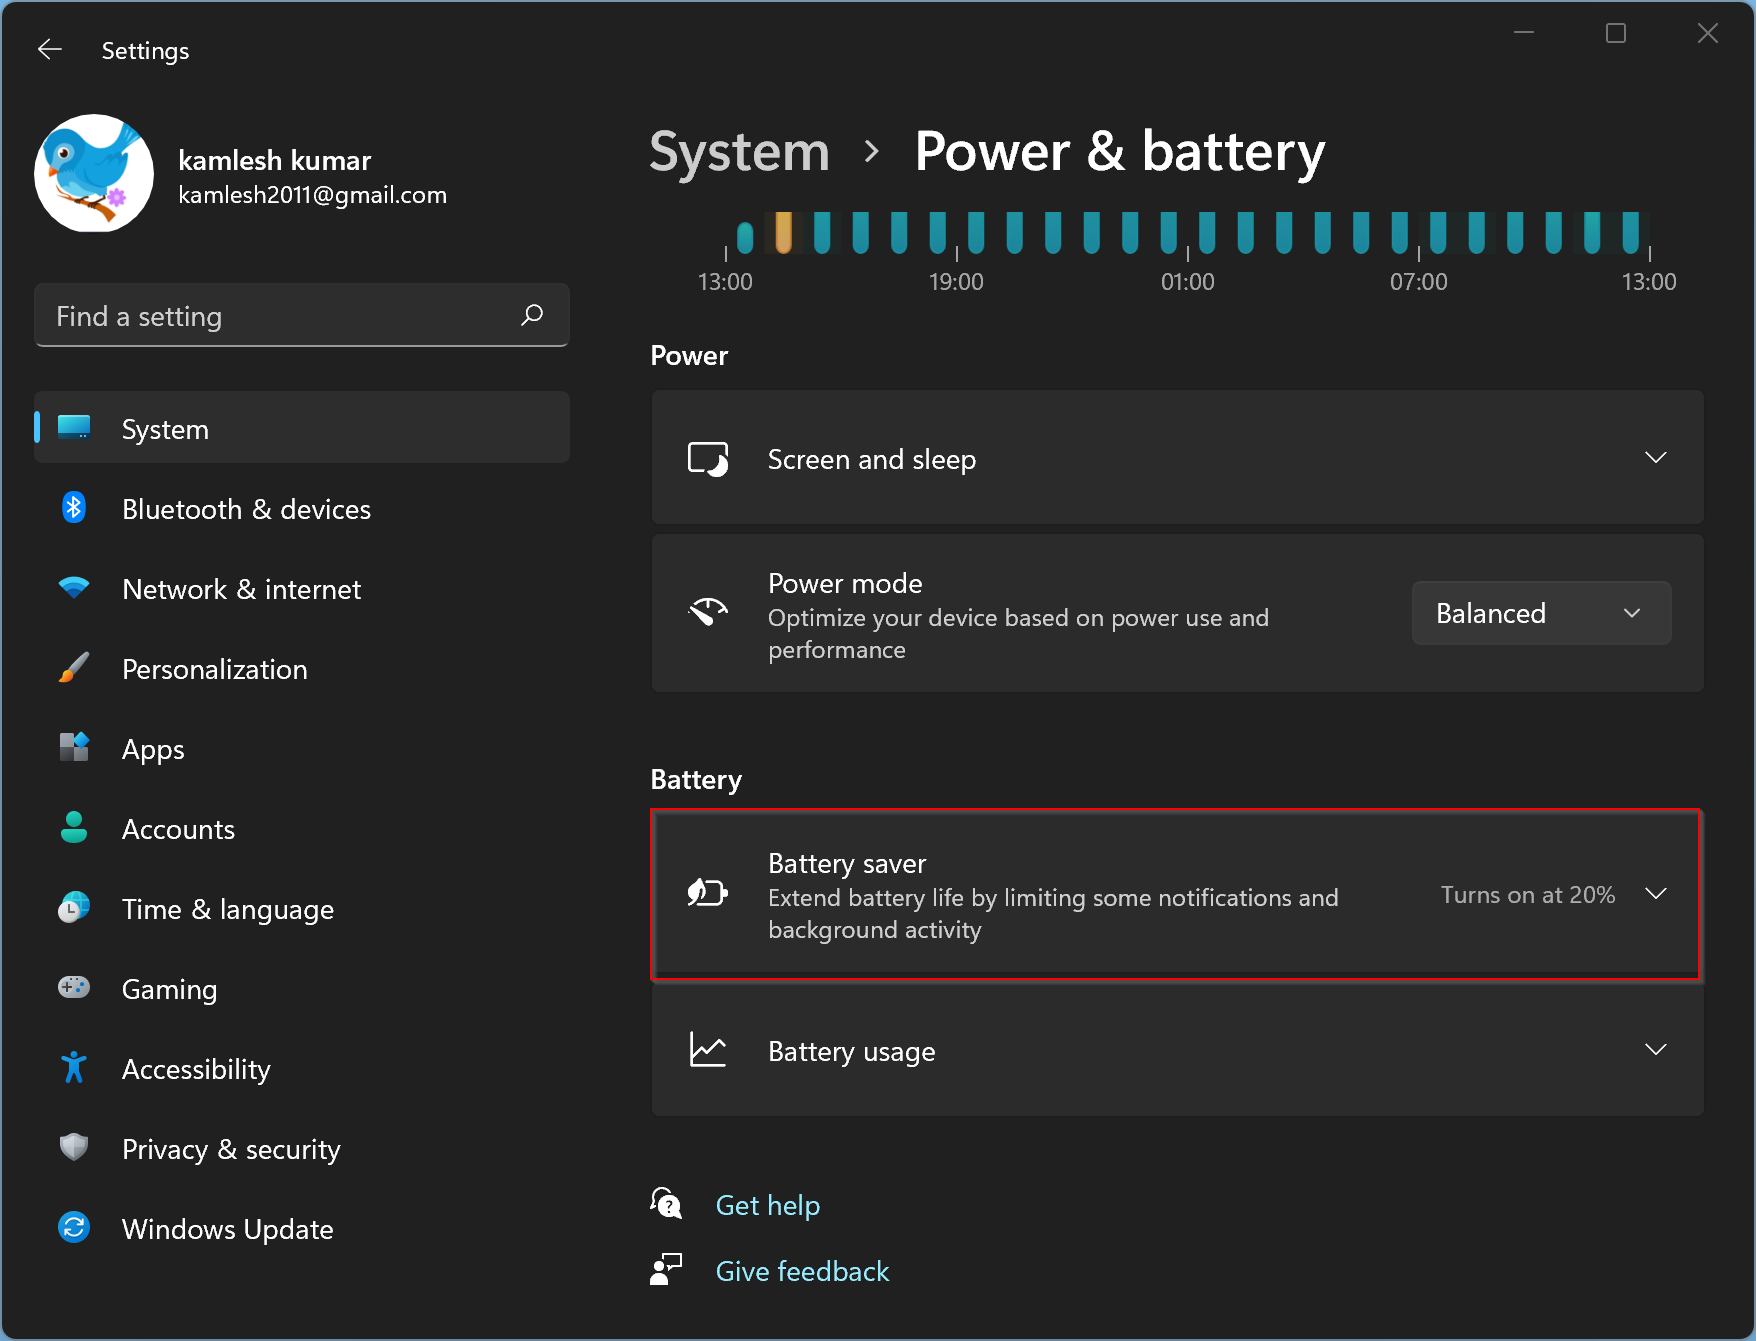
Step 4. Next, click on the Battery saver option on the “Power & battery” page.
Step 5. Finally, toggle the “Lower screen brightness when using battery saver button” to turn it on/off according to your needs.
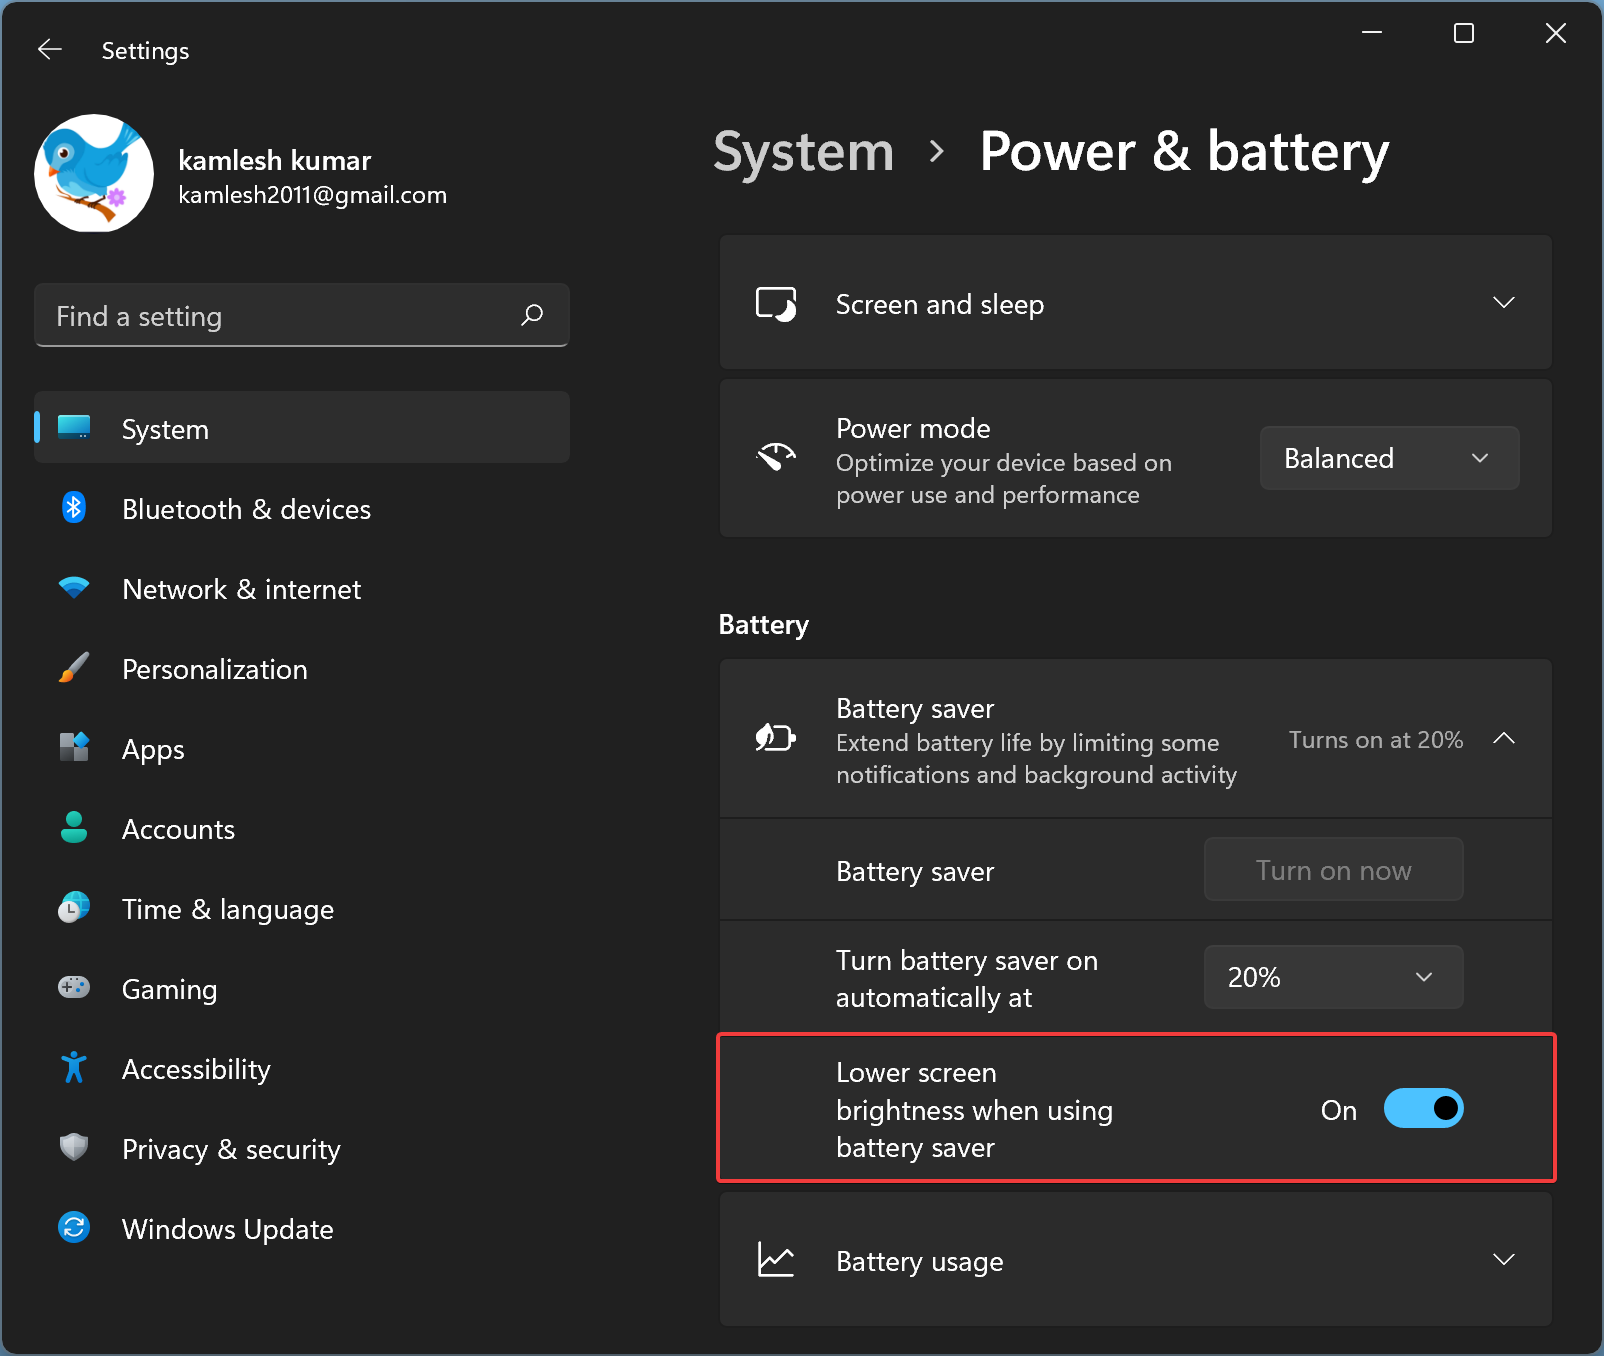
Once you complete the above steps, depending on the settings, you can stop Windows 11 from reducing the brightness when using Battery Saver.
Conclusion
In conclusion, the Battery Saver feature in Windows 11 can be helpful in conserving battery life. However, if you find the automatic reduction of screen brightness to be inconvenient, you can easily disable it through the Windows Settings app. By following the simple steps outlined in this article, you can choose whether or not to lower the screen brightness when using Battery Saver.
