Your search ends here if you’re looking to record your screen on Windows 11 or 10 computers. Recording a screen is an excellent way to capture the process.
Fortunately, Windows 11 and 10 have a built-in solution for screen recording if you don’t like to use third-party applications. You can use the built-in app Xbox Game Bar to record your screen.
How to Record your Screen in Windows 11 or 10 using Xbox Game Bar?
The Xbox Game Bar is built into Windows 11 and 10 by default. Among the several features, it offers screen recording also. This feature is primarily meant for gamers to record clips of their gameplay, but anyone can very well use it to record the computer screen.
Also, note that Game Bar doesn’t record Windows Desktop or File Explorer. However, it allows you to screen-record other apps.
To record your screen in Windows 11 or 10 using Xbox Game Bar, do the following:-
Step 1. First, open an application that you want to record.
Step 2. Then, launch the Xbox Game Bar by pressing the Windows + G keyboard shortcut. Alternatively, search Xbox Game Bar in the Start menu and launch it from there.
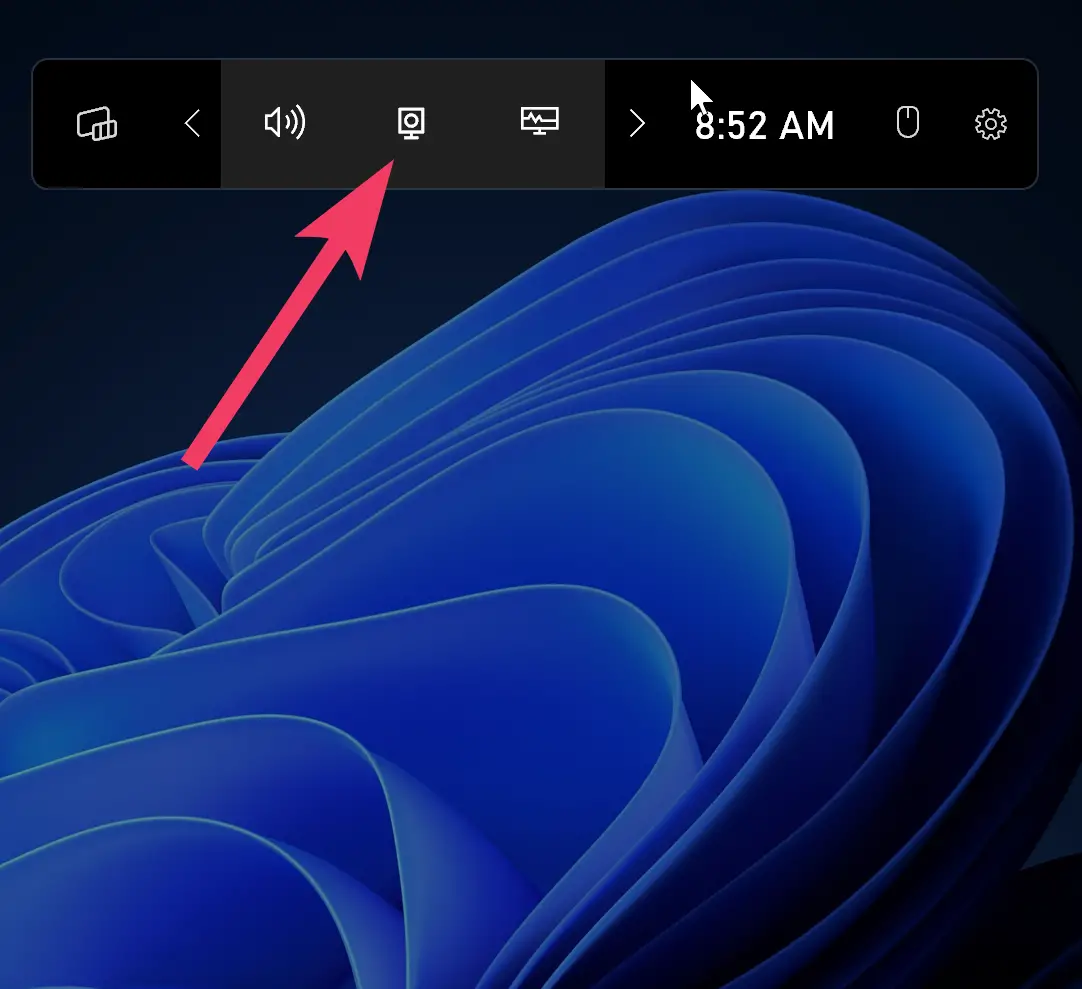
Step 3. When you’re done, the Xbox Game Bar will appear at the top of your screen. Click the Camera icon to open the Capture window.
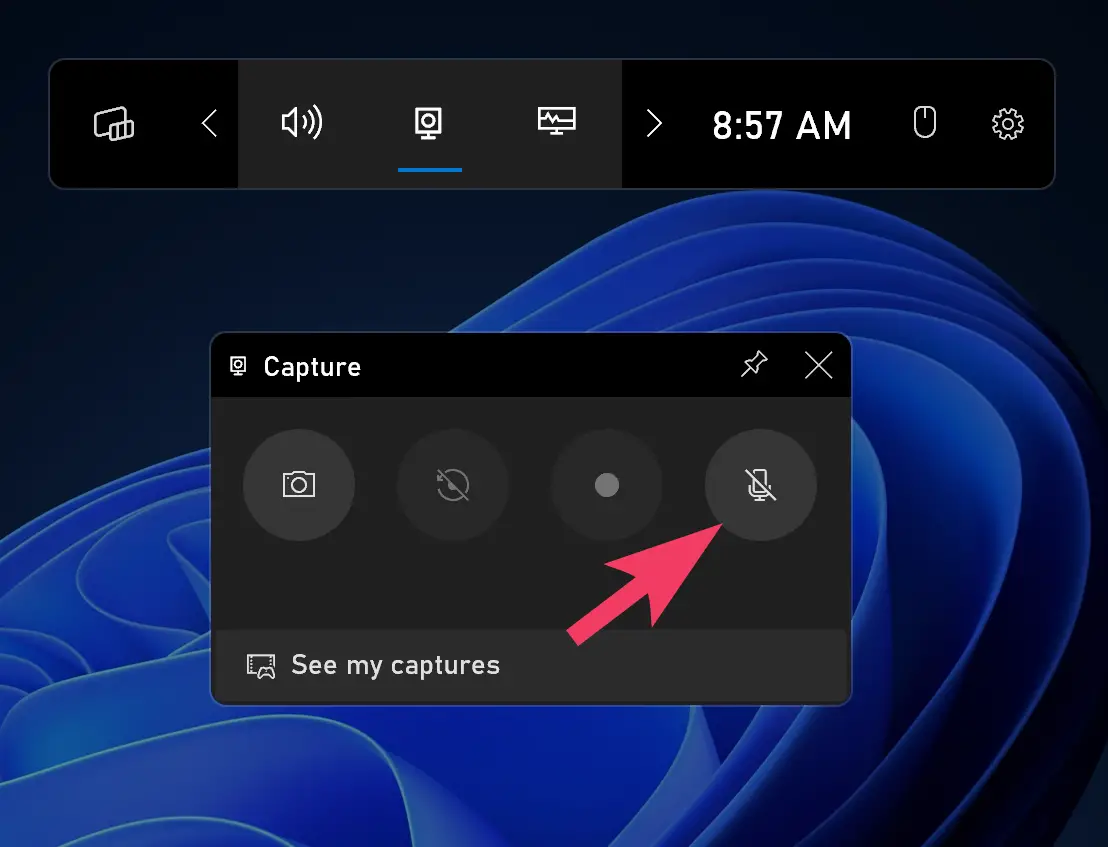
Step 4. From the Capture window, you can select the option to record your screen. Here, if you want, you can enable or disable your mic before recording the screen. If you’re going to speak while you record your screen, make sure the Microphone icon isn’t crossed out with a line or vice versa.
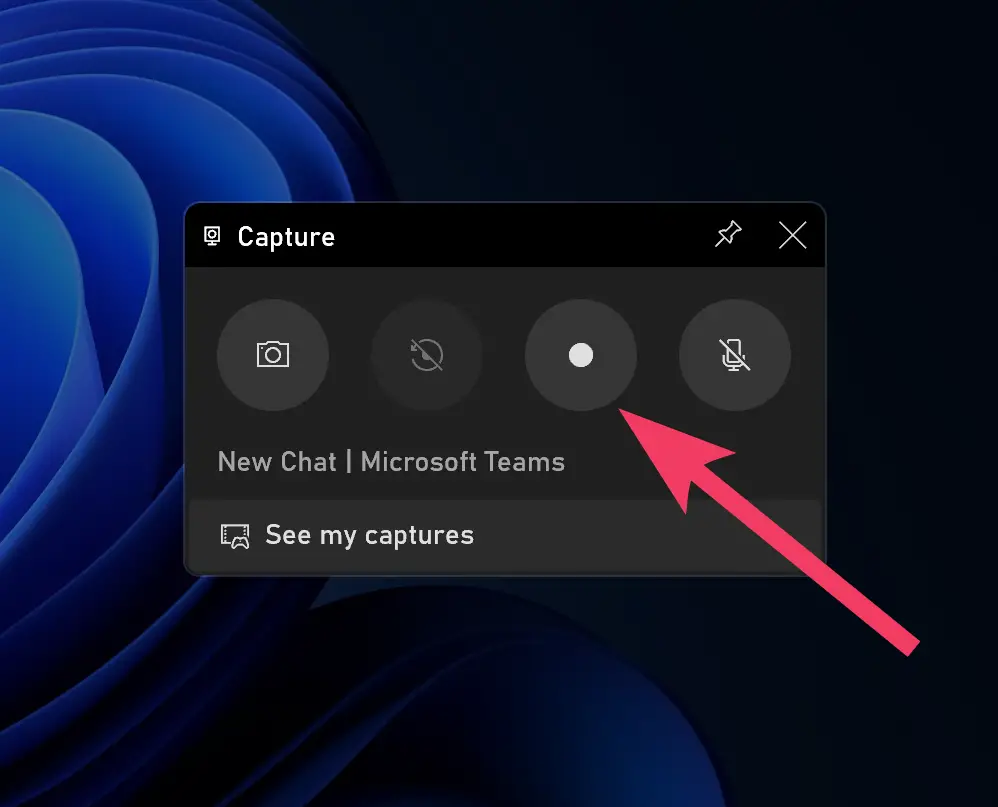
Step 5. Once you’re ready to record the screen, click the Start Recording button.
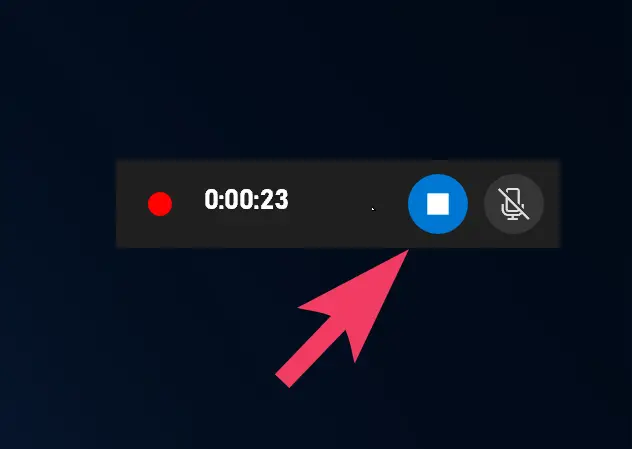
Step 6. Now, the screen recording will begin, and a new floating window will appear on your monitor that will show the status of the recording. Click the Stop recording button when you’re finished.
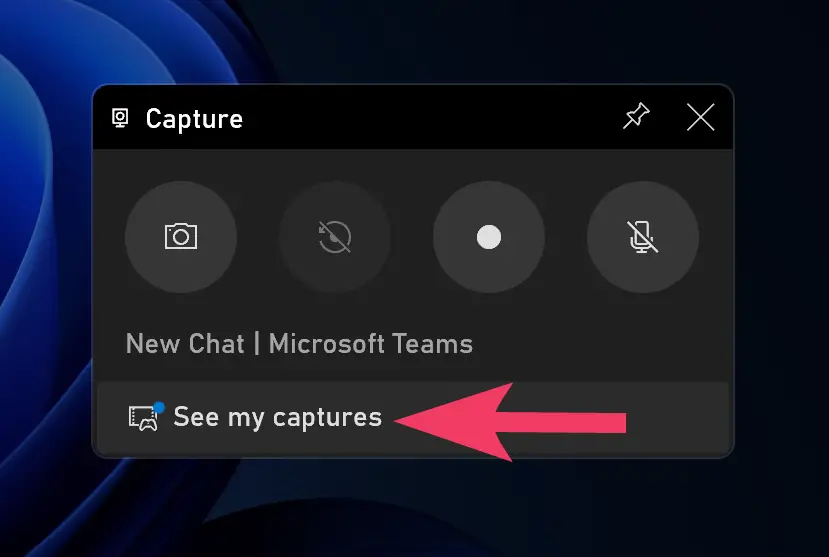
Step 7. To find your recording, click See my captures at the bottom of the Capture window.
That’s it.
How to Record your Screen in Windows 11 or 10 through Microsoft PowerPoint?
If you are using Microsoft Office, you can use the PowerPoint application to record your screen. While this is not a built-in method, however, PowerPoint was developed by the same company as Windows, so you can safely use this app without worrying about crapware that often comes with third-party downloads.
To screen record using Microsoft PowerPoint, use these steps:-
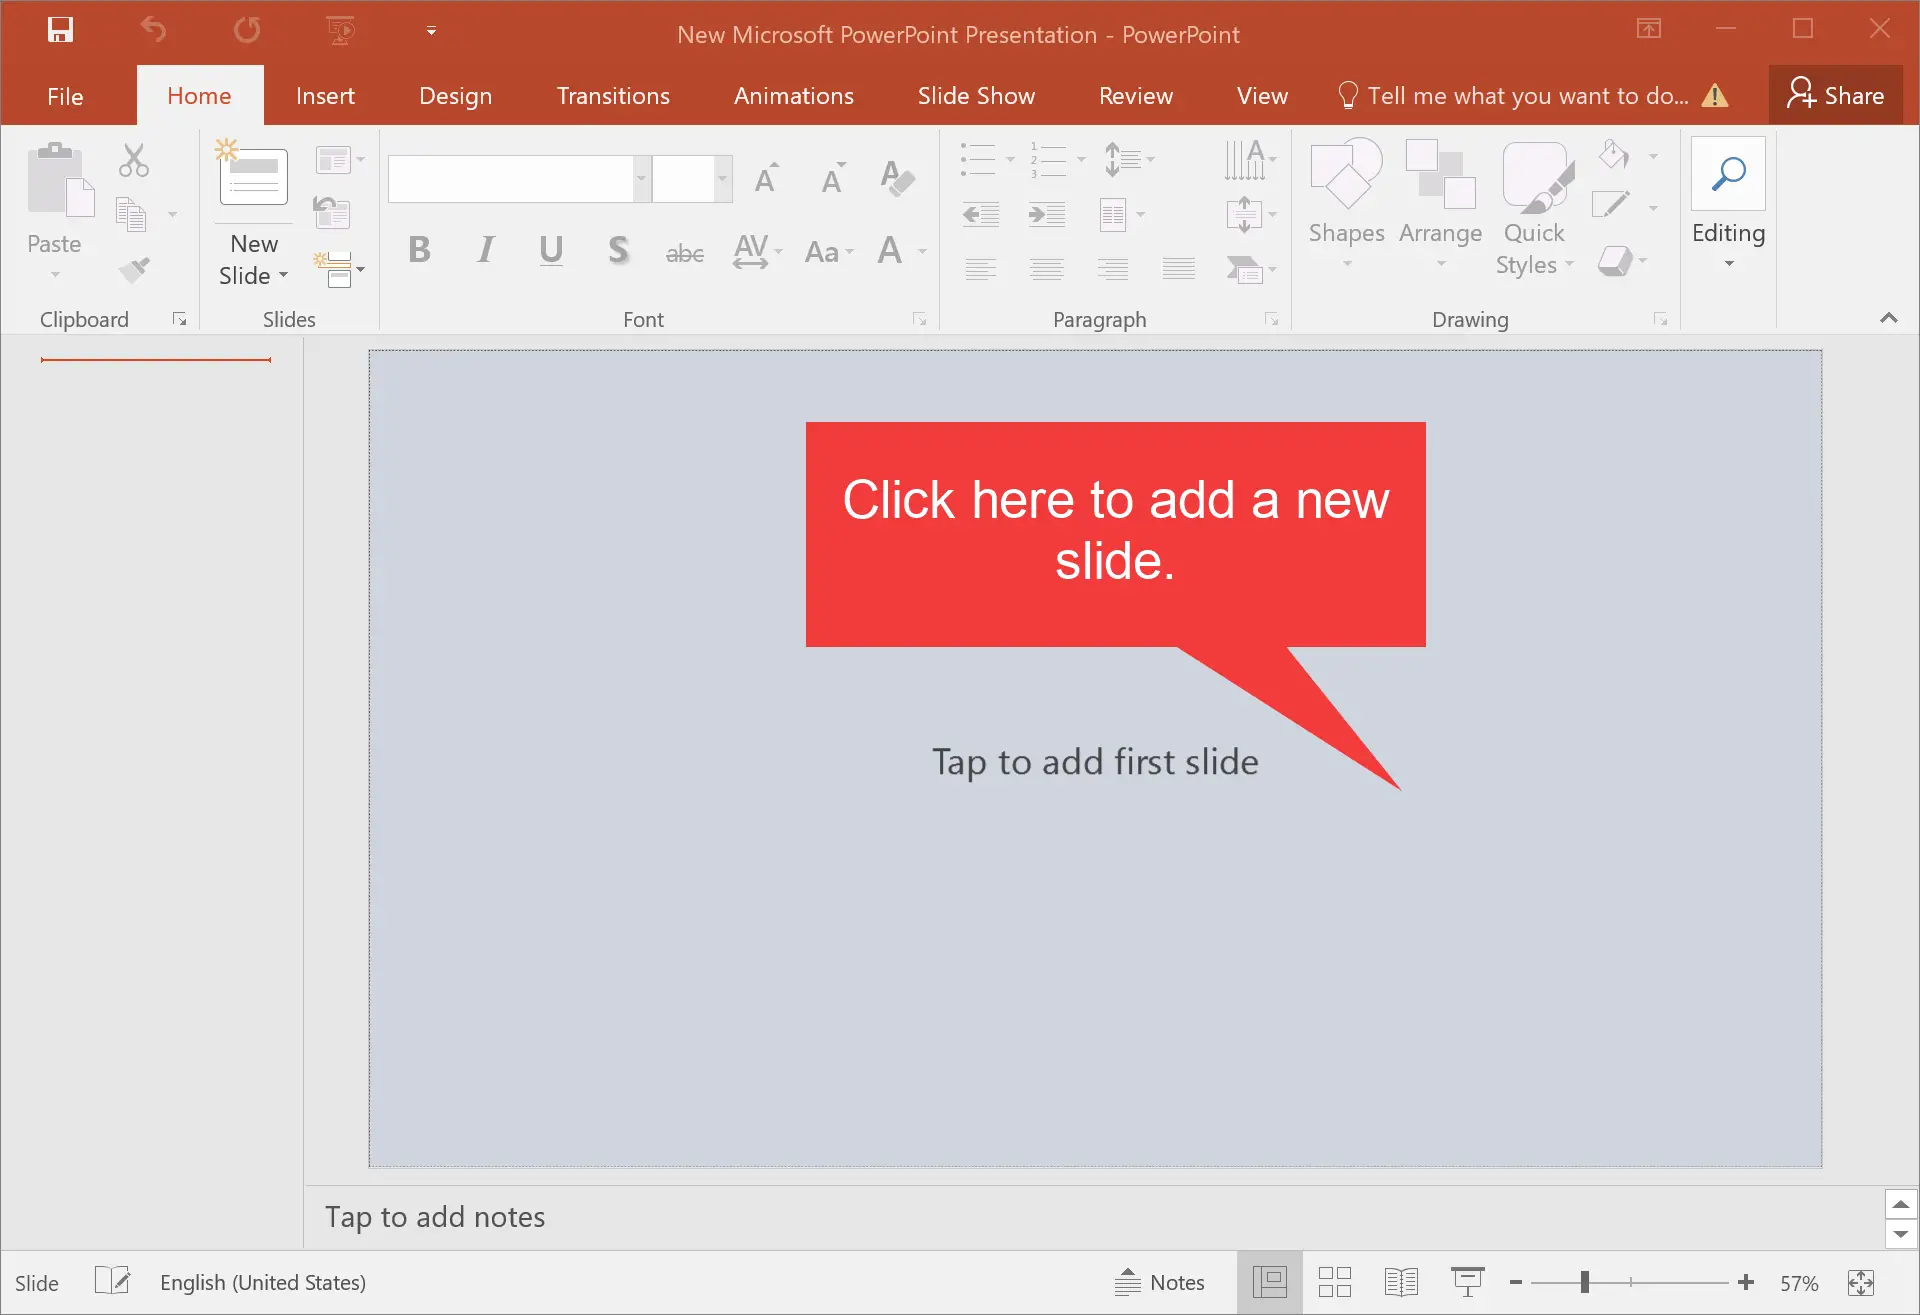
Step 1. First, open Microsoft PowerPoint Presentation.
Step 2. Then, click anywhere on the right side to add a new slide.
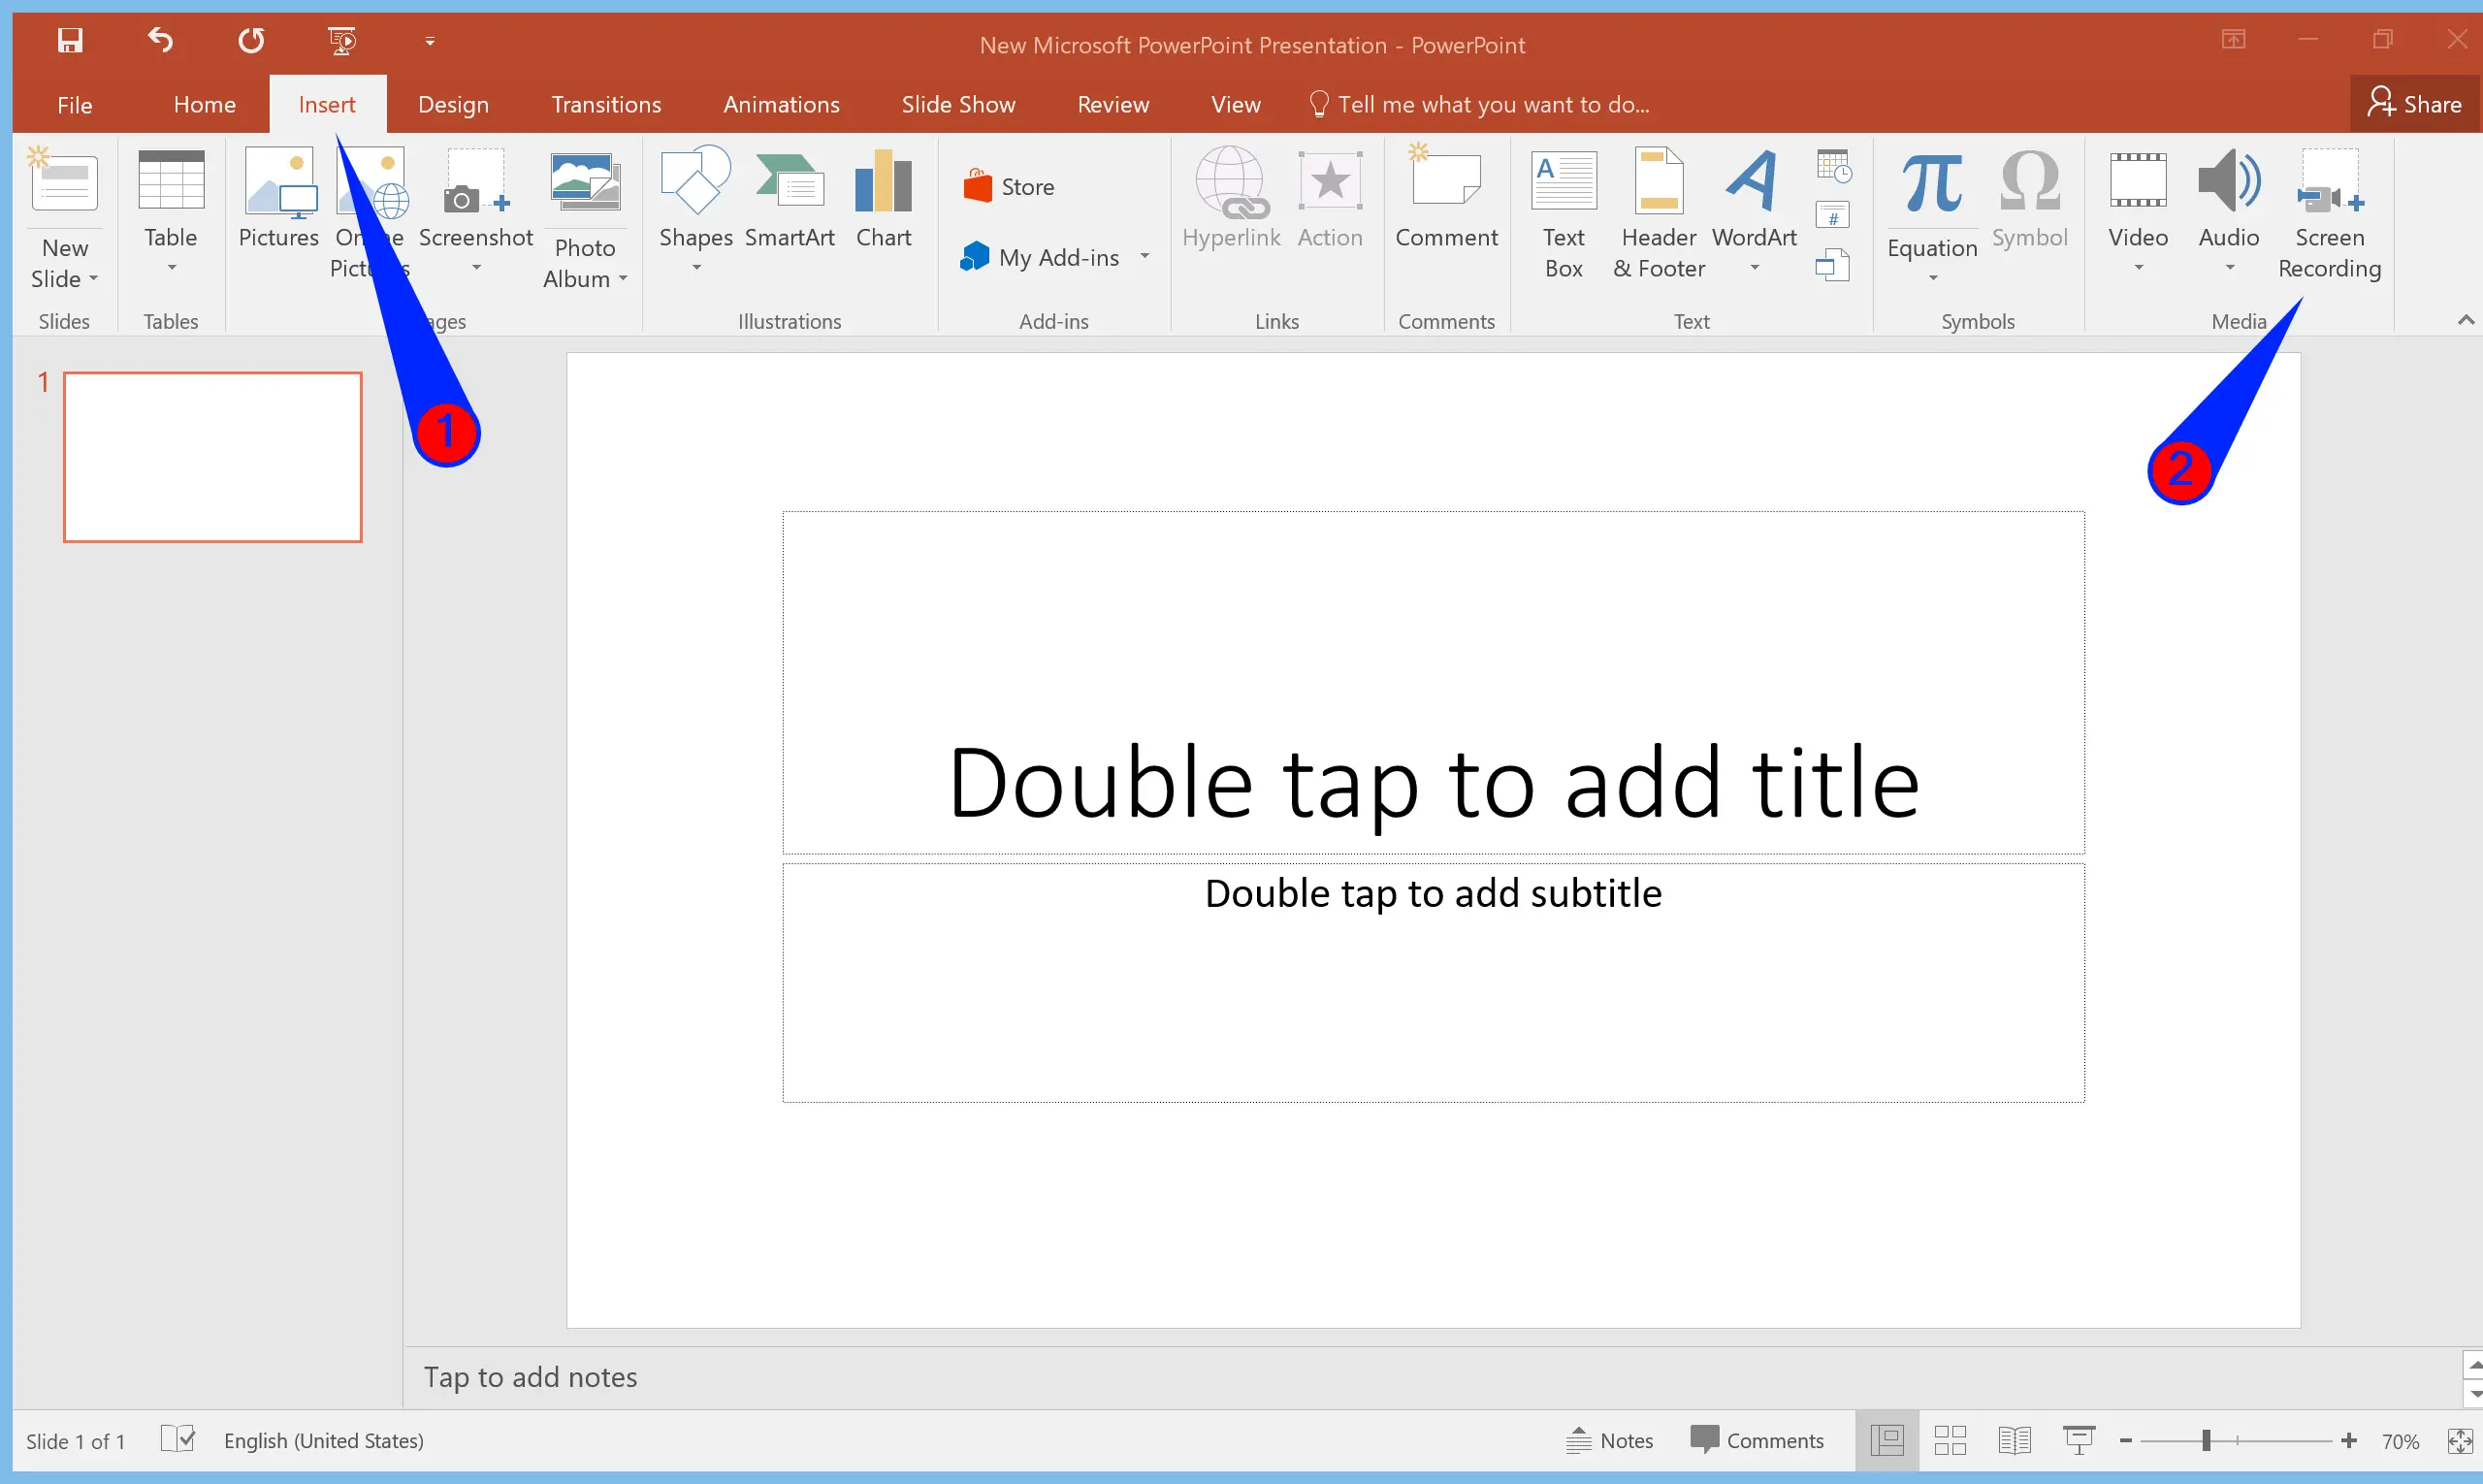
Step 3. After that, click the Insert tab and then select Screen Recording from the Media group.
Step 4. When you’re done, PowerPoint will disappear, and a small bar will appear at the top of your screen. Here, you can choose if you want to record audio and/or your cursor. If the option is highlighted, then it’s enabled, and vice versa.
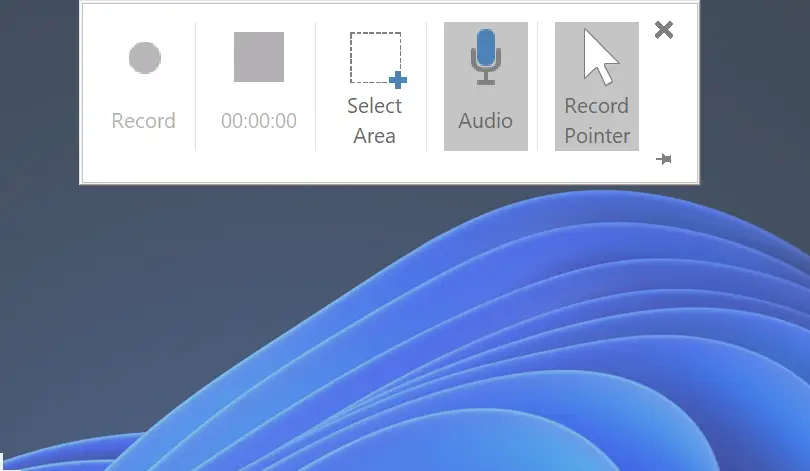
Step 5. Next, you’ll need to select the screen area you want to record. Your cursor will turn in a plus (+) sign by default once you click the Select Area button. So click and drag your mouse across the screen to select the area you’d like to record. The site will be boxed in by a perforated red line.
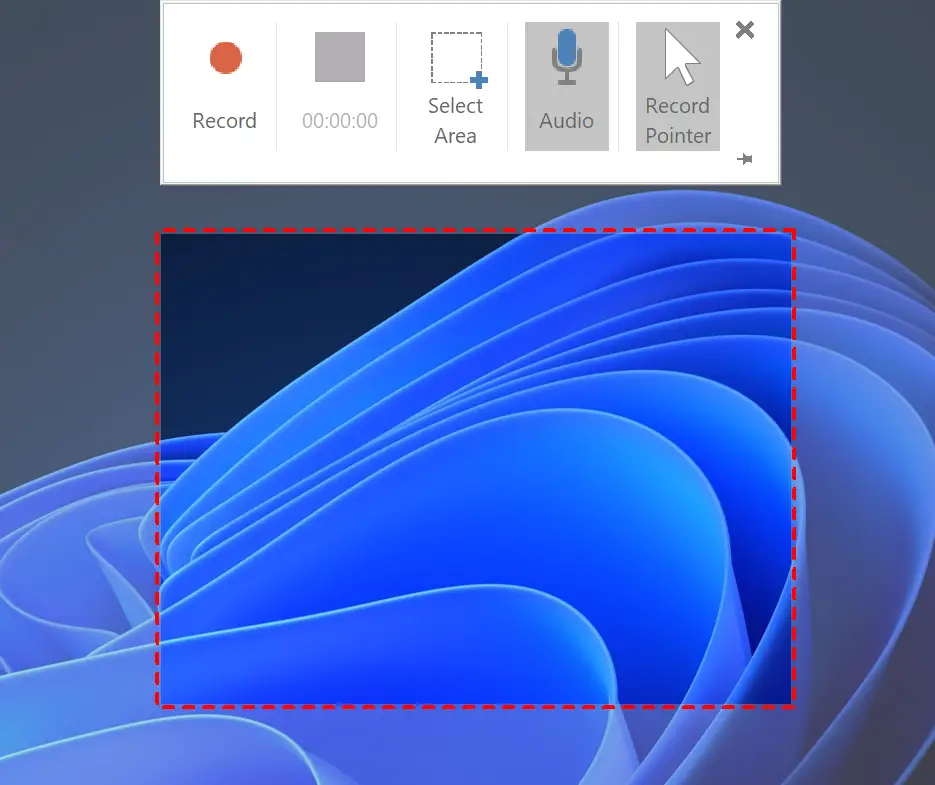
Step 6. When ready to record, click the Record button in the menu bar.

Step 7. Now, the screen recording will begin. If you need, you can pause your recording by clicking the Pause option in the menu bar and resume by clicking Play, which will only appear if you pause your screen. Or, if you want to finish recording, click Stop.
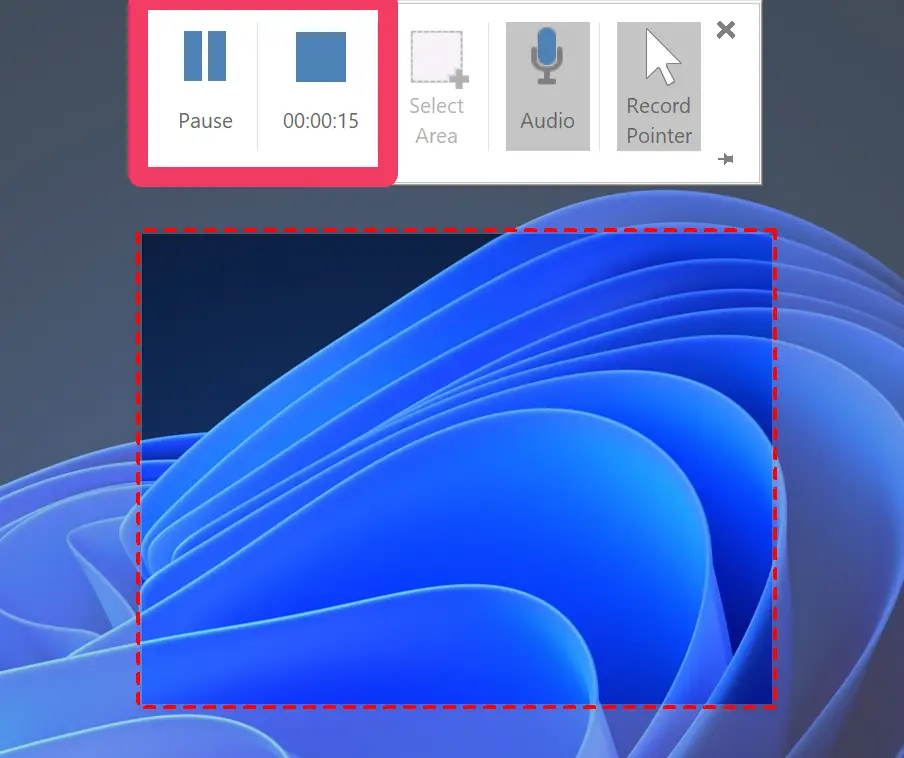
Note:- Please ensure while recording the screen, the menu bar will disappear. To make it reappear, move your mouse to the top of the screen.
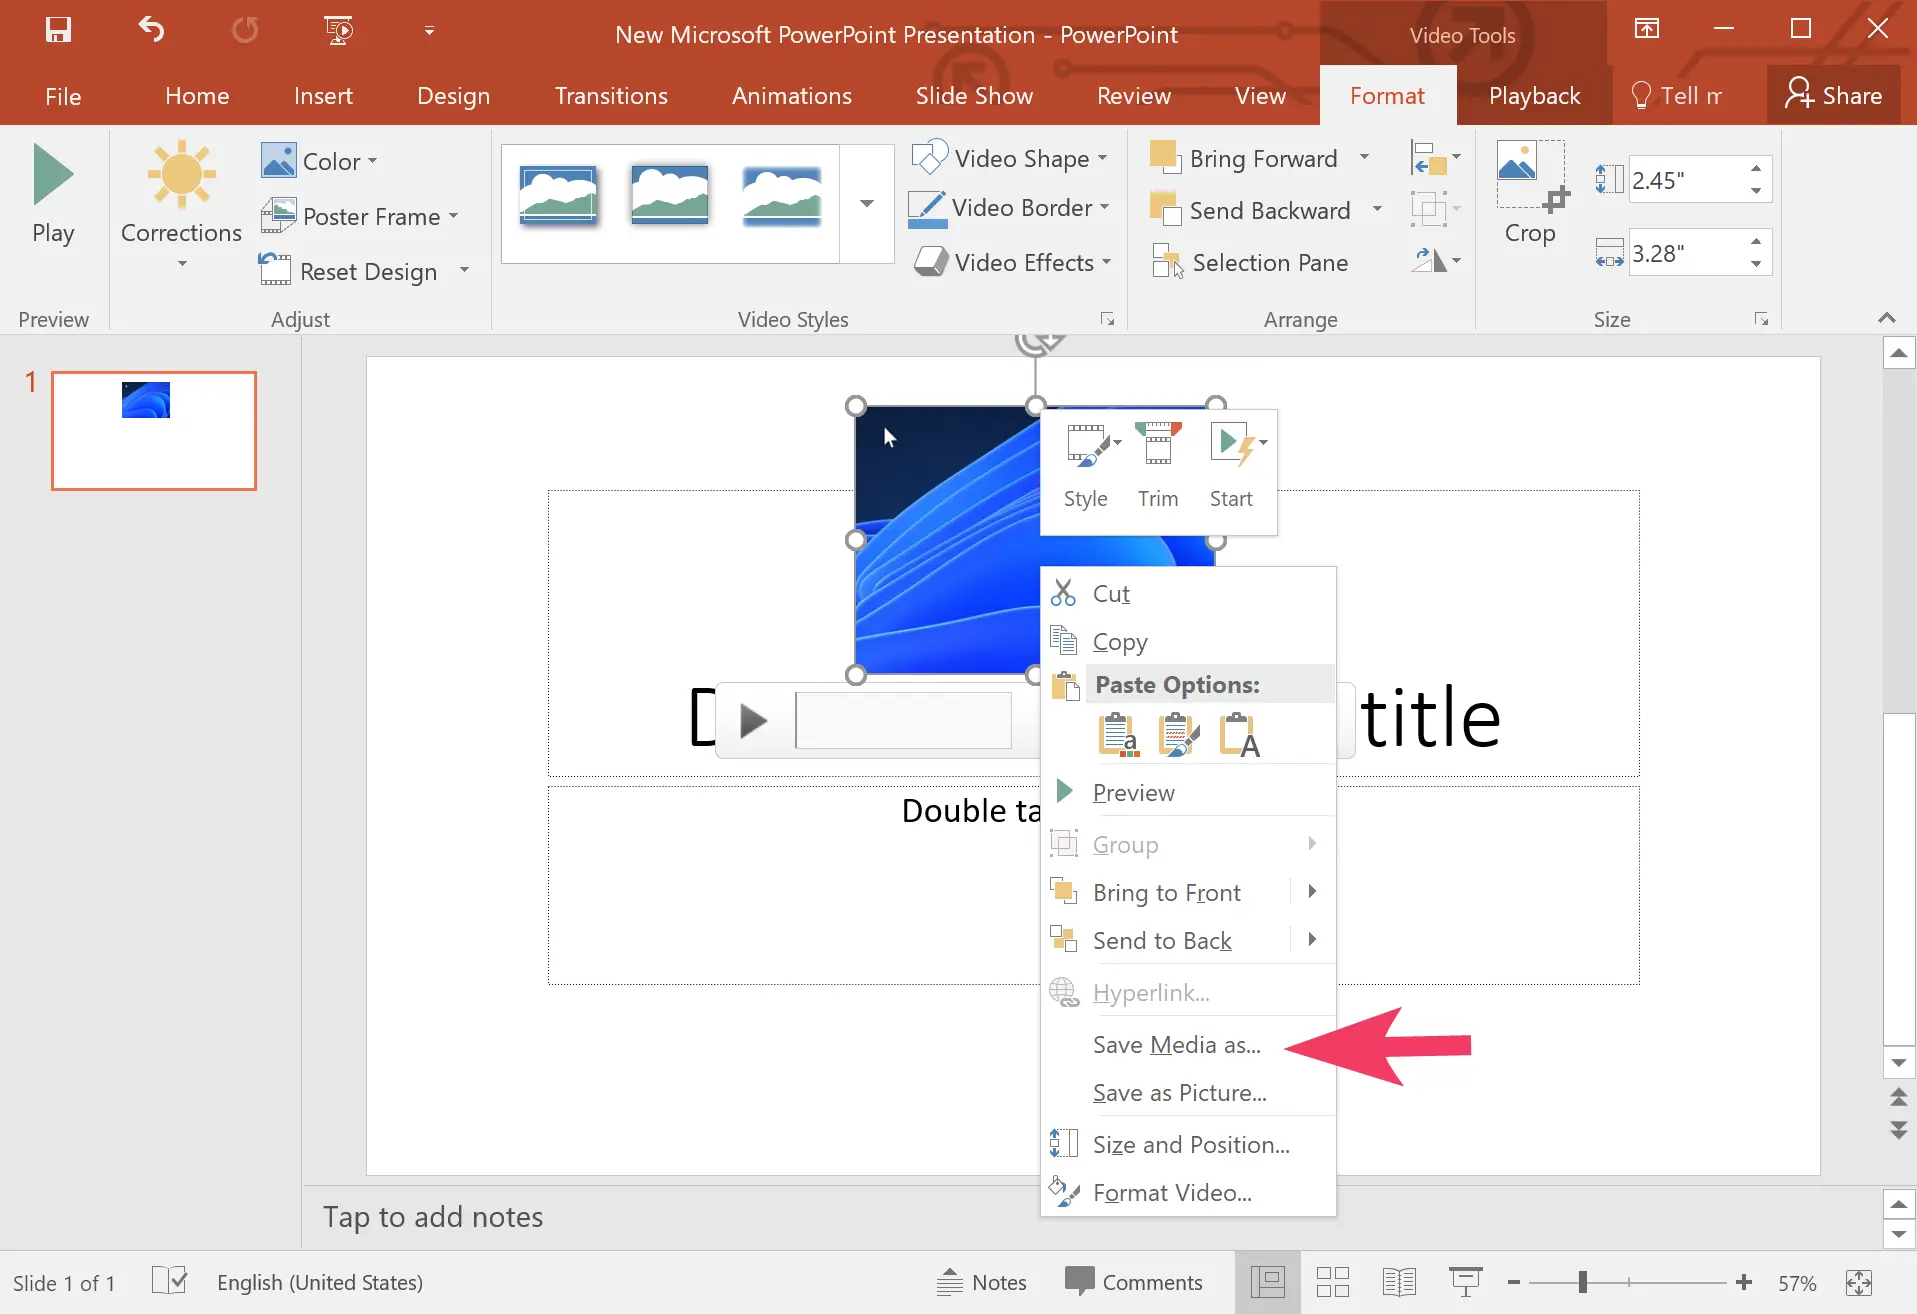
Step 8. Once you finish recording, the recording will appear on your PowerPoint slide. To download it, right-click the recording and then select the Save Media As option from the context menu.
Step 9. Next, in the “Save Media As” dialog, select the location where you want to save the recording, name the file, and click the Save button.
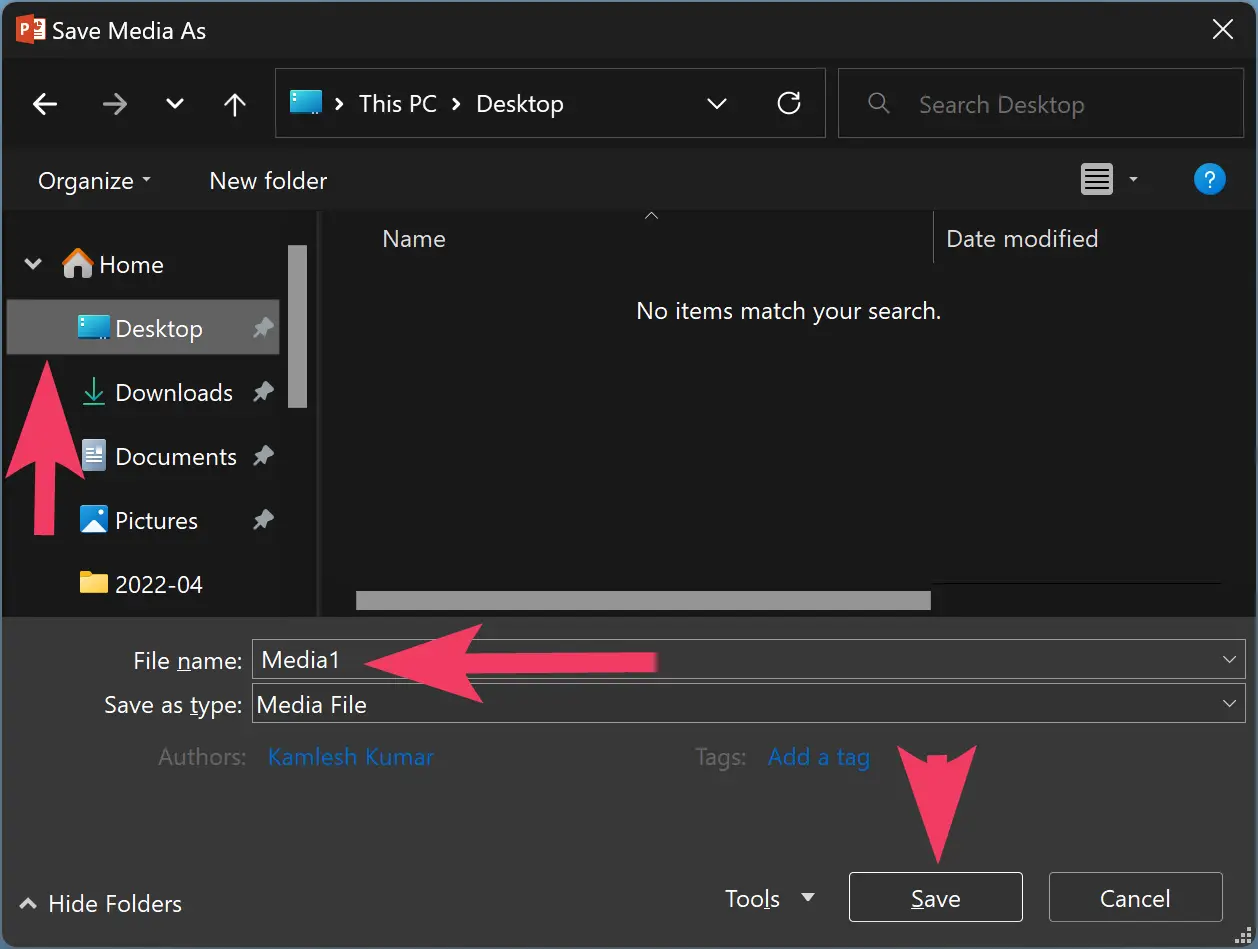
That’s it. The recorded video is saved in “.MP4” format. You can play this video using any supported video player.
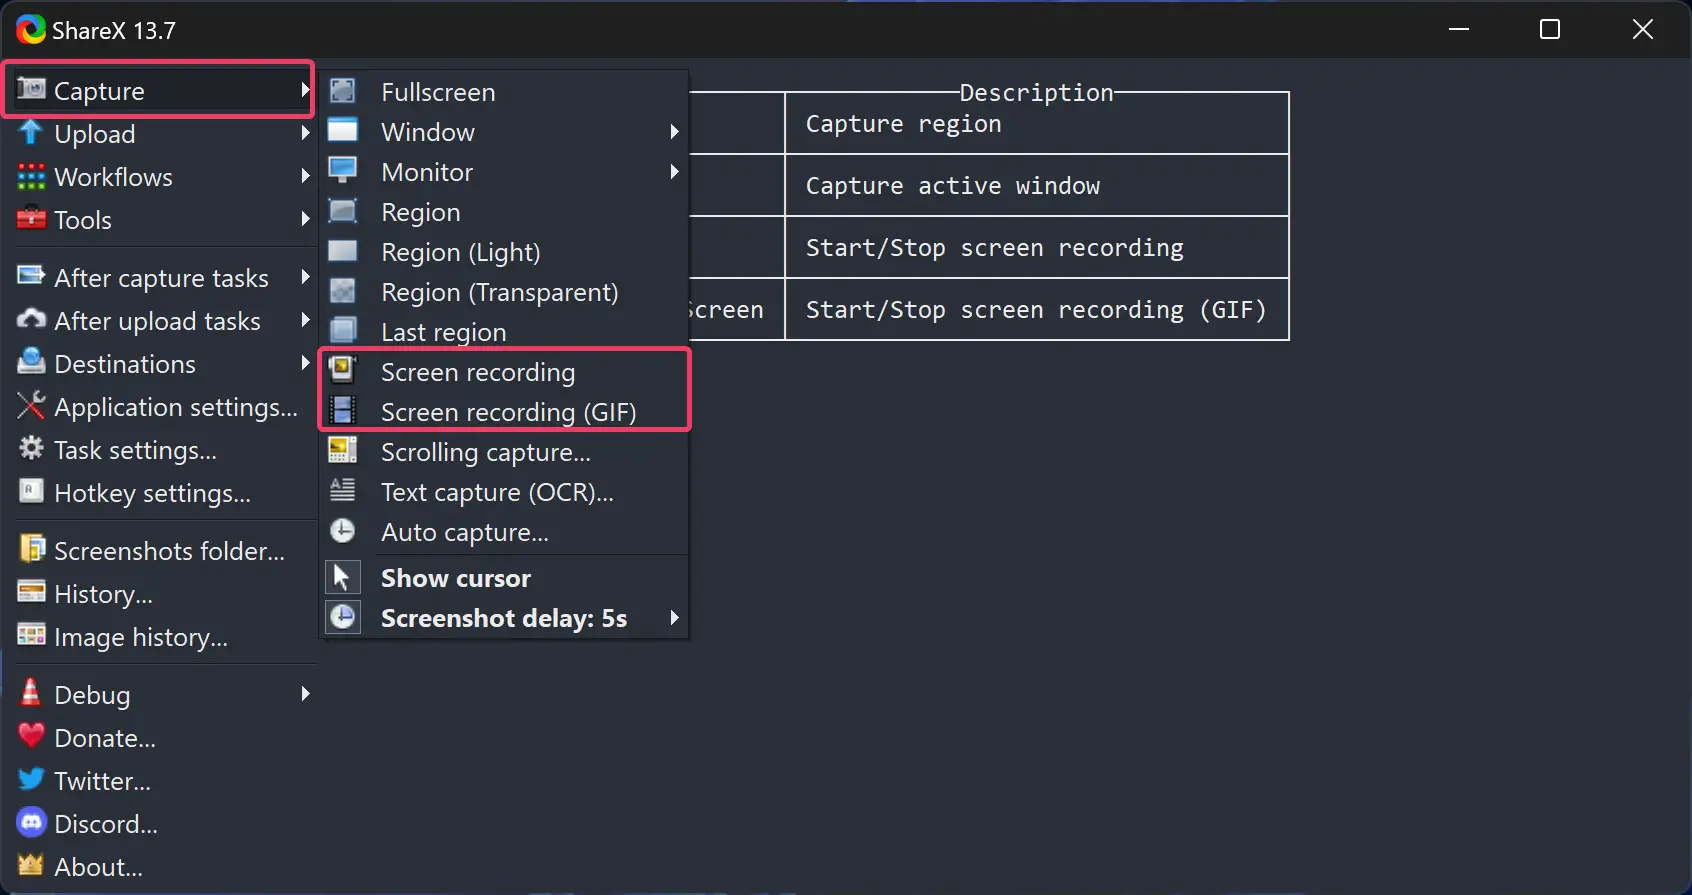
How to Record Screen using ShareX?
ShareX is a free screen-capturing application that saves screen captures in an MP4 or GIF format. To record the screen using ShareX, use the following steps:-
Step 1. Launch ShareX on your PC and click on the Capture option. You will see a list of options where you can select to record the screen in either MP4 or as a GIF.
Step 2. Now, select the area you want to record, as you did with PowerPoint. To capture a particular window, hover the mouse over it and then click on it. The recording will begin.
Step 3. Click on Stop to stop the recording.
That’s it.
Conclusion
In conclusion, whether you are a gamer or someone who needs to record their screen for work or personal use, Windows 11 and 10 have built-in solutions that allow you to do so easily. The Xbox Game Bar is a convenient and simple way to record your screen, while Microsoft PowerPoint offers a reliable option for those using Office. Additionally, third-party applications like ShareX can provide additional features and options for screen recording. With these tools, anyone can easily create high-quality screen recordings for a variety of purposes.