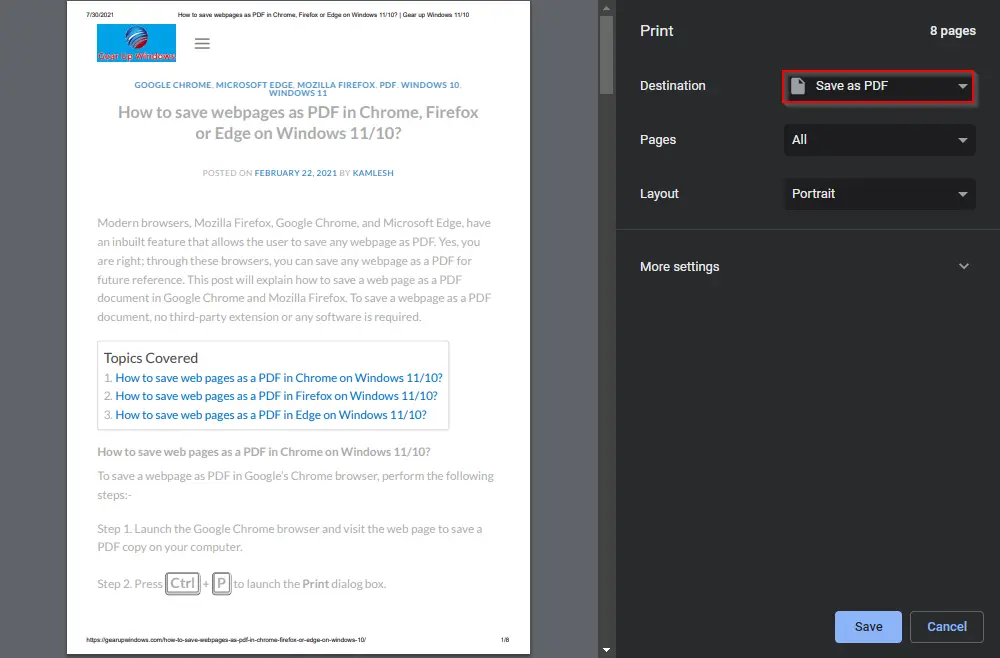
How do I remove a printer from Windows 11? Microsoft includes a virtual printer on Windows 11, known as Microsoft Print to PDF. Using this built-in printer, you can save any webpage as a PDF. Apart from Windows 11, all modern browsers, including Mozilla Firefox, Google Chrome, and Microsoft Edge, have an inbuilt feature that allows users to save any webpage as a PDF. That means these browsers come with their own printer. When you press Ctrl + P from the keyboard, you will see a Save as PDF printer.
The PDF printer list goes more longer if you install third-party PDF reader software, such as Adobe or Foxit. These PDF reader applications also come with their own printer. This means after using Windows 11 PC for some time, your printer list will be too long. You have to scroll through a long list to find your desired printer.
If you’re no longer using a particular printer, we recommend you remove it from your device. All the virtual printers are similar in nature and do the same job. So, there is no need to keep all of them on your PC. Why not should we remove unnecessary printers from our PC?
Windows 11 comes with a powerful tool called Settings app. Using this setting app, and you can quickly fire up undesired printers from the list.
How to Eliminate a Printer on Windows 11?
Follow these steps to remove a Printer on Windows 11:-
Step 1. Open the Settings app by pressing Windows + I keys from the keyboard.
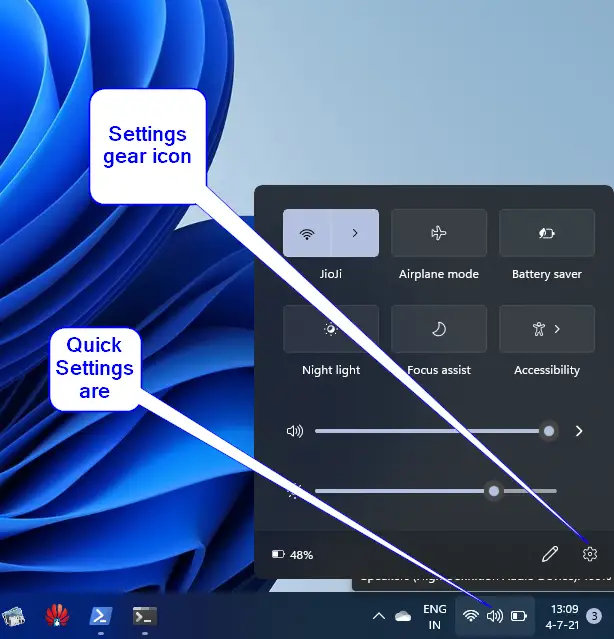
Alternatively, press Windows + A keys from the keyboard to launch the Quick Settings pane. In the Quick Access pane, click on the Settings gear icon.
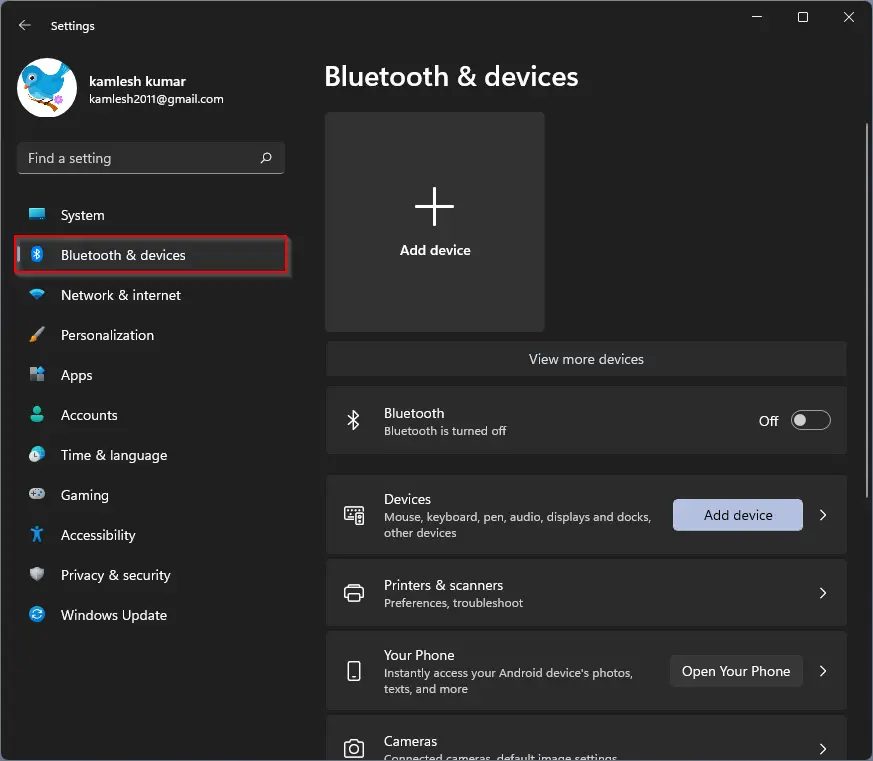
Step 2. In Settings, click on the Bluetooth & devices category from the left sidebar.
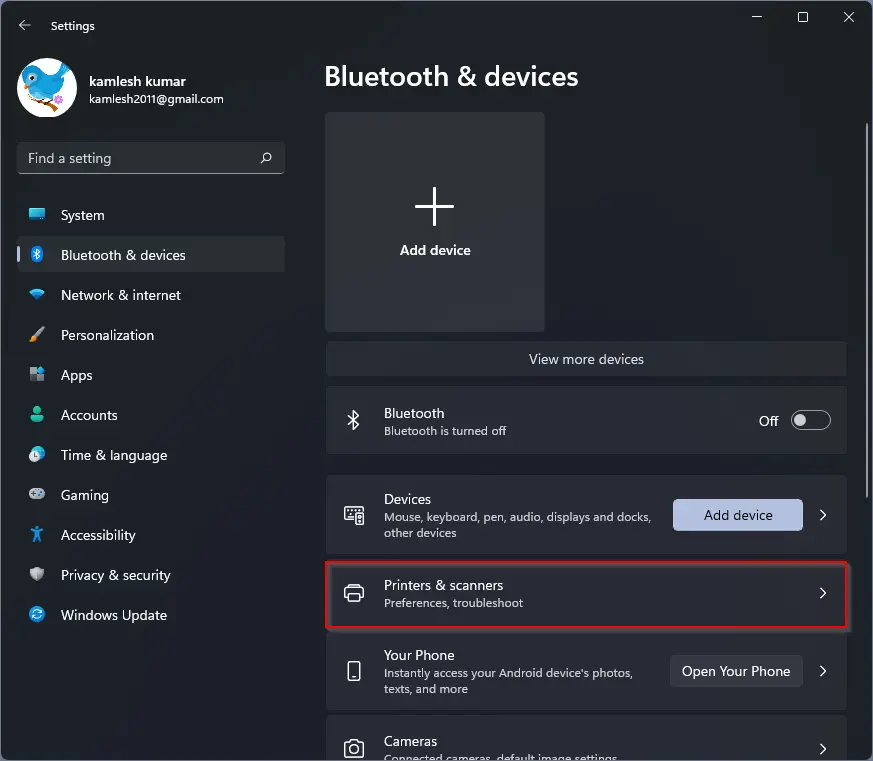
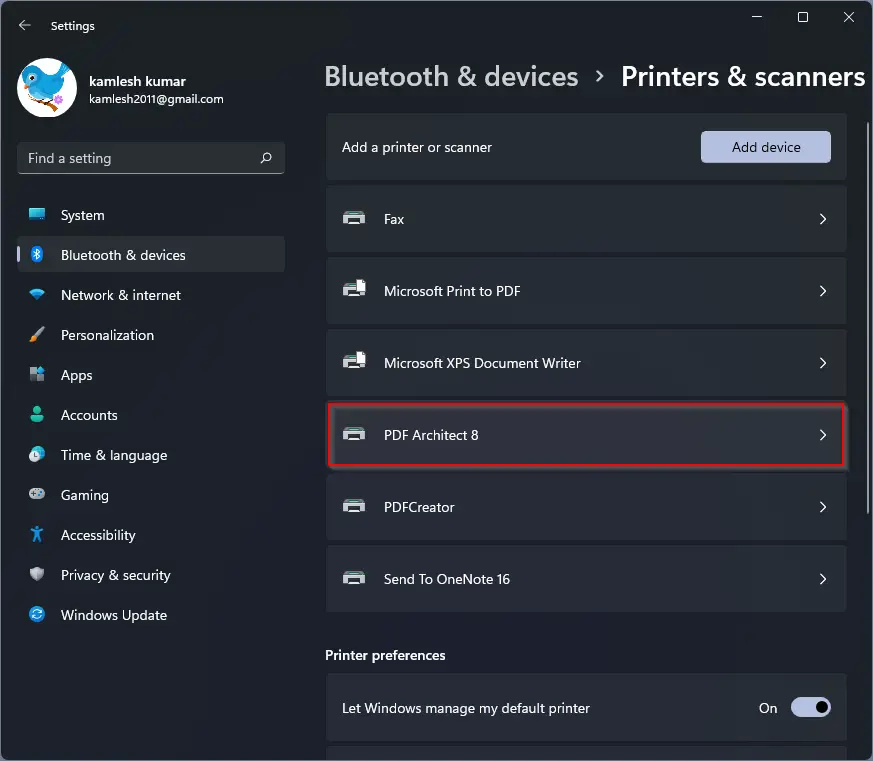
Step 3. On the right-side pane of Bluetooth & devices, click on the Printers & scanners tab.
Step 4. Here, you will see a list of printers installed on your computer and an option to add a new printer or scanner. Click on the Printer name that you no more require. For instance, we don’t want to see the PDF Architect 8 in our printer list and remove it.
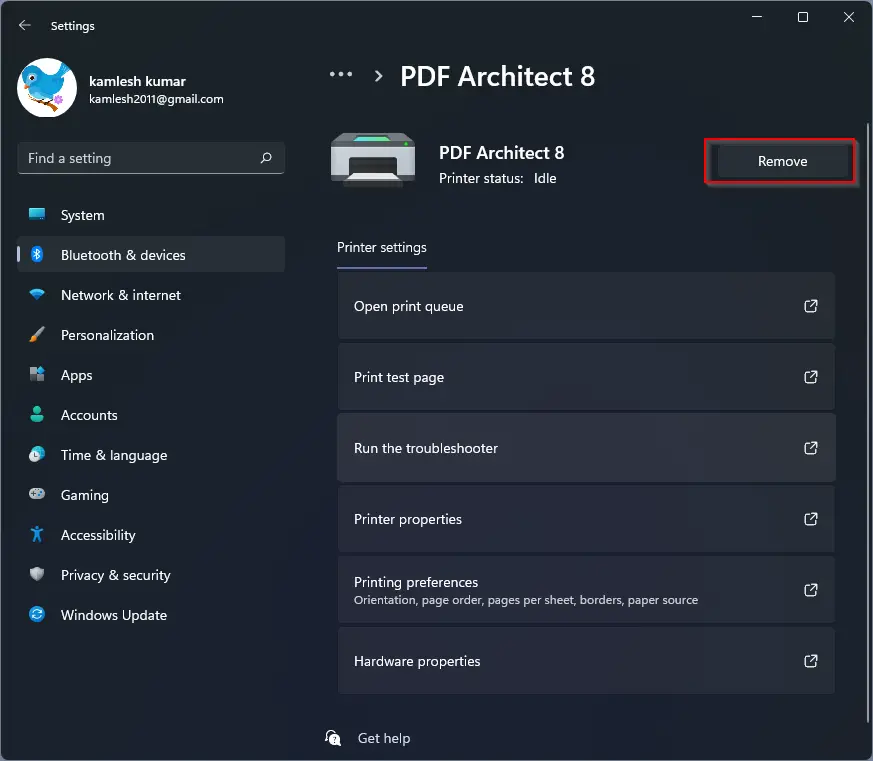
Step 5. In the next window, click on the Remove button to eliminate it from your Windows 11 PC.
Step 6. A new pop-up window will appear; click on the Yes button to complete the action.
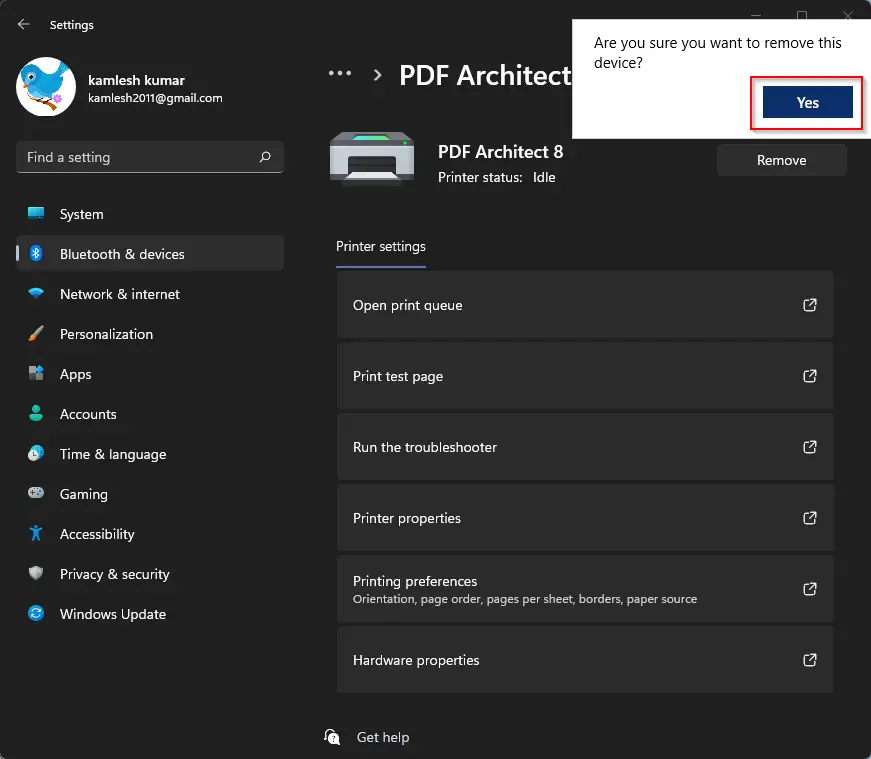
After executing the above steps, the selected printer will not exist on your Windows 11 PC.
Conclusion
In conclusion, Windows 11 comes with a variety of virtual printers, including Microsoft Print to PDF, which enables users to save any webpage as a PDF. However, after using your PC for some time, the printer list can become too long, making it difficult to find the desired printer. Therefore, it is recommended to remove unnecessary printers from your device. Thankfully, Windows 11 includes a simple and straightforward process to remove a printer quickly using the Settings app. By following the above-mentioned steps, you can easily eliminate any printer that you no longer require, which will help you to manage your printer list efficiently.