
PowerPoint presentations can be made more visually appealing and engaging by adding images and graphics. One way to enhance the appearance of a PowerPoint table is to set a picture as its background. This feature allows you to customize the table’s appearance and make it more impactful. In this guide, we’ll show you how to set a picture as the background on a PowerPoint table.
First, we’ll discuss why setting a picture as the background on a PowerPoint table can be beneficial. By adding a background image, you can make the table stand out and draw attention to important information. Additionally, a background image can help to create a cohesive and visually pleasing theme throughout the entire presentation. With just a few simple steps, you can customize the background of a PowerPoint table and make it an effective visual aid for your audience.
How to set a Picture as a Background on PowerPoint using the Table Background Tool?
Follow these steps to set a Picture as a Background on PowerPoint using the Table Background Tool:-
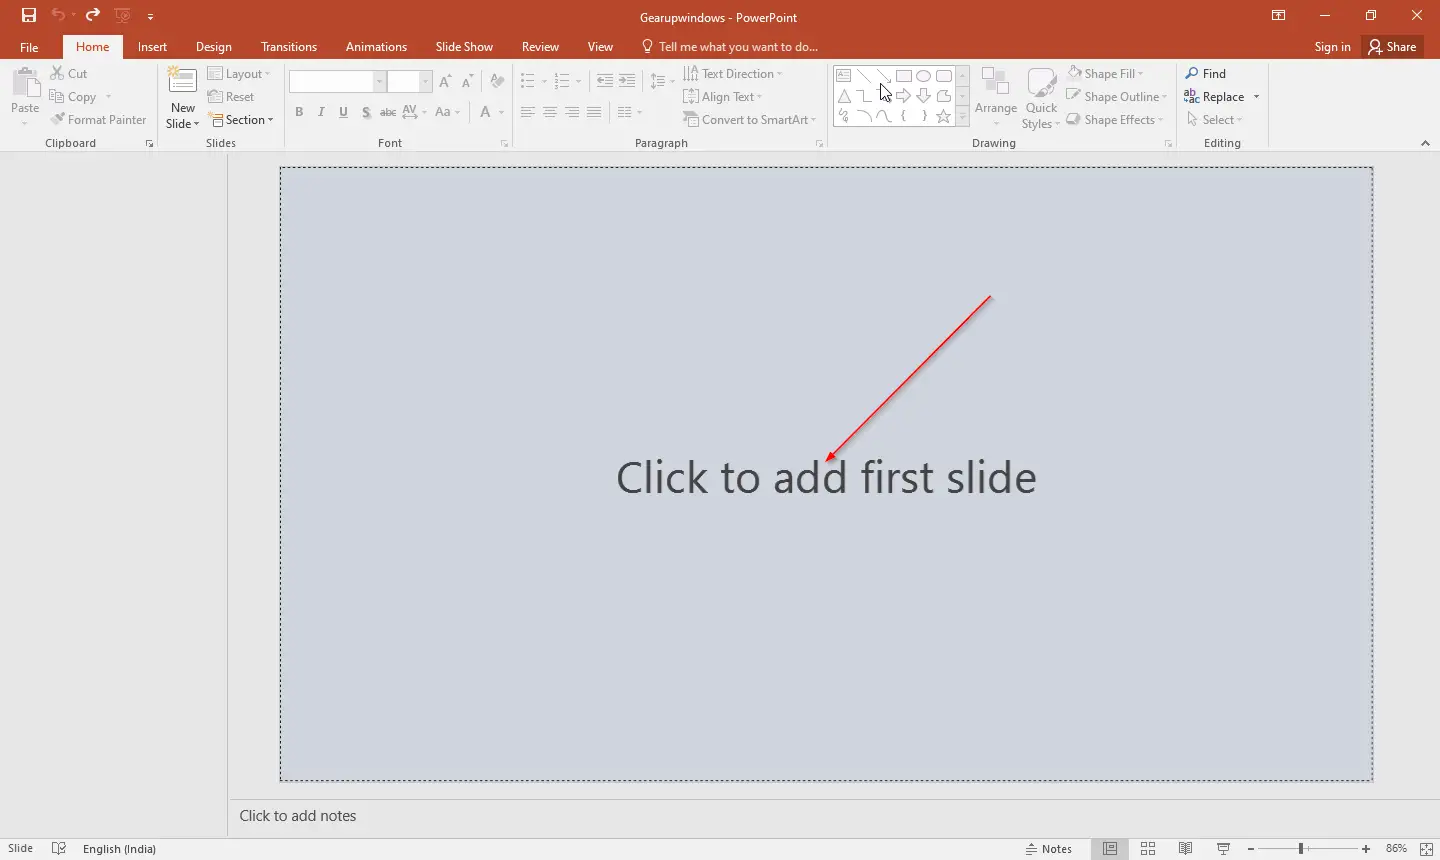
Step 2. Click on the area “Click to add the first slide.”
Step 3. Right-click on the new slide, then select Layout and click Blank.
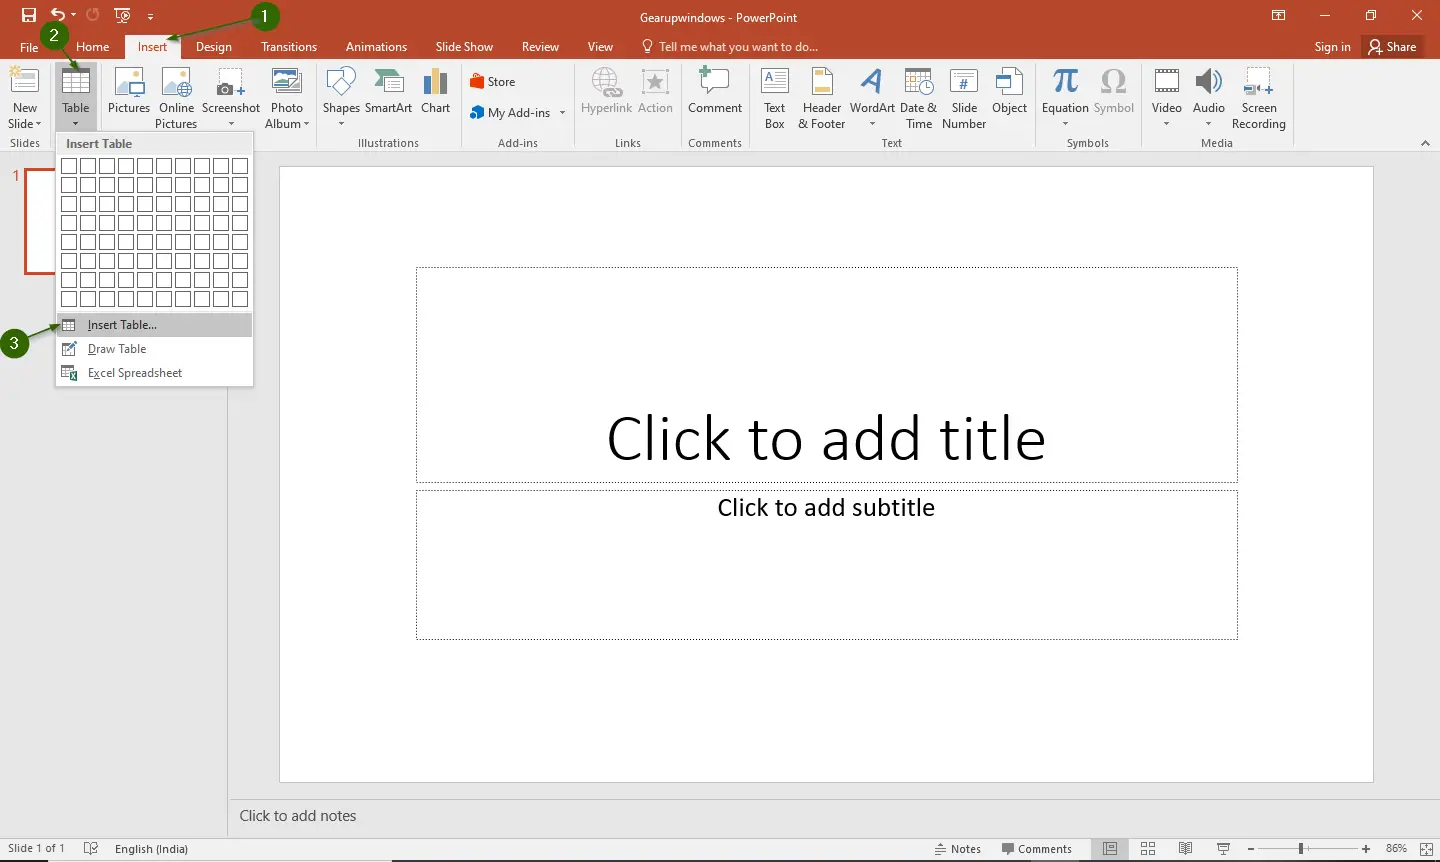
Step 4. Click the Insert tab, and then click Table. From the drop-down list, select Insert Table.
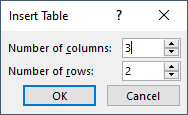
Step 5. An Insert Table dialog box will open. Select the number of Columns and Rows you want to use in the table. Once Columns and Rows are defined, press the OK button.
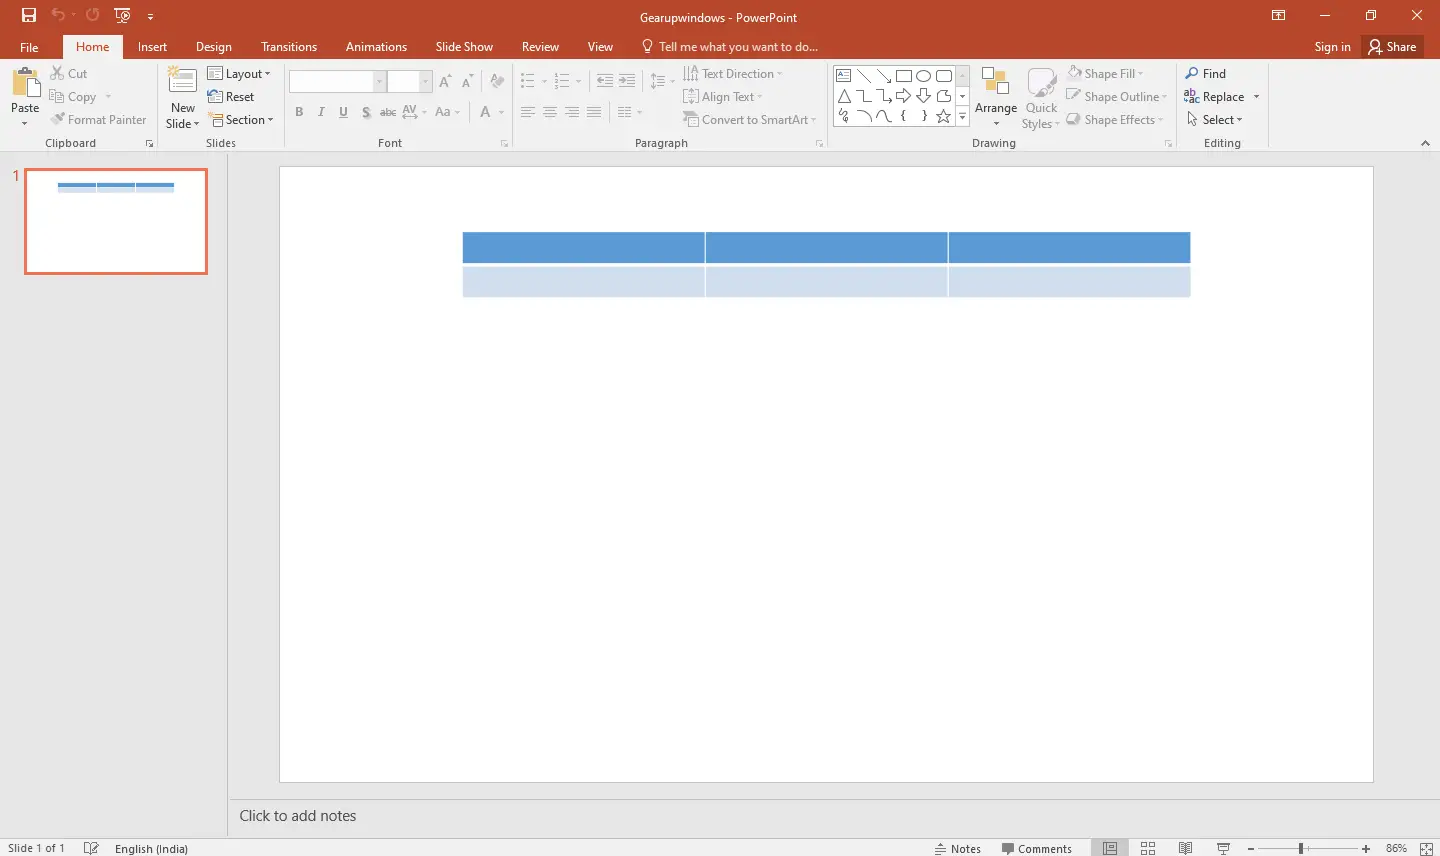
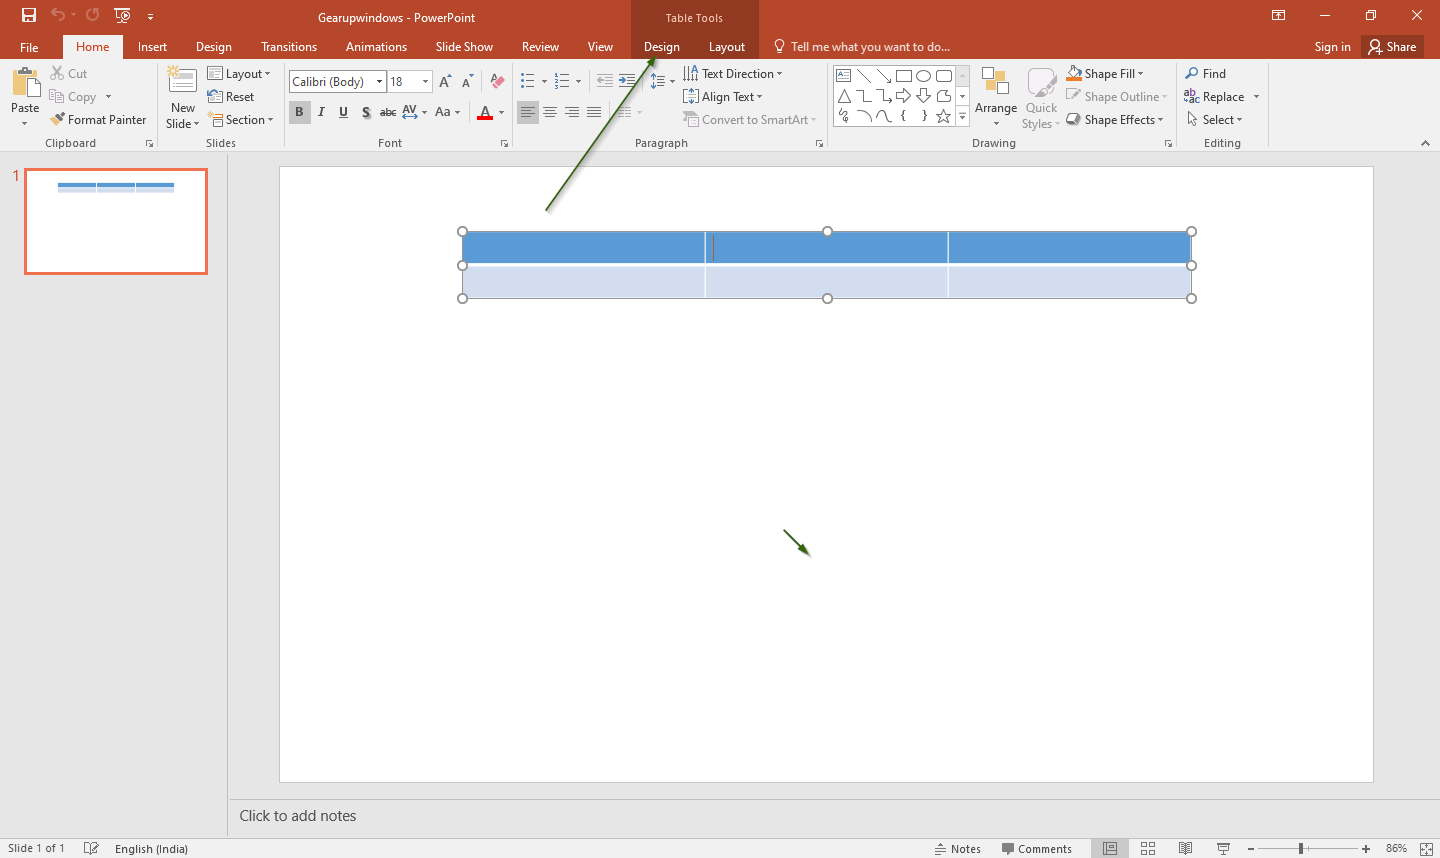
Step 6. Now, the table will be created.
Step 7. Once the table is created, click on the Table, and you will notice a new tab, Design under Table Tools, appears.
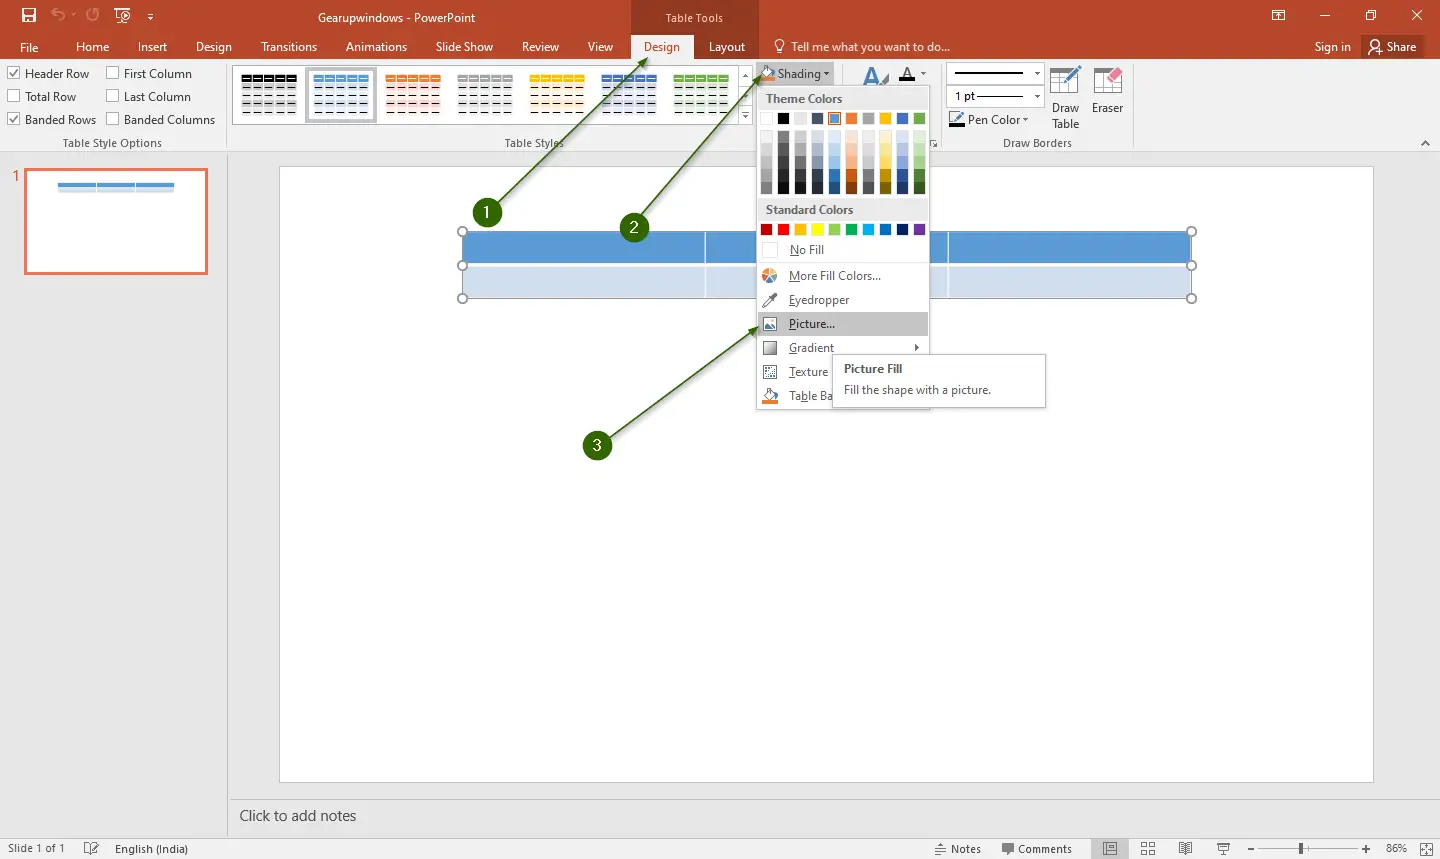
Step 8. In the Table Tools tab, from the Table Styles group, select Shading. From the drop-down list, choose Table Background and then Picture.
Step 9. Insert Pictures dialog box will open.
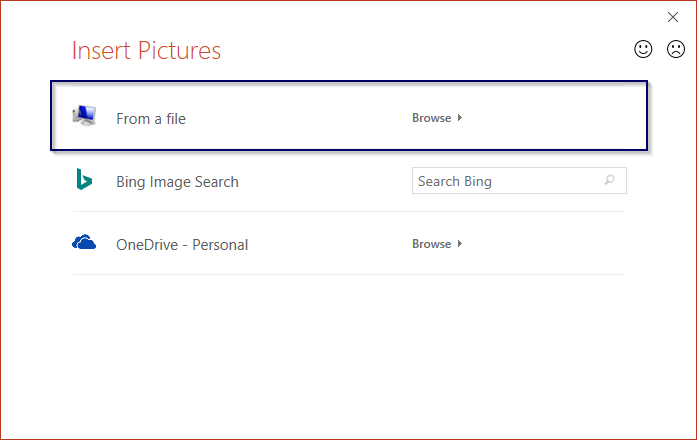
Step 10. Click on the option “From a file.”
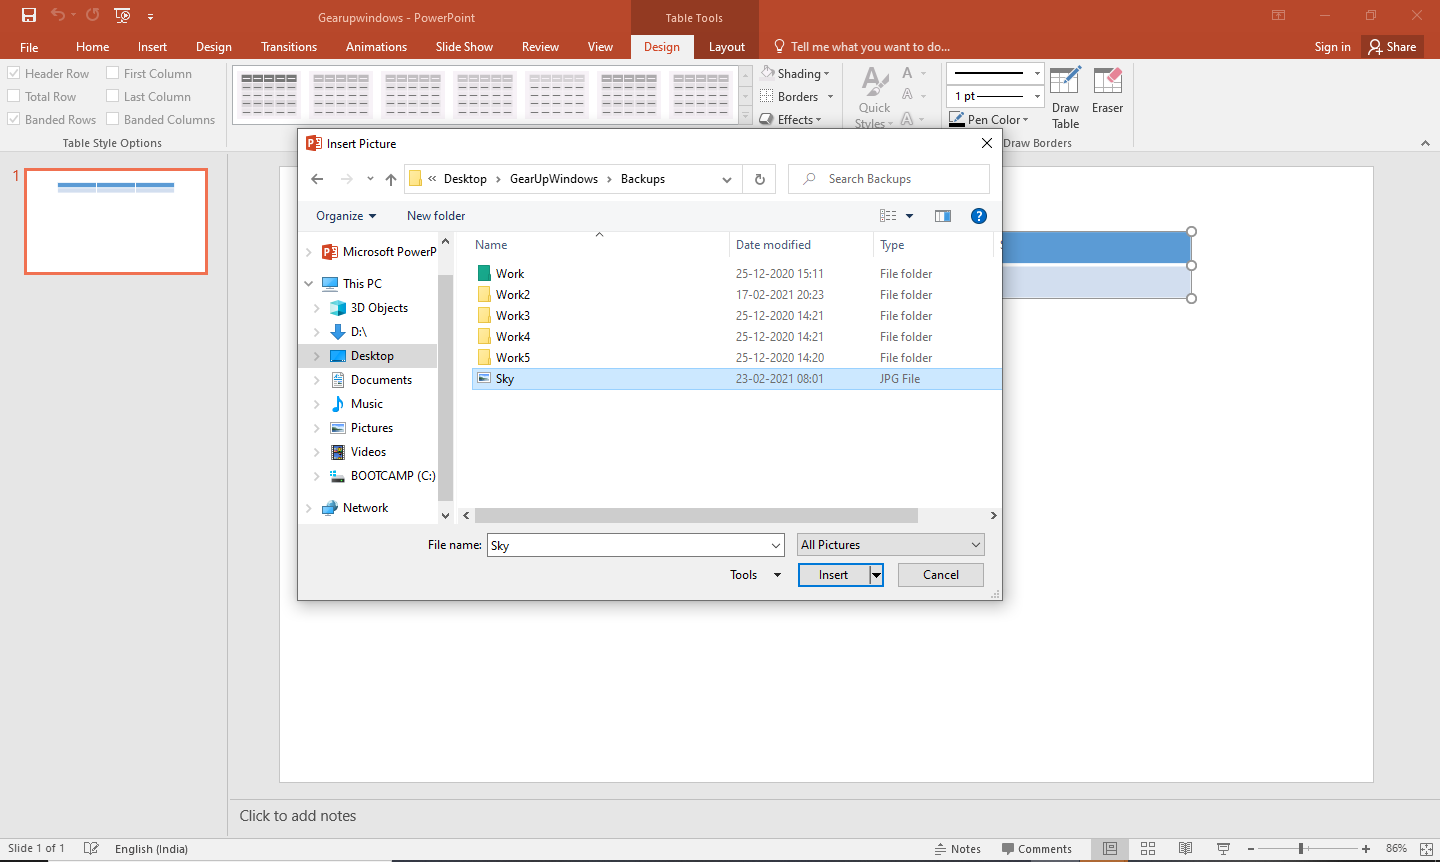
Step 11. Select the image from the PC and click the Insert button.
Step 12. You will see the table with a picture background.
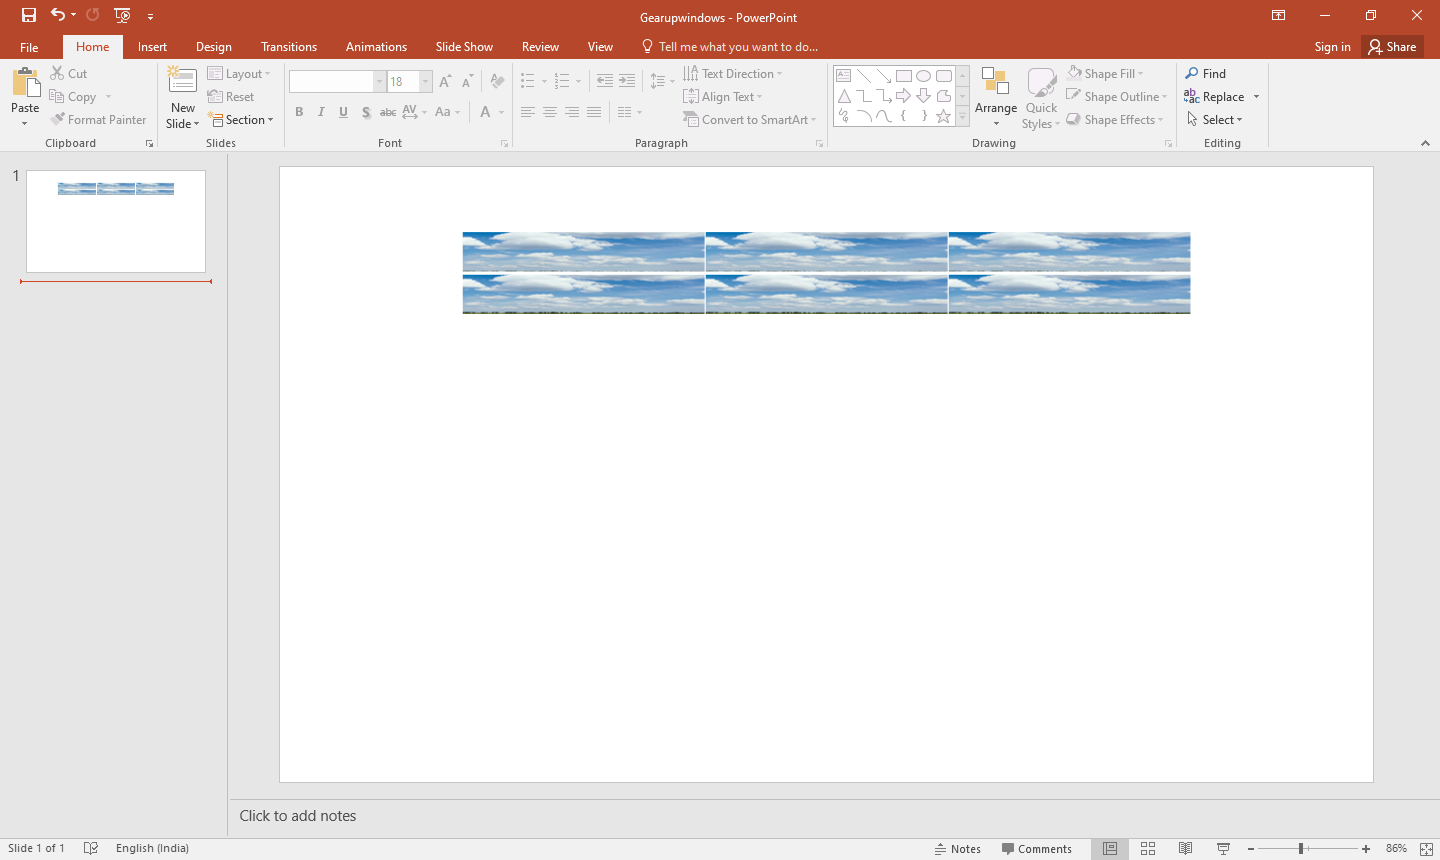
Step 13. Now, you will notice that the picture is inserted into multiple cells in the table, but we want a single background for all cells, so we need to organize the picture.
Select the table and right-click, then select the option “Format shape.”
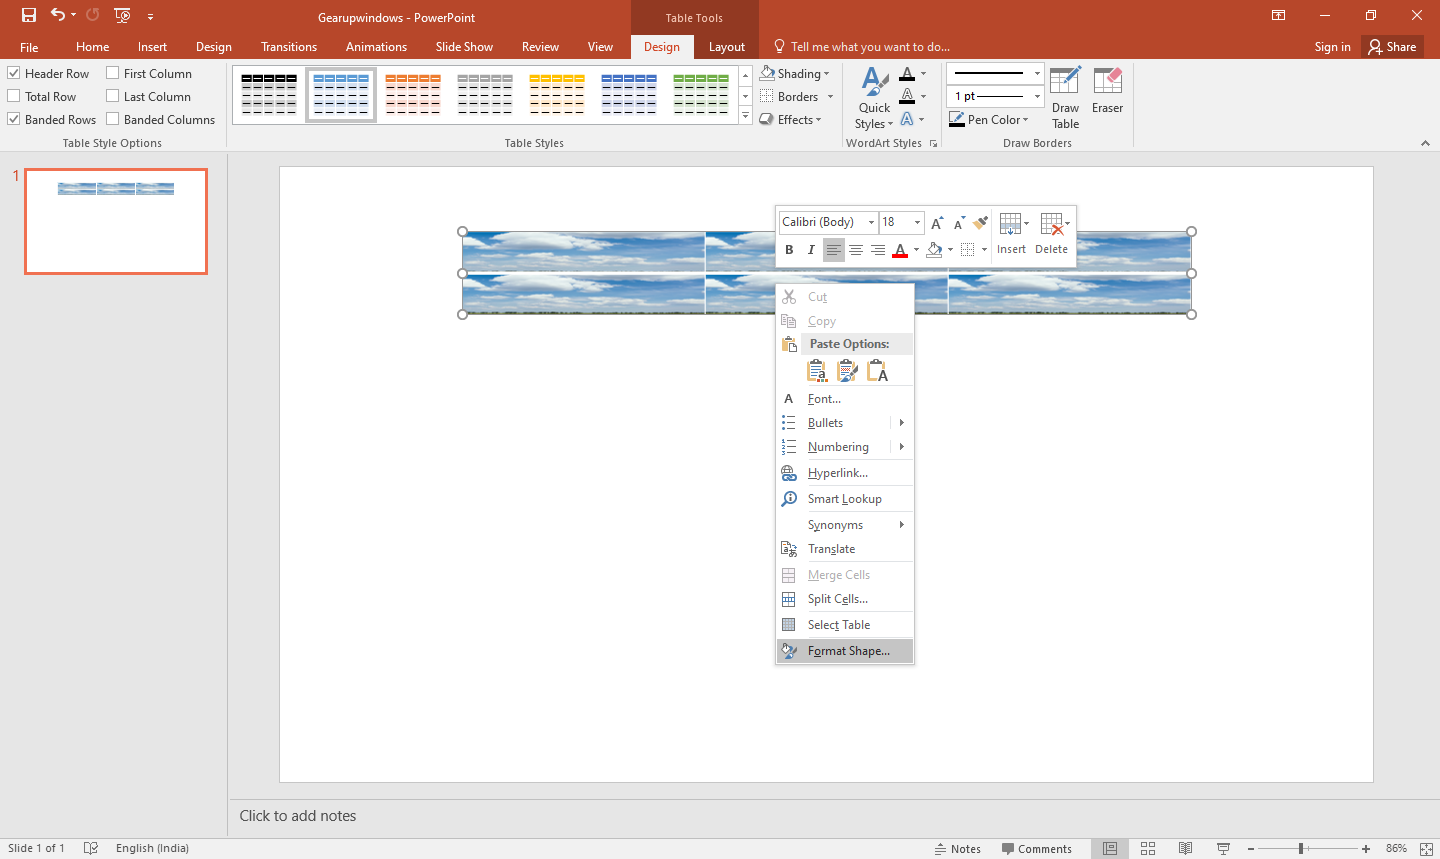
Step 14. On the right side, the “Format Shape” dialog box will open. Click the checkbox “Title picture as texture.”
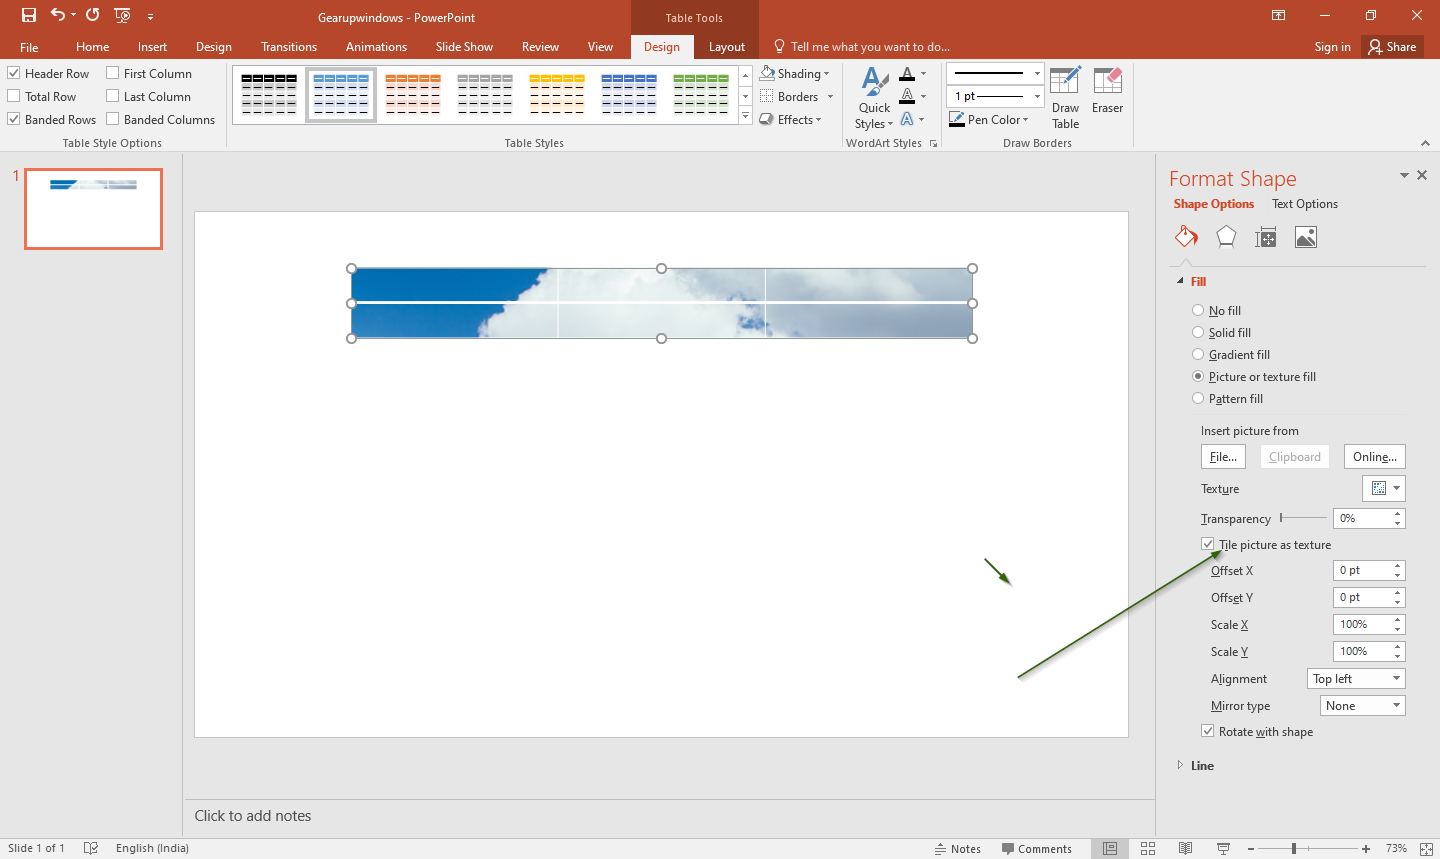
Step 15. Now, the selected image will cover the complete table.
Conclusion
In conclusion, adding images and graphics to a PowerPoint presentation can greatly enhance its visual appeal and engage the audience. Setting a picture as the background on a PowerPoint table is a great way to customize the appearance of the table and make it stand out. By following the simple steps outlined in this guide, you can easily set a picture as the background on a PowerPoint table and create an effective visual aid for your presentation. This feature can help you draw attention to important information and create a cohesive theme throughout your entire presentation.