The system tray, also known as the taskbar notification area, is a vital part of the Windows operating system. It’s where you can find icons for various system and application processes, such as network status, volume control, and your favorite apps. Windows 11, the latest iteration of the popular operating system, introduces a sleek and modern taskbar. However, by default, it doesn’t always display all the icons you might want to access easily. Fortunately, there are two simple methods to ensure that all your desired icons are always visible in the system tray.
How to Show All Icons in the System Tray on Windows 11?
Method 1: Drag and Drop Icons
This method allows you to manually select which icons you want to keep visible in your system tray. Here’s how to do it:-
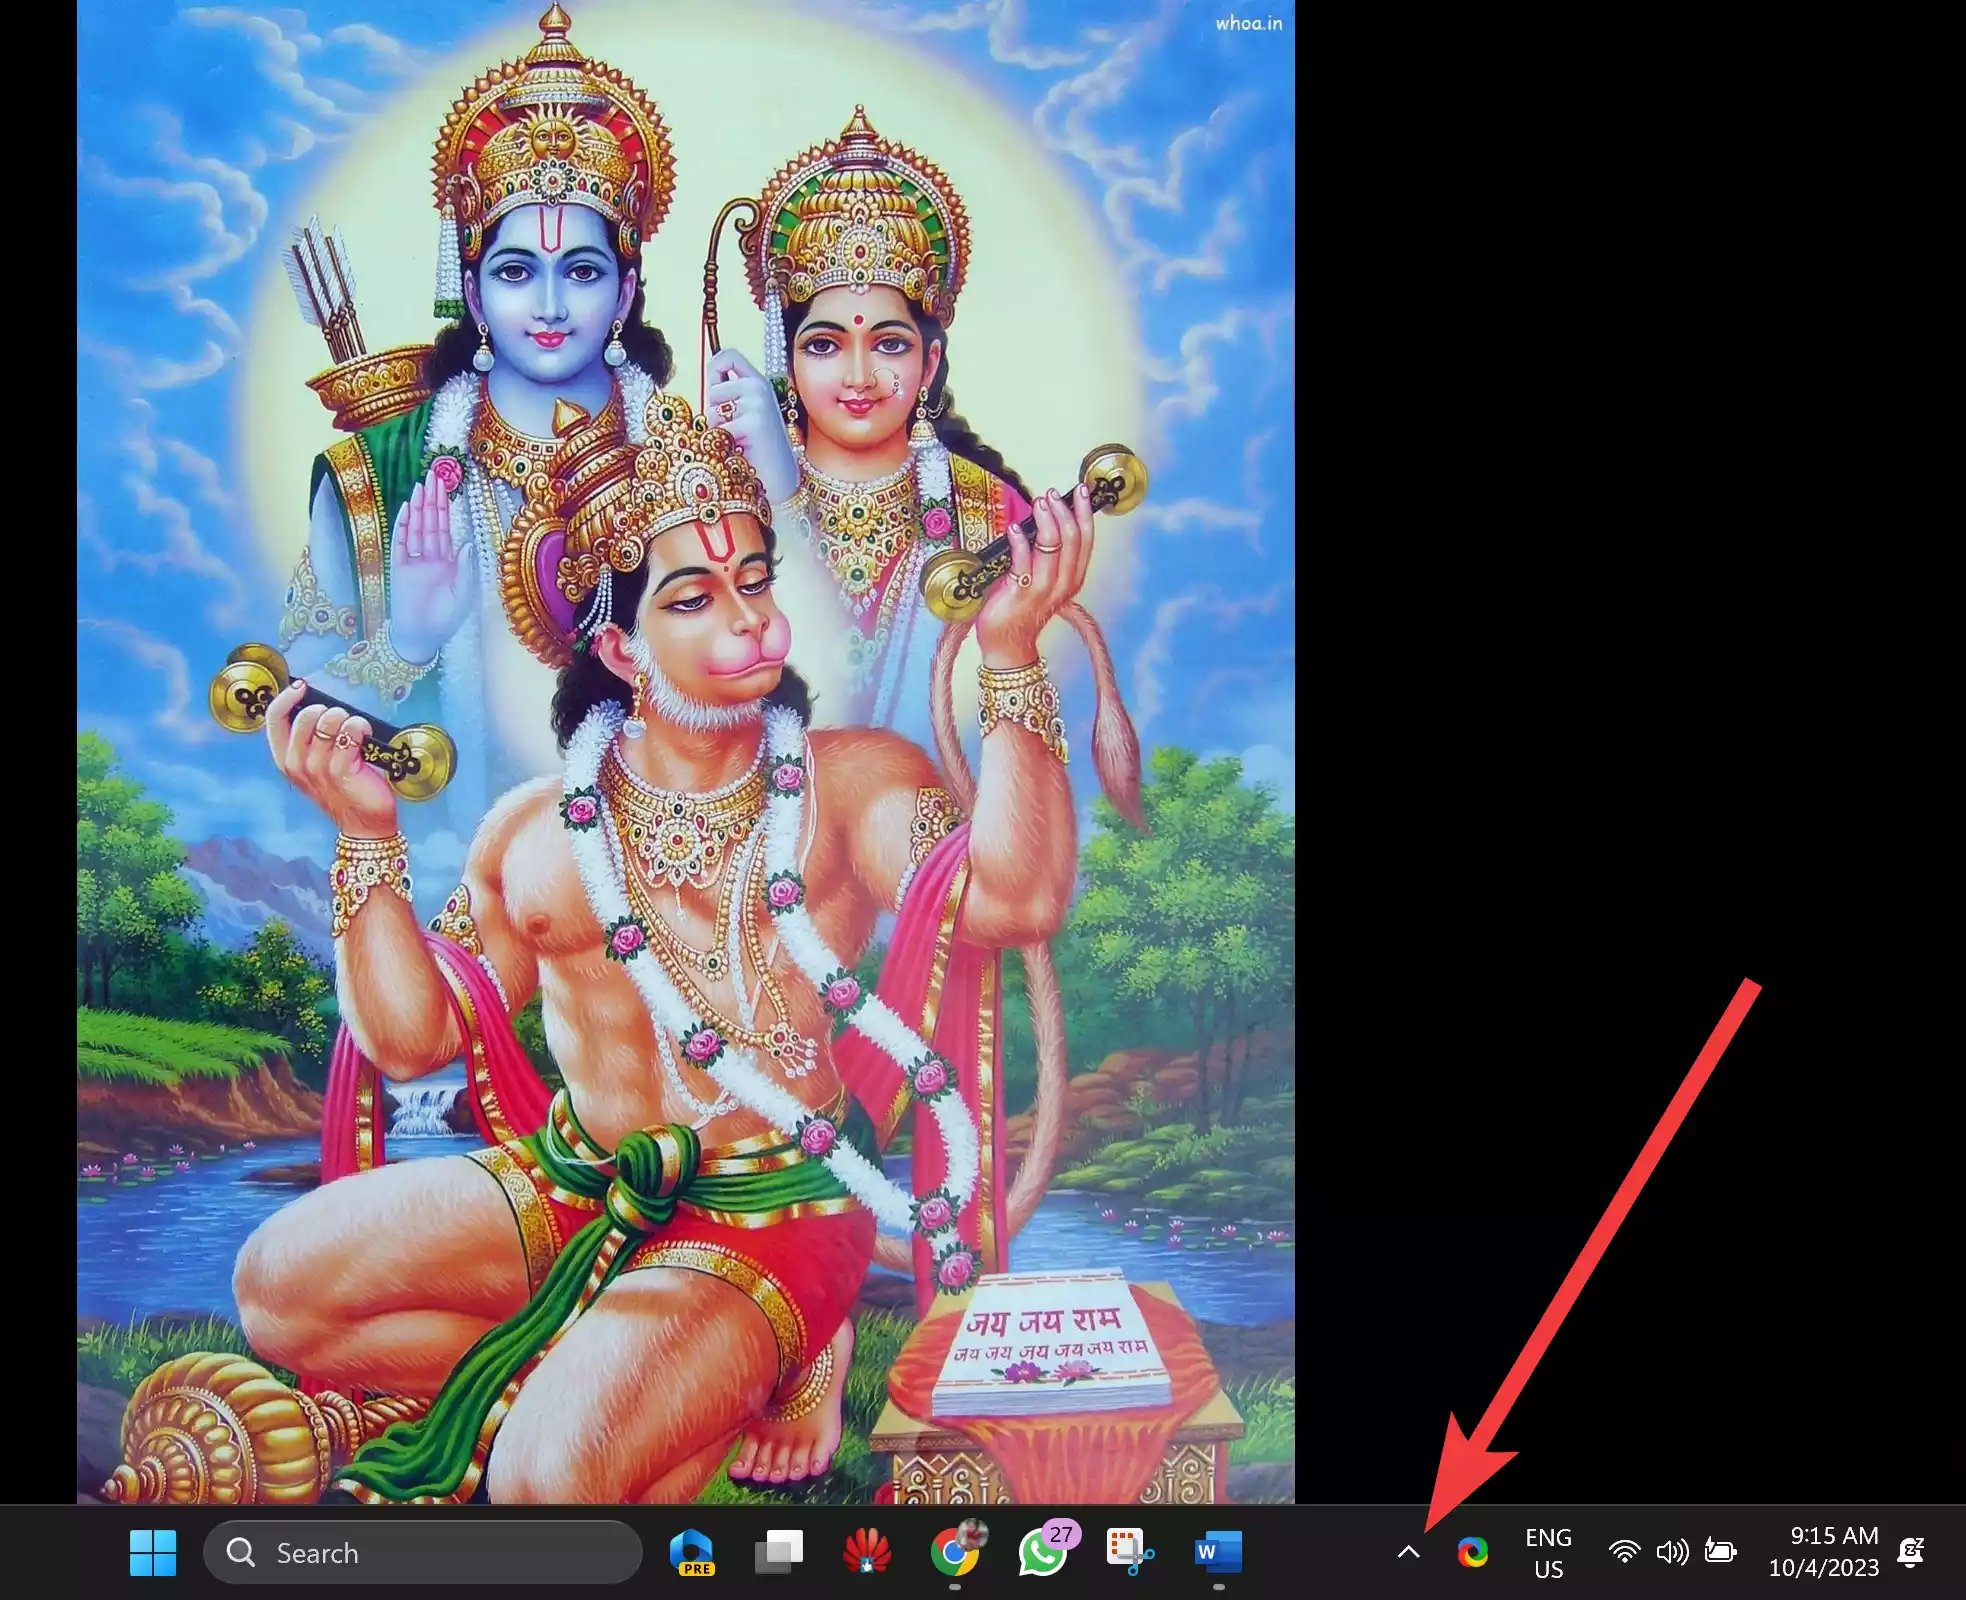
Step 1. In Windows 11, some icons are hidden by default in the system tray. To view these hidden icons, click on the up-arrow icon (^) located in the system tray. This will reveal a list of icons that are currently not displayed in the main system tray area.
Step 2. Scroll through the list of hidden icons and locate the one you want to keep visible in your system tray.
Step 3. Click and hold the icon you’ve chosen, then drag it from the hidden icons list and drop it onto the main system tray area when the pin icon appears.
![]()
Step 4. Once you’ve successfully dragged and dropped the icon, it will stay visible in your system tray at all times, and it won’t be hidden within the up-arrow icon menu.
![]()
Step 5. If you have other icons you want to keep in the system tray, repeat the same process for each of them.
This method offers a convenient way to curate the icons that are always at your fingertips in the system tray.
Method 2: Use Windows 11’s Settings App
Windows 11 provides a built-in option to select which icons you want to appear in your system tray. Here’s how to use this method:-
Step 1. Press the “Windows key + i” to open the Windows 11 Settings app.
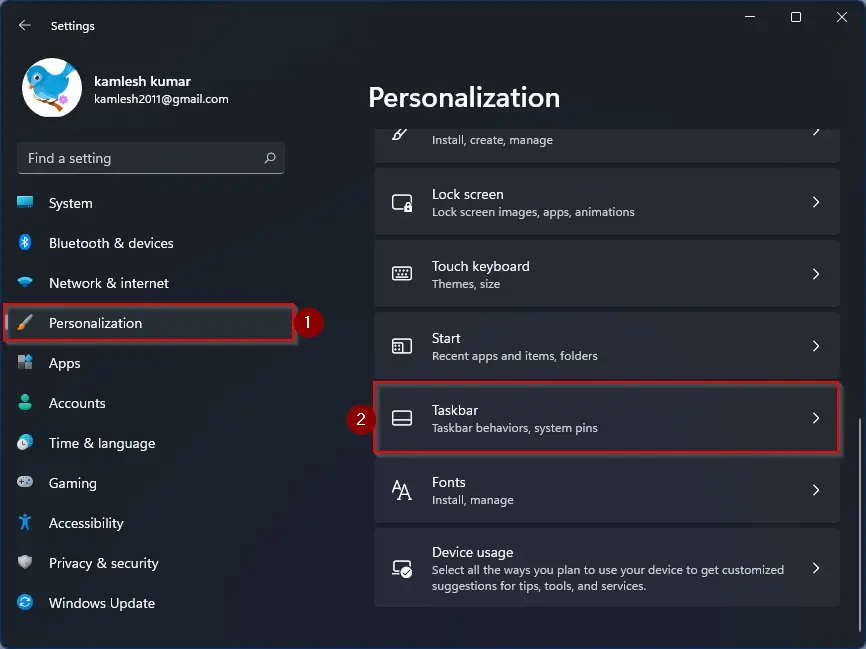
Step 2. In the Settings app, select “Personalization” from the list on the left, and then click on “Taskbar” under the “Personalization” section.
Step 3. Scroll down the Taskbar settings page until you find the “Other System Tray Icons” header. Click on it.
![]()
Step 4. To make an icon visible in your system tray, toggle the switch next to the corresponding icon to the “On” position.
![]()
Step 5. As you toggle the switch for each icon, it will instantly become visible in your system tray (provided the icon is available).
Step 6. Once you’ve enabled all the icons you want in your system tray, close the Settings app.
Using this method, you can customize your system tray to display the icons that are most important to you, making them easily accessible with just a glance at your taskbar.
By following either of these methods, you can take control of your Windows 11 system tray and ensure that it always displays the icons you need for a more efficient and personalized computing experience. Whether you prefer to manually drag and drop icons or use the Settings app, you’ll have quick access to your favorite apps and system functions right from your system tray. Enjoy using your Windows 11 PC with a customized and efficient taskbar experience!
