If you prefer to use a 24-hour clock format instead of the standard 12-hour clock format on your Windows 11 computer, you may be wondering how to make the switch. The good news is that it’s a straightforward process, and there are multiple ways to do it. In this article, we’ll go over each method step by step.
How to Switch from 12-Hour to 24-Hour Clock Format in Windows 11?
Method 1: Using Windows 11 Settings
The first method to switch from 12-hour to 24-hour clock format in Windows 11 is by using the Settings app. Here’s how:-
Step 1. Open the Windows 11 Settings app.
You can do this by clicking on the Start button, then clicking on the gear icon, or by pressing the Windows key + I on your keyboard.
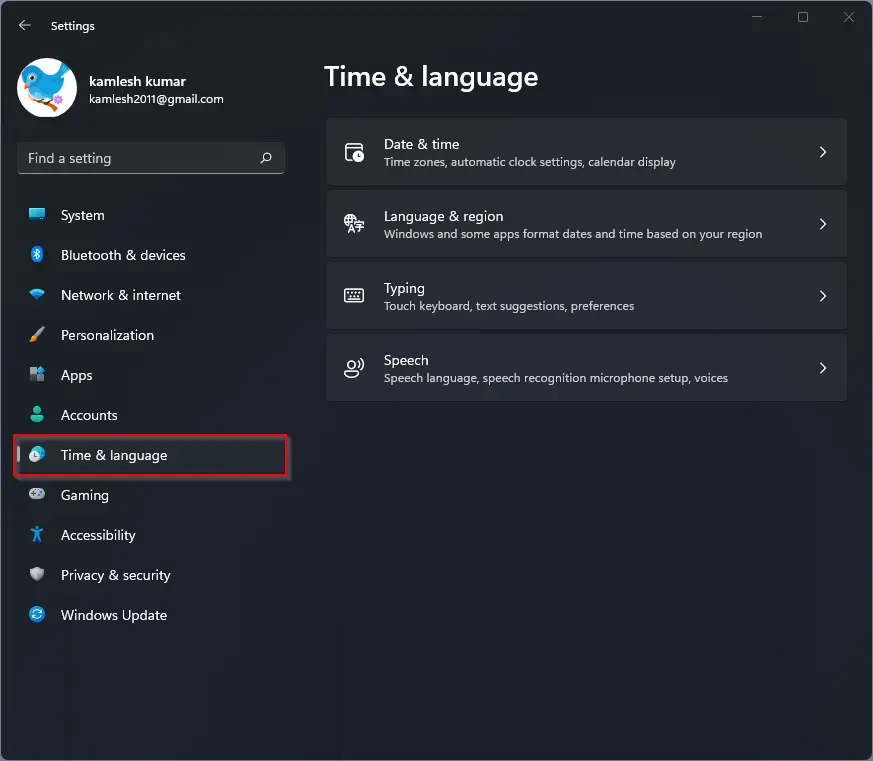
Step 2. In the Settings app, select Time & Language in the left sidebar.
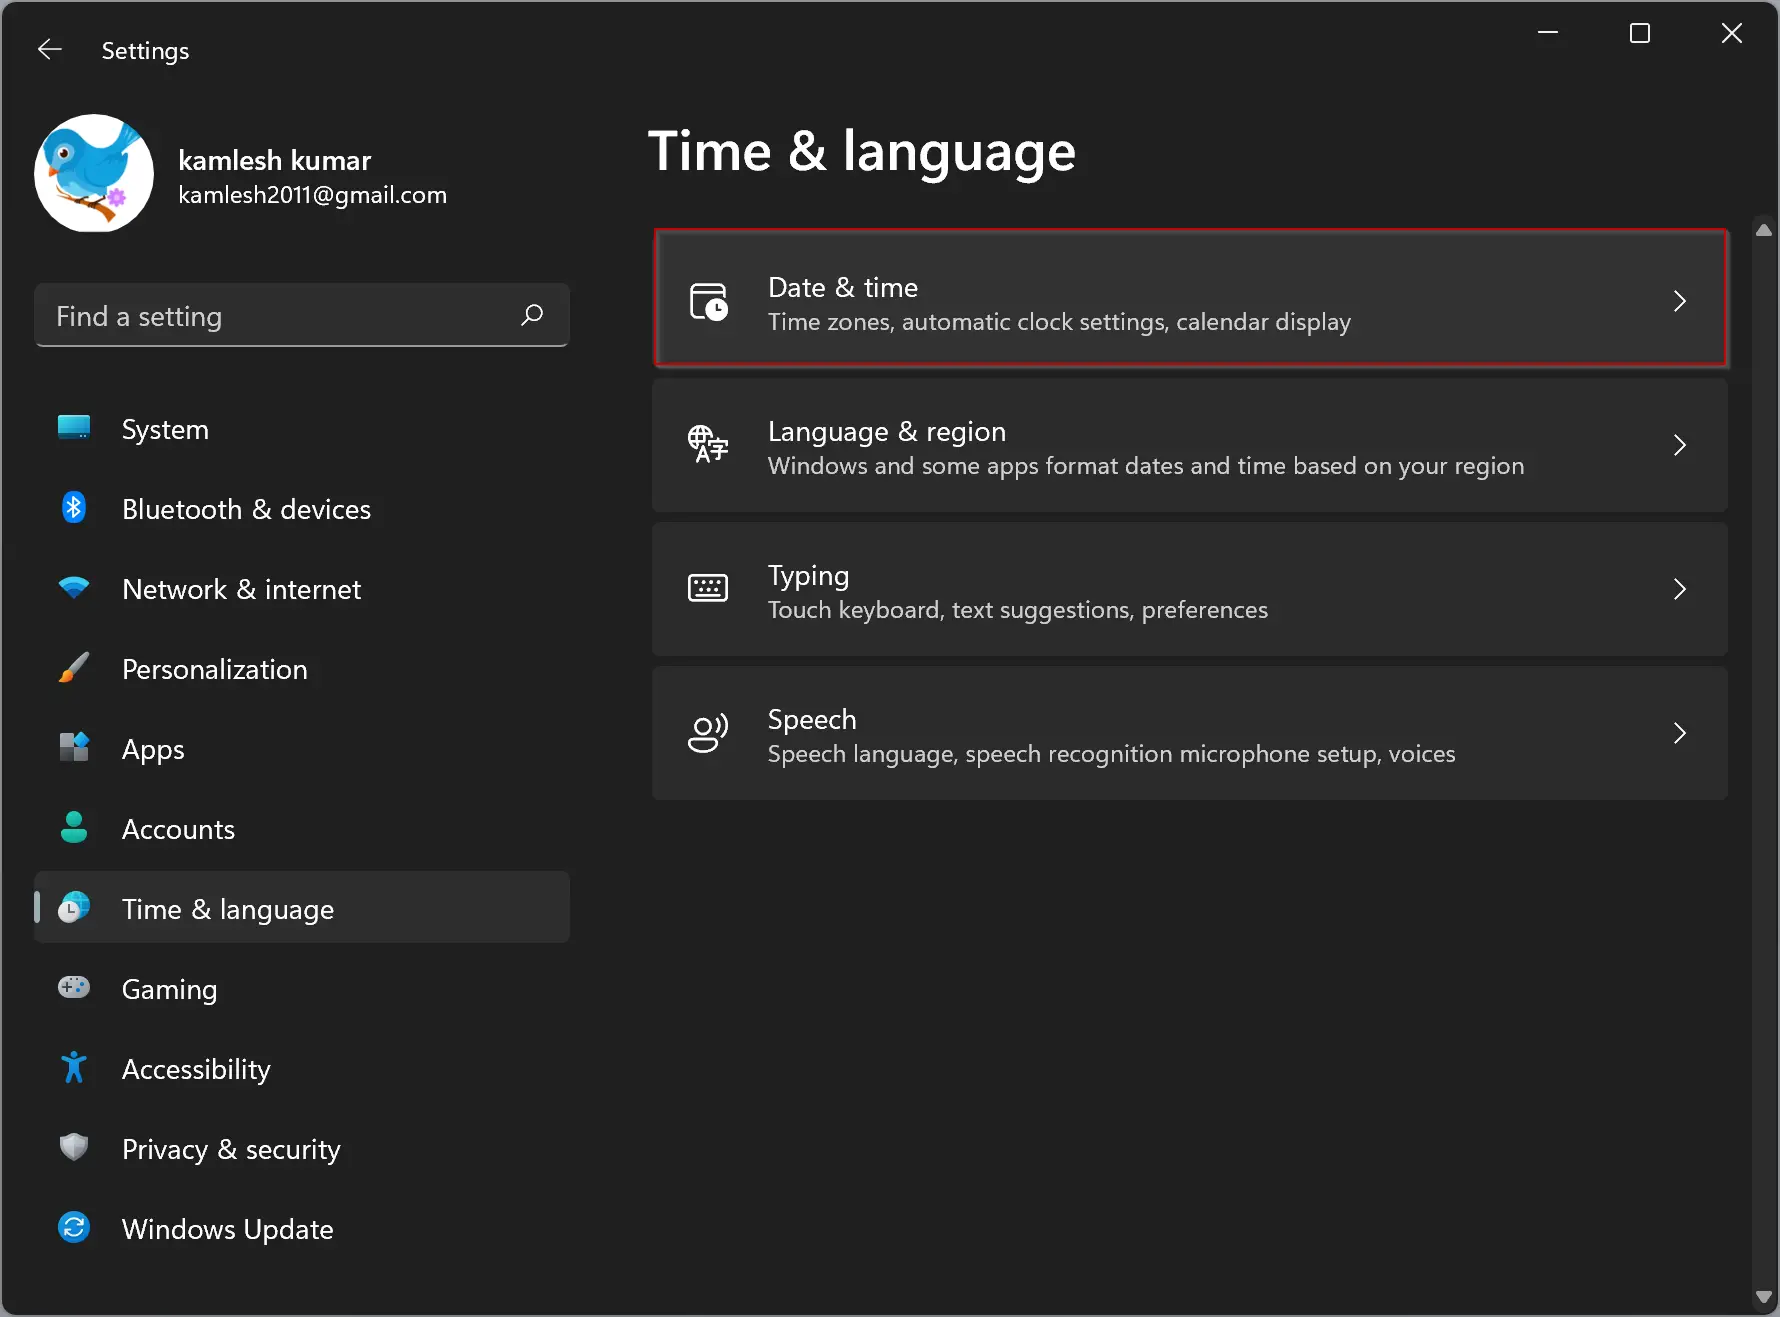
Step 3. On the Time & Language screen, select the Date & Time tab on the right pane.
Step 4. Under the Date & Time settings page, scroll down until you see the “Related links” section, then click on “Language & region.”

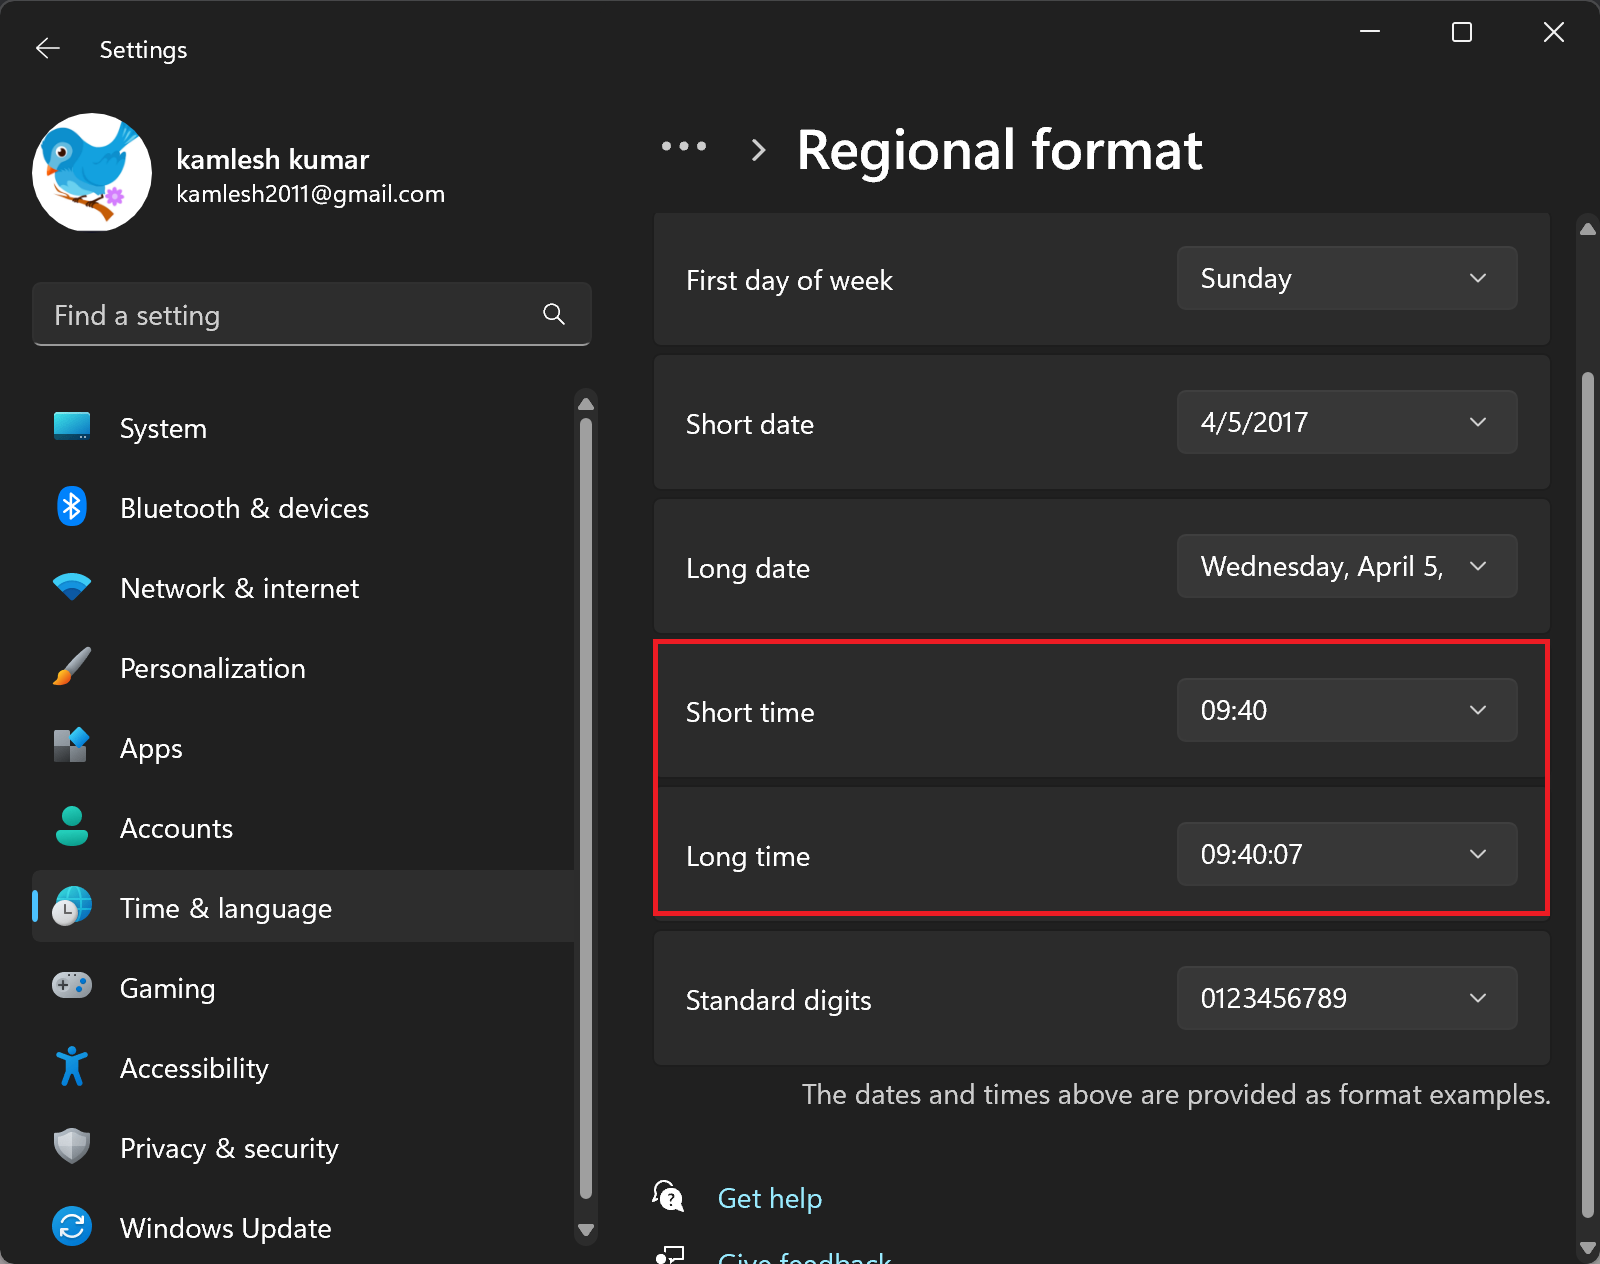
Step 5. On the following page, scroll down and click on “Regional format” to expand it.

Step 6. Next, click on the “Change formats” button.

Step 7. Now, you can set the Short time and Long time as per your choice. For example, if you select 09.40, it will be 24-hour, and if you choose 9.40 AM, it will be a 12-hour format.
And that’s it! You’ve now switched your Windows 11 clock from 12-hour to 24-hour format.
Method 2: Using Control Panel
The second method to switch from 12-hour to 24-hour clock format in Windows 11 is by using the Control Panel. Here’s how:-
Step 1. Open the Control Panel.
You can do this by typing “control panel” in the Start menu search bar and selecting the Control Panel app.
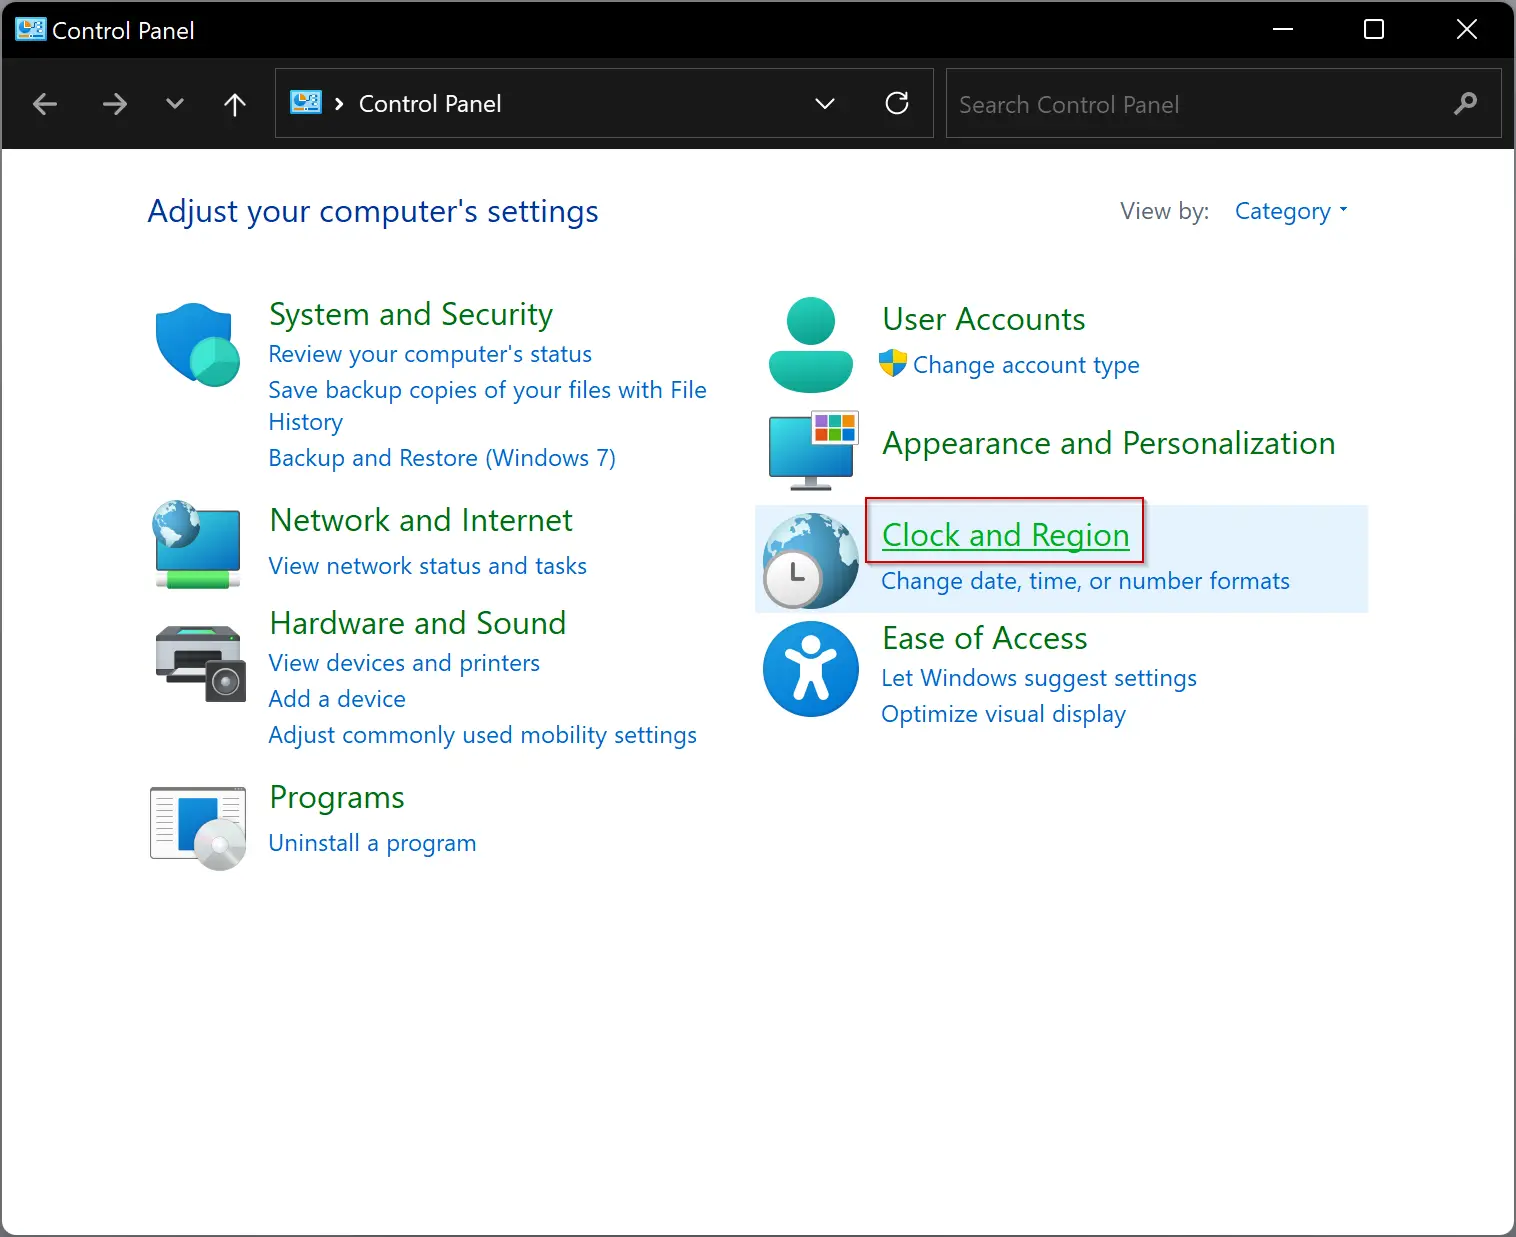
Step 2. In the Control Panel, click on the “Clock and Region” category.
Step 3. In the following window, click on the link “Change date, time, or number formats.”

Step 4. When you’re done, the “Region” window will open. Here, switch to the “Formats” tab.

Step 5. Use the drop-down menus “Short time” and “Long time” to switch between 12-Hour and 24-Hour formats.
Step 6. Click Apply.
Step 7. Click OK.
Note: The changes are immediate so there is no need to restart your computer.
And that’s it! You’ve now switched your Windows 11 clock from 12-hour to 24-hour format using the Control Panel.
Conclusion
In conclusion, switching from the standard 12-hour clock format to the 24-hour clock format on a Windows 11 computer is a simple process that can be done in just a few steps. The two methods discussed in this article – using the Windows 11 Settings app and using the Control Panel – provide users with options to choose the method that suits them best. Regardless of which method is used, the changes are immediate, so there is no need to restart the computer. With these easy steps, users can easily switch to the 24-hour clock format on their Windows 11 computer and enjoy the convenience it provides.
