By default, file extensions remain hidden on Windows computers. By viewing the file extension, you can know about the file type. Different file types have different extensions. For example, audio files have .mp3, .wav, .wma, and more extensions. The file extensions help the operating system identify the corresponding program to open that particular file.
It is essential to know about file extension to identify file types if you try to open that. If you are a regular Windows user, then it should not be a problem identifying the file type.

Since file names allow you to use multiple full stops, the actual name of a malware file might be rock.docx.exe. But since, by default, Windows does not show file extensions, you can see only rock.docx. You will think it is a Microsoft Word document and try to open them, resulting in infecting your computer. On the other hand, if you set your PC to show file extensions, you can see its full name, rock.docx.exe. This way, you can identify that it is actually an executable file and, probability, a malware file. This is how you can find out if a file is malicious or suspicious and protect your PC.
There are several ways to show or hide File Extensions in Windows 11/10. We will review all of them one by one.
How to Hide or Unhide File Extensions in Windows 11 or 10 through File Explorer Options?
To hide or unhide File Extensions in Windows 11 or 10 through File Explorer Options, follow these simple steps:-
Step 1. First, open Control Panel.
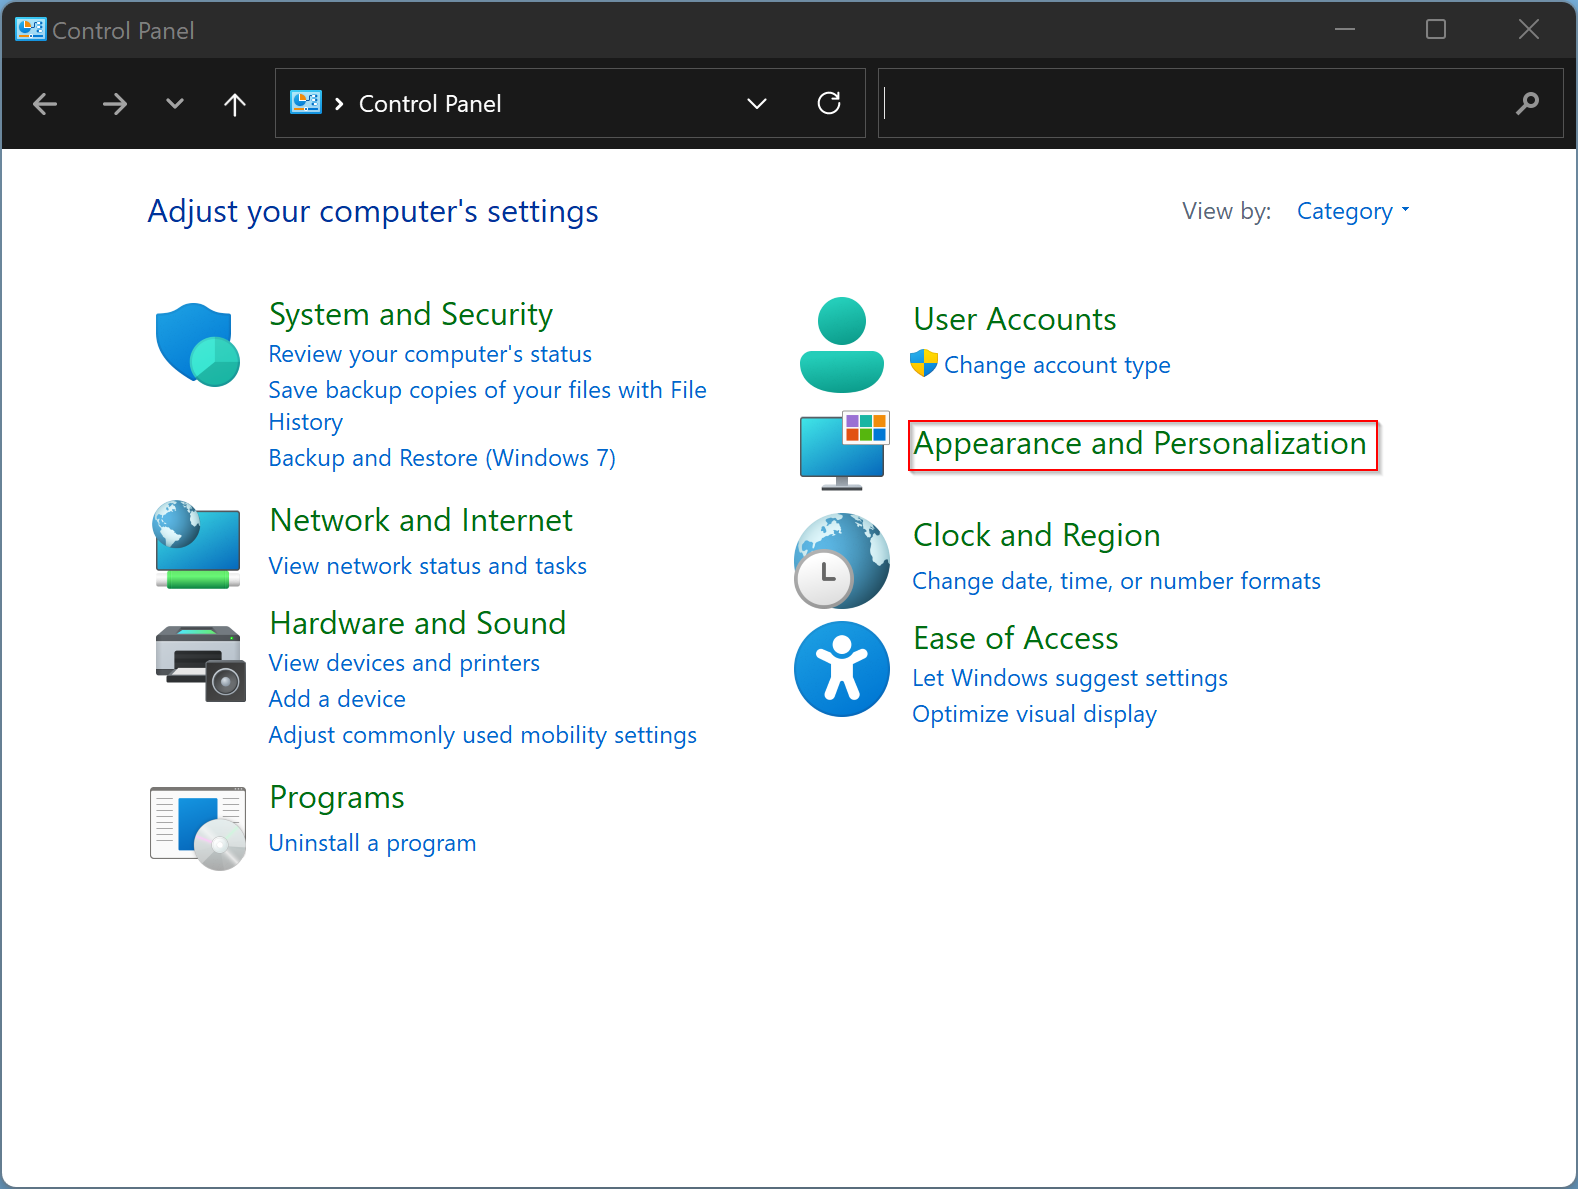
Step 2. Then click Appearance and Personalization.
Step 3. After that, click File Explorer Options.
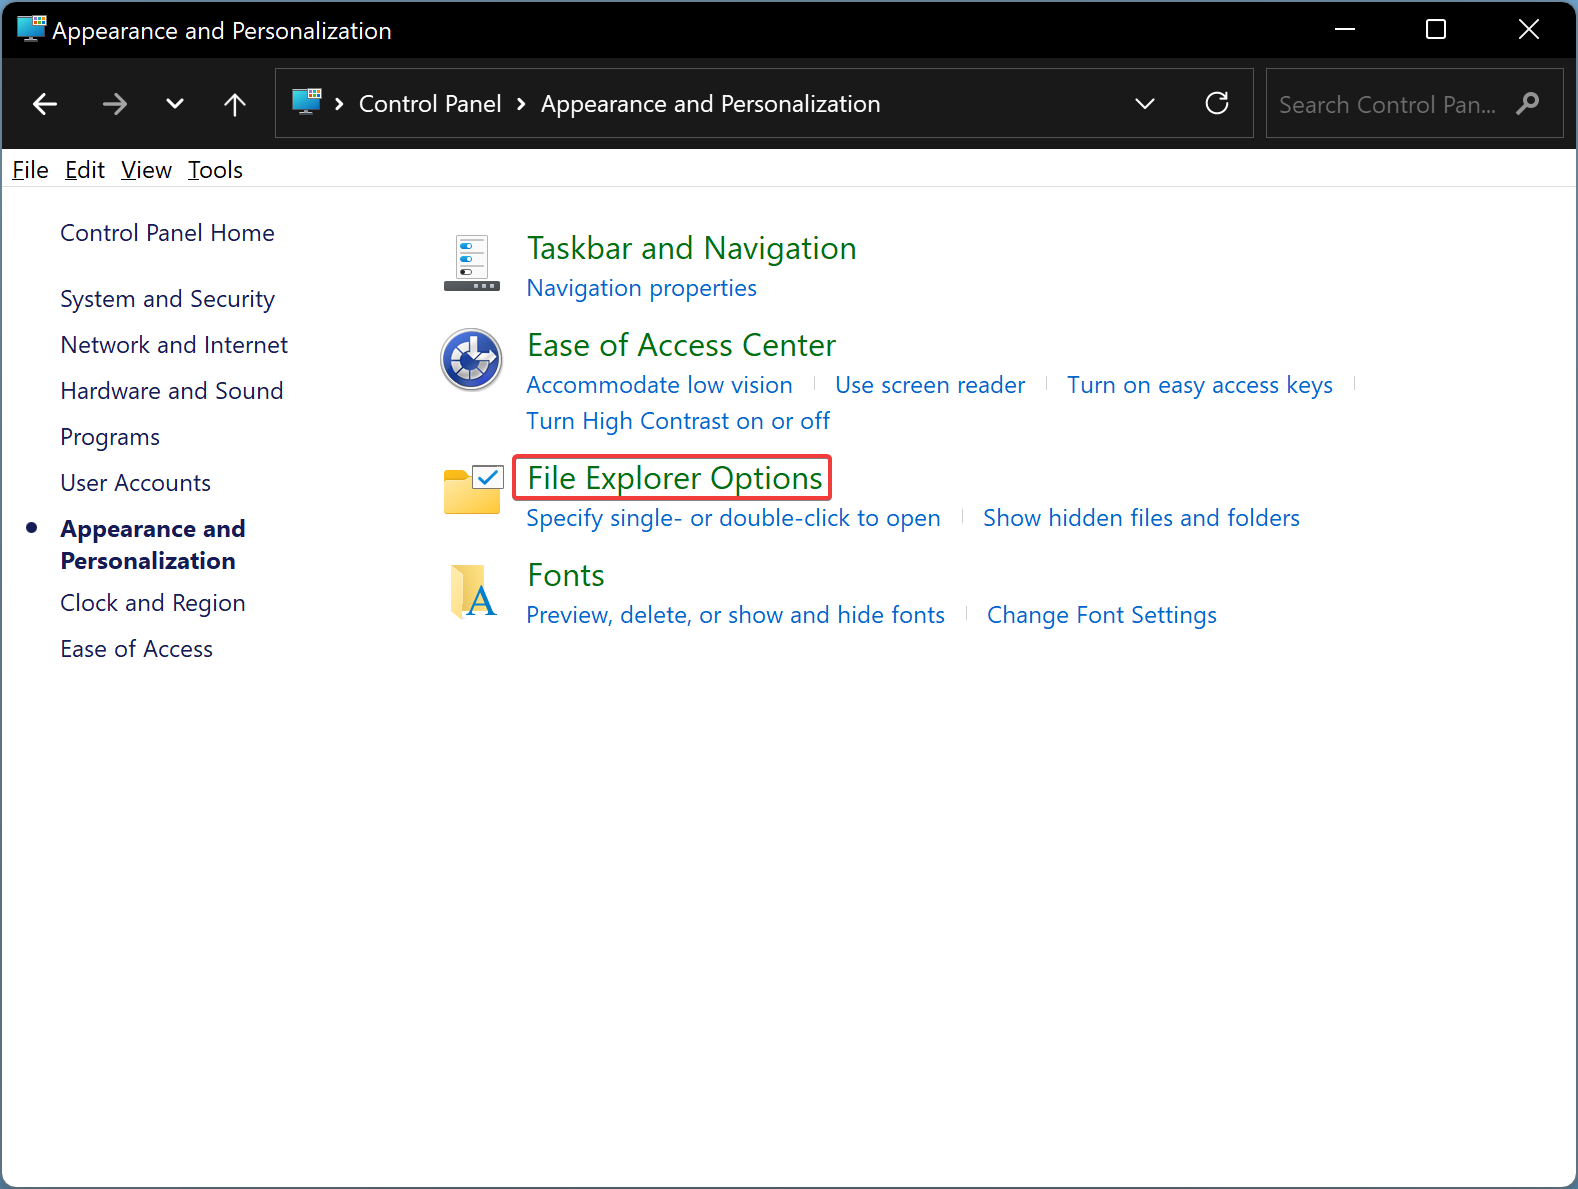
Step 4. Now, the ‘File Explorer options‘ window will open. Here, navigate to the View tab.
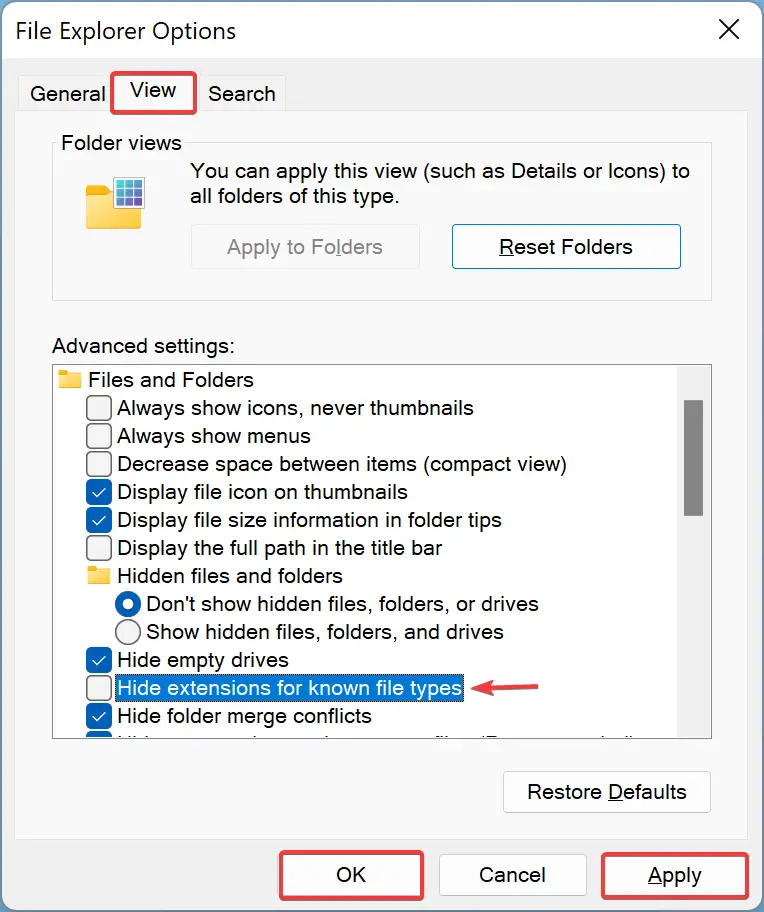
Step 5. Then uncheck or check the “Hide extensions for known file types” option to show or hide file extensions.
Step 6. Next, click Apply button.
Step 7. Finally, click the OK button to close the “File Explorer Options” window.
After doing the above steps, open File Explorer to view the file extensions.
How to Show or Hide File Extensions in Windows 11 via File Explorer?
To show or hide File Extension in Windows 11 through File Explorer, do the following:-
Step 1. First, open File Explorer. To do that, hit Windows + E keys on the keyboard.
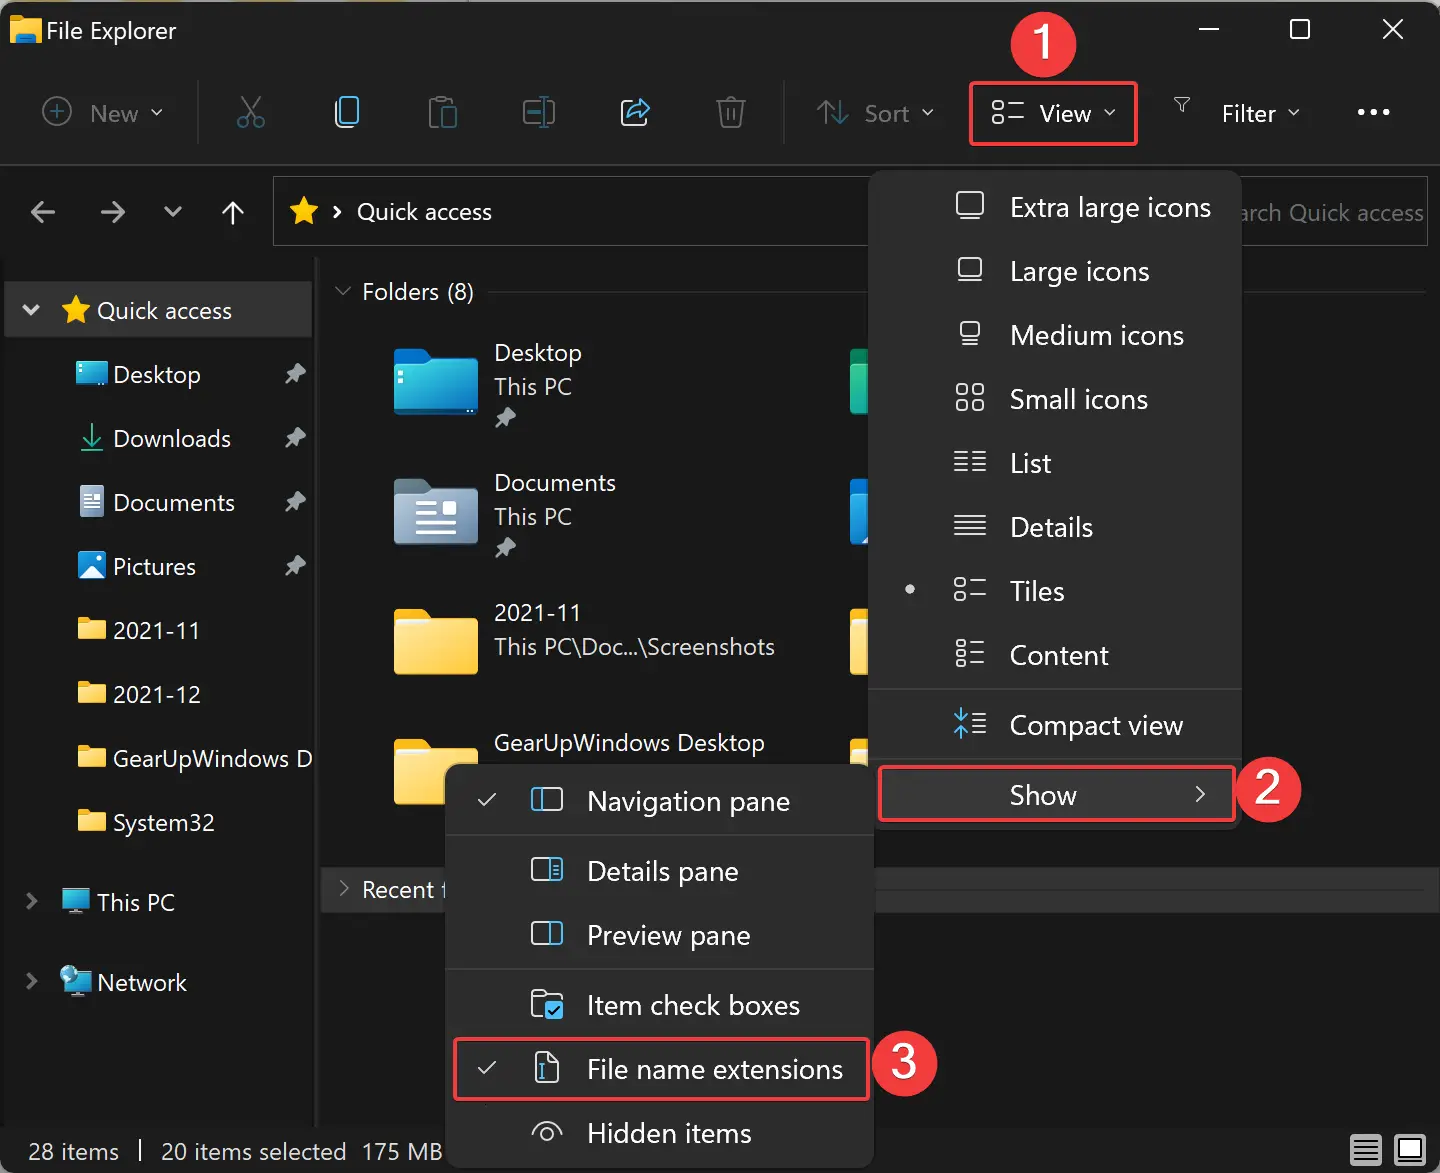
Step 2. When File Explorer opens, click View on the menu.
Step 3. Then select the Show > File name extensions option.
How to Show or Hide File Extensions in Windows 11/10 via Registry Editor?
To show or hide the File Extensions using Registry Editor, do the following:-
Step 1. First, open the Registry Editor.

Step 2. Then, in the left sidebar of Registry Editor, navigate the following key:-
Computer\HKEY_CURRENT_USER\Software\Microsoft\Windows\CurrentVersion\Explorer\Advanced

Step 3. On the right sidebar of the “Advanced” folder, look for the DWORD named “HideFileExt” and double-click on it to open it.
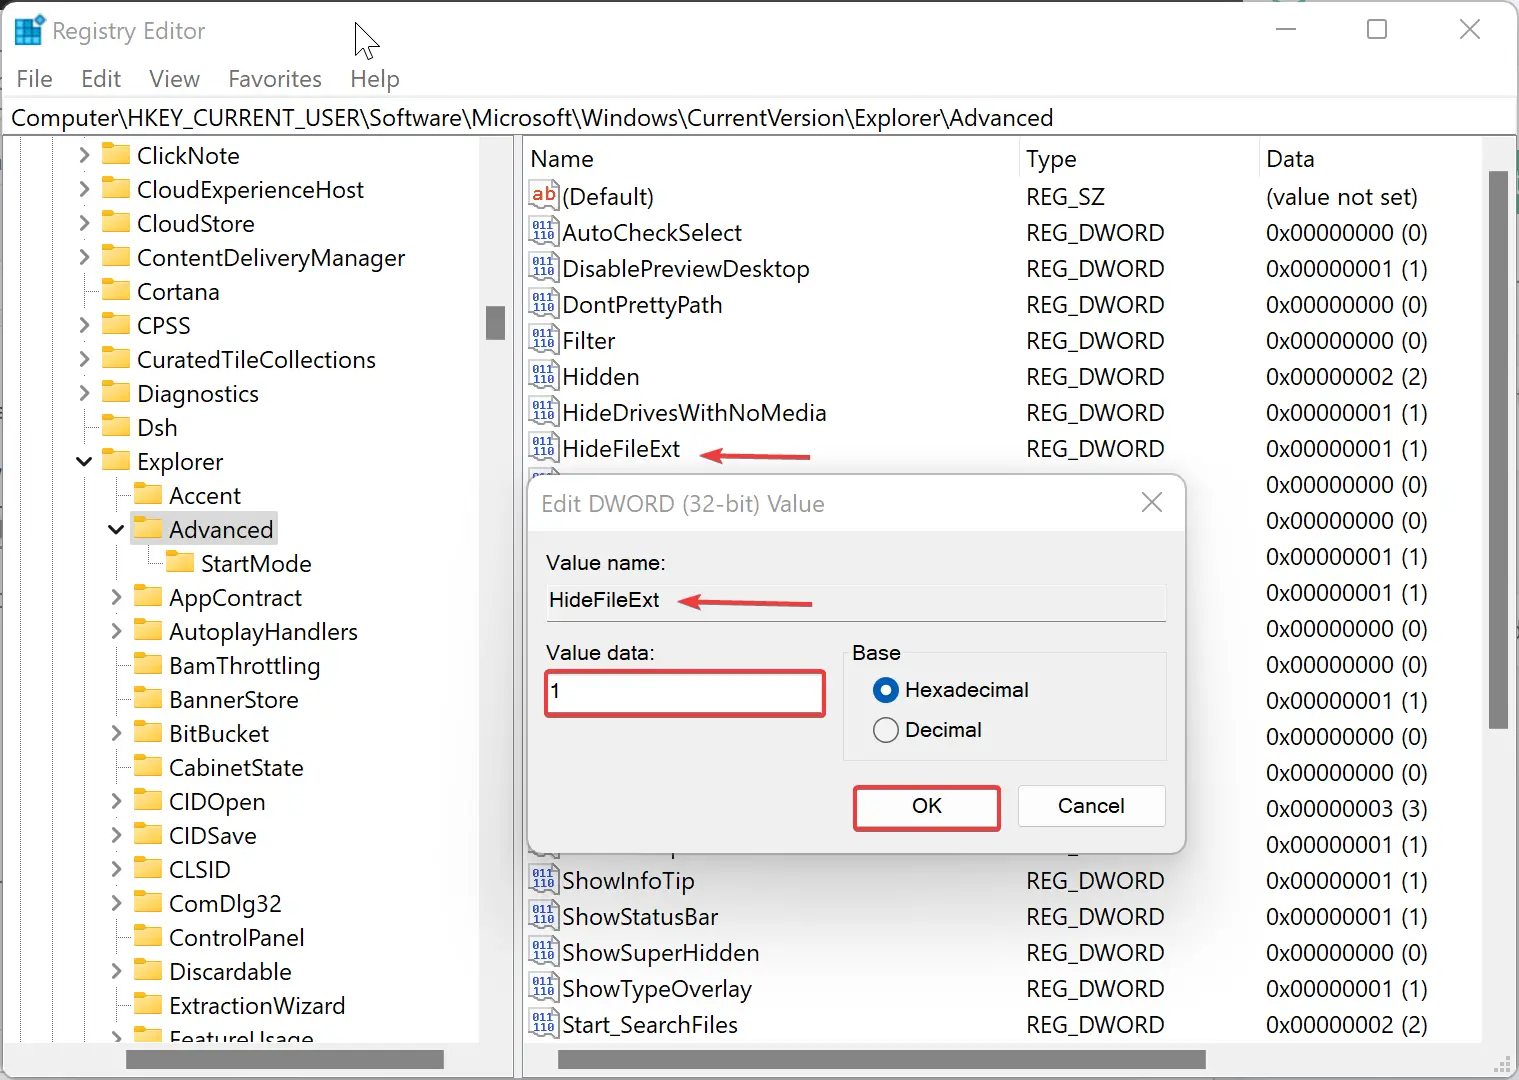
Step 4. Then, in the “Value data” field, fill the following value:-
- 1 – Shows up the hidden file extensions.
- 0 – Hides the file extensions.
Step 5. After that, click the OK button.
Step 6. Finally, reboot your computer for the changes to take effect.
Conclusion
In conclusion, file extensions play a vital role in identifying file types on Windows computers. By default, Windows hides file extensions, making it challenging to identify the file’s actual type, which could lead to the opening of malicious or suspicious files. Therefore, it is crucial to know how to show or hide file extensions on your Windows computer. In this article, we have explained three different methods to show or hide file extensions in Windows 11 or 10. Following these steps will help you protect your computer from malware and identify the file type accurately.