How do I uninstall and install WordPad in Windows 11? WordPad is a lesser-known application of the Windows 11 operating system. Might a few percent of Windows PC users will be aware of the WordPad app? Similar to Notepad, WordPad is also an application that comes inbuilt with Windows 11 operating system. Earlier on Windows 10, Microsoft provided an option to uninstall the WordPad application like any other software. Now, on Windows 11, you can also get rid of this useless software if you never use it.
For basic purposes, we often use Notepad, while for advanced uses, most Windows users prefer to use Notepad++ free application. At the same time, Notepad++ is enough for most Windows PC users, but if you want a full-fledged word processor and spreadsheet, you can use the MS Office application. Hence, WordPad gets unnoticed by most Windows users.
Compared to Notepad, WordPad offers some advanced features like text formatting, change of font name, change the font color, alignment of text, and inserting pictures in documents. However, WordPad doesn’t support more advanced functions like grammar checking, inserting the table, changing the background color, etc.
In both cases, if you don’t like to use WordPad or ignore it, there is a provision on Windows 11 to uninstall this application. If in future you would like to install it on your PC, then also it is possible. That means if WordPad is not required, you can remove it from your PC, and when it is required, download and install it.
How to Uninstall WordPad App from Windows 11?
To uninstall the WordPad app from your PC, do the following recommended steps:-
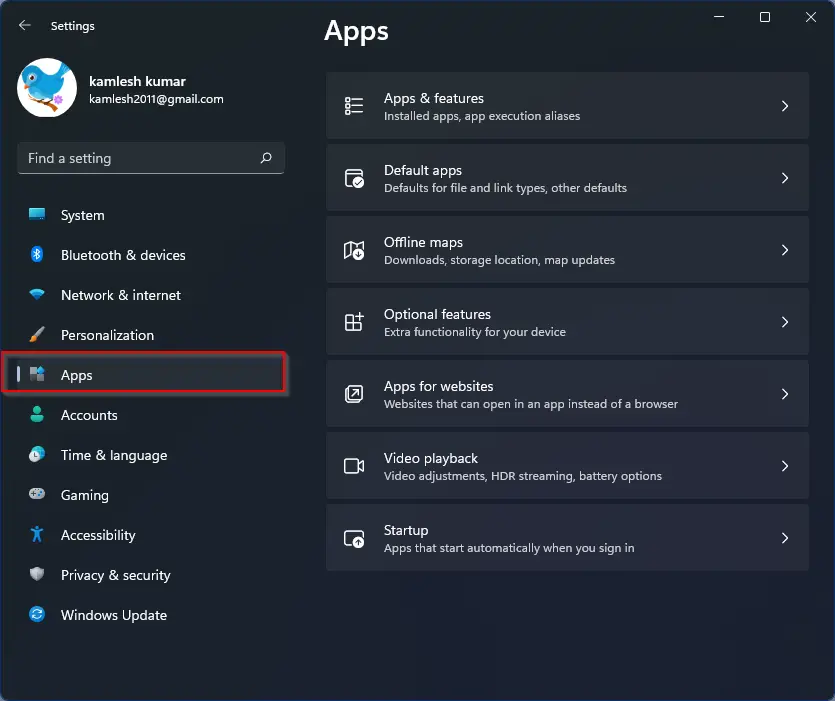
Step 1. Open the Settings app by pressing Windows + I keys altogether from the keyboard and then click on the Apps category from the left side pane.
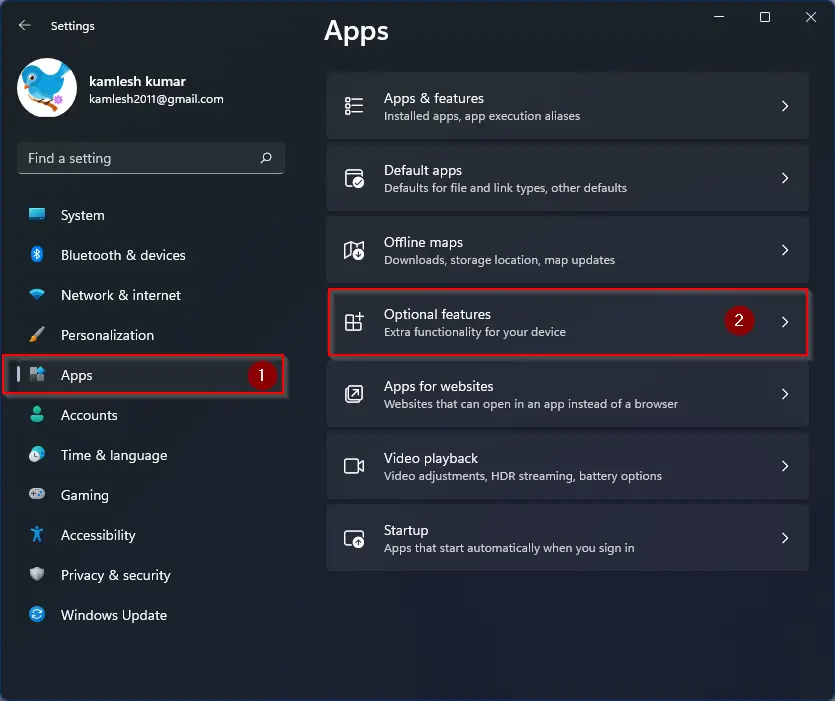
Step 2. Click on the Optional features tab on the right side of the Apps category on Settings.
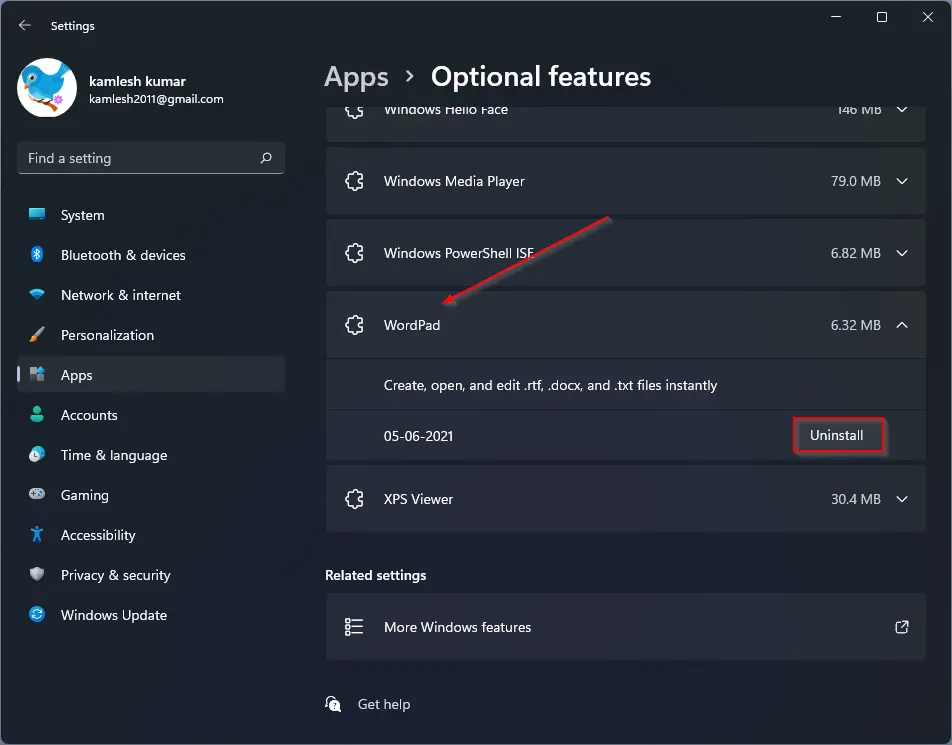
Step 3. On the Optional features settings page, please scroll down on the right-side pane to find the entry of WordPad and then click on it to expand.
Step 4. Under the WordPad, click on the Uninstall button.
Once you complete the above steps, the WordPad application is removed from your PC.
How to Install WordPad App from Windows 11?
Due to some reason, if you had uninstalled the WordPad and now you want to install it again on your PC, do the following steps:-
Step 1. Open the Settings app by pressing Windows + I keys altogether from the keyboard and then click on the Apps category from the left side pane.
Step 2. Click on the Optional features tab on the right side of the Apps category on Settings.
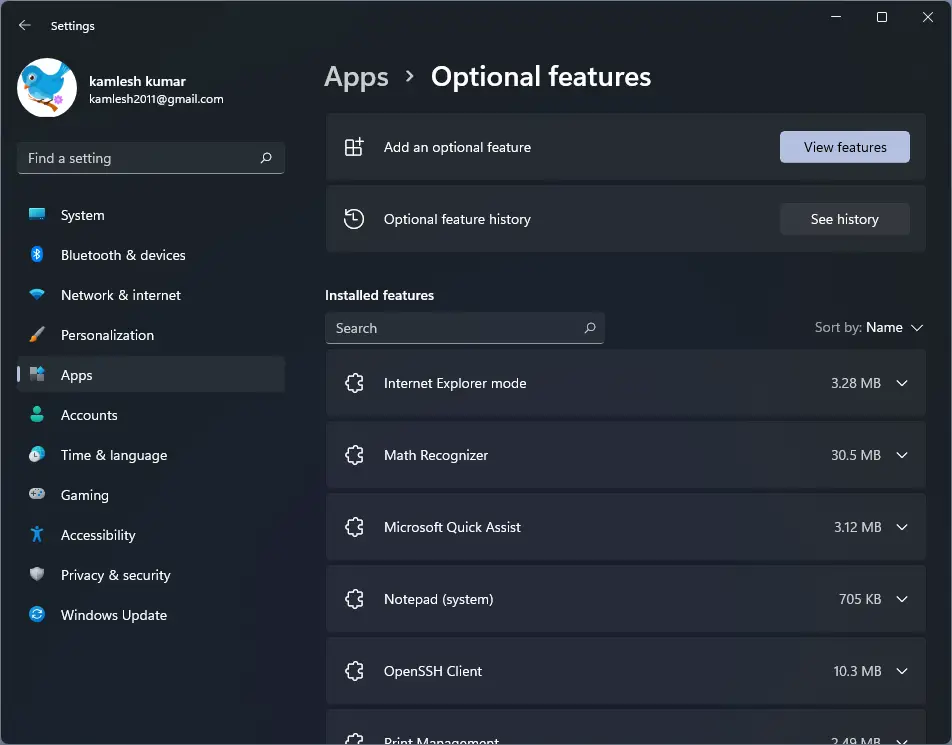
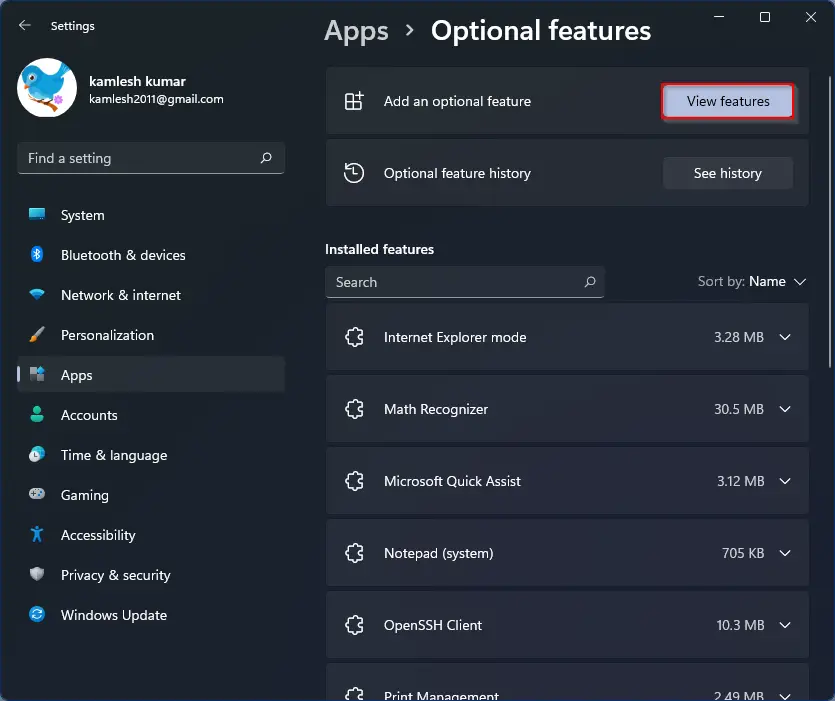
Step 3. Now, click on the View features button next to the Add an optional feature option.
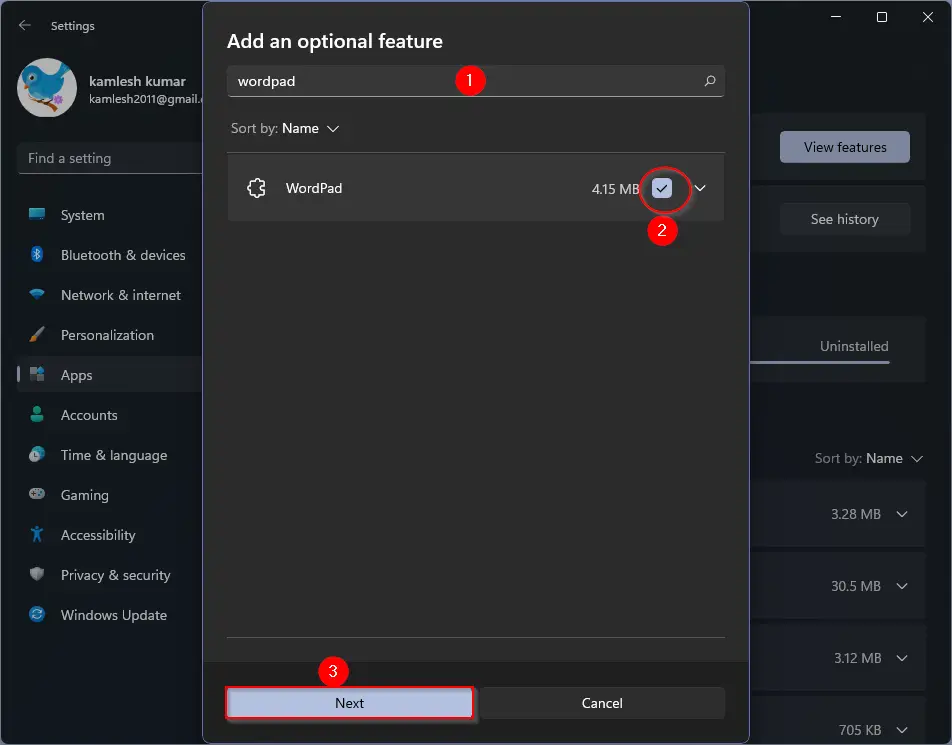
Step 4. On the pop-up window that appears, type WordPad in the search box. In the available search results, check the checkbox of “WordPad” and then click on the Next button.
Step 5. Finally, click on the Install button.
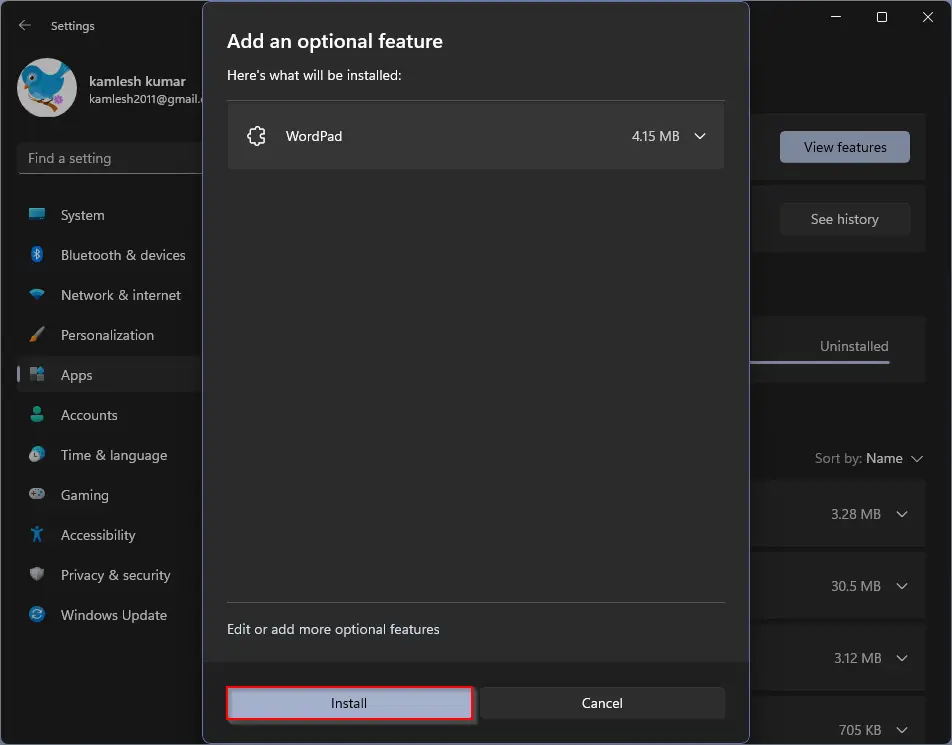
Now, downloading WordPad will start, and Windows will automatically install it for you.
Conclusion
In conclusion, WordPad is a basic word-processing application that comes pre-installed with Windows 11. It provides some advanced features like text formatting, font customization, and picture insertion, but it lacks more advanced functions like grammar checking and table insertion. If you don’t use WordPad or prefer to use other applications, Windows 11 provides an option to uninstall it easily. On the other hand, if you need it in the future, you can download and install it using the Optional features settings in Windows 11. These steps are easy to follow, and anyone can install or uninstall WordPad on their PC in just a few clicks.