Microsoft Word is a powerful word processing software that offers various tools to make your documents visually appealing and well-organized. Styles and themes are two essential features that allow you to format your documents consistently and give them a professional look. In this article, we will delve into how to use styles and themes effectively in Microsoft Word.
Understanding Styles
Styles in Microsoft Word are a collection of formatting settings that you can apply to text or paragraphs with a single click. They ensure consistency in font, size, color, and other formatting elements throughout your document. Here’s how to use styles.
How to Apply a Style?
Step 1. Open your Word document.
Step 2. Select the text you want to format with a style.
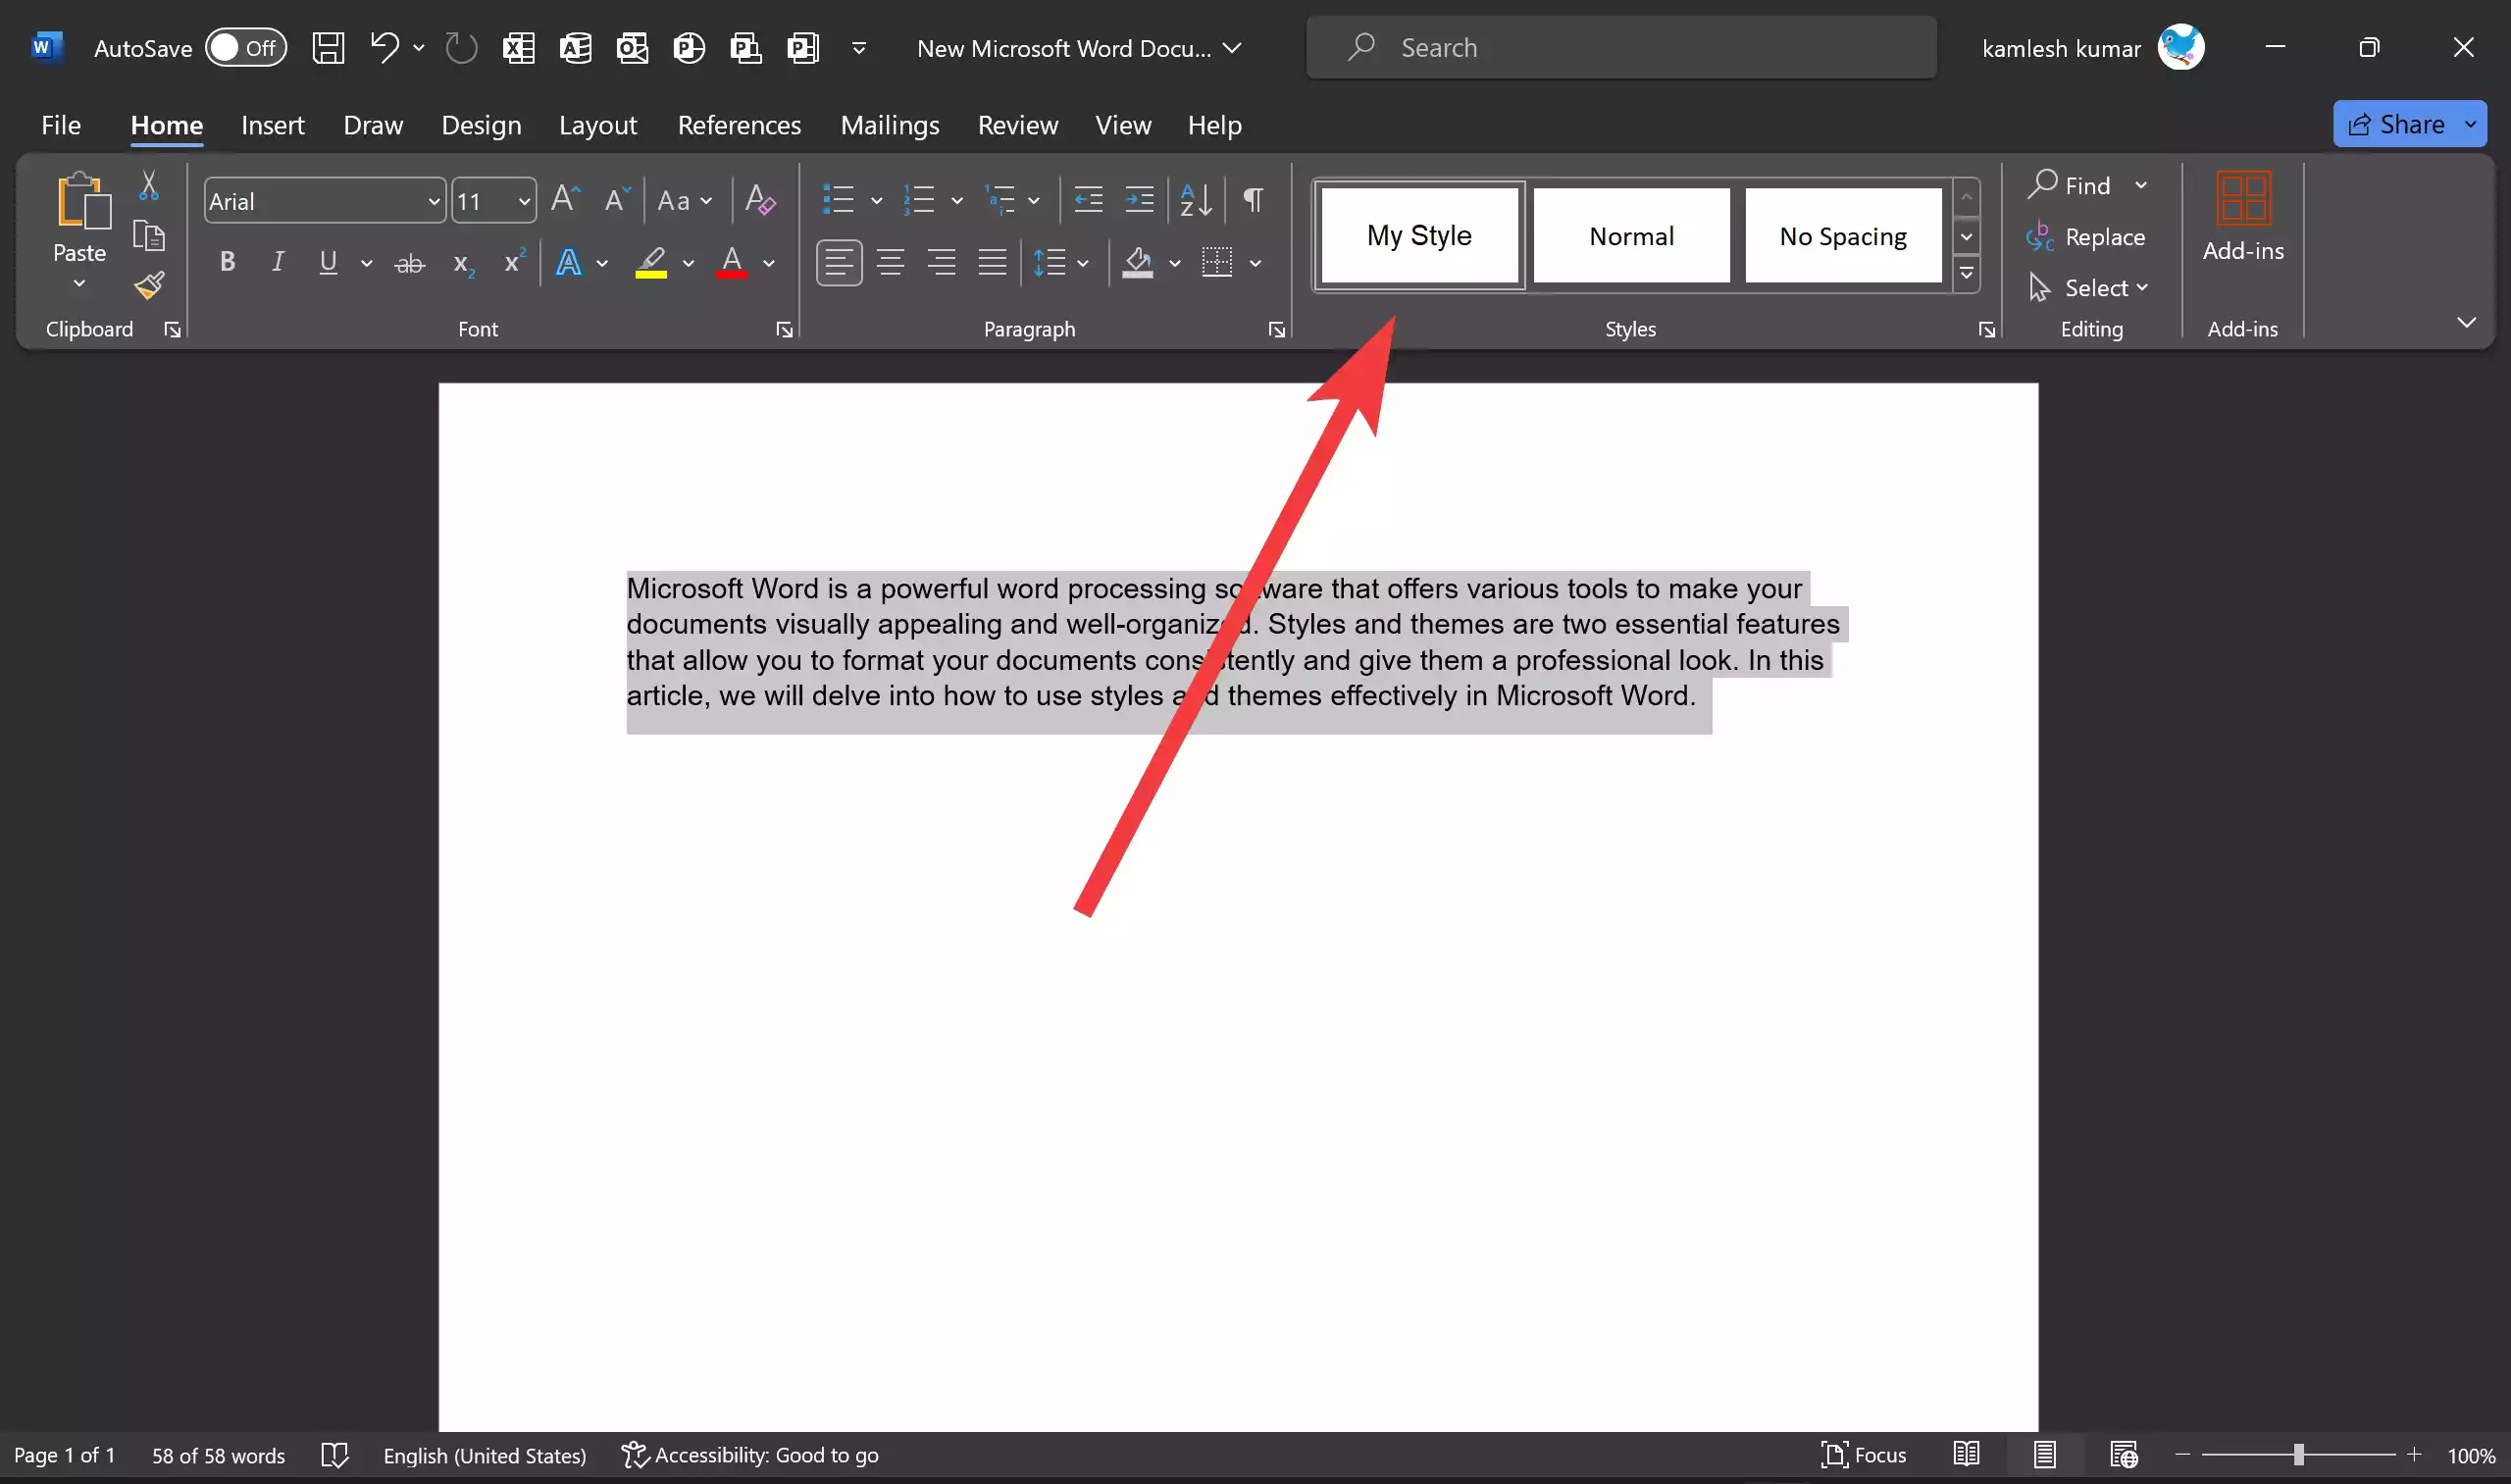
Step 3. Go to the “Home” tab in the ribbon.

Step 4. In the “Styles” group, you’ll see a list of predefined styles. Click the one you want to apply to the selected text.
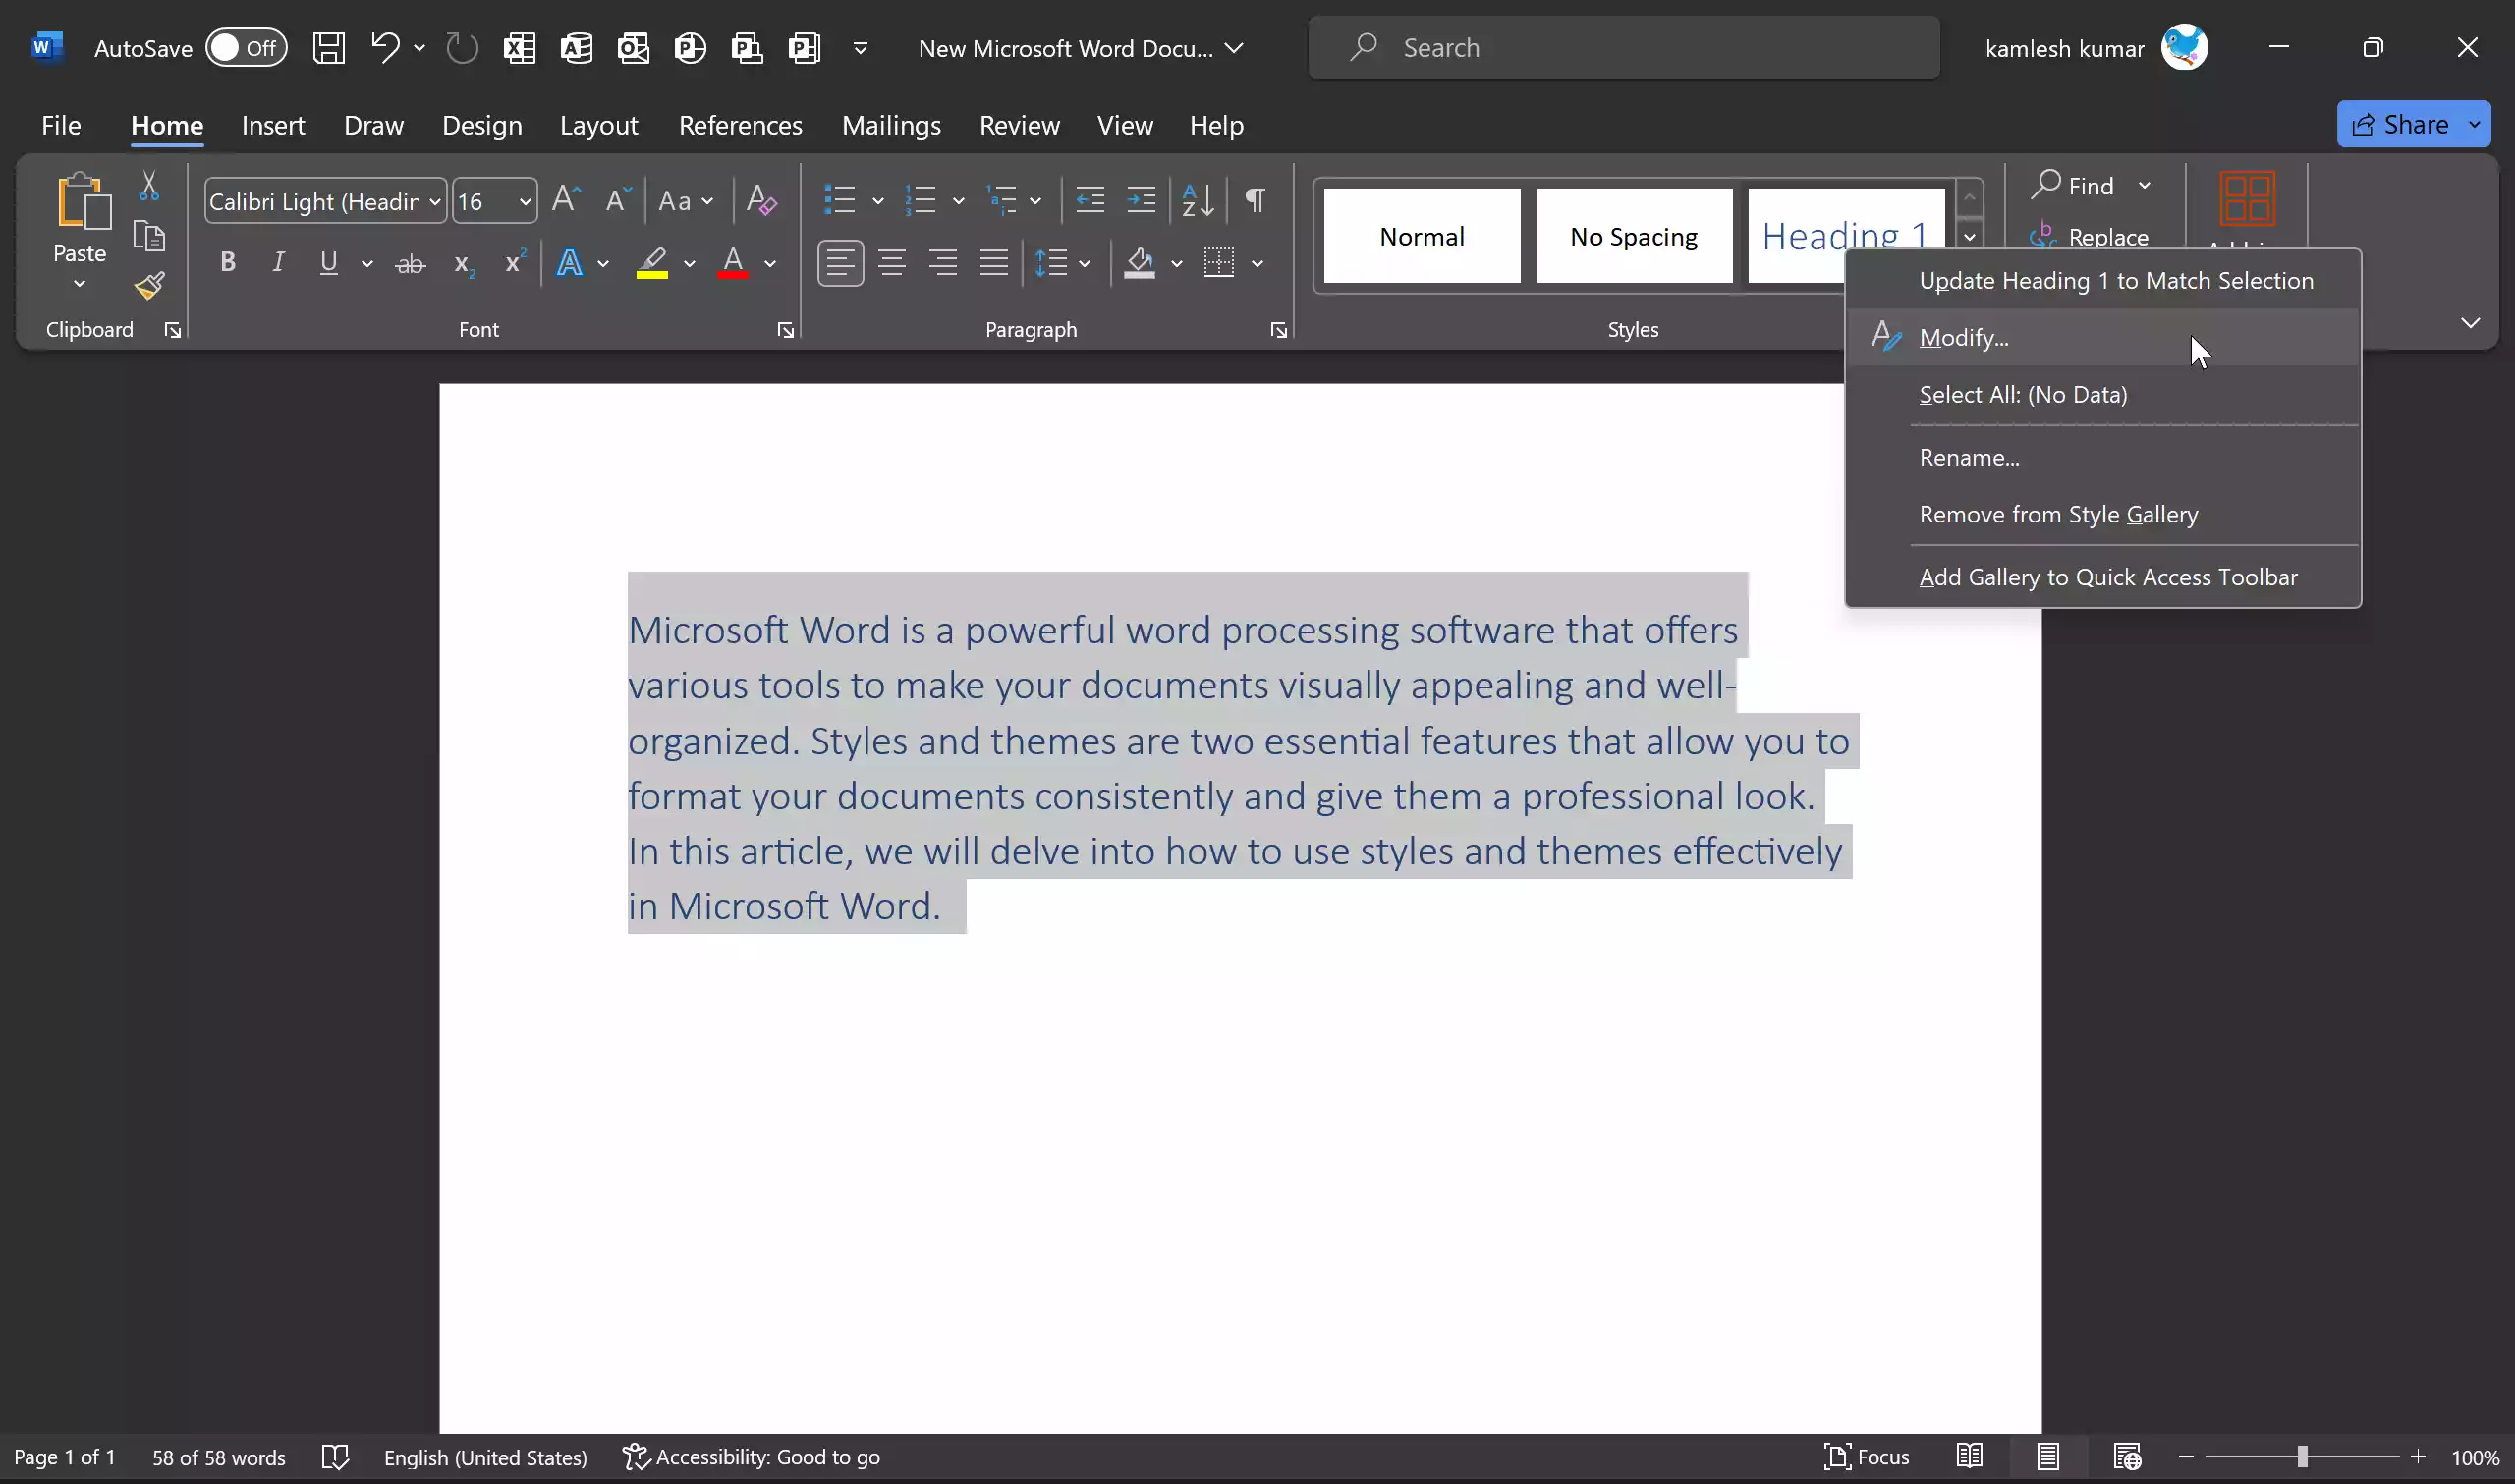
How to Modify a Style?
If you want to customize a style to match your document’s specific requirements, follow these steps:-
Step 1. Right-click the style you applied from the “Styles” group.
Step 2. Select “Modify.”
Step 3. Adjust the formatting options such as font, size, color, spacing, and more.
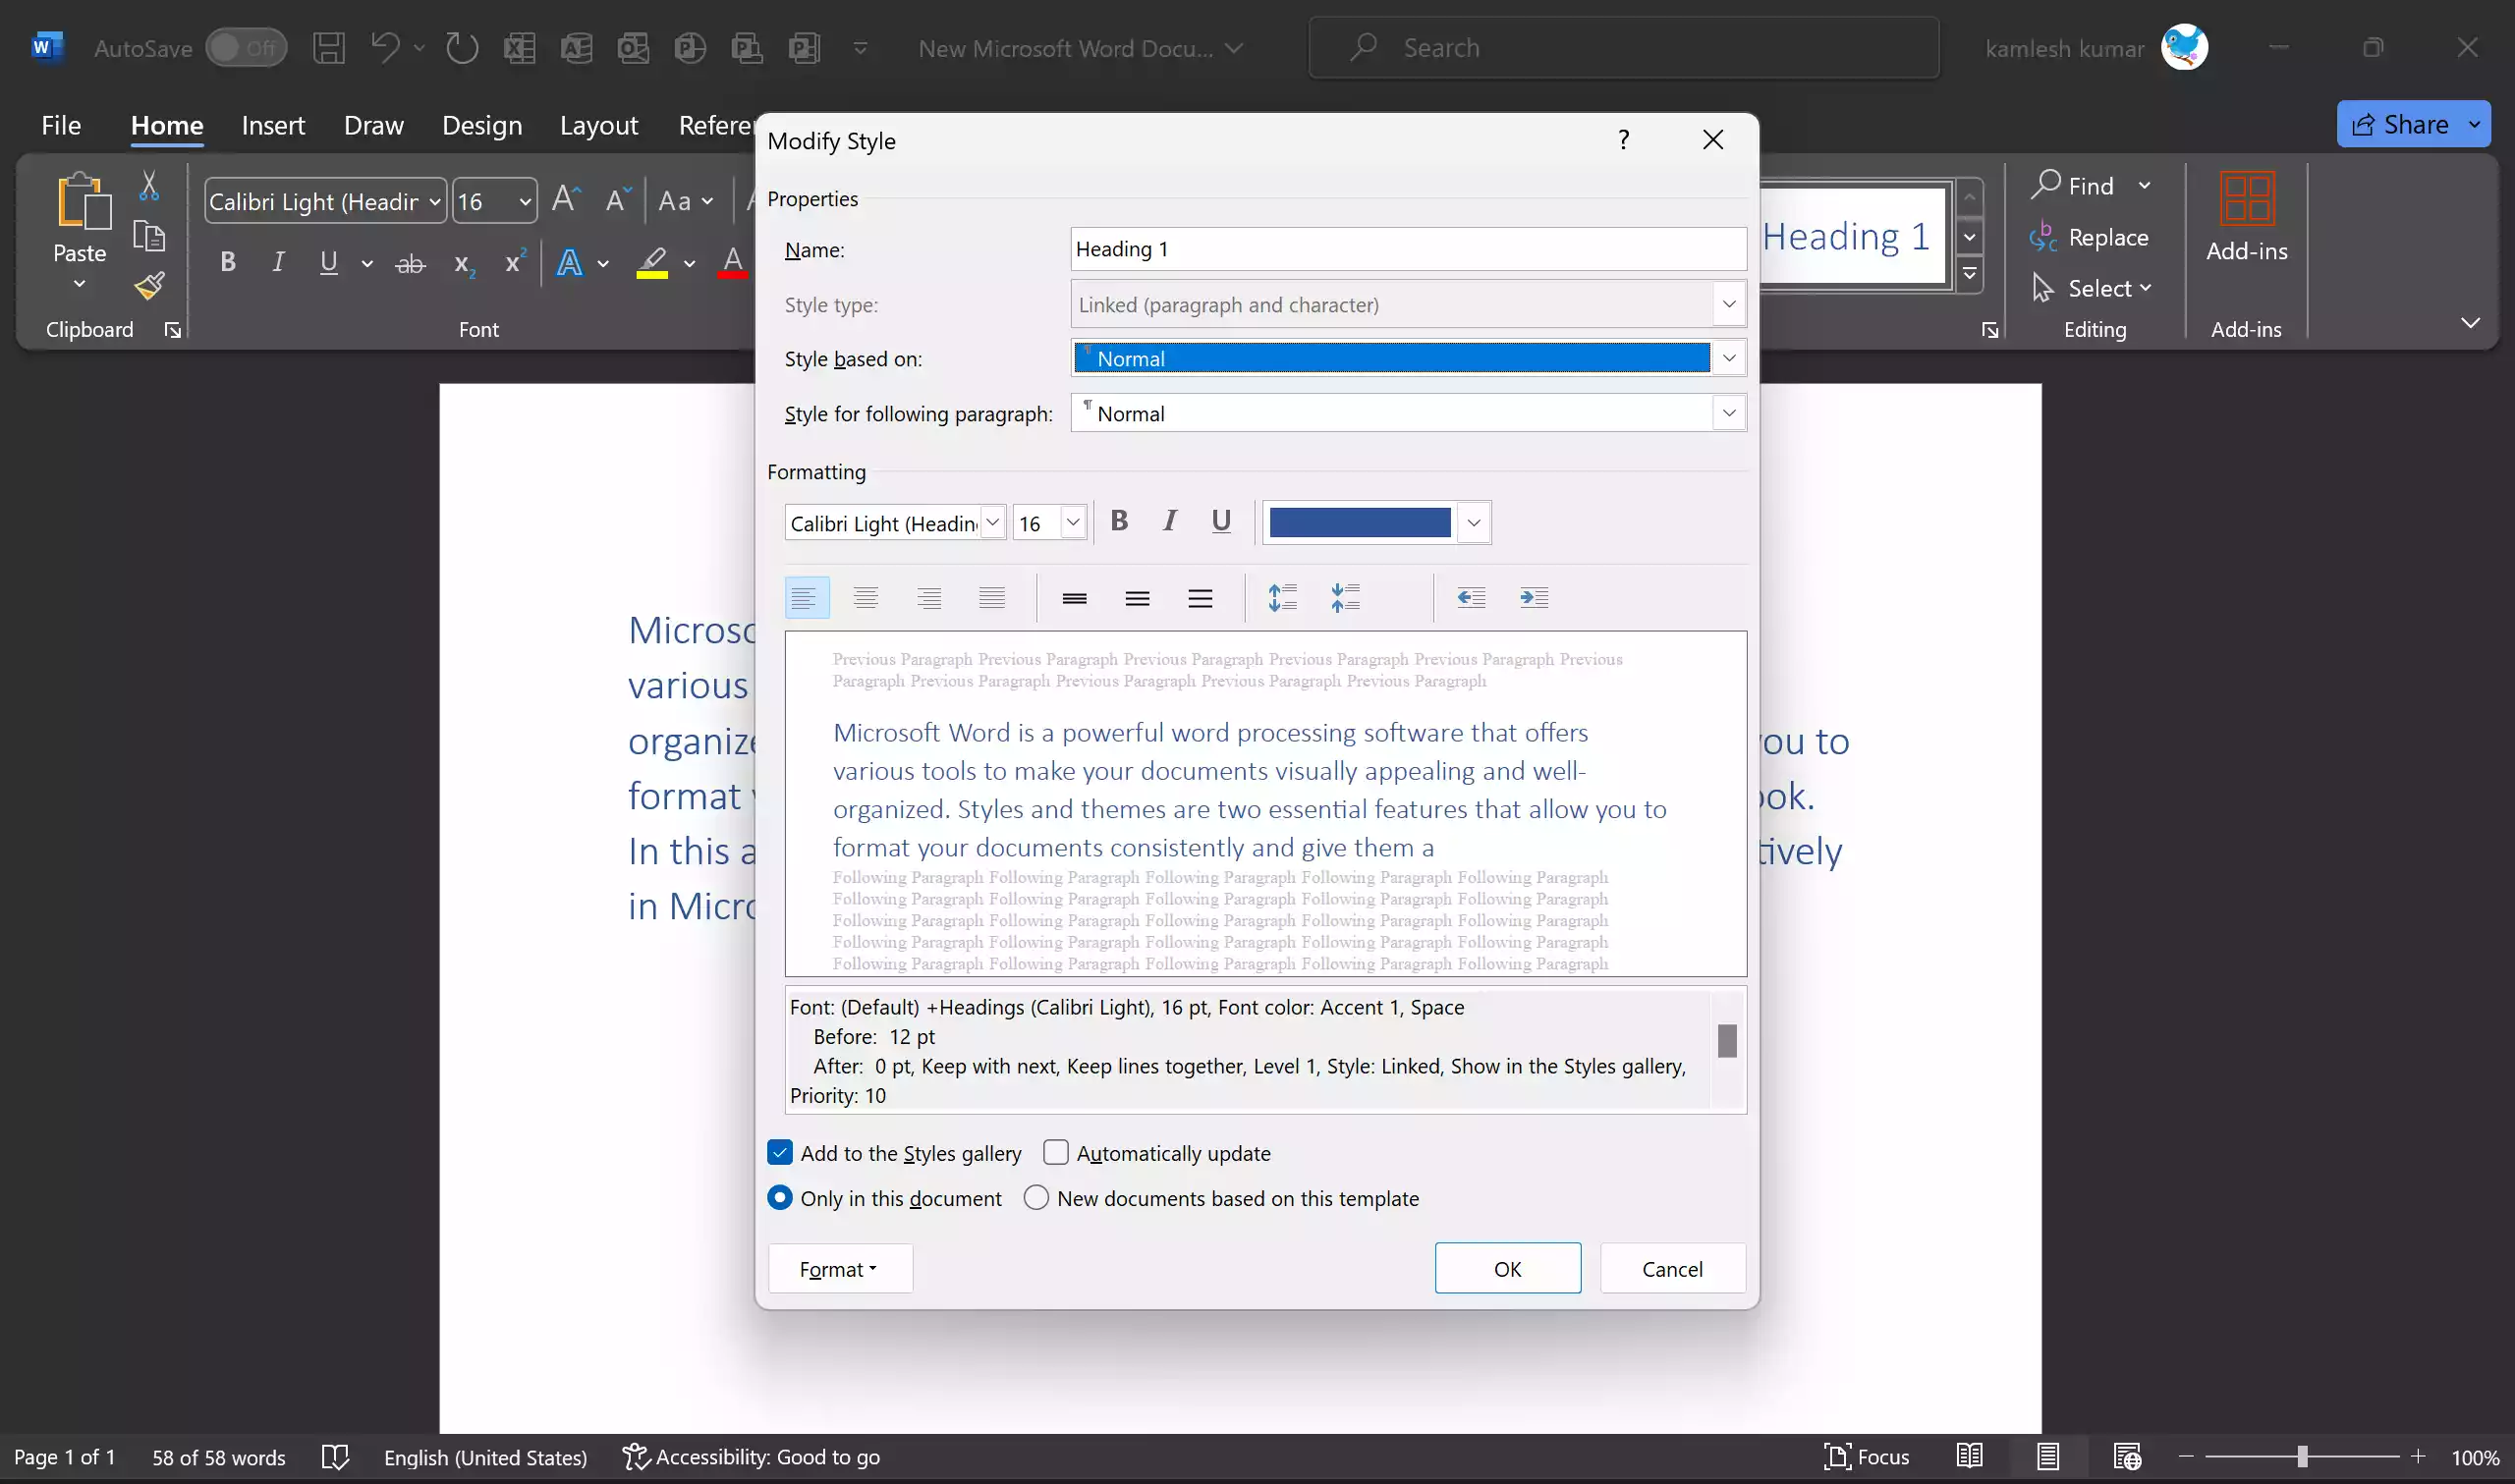
Step 4. Click “OK” to save your changes.
How to Create a New Style?
To create a custom style from scratch, use these steps:-
Step 1. Select the text with the formatting you want.
Step 2. Use the drop-down menu “Styles” under the “Styles” group.
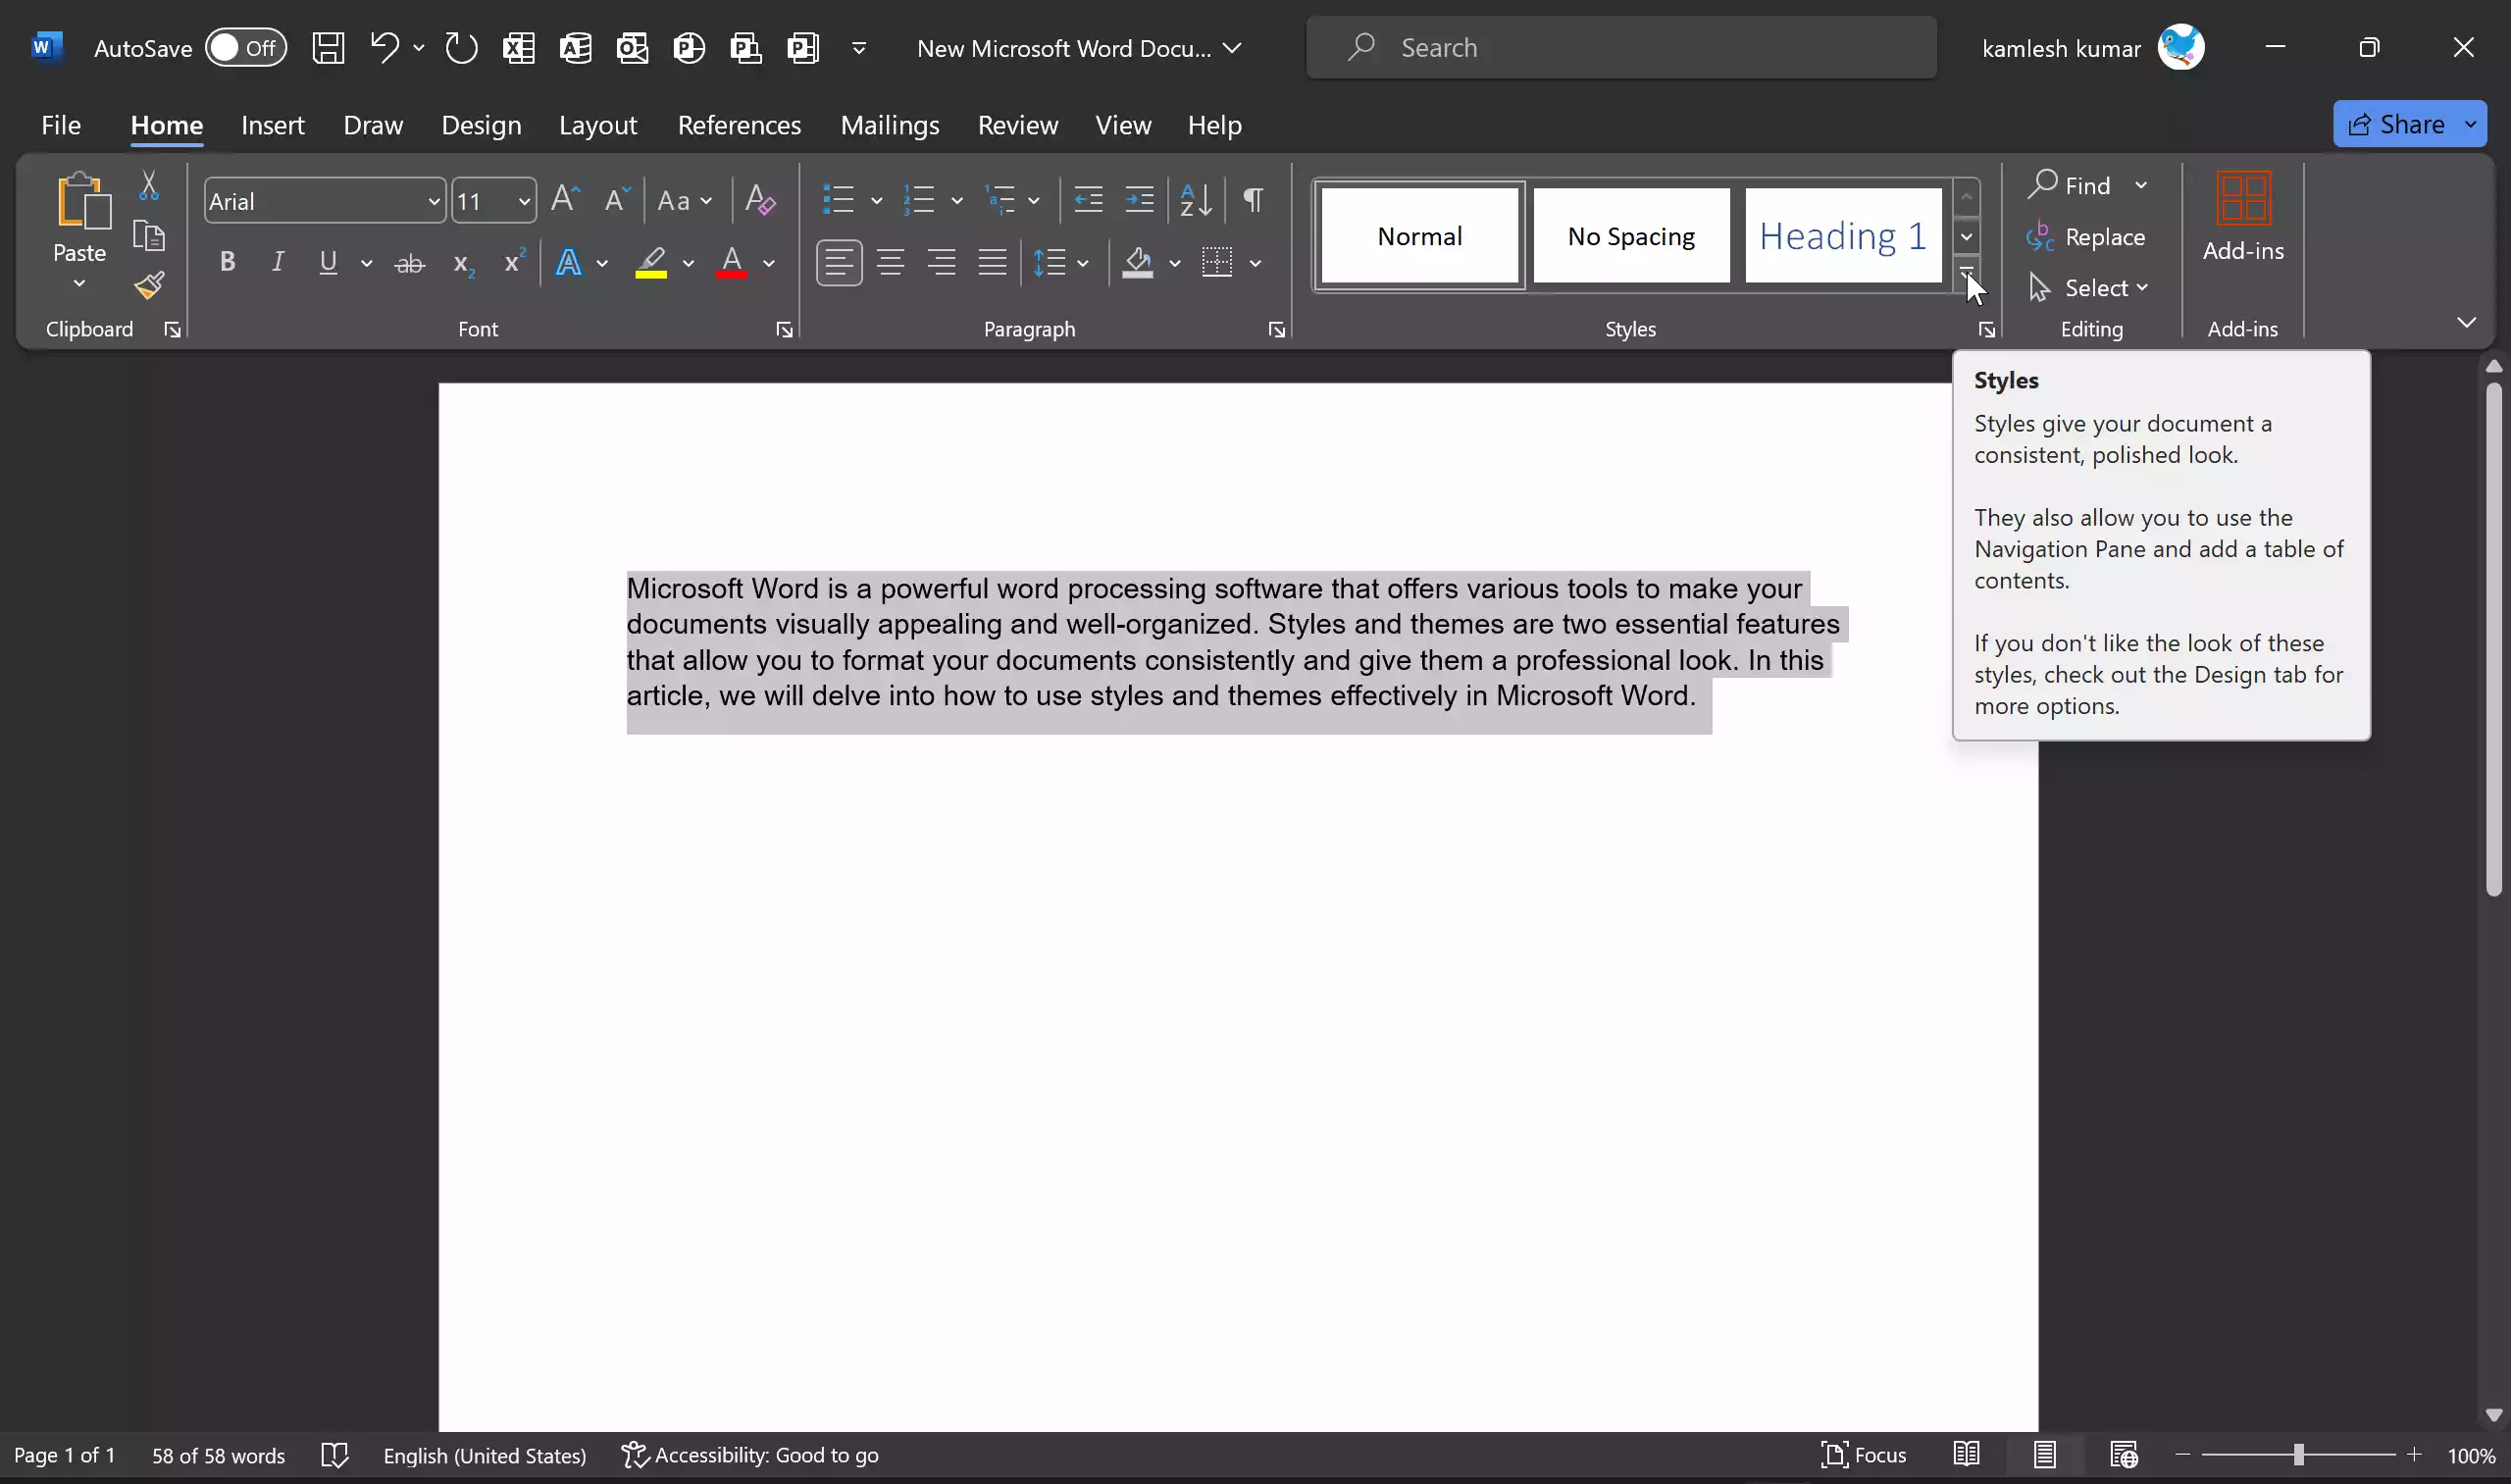
Step 3. Select “Create a Style” in the drop-down menu.
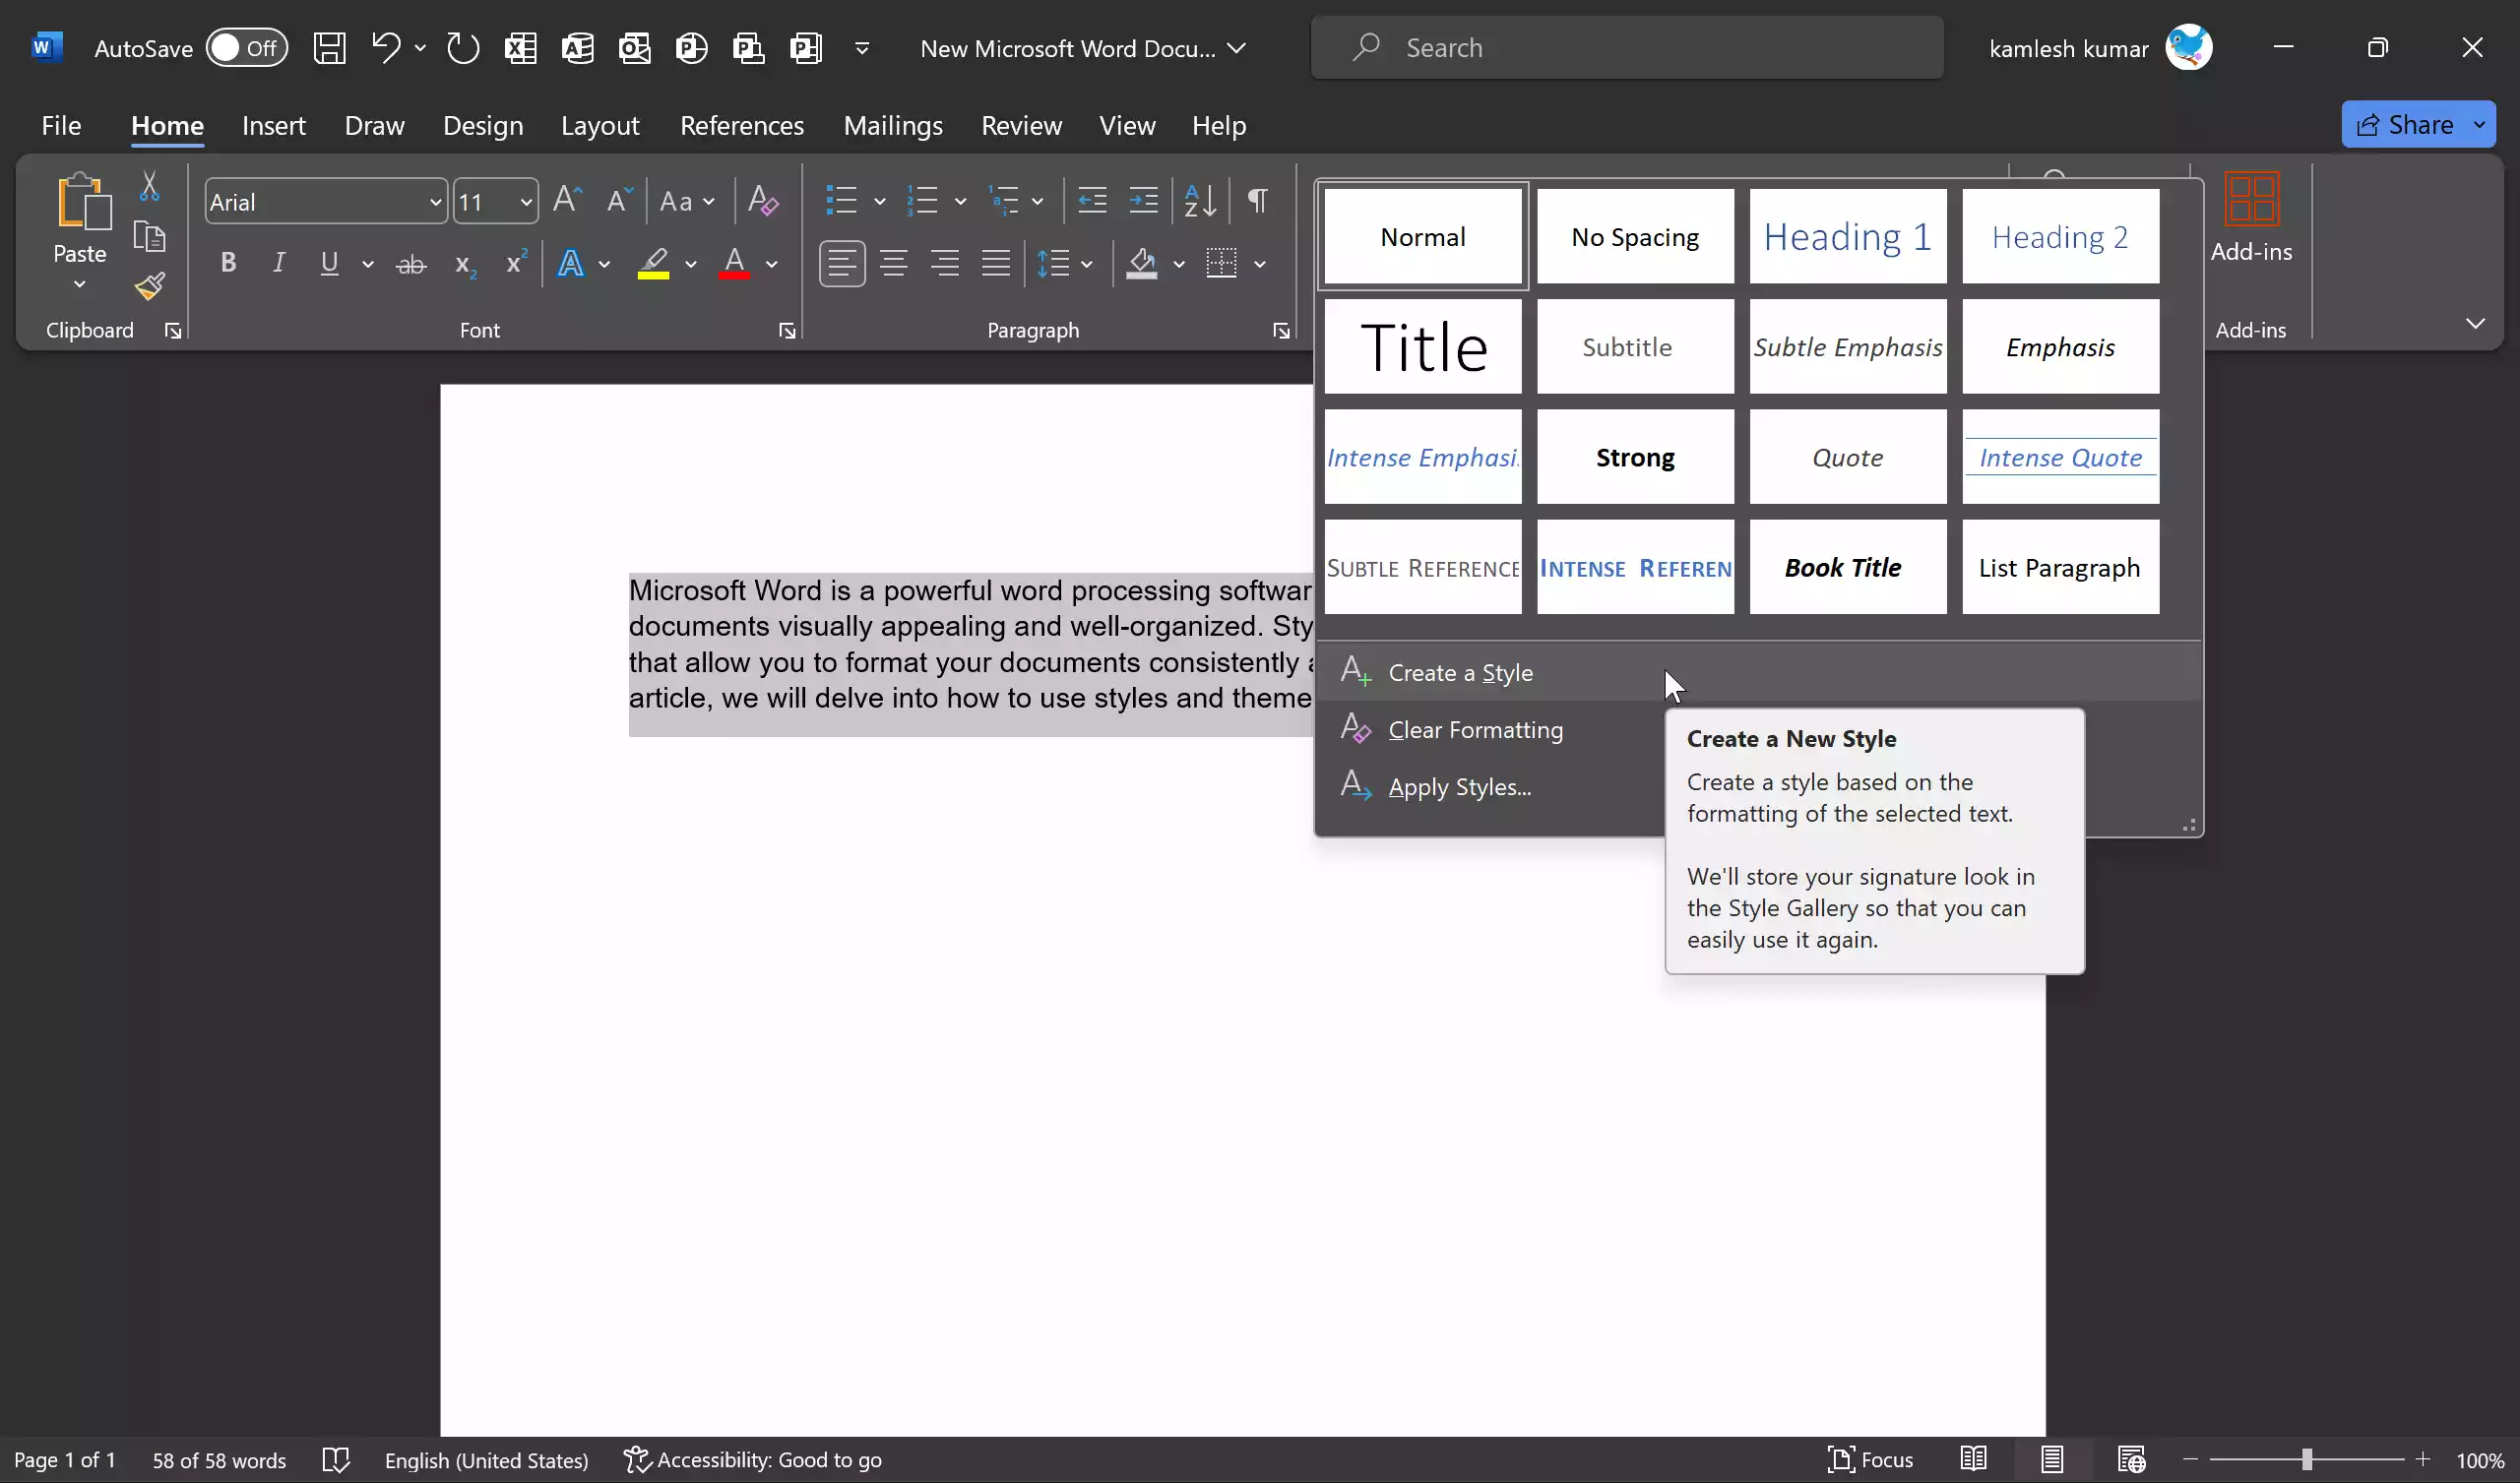
Step 4. Give your style a name.

Step 4. Click “OK” to save the new style.
Once done, a new style will appear under the “Styles” group along with pre-defined styles.
Working with Themes
Themes in Microsoft Word are sets of coordinated fonts, colors, and effects that can be applied to your entire document to maintain a consistent and professional appearance. Follow these steps to use themes:-
Selecting a Theme
Step 1. Open your Word document.
Step 2. Go to the “Design” tab in the ribbon.
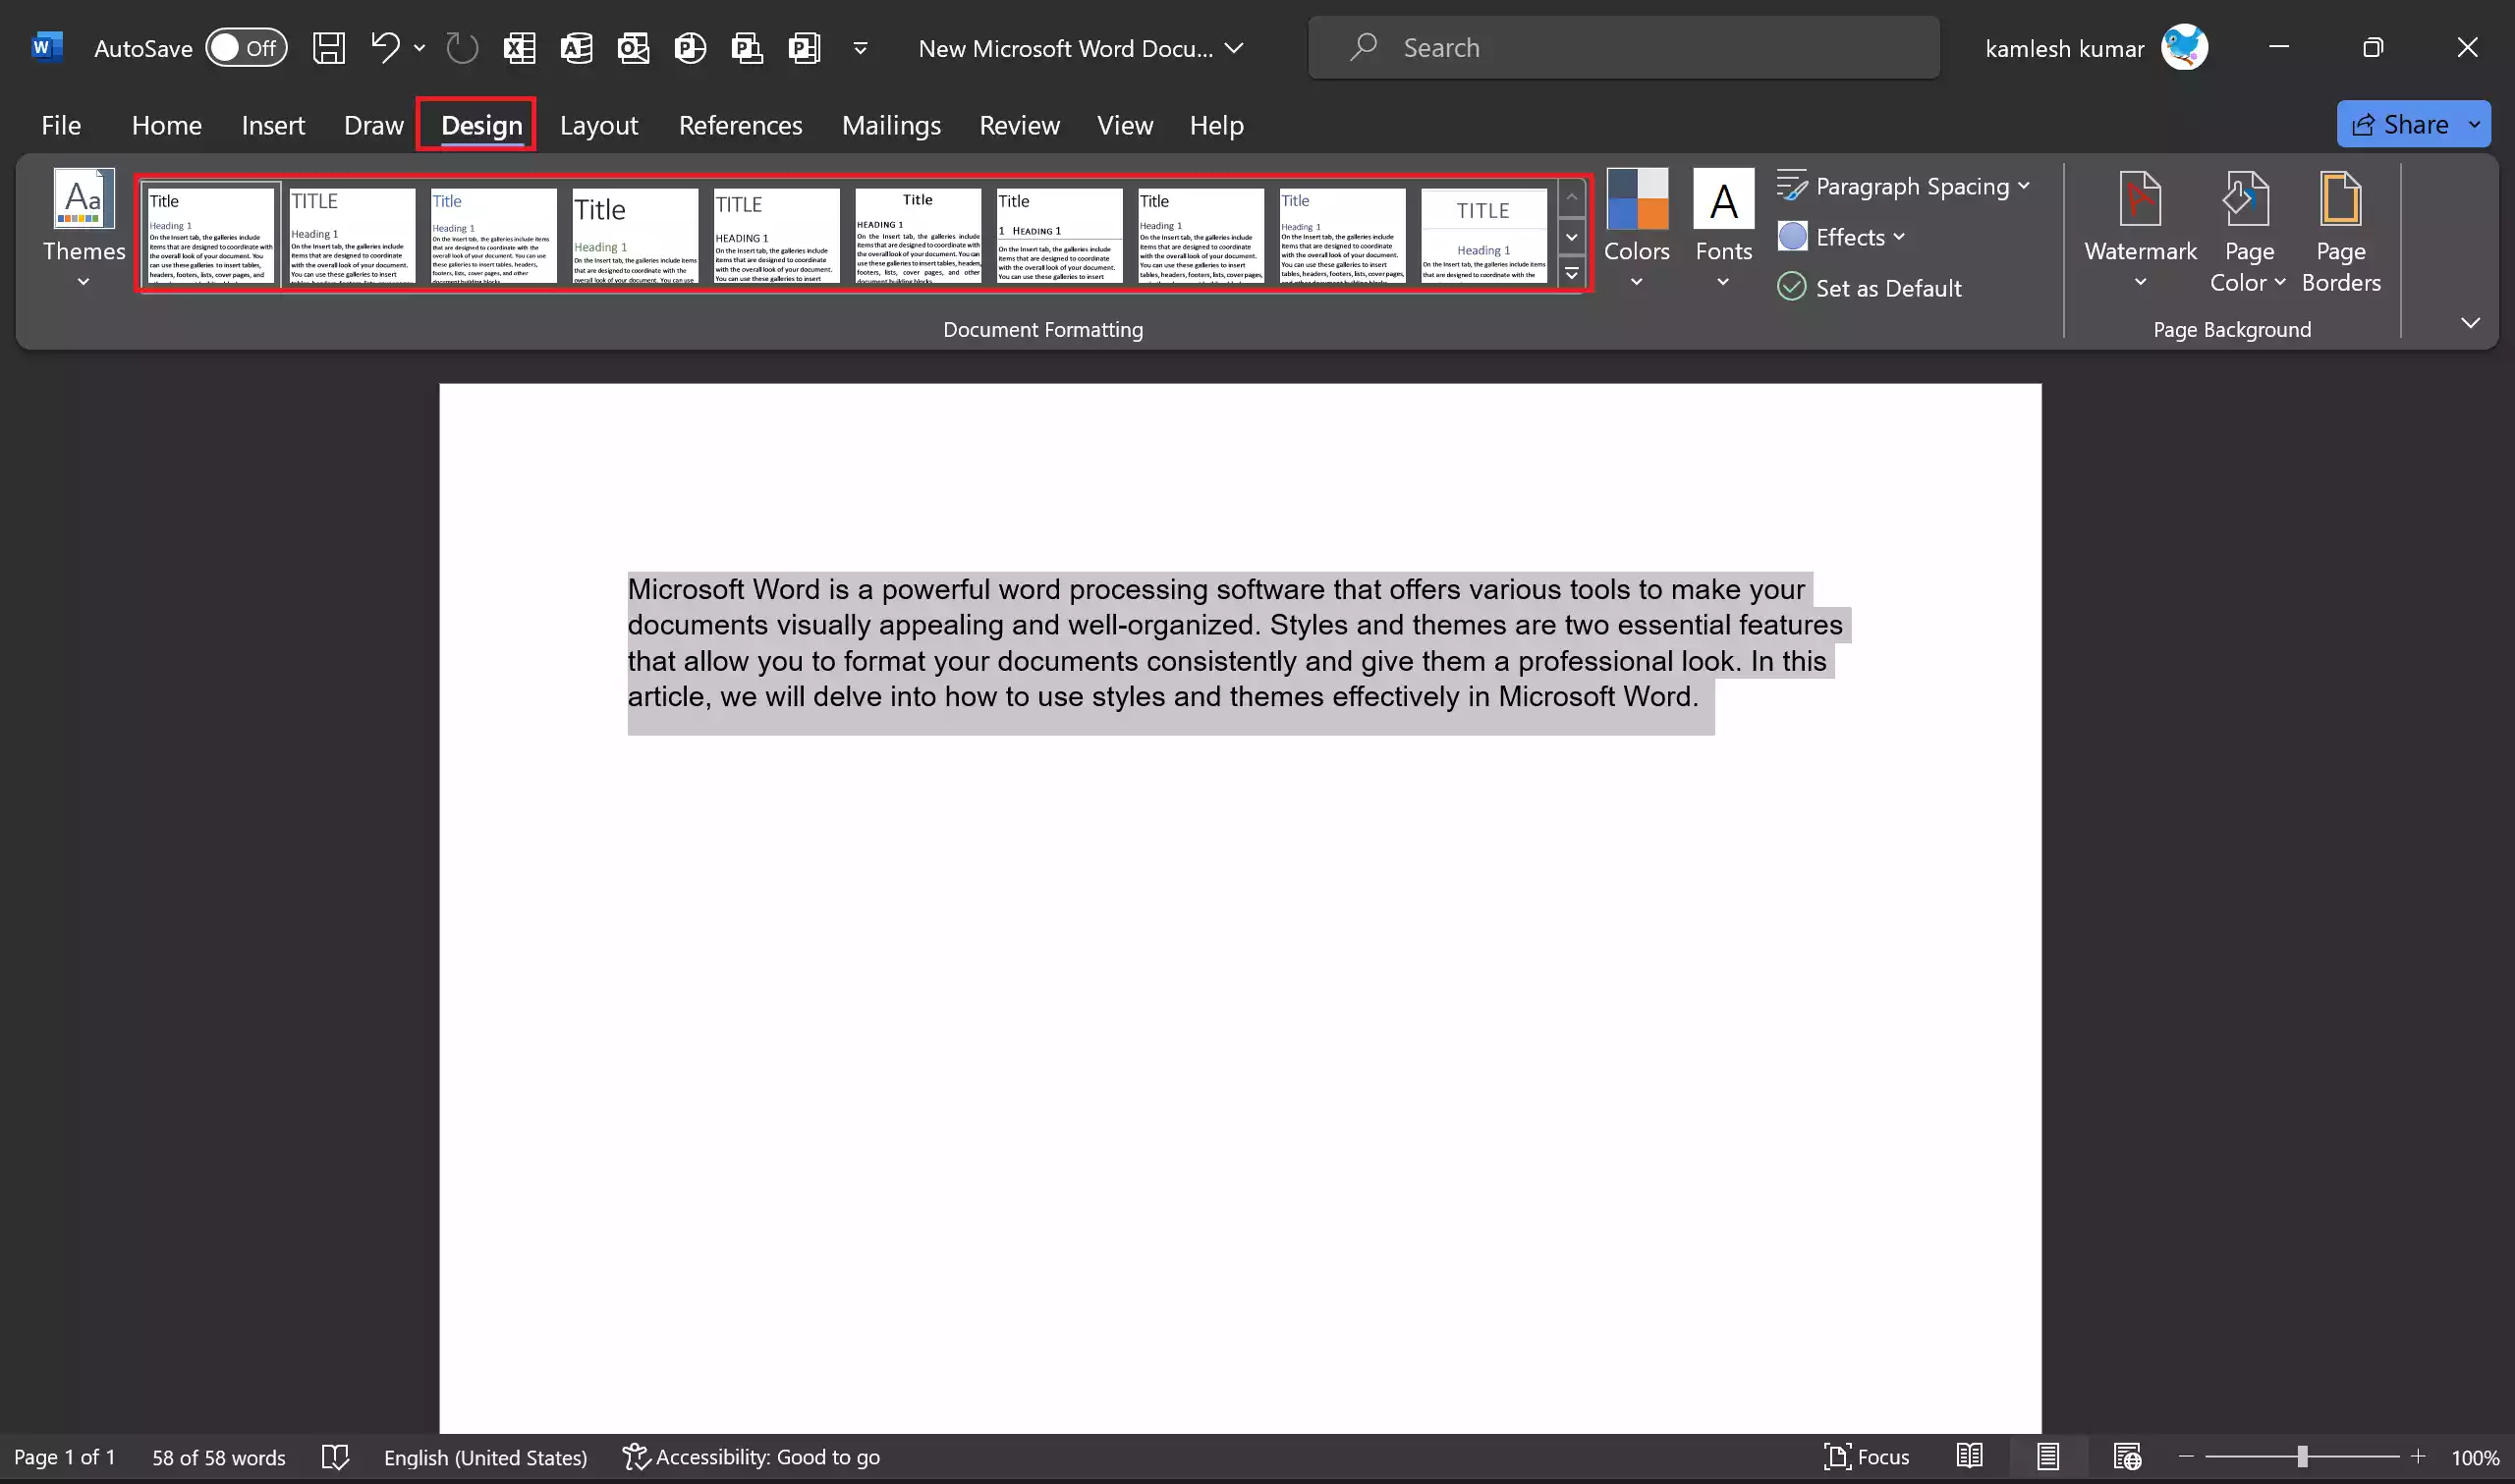
Step 3. In the “Document Formatting” group, you’ll find a gallery of themes. Click on the one that suits your document.
Customizing a Theme
You can modify a theme’s colors, fonts, and effects to match your preferences:-
Step 1. Click the “Design” tab.
Step 2. In the “Document Formatting” group, next to the Themes gallery, click on the “Colors” drop-down menu.
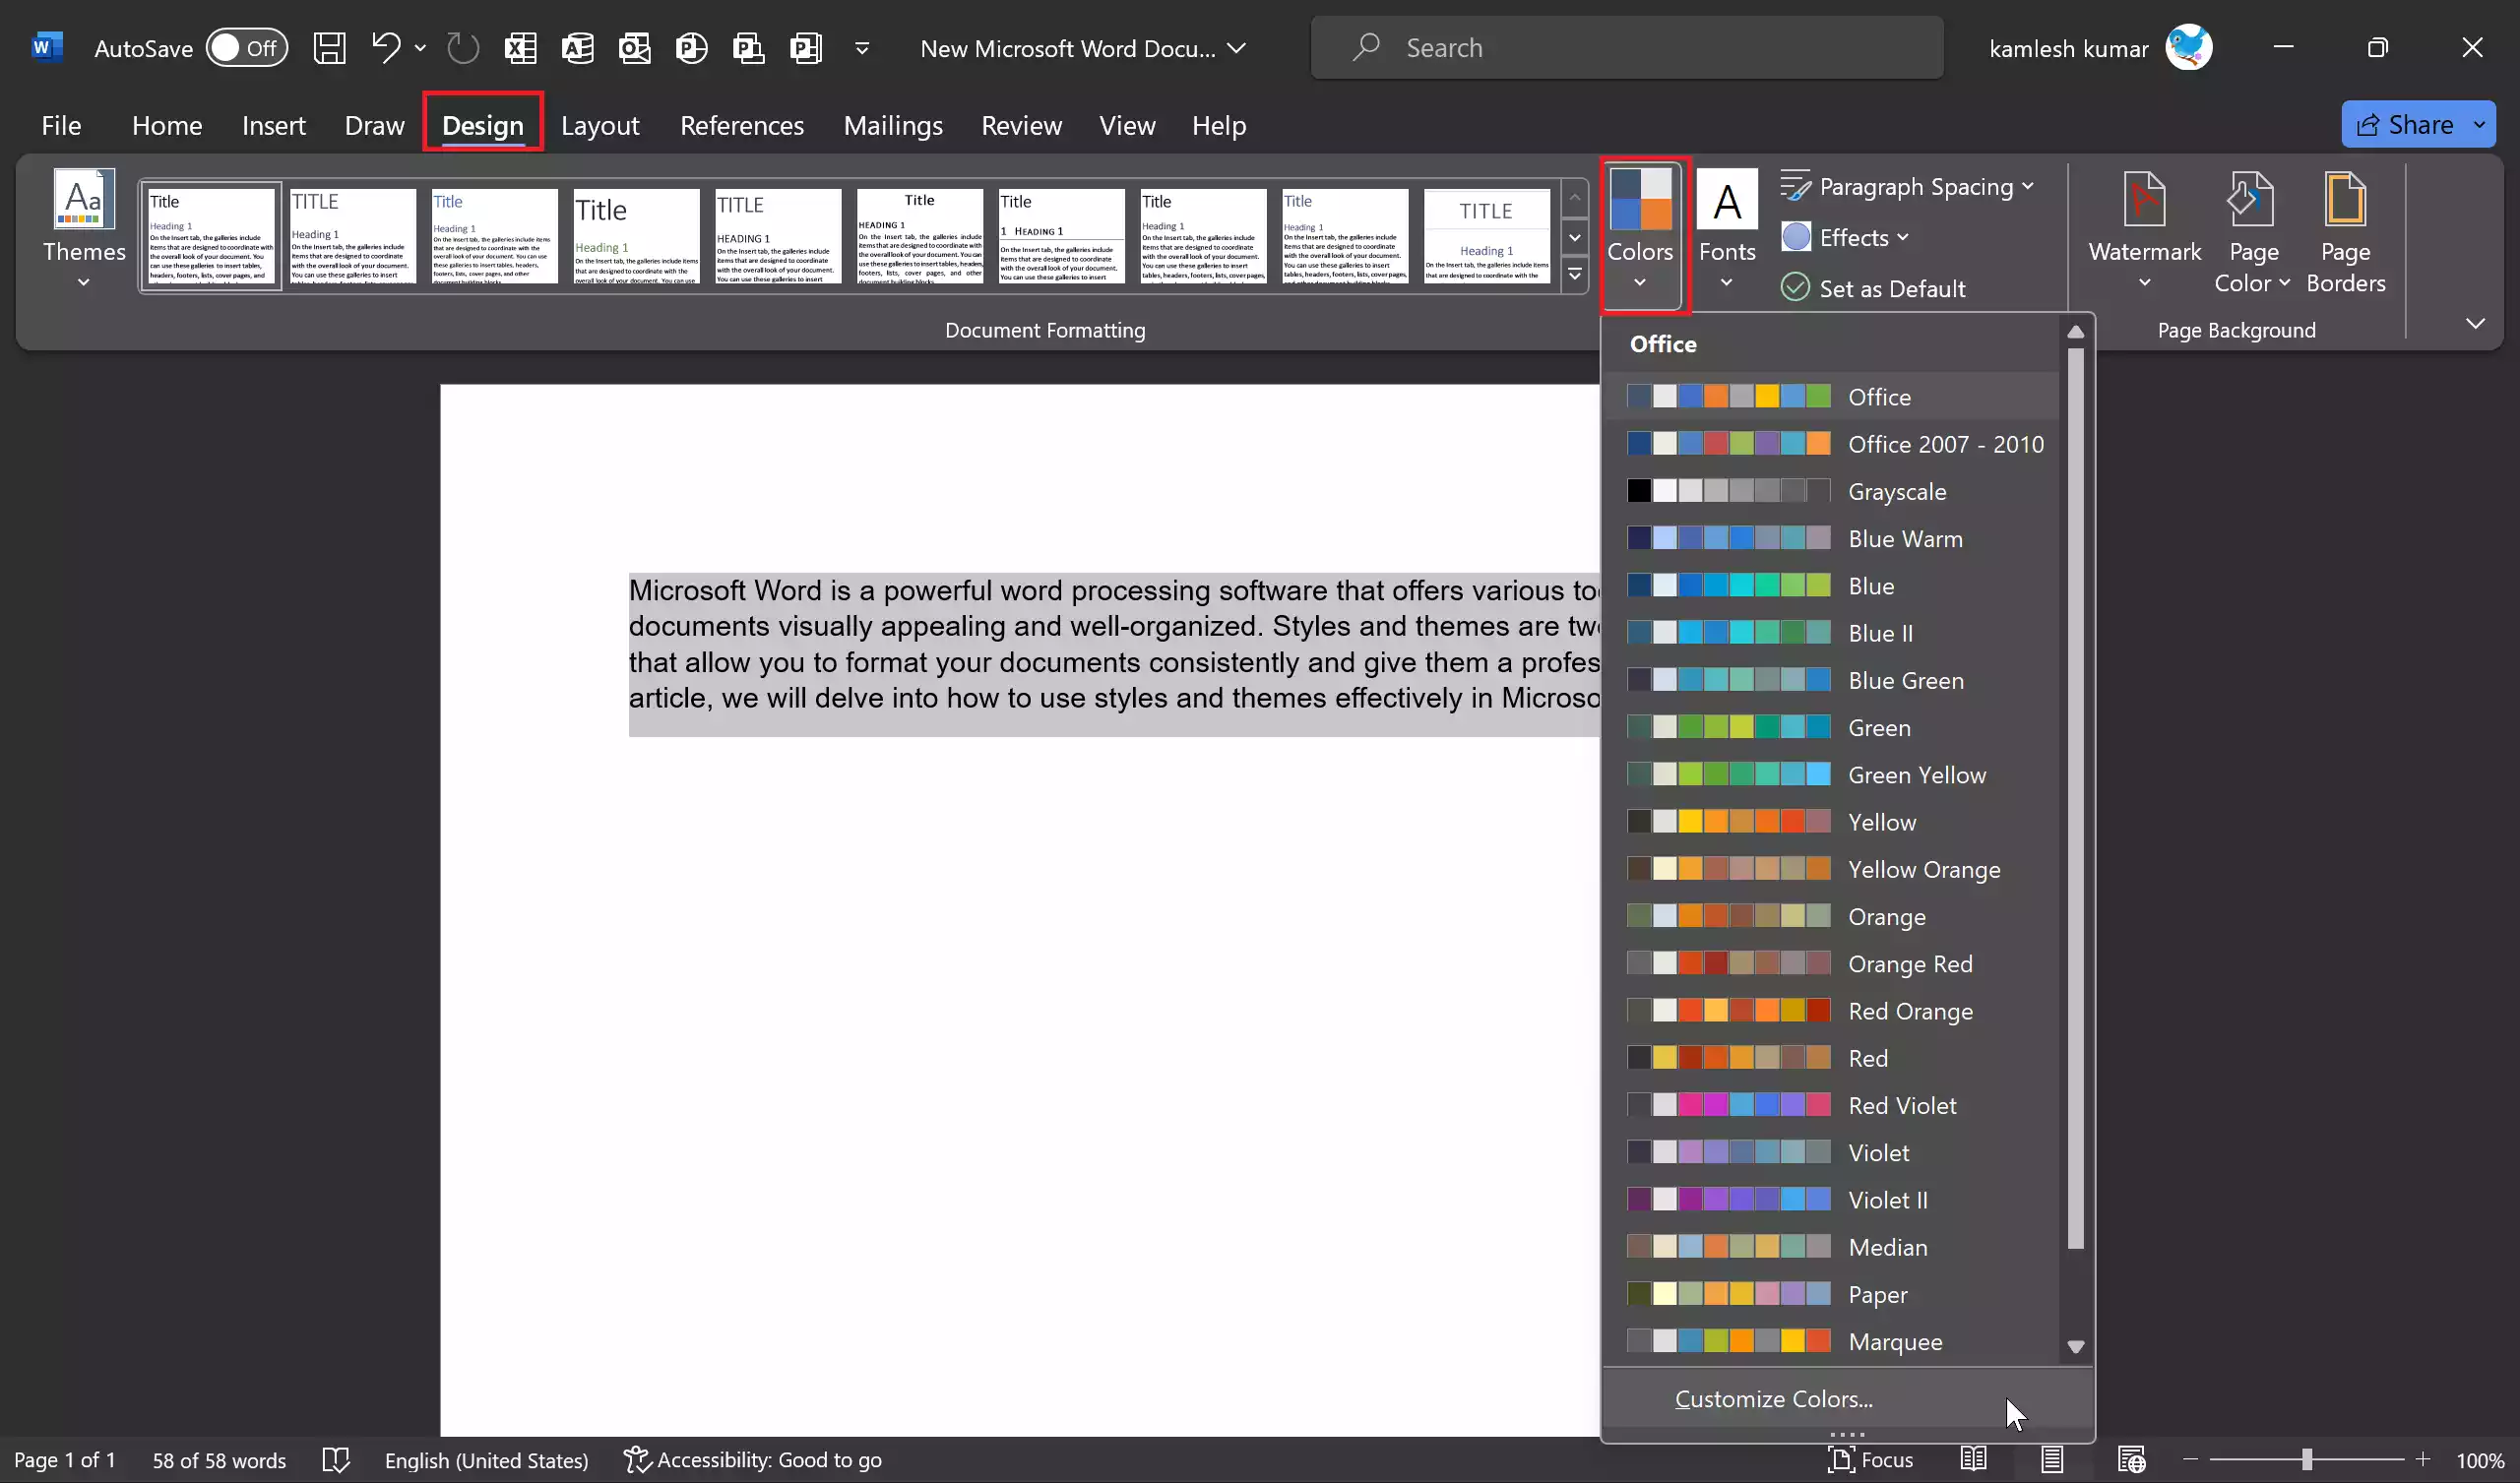
Step 3. Select “Customize Colors” to choose your own color scheme.
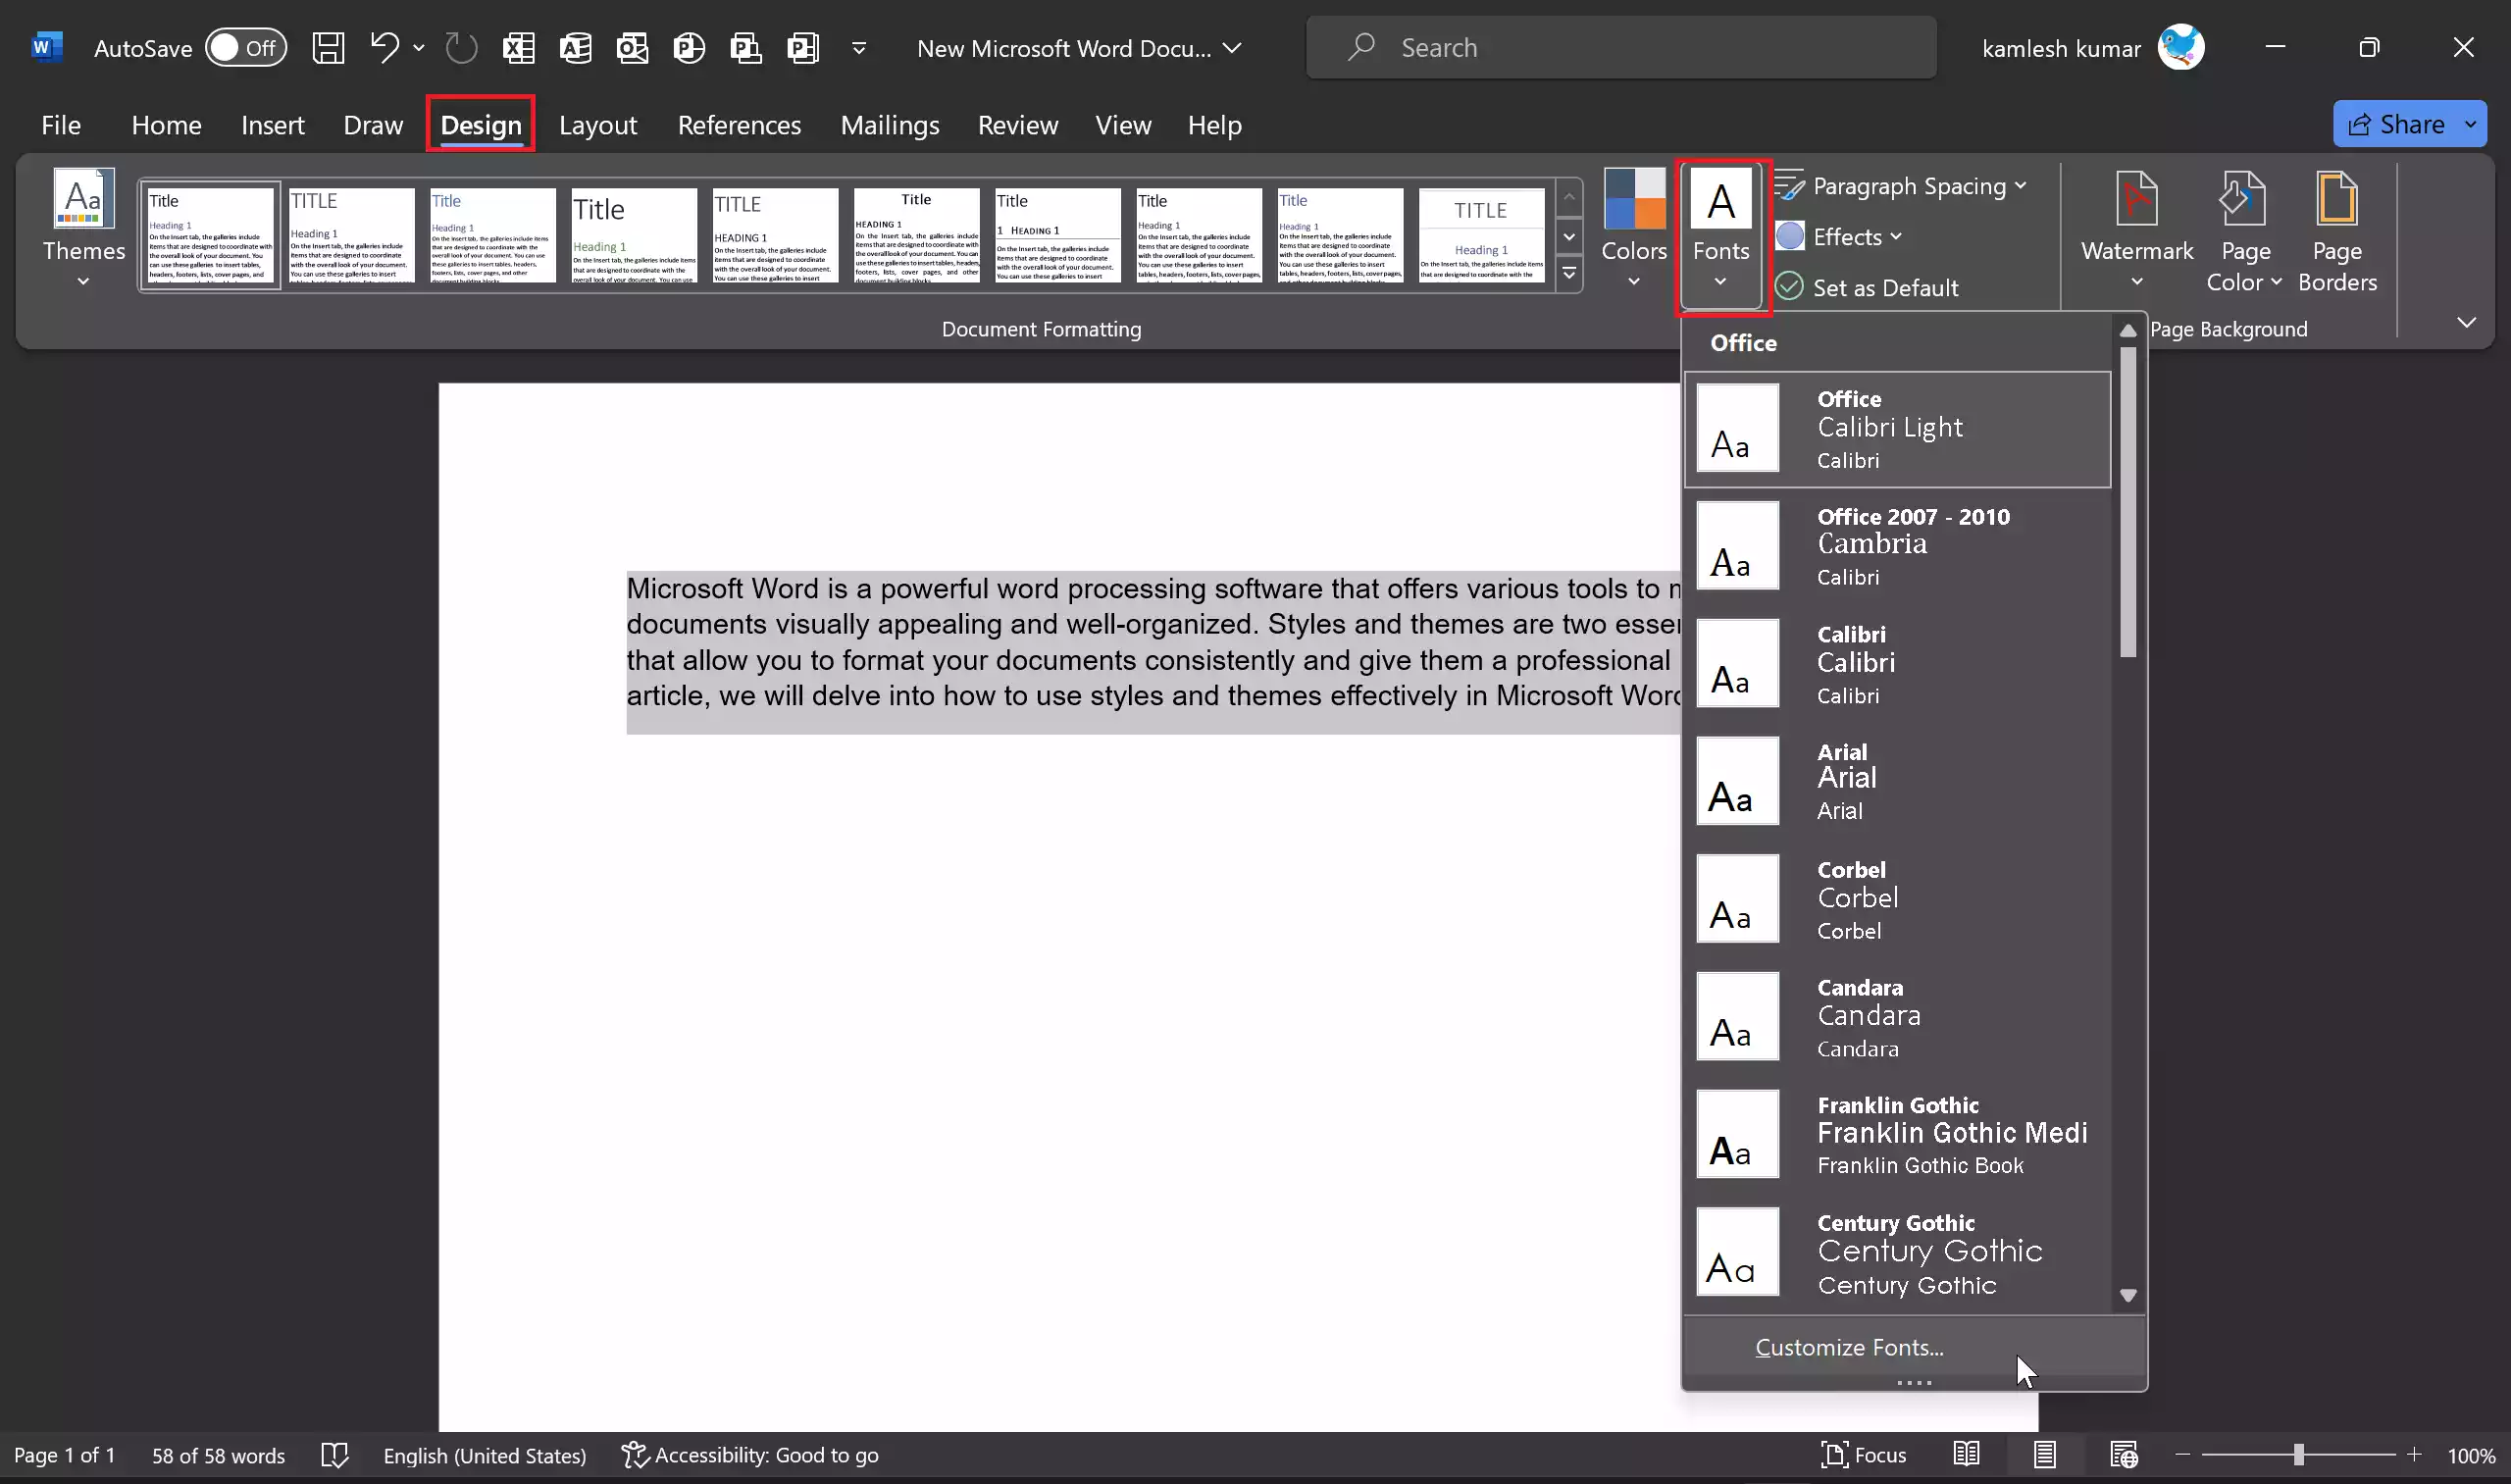
Step 4. Similarly, from the “Fonts” drop-down menu, select “Customize Fonts” to pick different fonts.
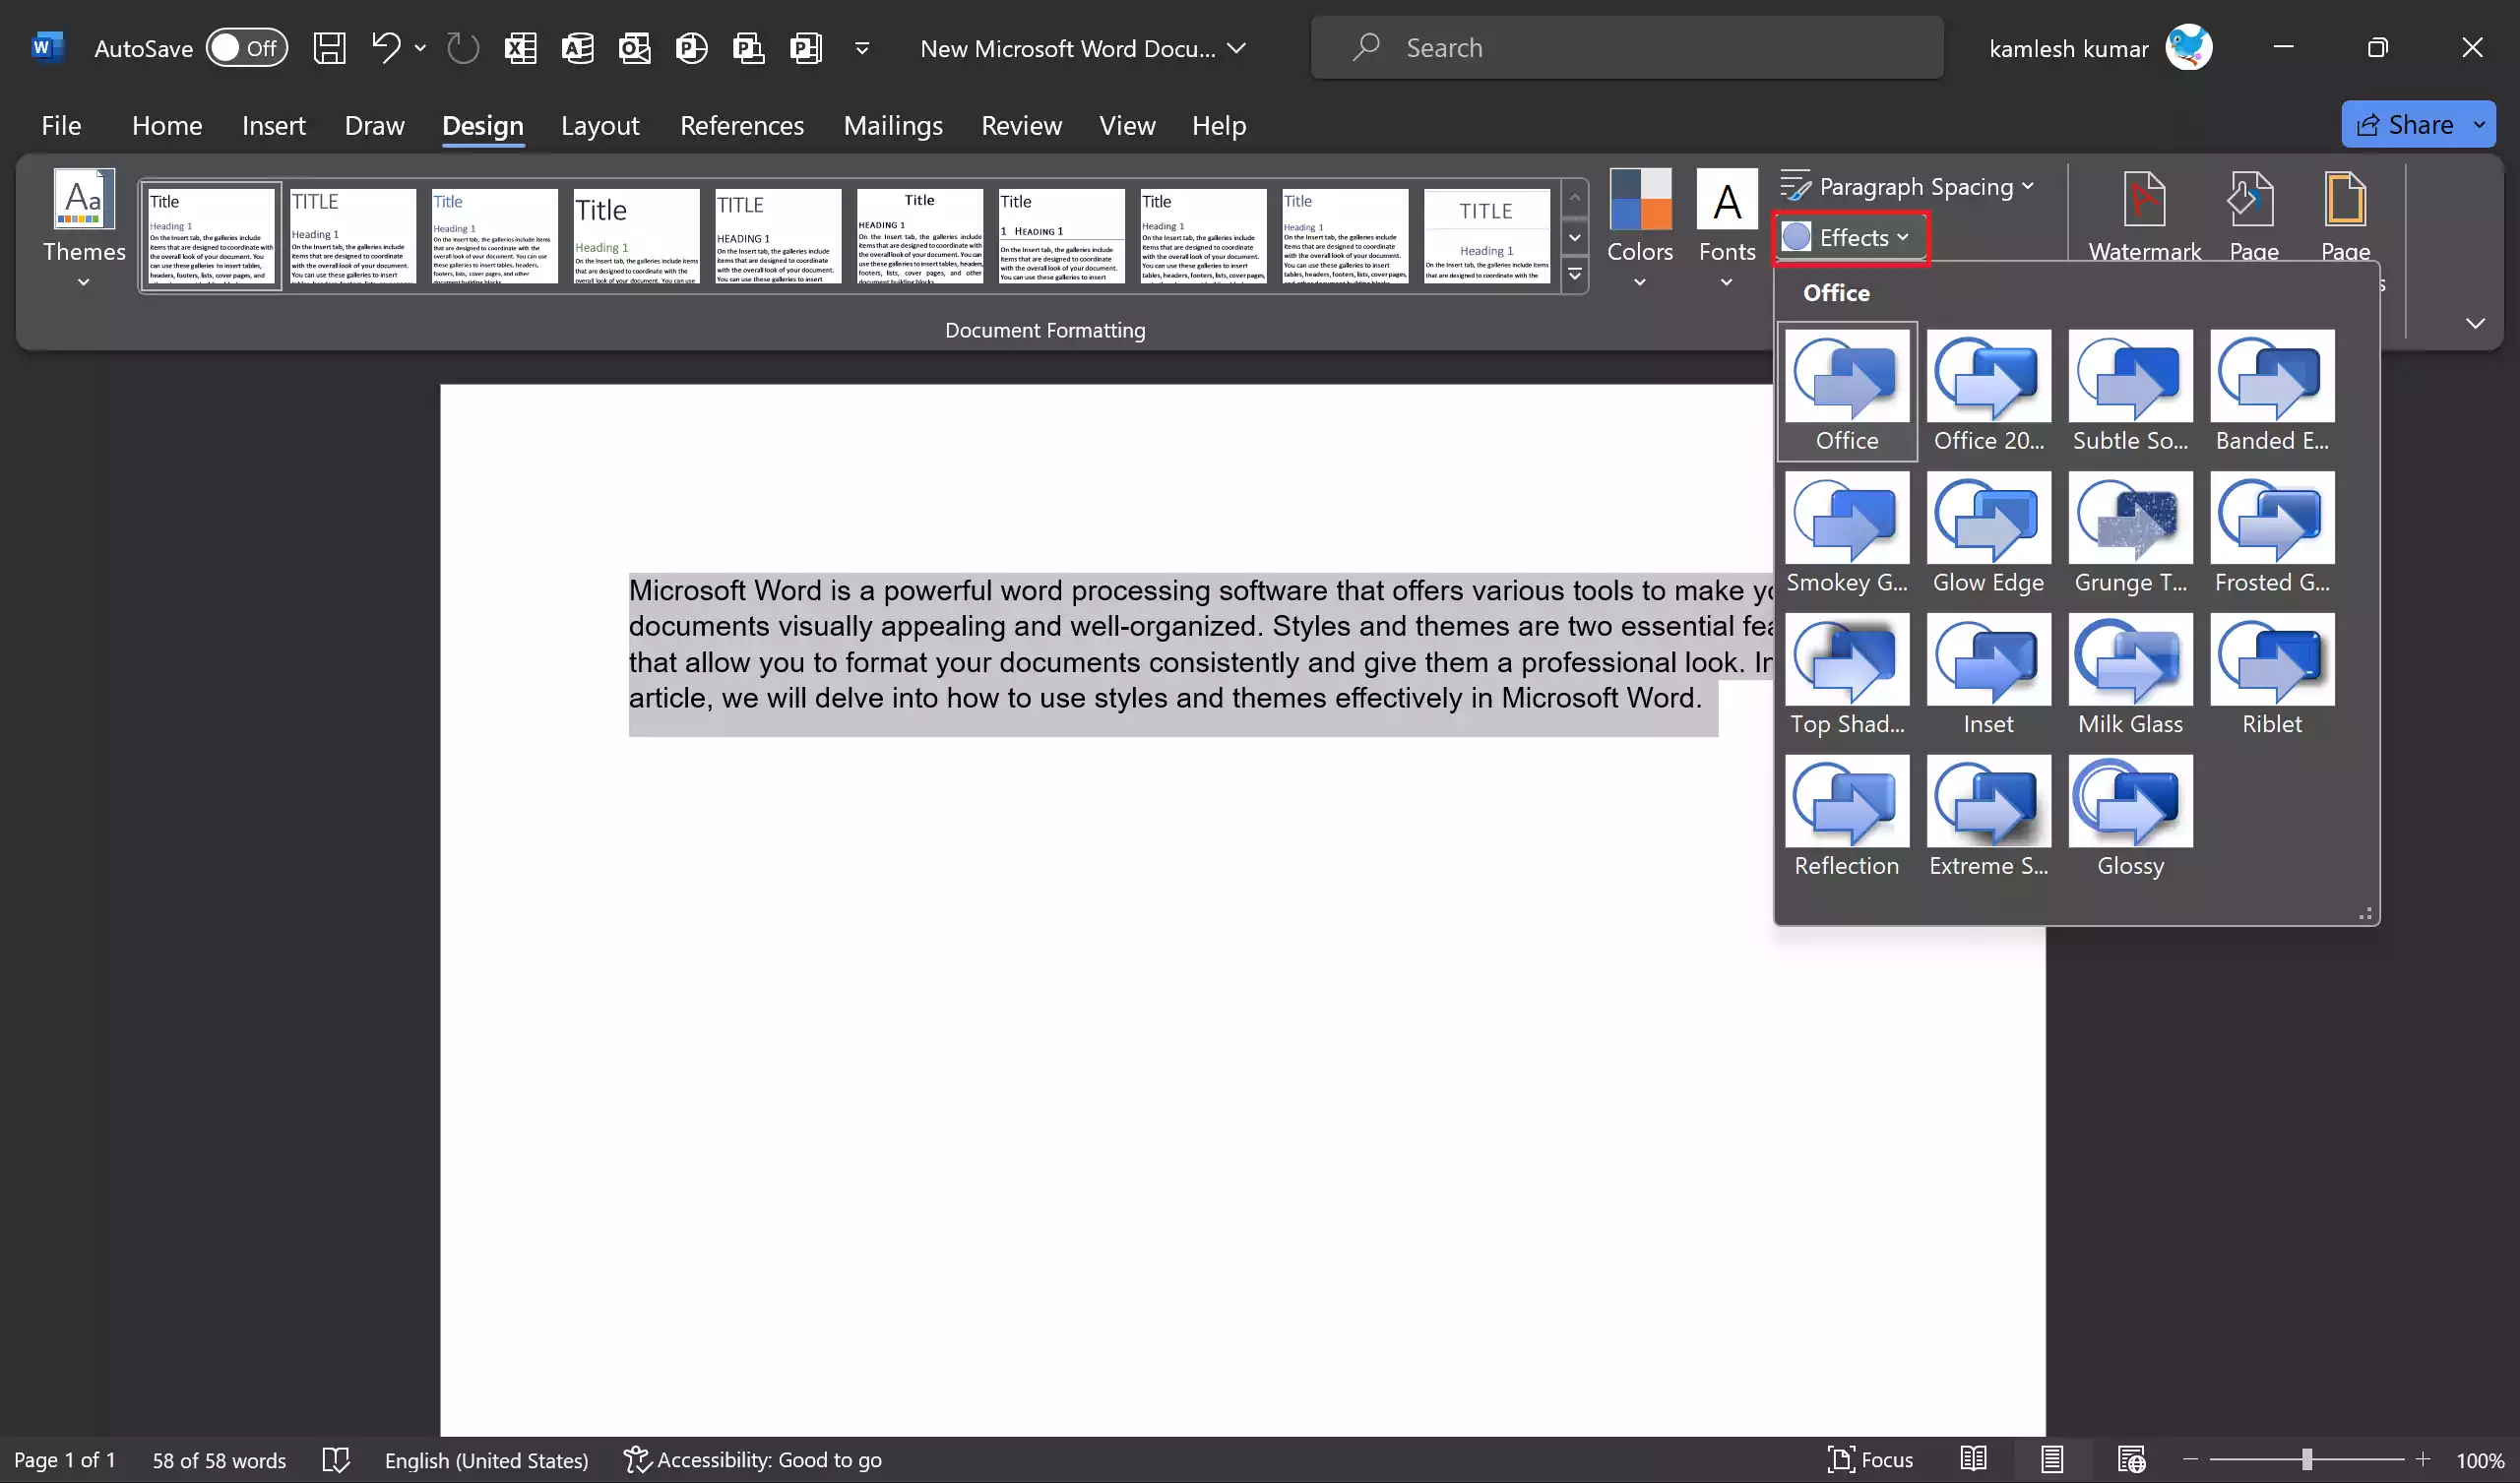
Step 5. Select “Effects” to change the effects, such as shadows and reflections.
Saving a Custom Theme
If you’ve customized a theme and want to use it in future documents, follow these steps:-
Step 1. After customizing, go to the “Design” tab.
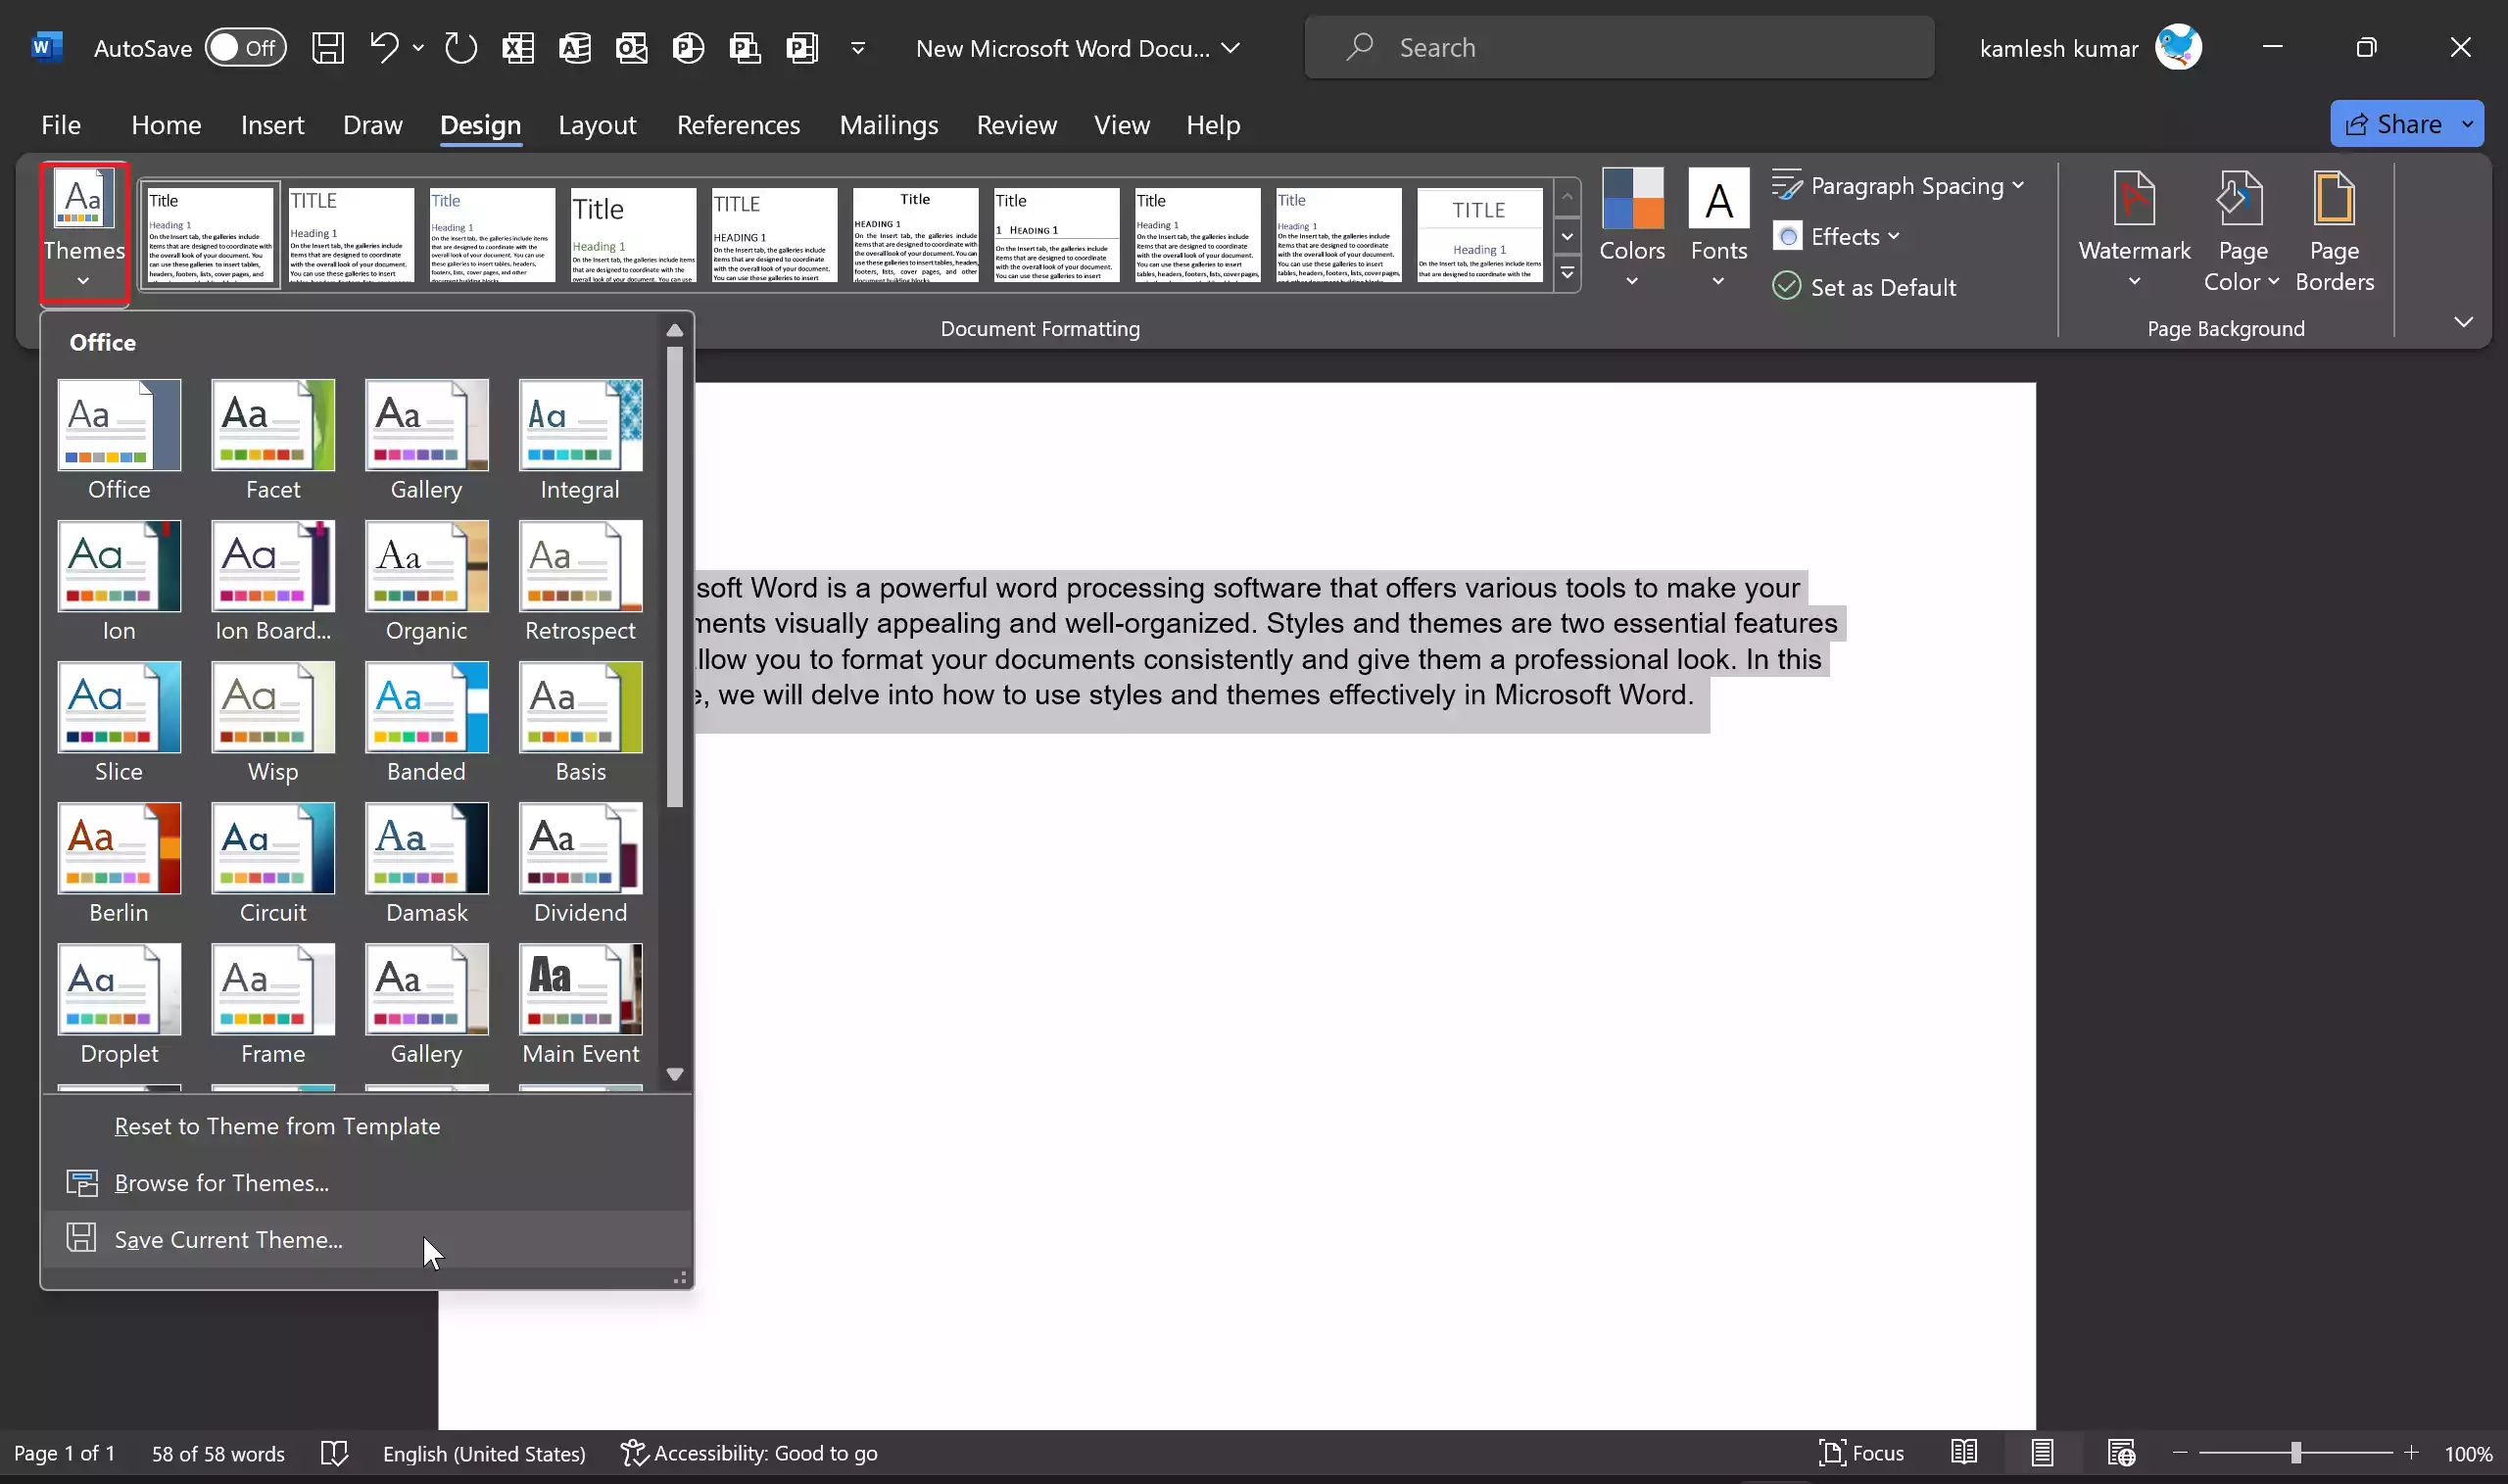
Step 2. Click the “Themes” drop-down menu.
Step 3. Select “Save Current Theme.”
Step 4. Give your theme a name and click “Save.”
Benefits of Using Styles and Themes
Using styles and themes in Microsoft Word offers several advantages:-
- Consistency: Styles ensure that your document maintains a uniform look.
- Efficiency: Applying styles and themes saves time and effort on manual formatting.
- Professionalism: Themes give your document a polished and visually appealing appearance.
- Customization: You can tailor styles and themes to suit your branding or personal preferences.
Conclusion
Styles and themes are invaluable tools in Microsoft Word that enable you to format documents consistently and make them visually appealing. By mastering these features, you can create professional-looking documents effortlessly, saving time and enhancing the overall quality of your work. Experiment with different styles and themes to find the perfect combination for your specific needs.