Are you tired of using Intel’s boring and old design of the Intel Graphics Control Panel? There is a piece of good news for the Intel Graphics card user. Intel has launched a brand new and modern design Graphics Command Center which you can download from the Microsoft Store.
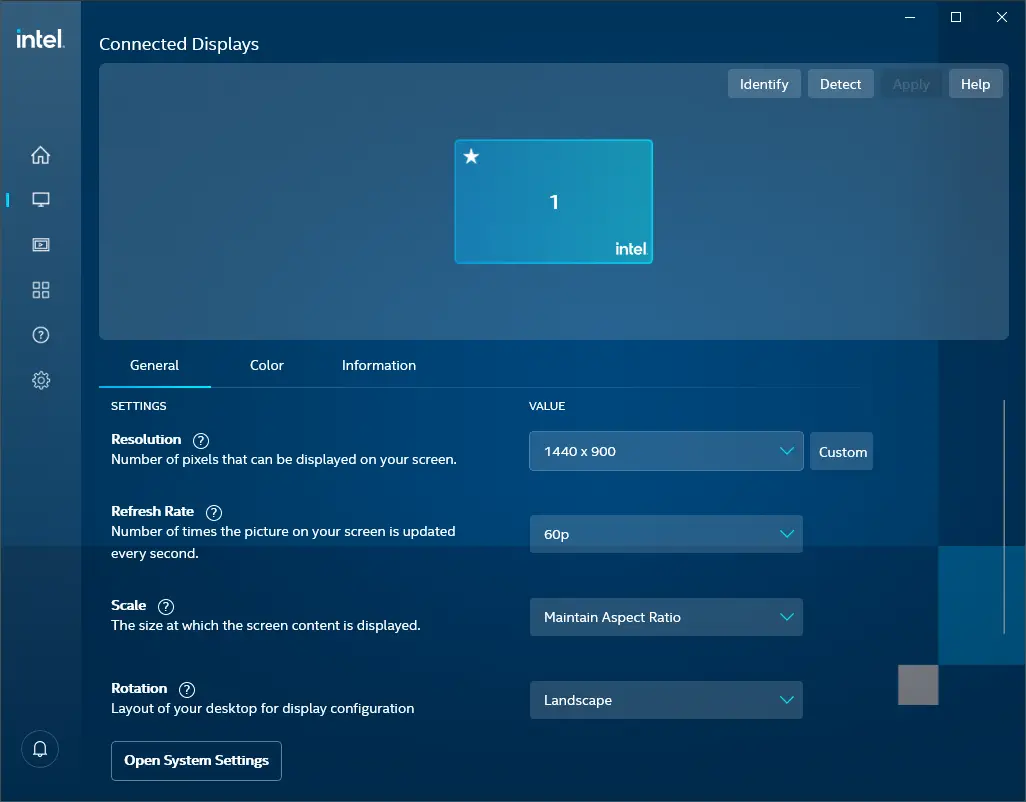
New Intel Graphics Command Center comes with a completely fresh design and has been developed from scratch. Similar to the old classic Intel Graphics Control Panel, this modern app also allows you to view various information about Intel graphics. It allows you to change many display settings, such as screen resolution, refresh rate, screen orientation, and more. It is also equipped with many themes that can be switched from the Settings of this app.
Since the app is newly developed, many Windows users report that Intel Graphics Command Center does not open or does not work correctly. If in your Windows 10/11 PC also, the Intel Graphics Command Center app does not open or work perfectly, it can be fixed using the Settings app.
In this gearupwindows article, we will learn the following:-
- Reset or Repair Intel Graphics Command Center
- Uninstall Intel Graphics Command Center
- Reinstall Intel Graphics Command Center
- Reset or Reinstall the Intel graphics driver
How to Reset or Repair Intel Graphics Command Center using Windows 10 Settings app?
If you have trouble opening Intel Graphics Command Center, resetting or repairing it may solve the problem. You need to perform the following steps on Windows 10 PC:-
Step 1. Open the Settings app.
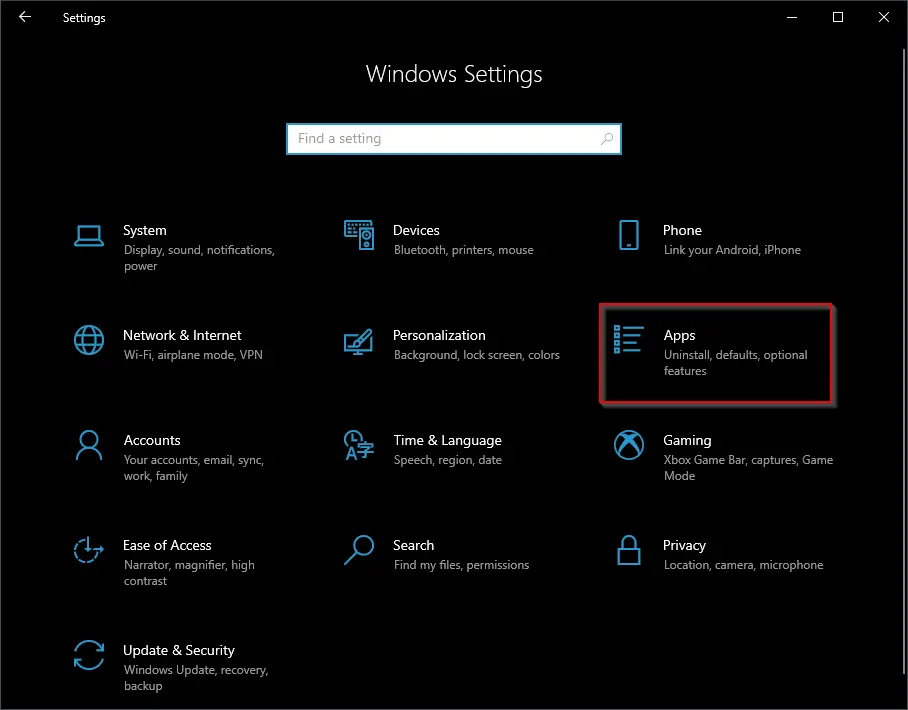
Step 2. In the Settings app that opens, click on the Apps category.
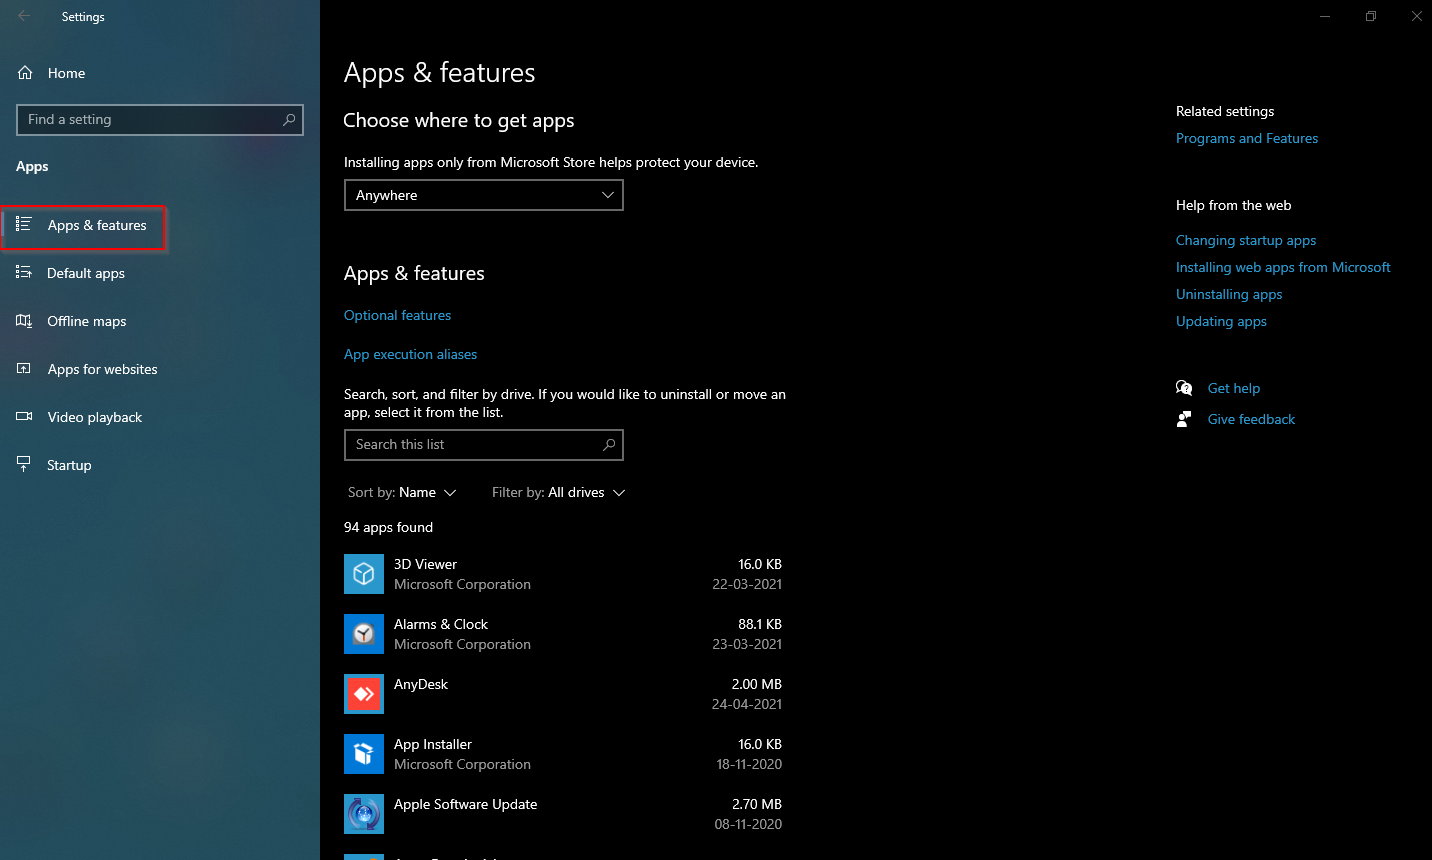
Step 3. In the Apps category, click Apps & features.
Step 4. On the right-side pane of Apps & features, scroll down to see the Intel Graphics Command Center. Click on its entry to expand the same.
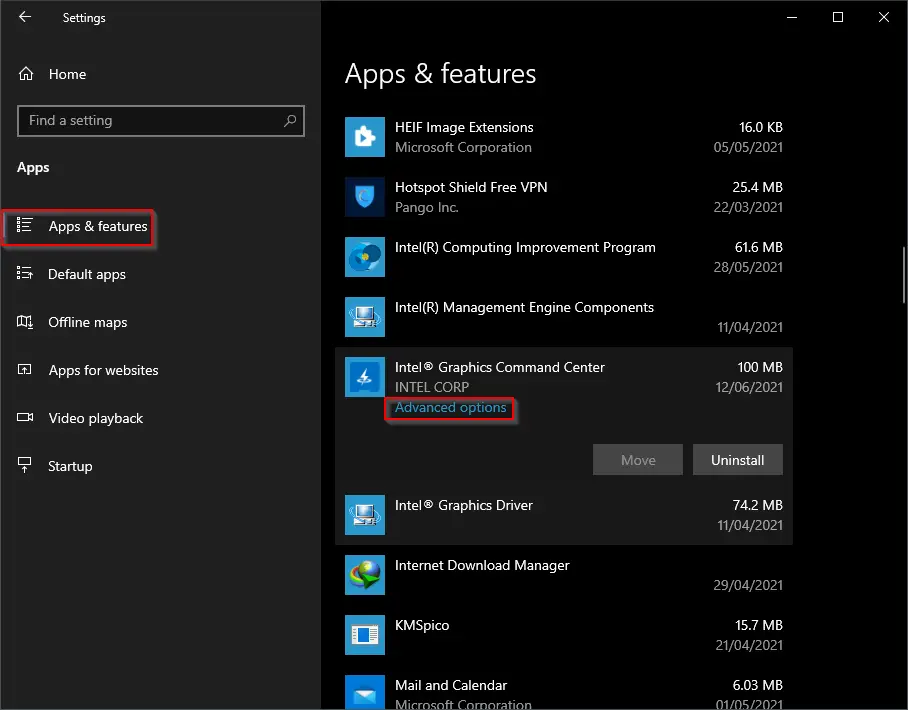
Step 5. Click the Advanced options link.
Step 6. In the next window that opens, scroll down to see the Reset and Repair buttons.
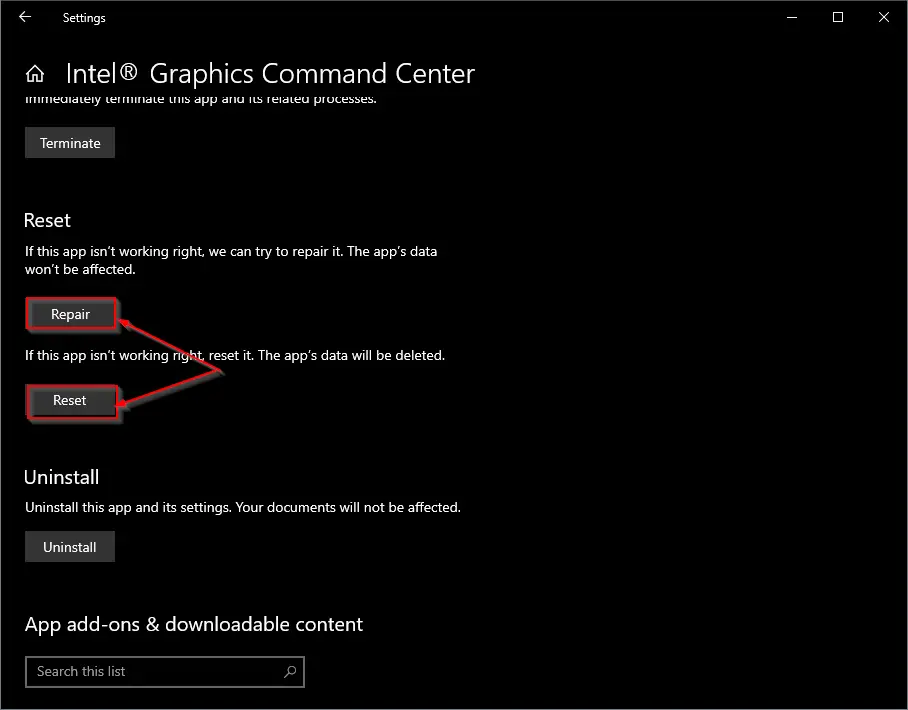
Your Intel Graphics Command Center app should start working after performing reset or repair options. The reset option will erase the data of the app, while the repair option will not.
How to Uninstall Intel Graphics Command Center on Windows 10?
If the Intel Graphics Command Center is not working on your PC or not opening on Windows 10, uninstalling and installing it may also solve the problem. You need to perform the following steps:-
Step 1. Open the Settings app by pressing the Windows logo + I keys simultaneously.
Step 2. In the Settings app, click the Apps category.
Step 3. In the Apps category, click Apps & features.
Step 4. Scroll down on the right-side pane to see the entry of the Intel Graphics Command Center.
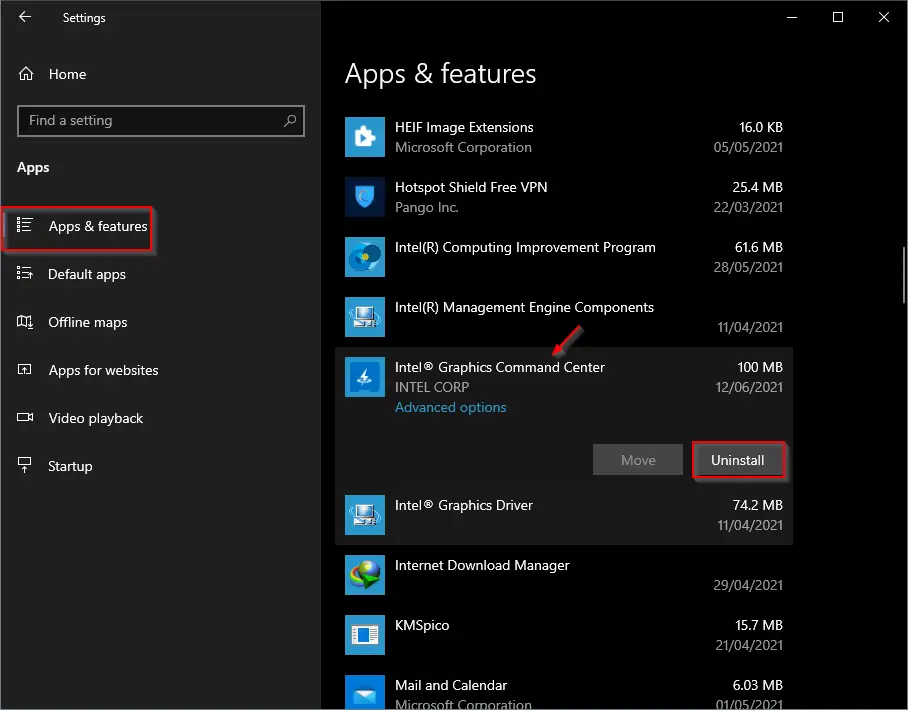
Step 5. Click the Uninstall button.
Step 6. Again click the Uninstall button on the pop-up dialog.

After executing the above steps, Intel Graphics Command Center should not exist on your Windows 10 computer or laptop.
How to Reset or Repair Intel Graphics Command Center in Windows 11 Settings app?
If you have trouble opening Intel Graphics Command Center, resetting or repairing it may solve the problem. You need to perform the following steps on Windows 11 PC:-
Step 1. Open the Settings app.
Step 2. In the Settings window, click on the Apps category.
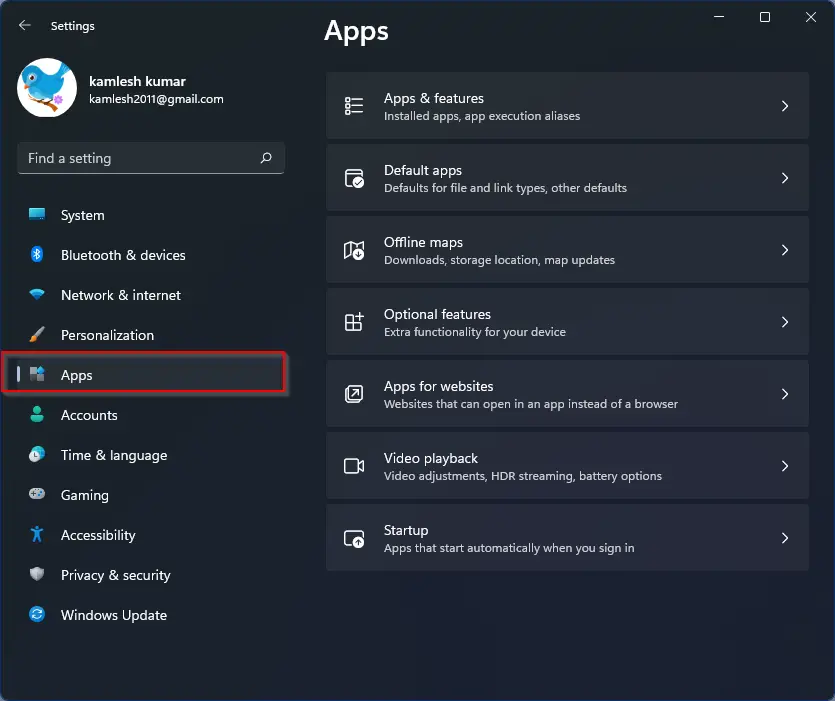
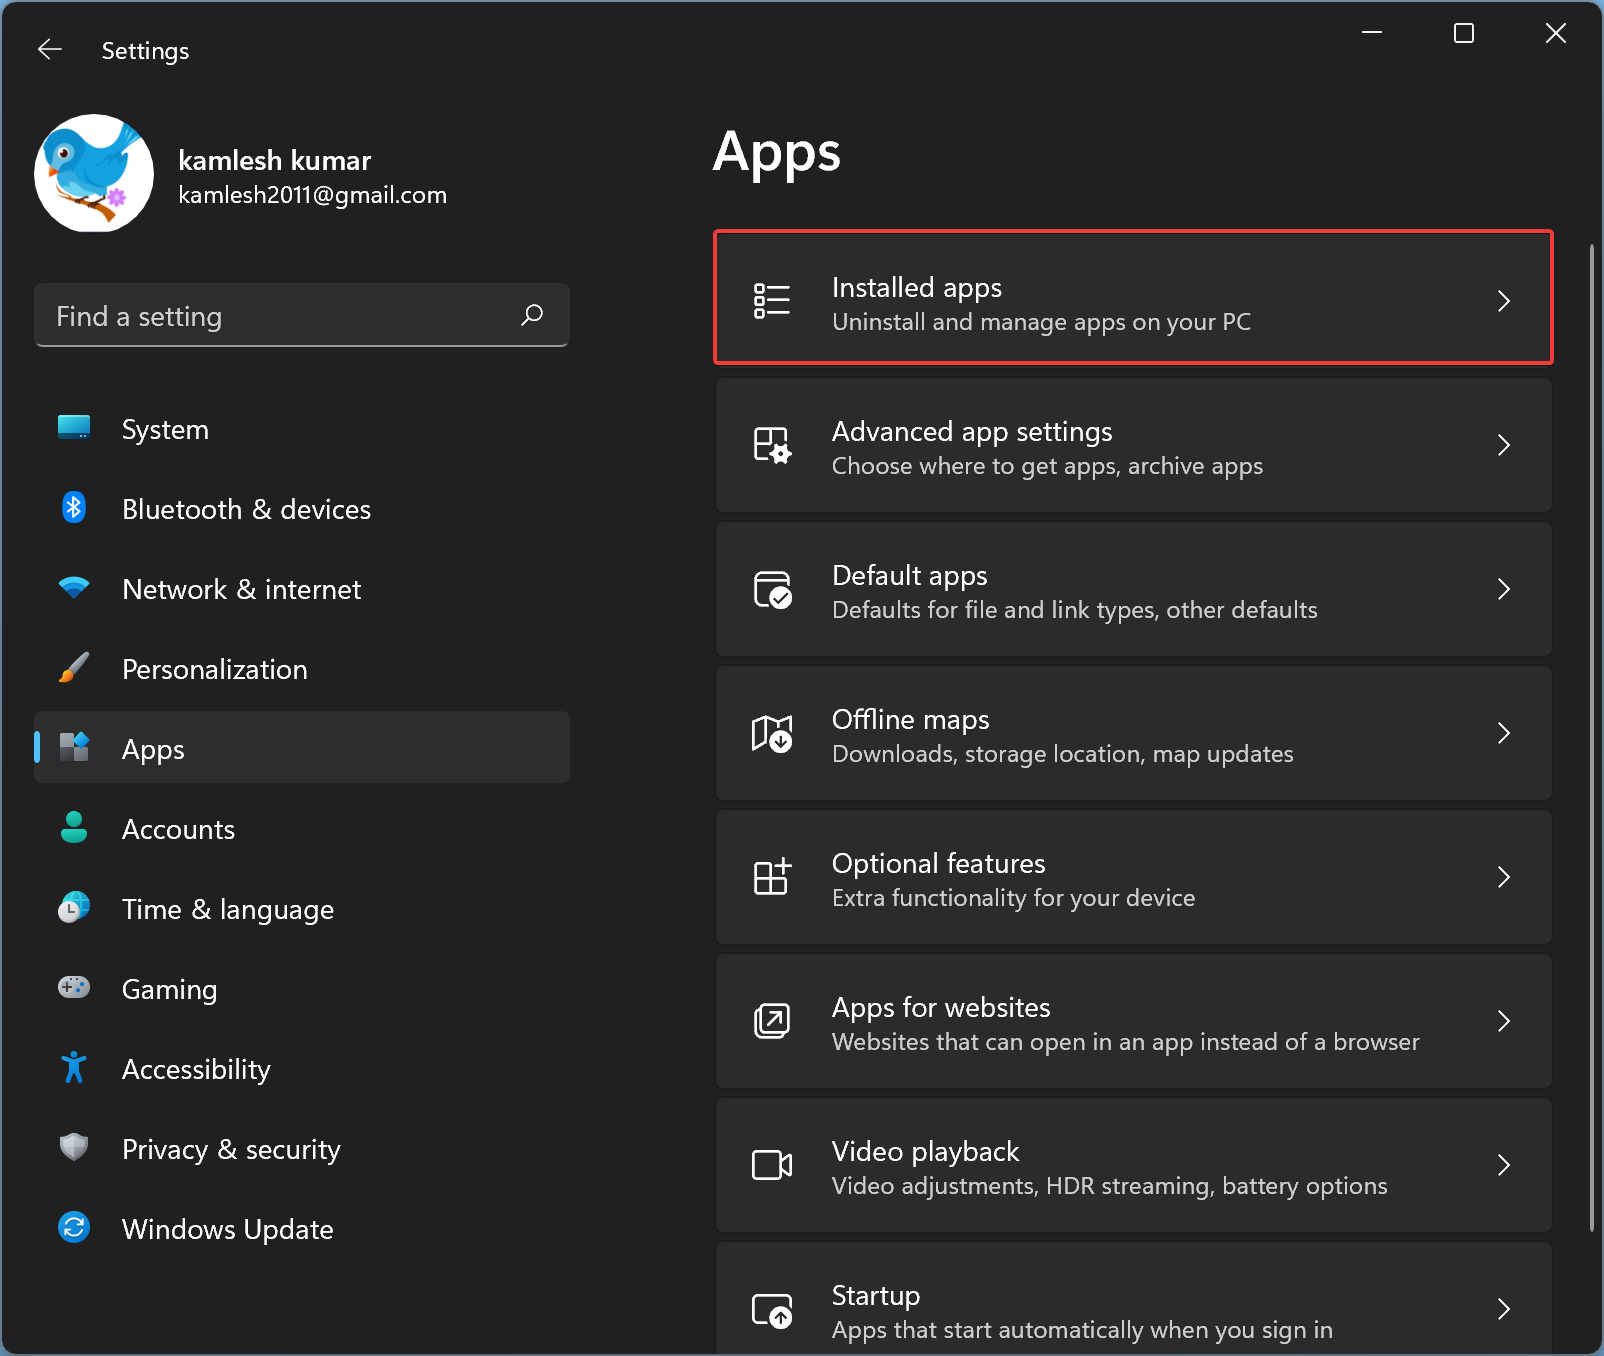
Step 3. On the right side of “Apps,” click on the Installed apps tile.
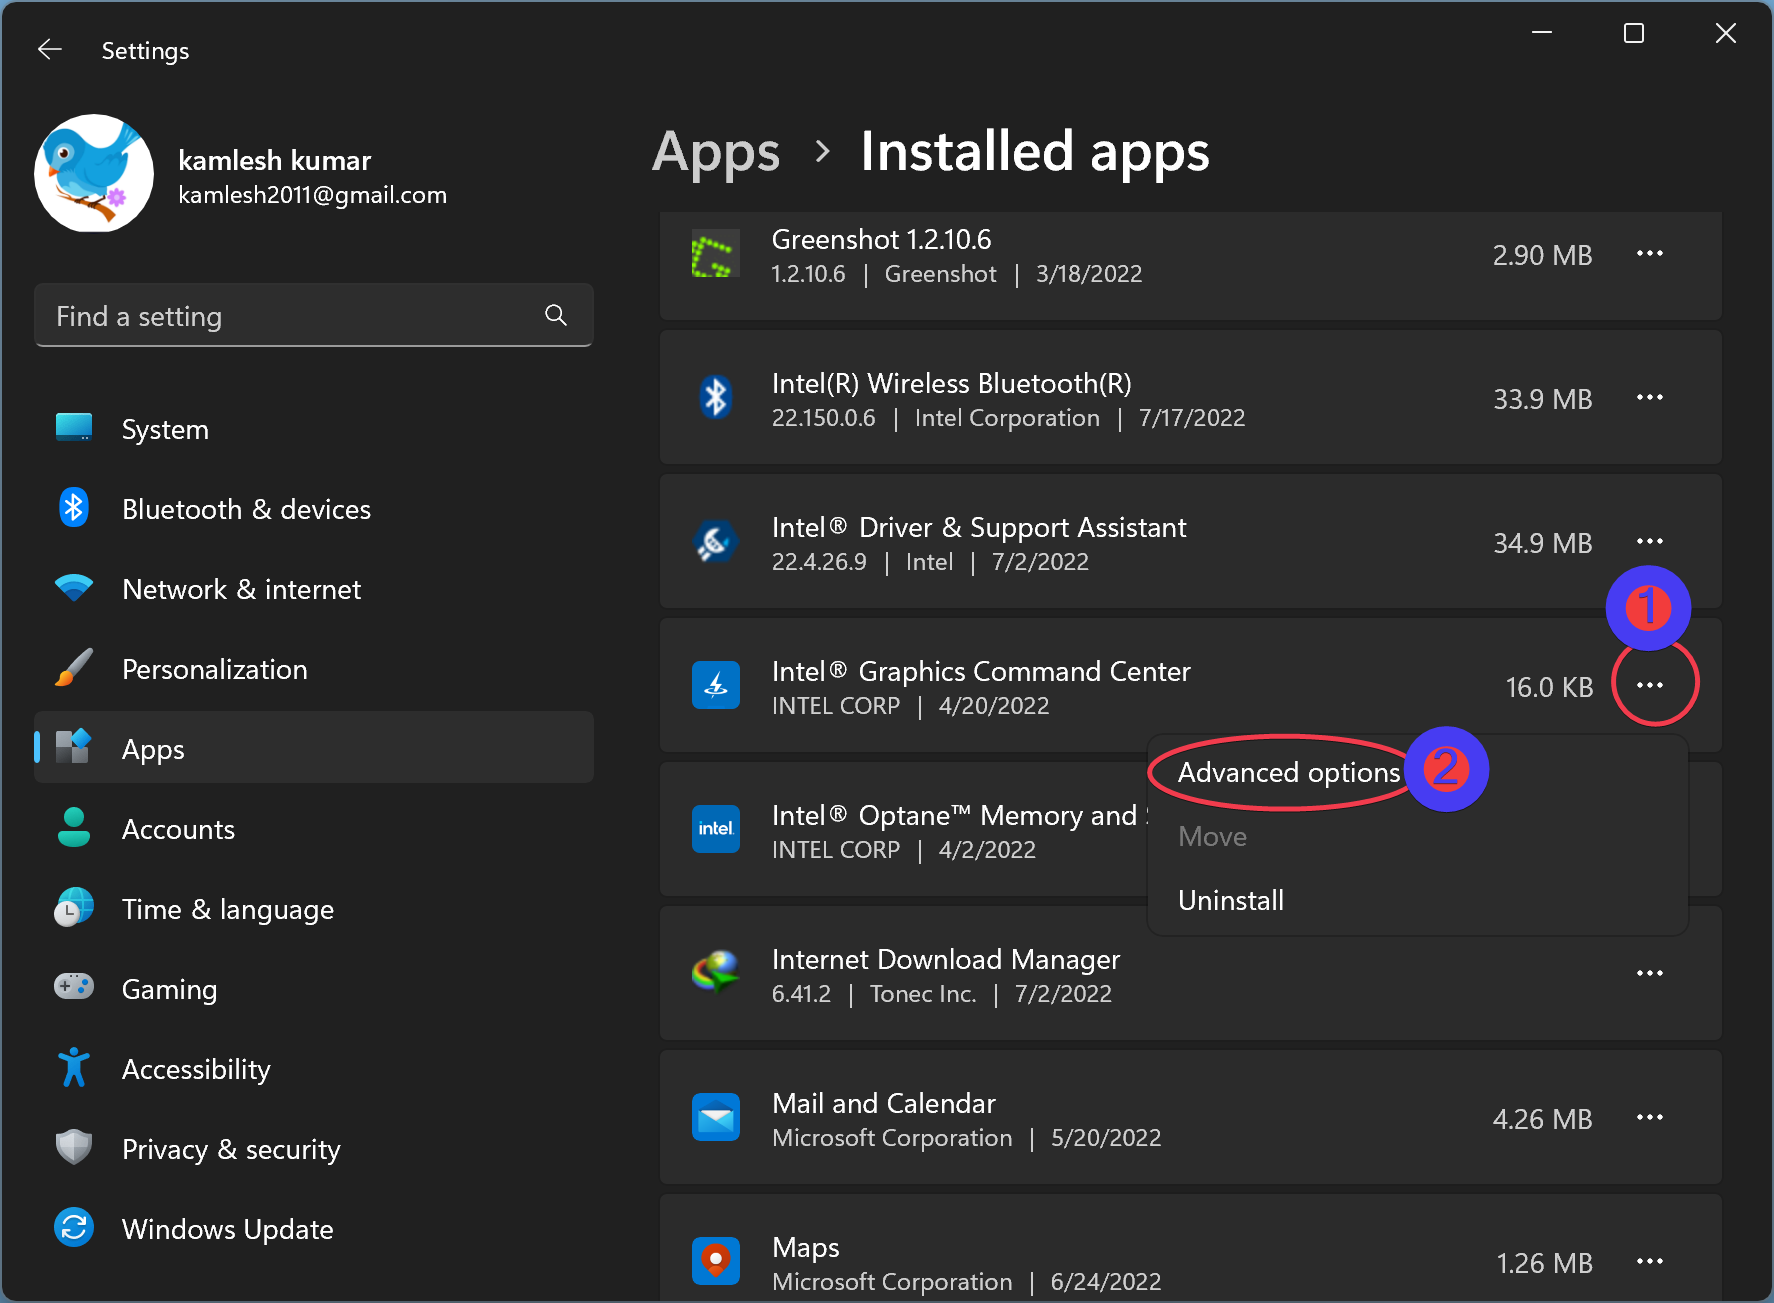
Step 4. Besides the Intel Graphics Command Center entry, click on the three-dots menu and select Advanced options in the pop-up menu.
Step 5. In the following screen, scroll down to find the Reset and Repair buttons.
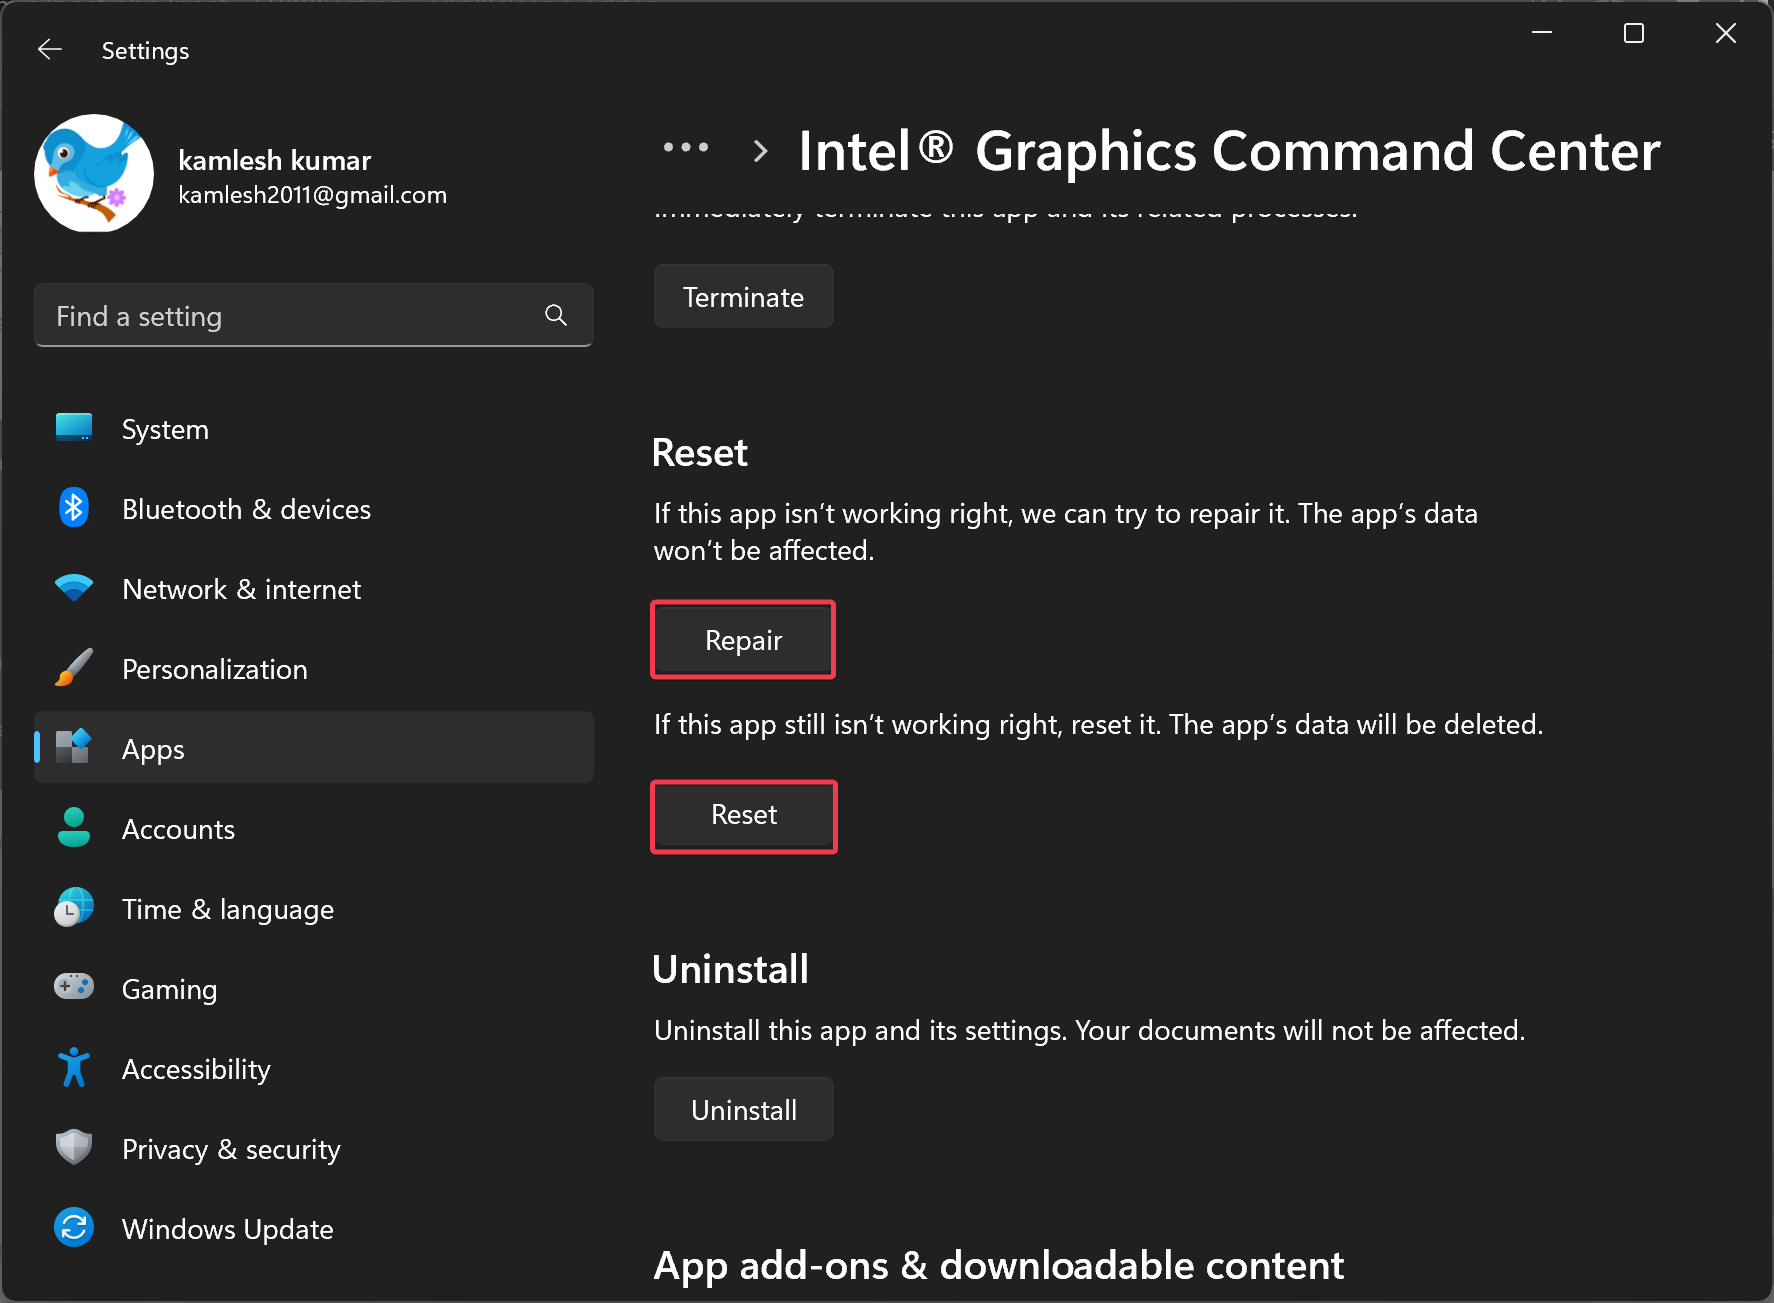
Here, click on the Repair button to repair the Intel Graphics Command Center app.
If still, the app is not working, click the Reset button to erase the data of the app. Now, the app should start working.
How to Uninstall Intel Graphics Command Center on Windows 11?
If the Intel Graphics Command Center is not working on your PC or not opening on Windows 11, uninstalling and installing it may also solve the problem. You need to perform the following steps:-
Step 1. Open the Settings app by pressing the Windows + I keyboard shortcut.
Step 2. In the Settings window, click the Apps category.
Step 3. On the right side of “Apps,” click on the Installed apps tile.
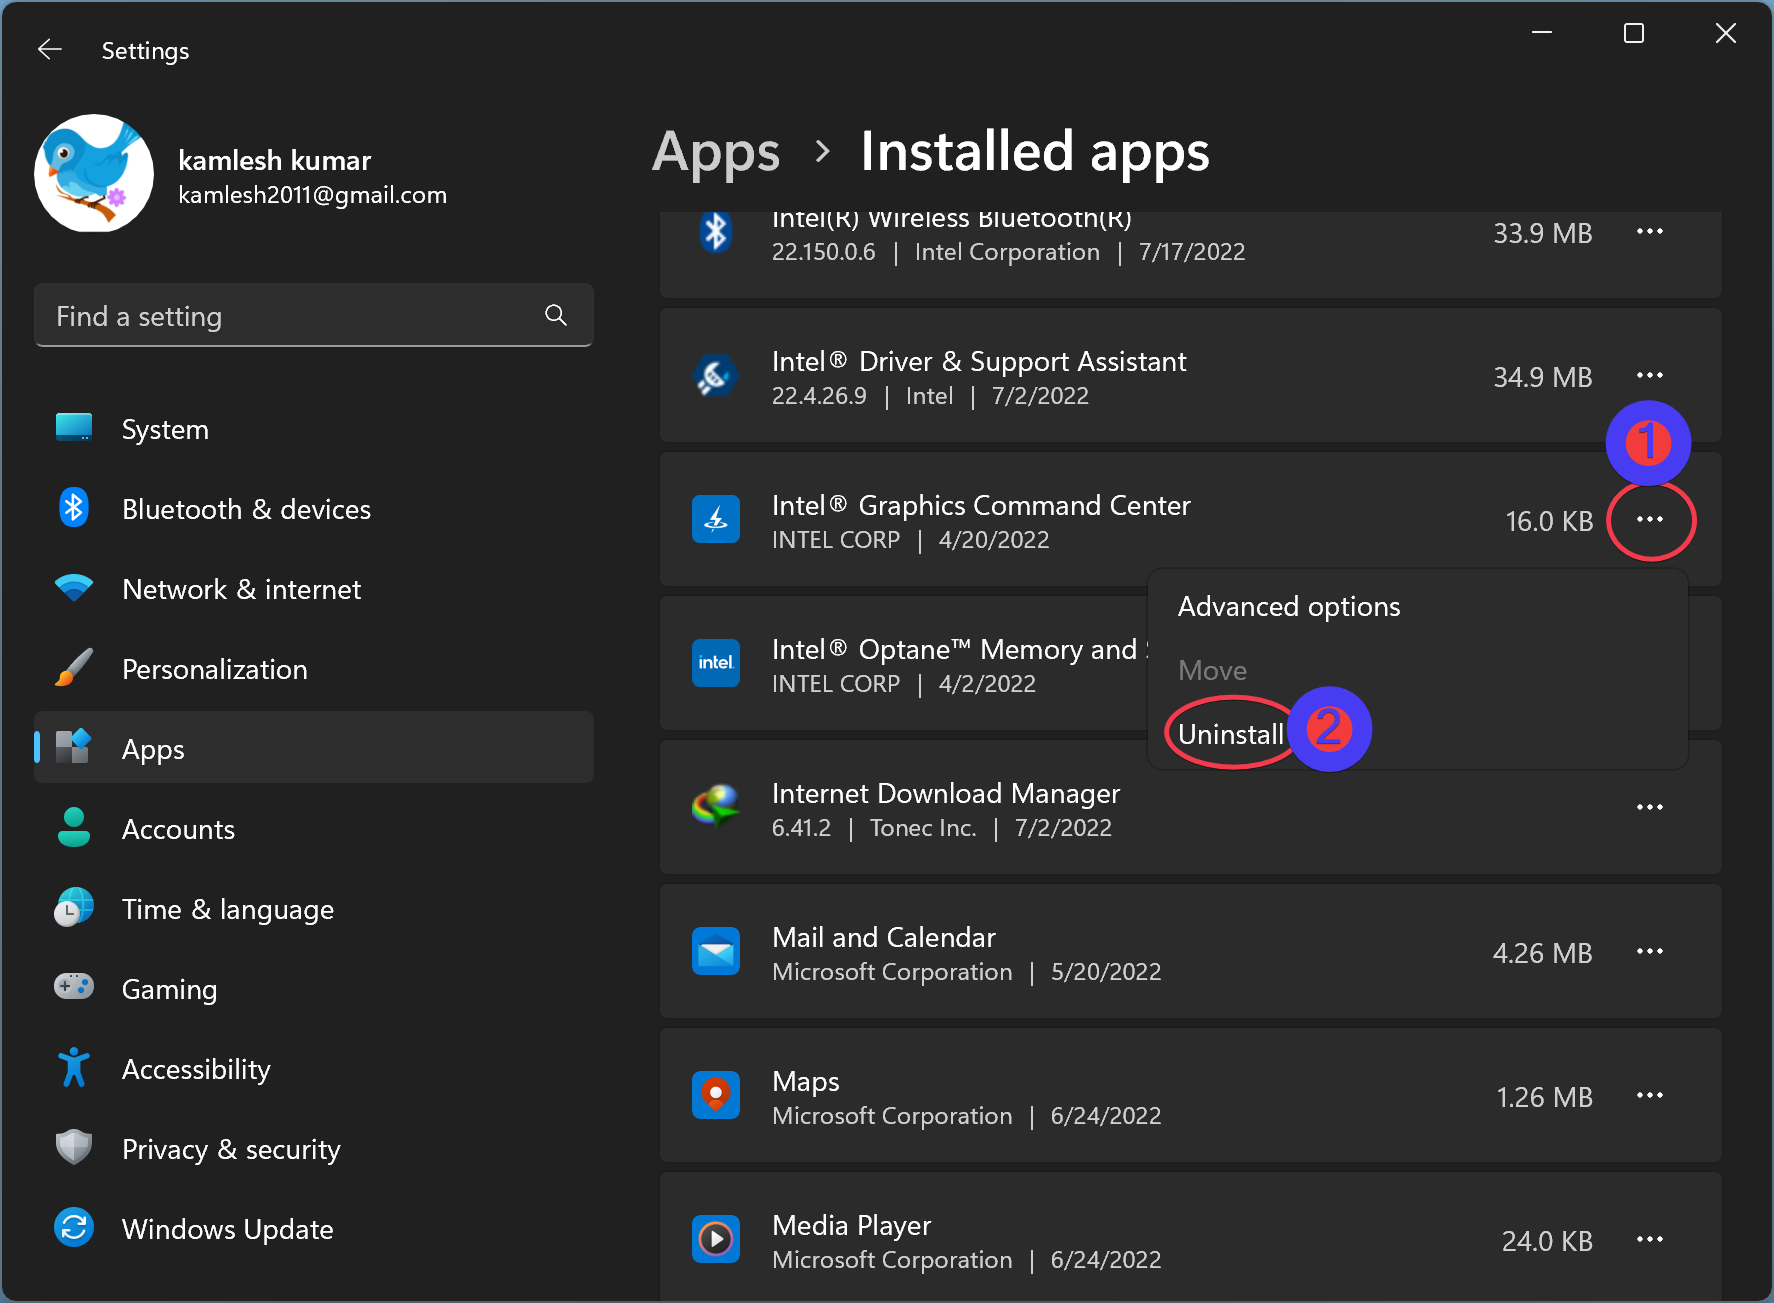
Step 4. Besides the Intel Graphics Command Center entry, click on the three-dots menu and select the Uninstall option in the pop-up menu.
Step 5. Click Uninstall again on the pop-up window.
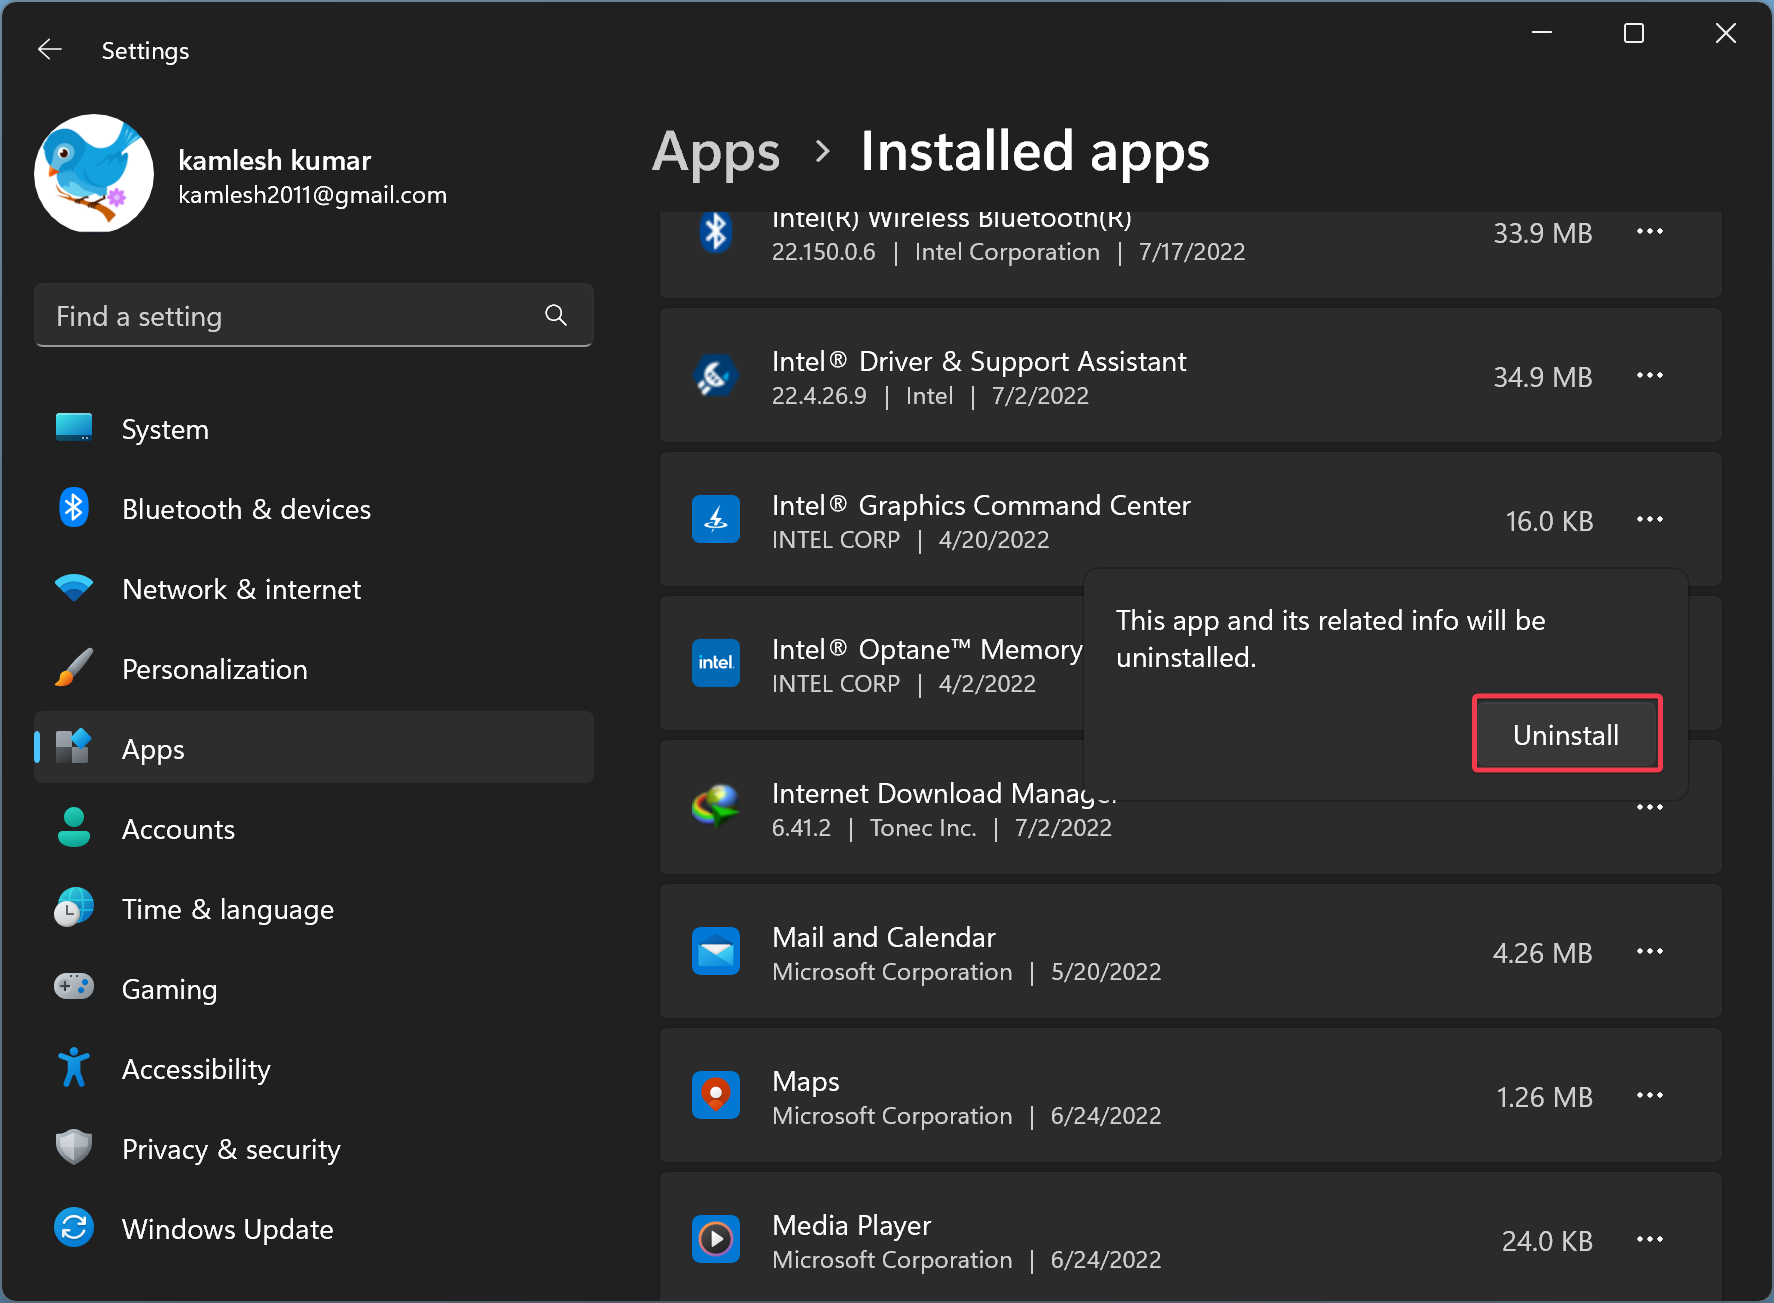
Once you complete the above steps, the Intel Graphics Command Center application is removed from your computer.
How to Reinstall Intel Graphics Command Center on Windows 11 or 10?
To reinstall Intel Graphics Command Center in Windows 11 or 10, use these steps:-
Step 1. Navigate to the Microsoft Store page and click on the Get button.
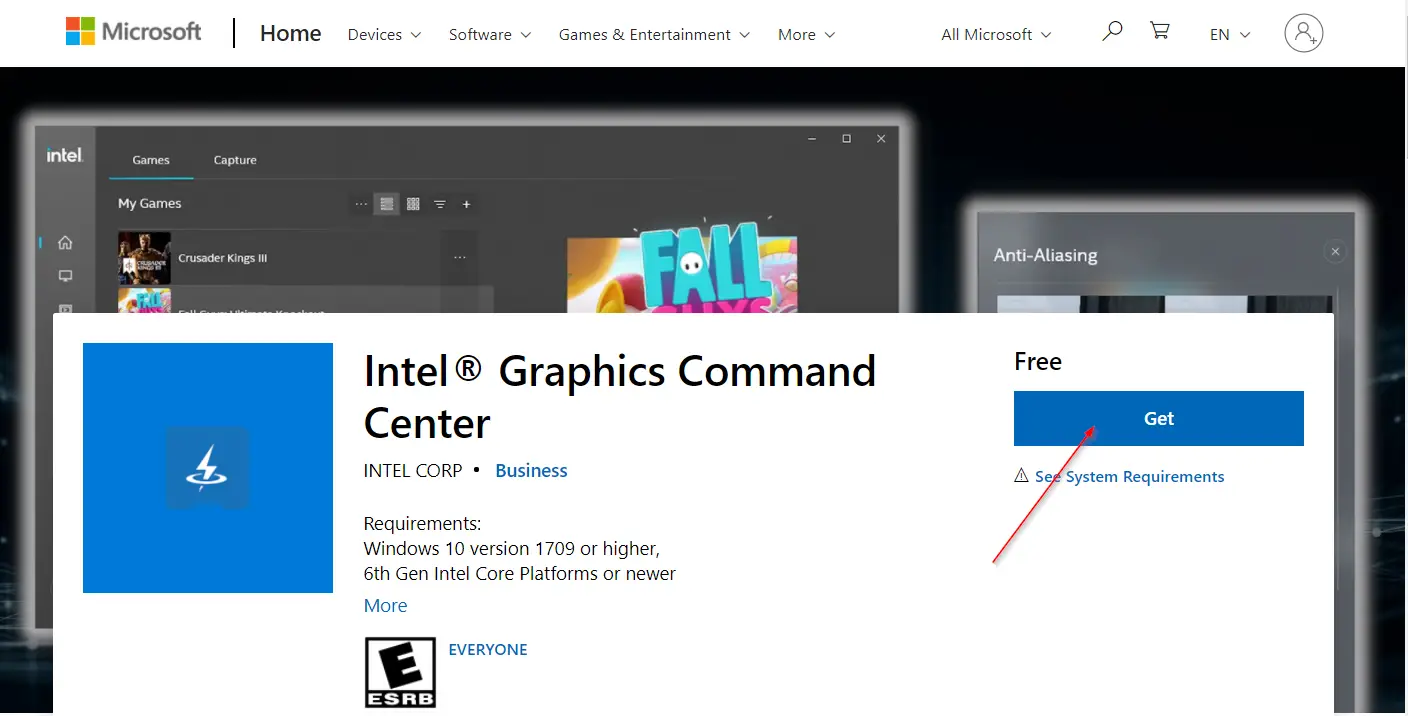
Step 2. Microsoft Store app will open; click on the Get button to download and install it on your PC.
How to Reset or Reinstall the Intel Graphics Driver?
If the Graphics Command Center does not display your graphics information accurately, you may have installed the faulty graphics driver. Resetting or reinstalling the graphics driver should fix the issue.
Conclusion
In conclusion, the new Intel Graphics Command Center offers a fresh and modern design that allows users to change various display settings and view information about their Intel graphics. However, some users may experience issues with the app not opening or working correctly. This article has provided solutions to fix these issues, including resetting or repairing the app, uninstalling and reinstalling it, and resetting or reinstalling the Intel graphics driver. By following these steps, users can ensure that they are able to use the Intel Graphics Command Center to its full potential.
