Opera is not just a feature-rich web browser; it also comes with a built-in Virtual Private Network (VPN) that allows users to enhance their online privacy and security. Whether you want to access geo-restricted content, protect your personal data while on public Wi-Fi, or simply maintain anonymity while browsing the web, Opera’s VPN is a powerful tool at your disposal. In this tutorial, we will guide you through the complete setup process for using Opera’s built-in VPN.
How to Use Opera’s Built-in VPN?
To use Opera’s built-in VPN, follow these steps:-
Step 1. If you haven’t already, download and install the Opera browser from the official website. Ensure you are using the latest version, as VPN features may vary in older versions.
Step 2. Once Opera is installed, open the browser by double-clicking its icon on your desktop.
Step 3. In the Opera browser, click on the Opera logo in the top-left corner to open the menu.
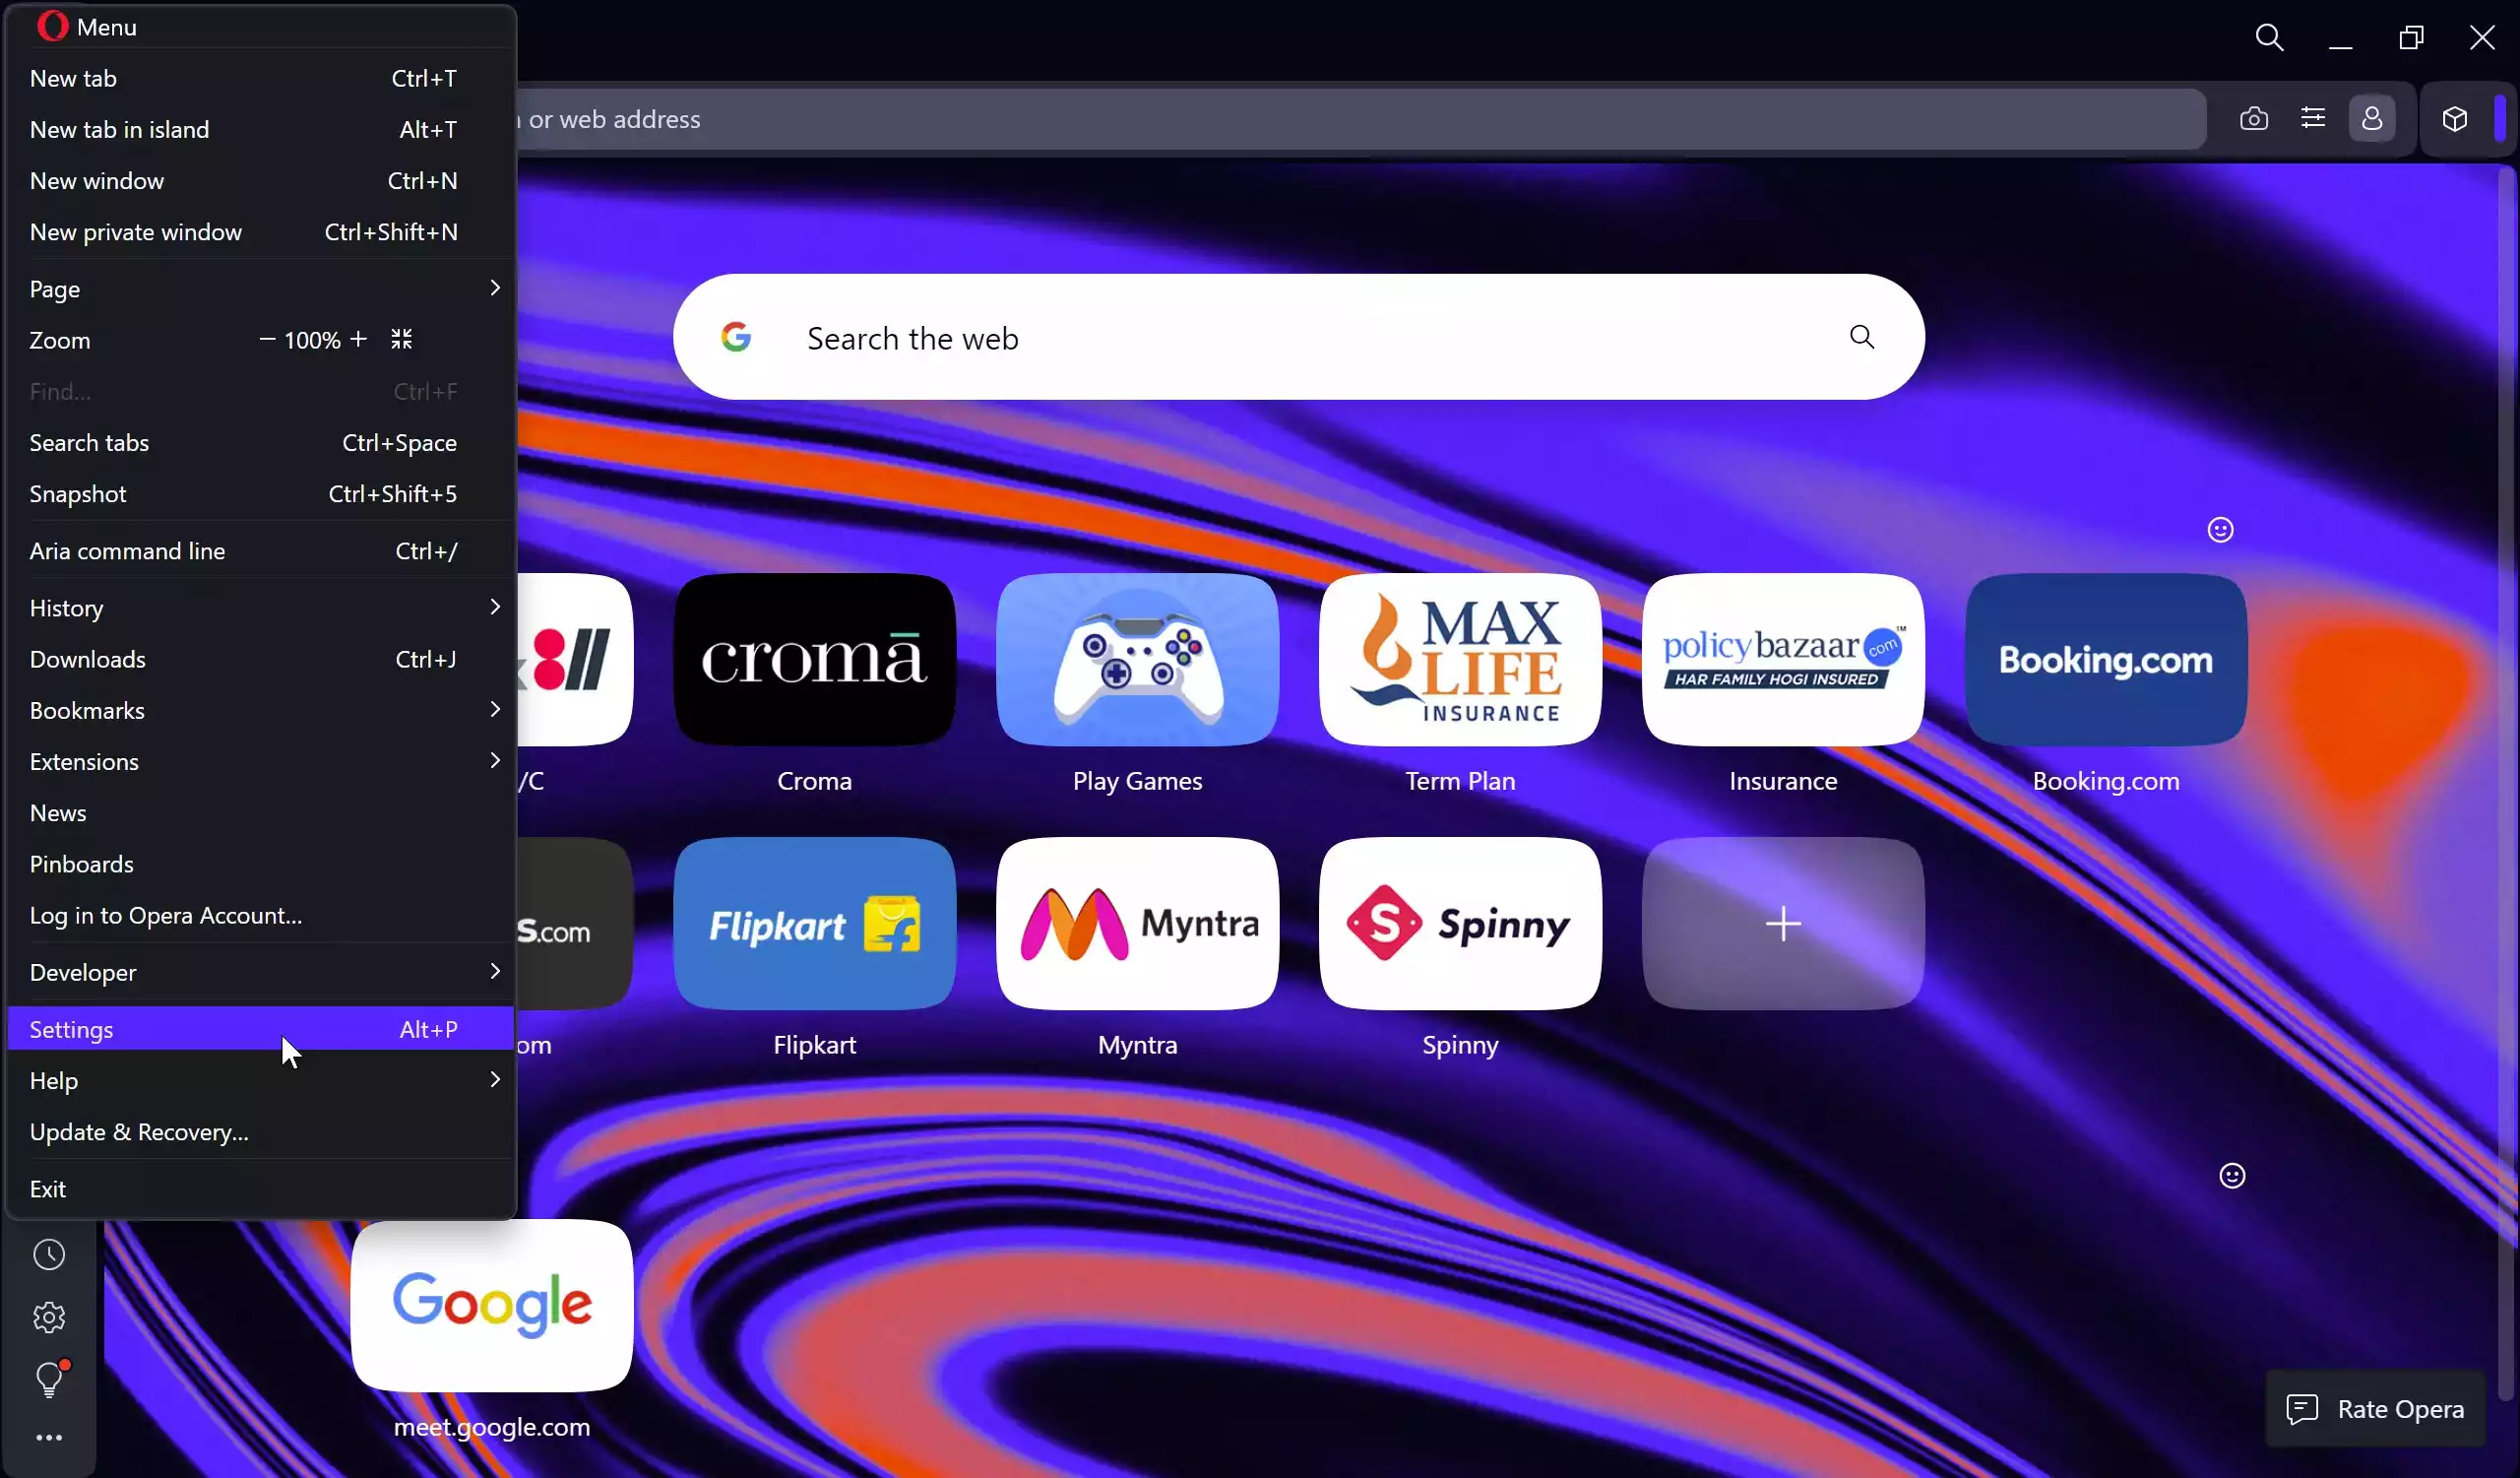
Step 4. Select “Settings” from the dropdown menu.
Quick Note: You can also open Opera Settings by pressing the Alt+P keyboard shortcut.
Step 5. In the Settings menu, navigate to the “Privacy & security” section on the left sidebar.
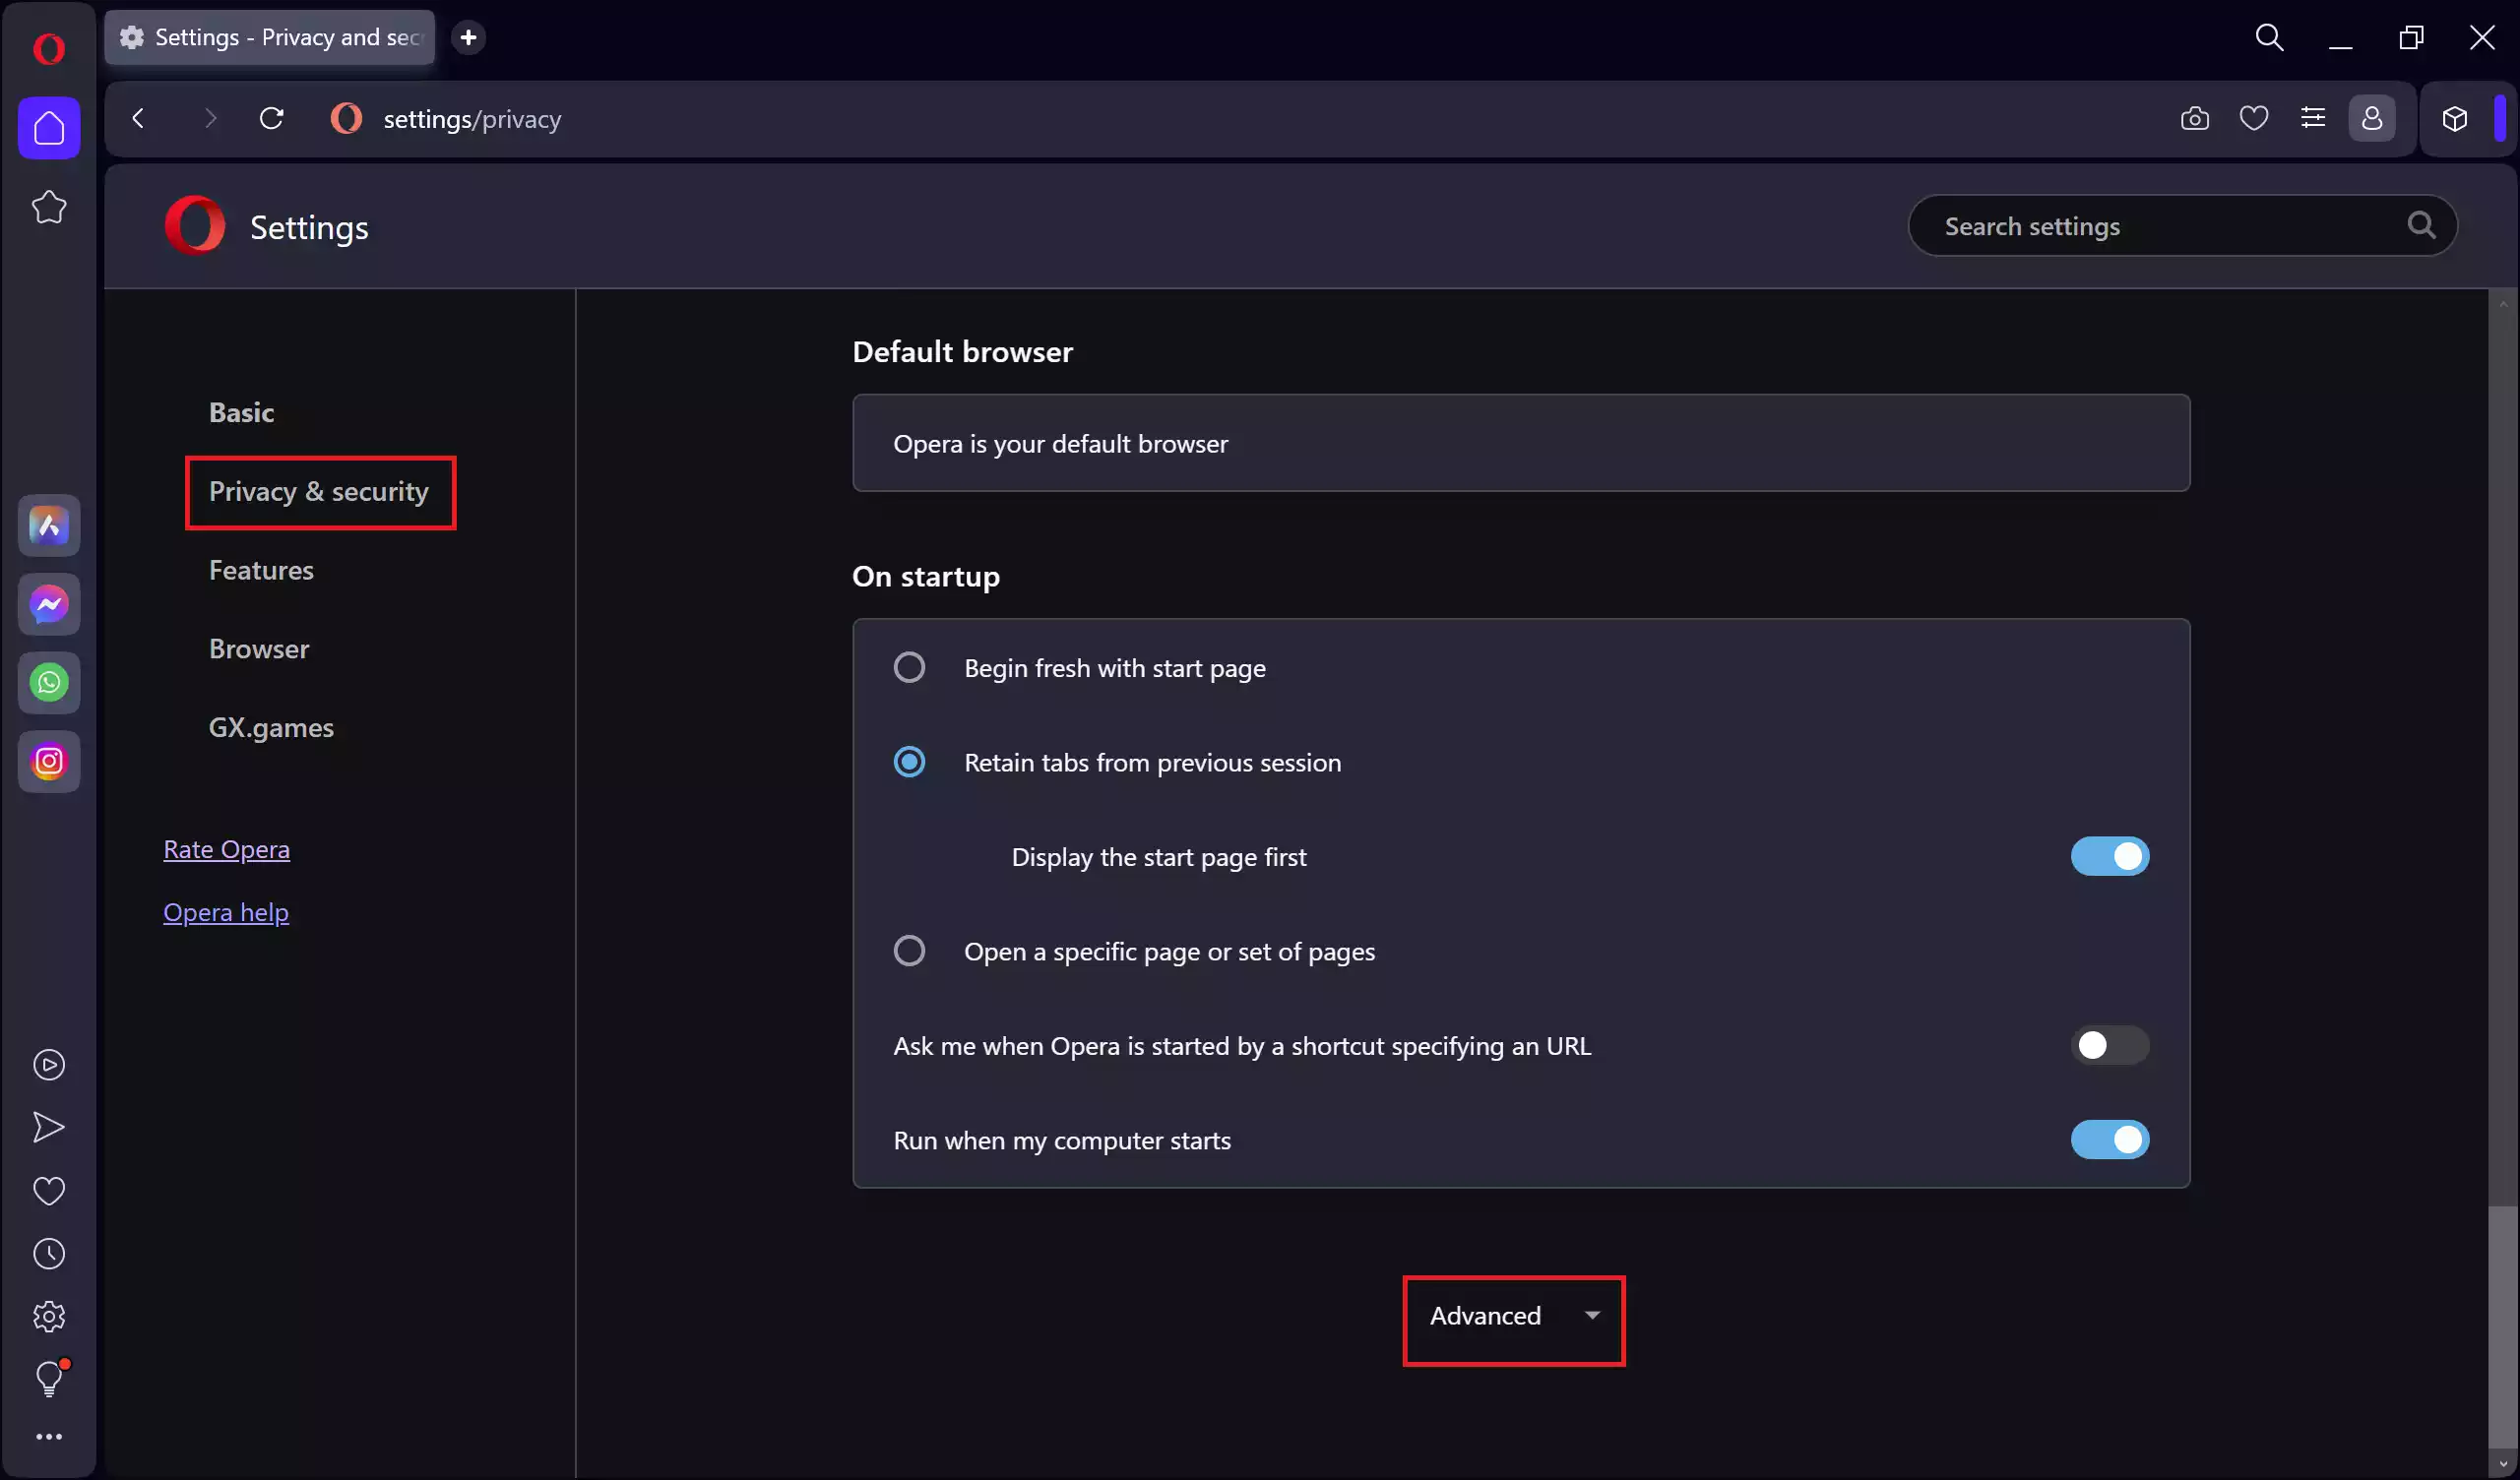
Step 6. On the right sidebar, scroll down to the end and click on the Advanced option.
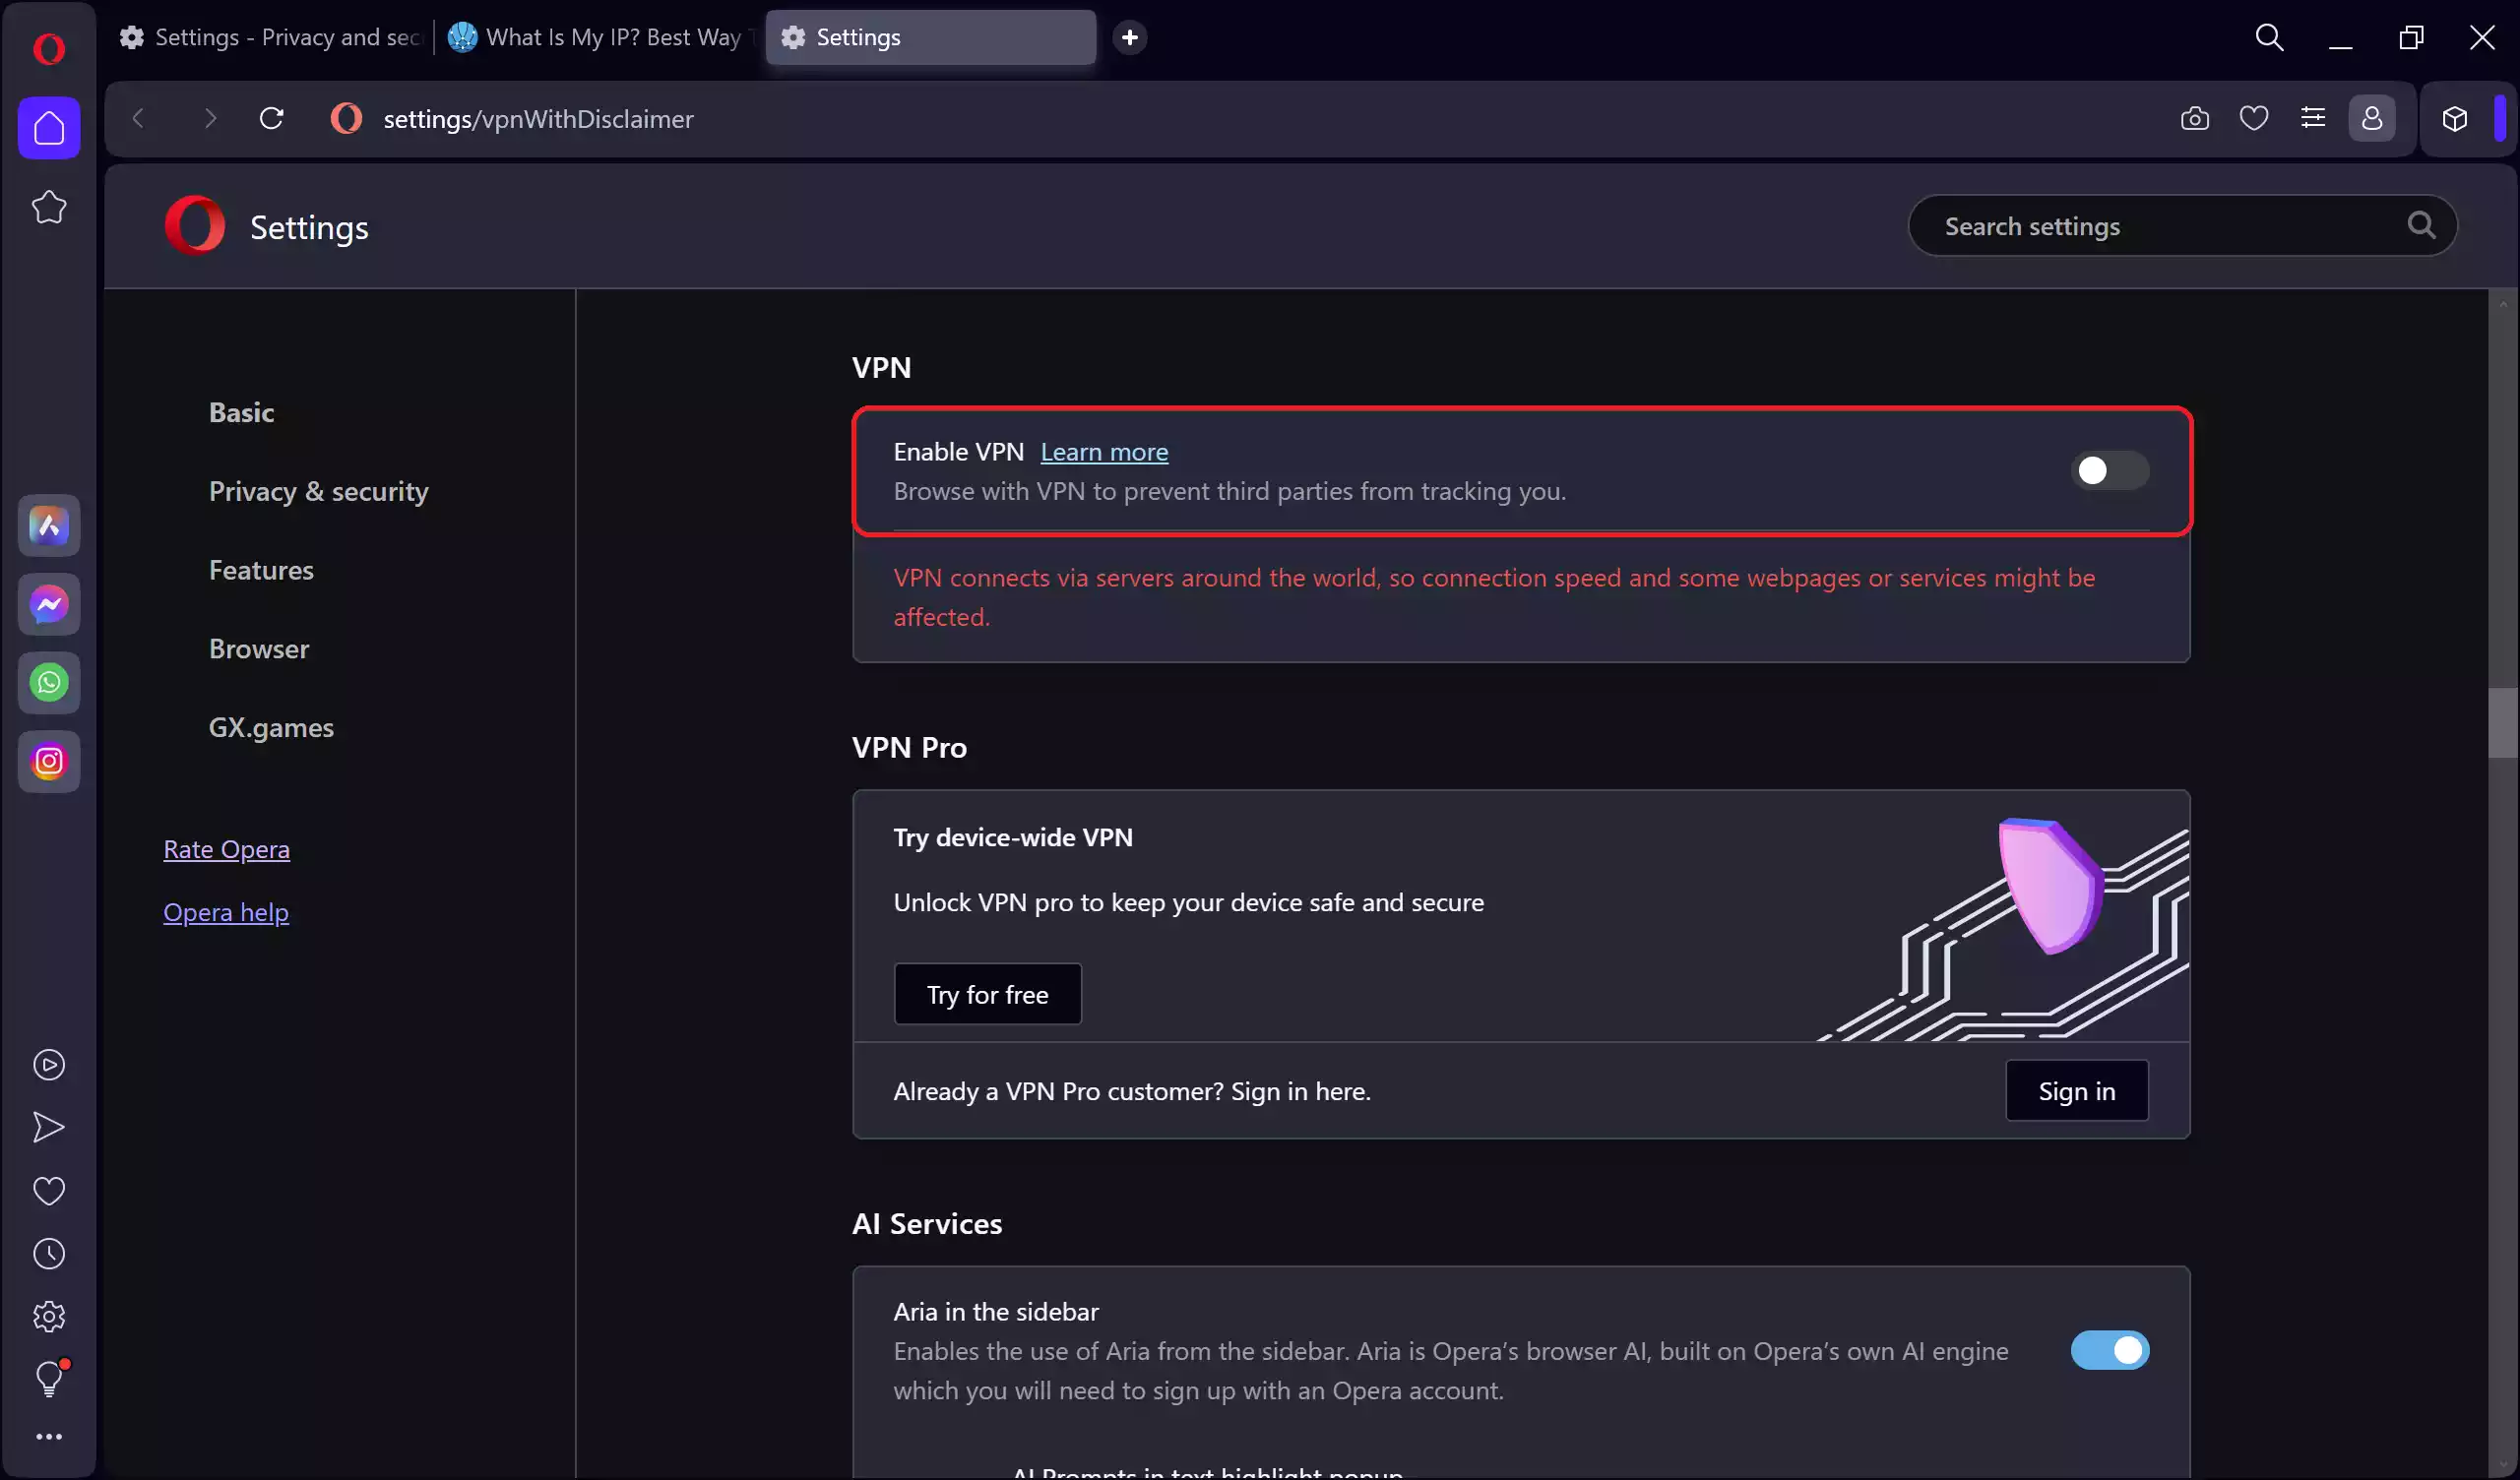
Step 7. Scroll down to the “VPN” section and click on “Enable VPN.”
Optional: You can also enable “Connect to VPN when starting browser” and “Enable default search engines by bypassing VPN.”
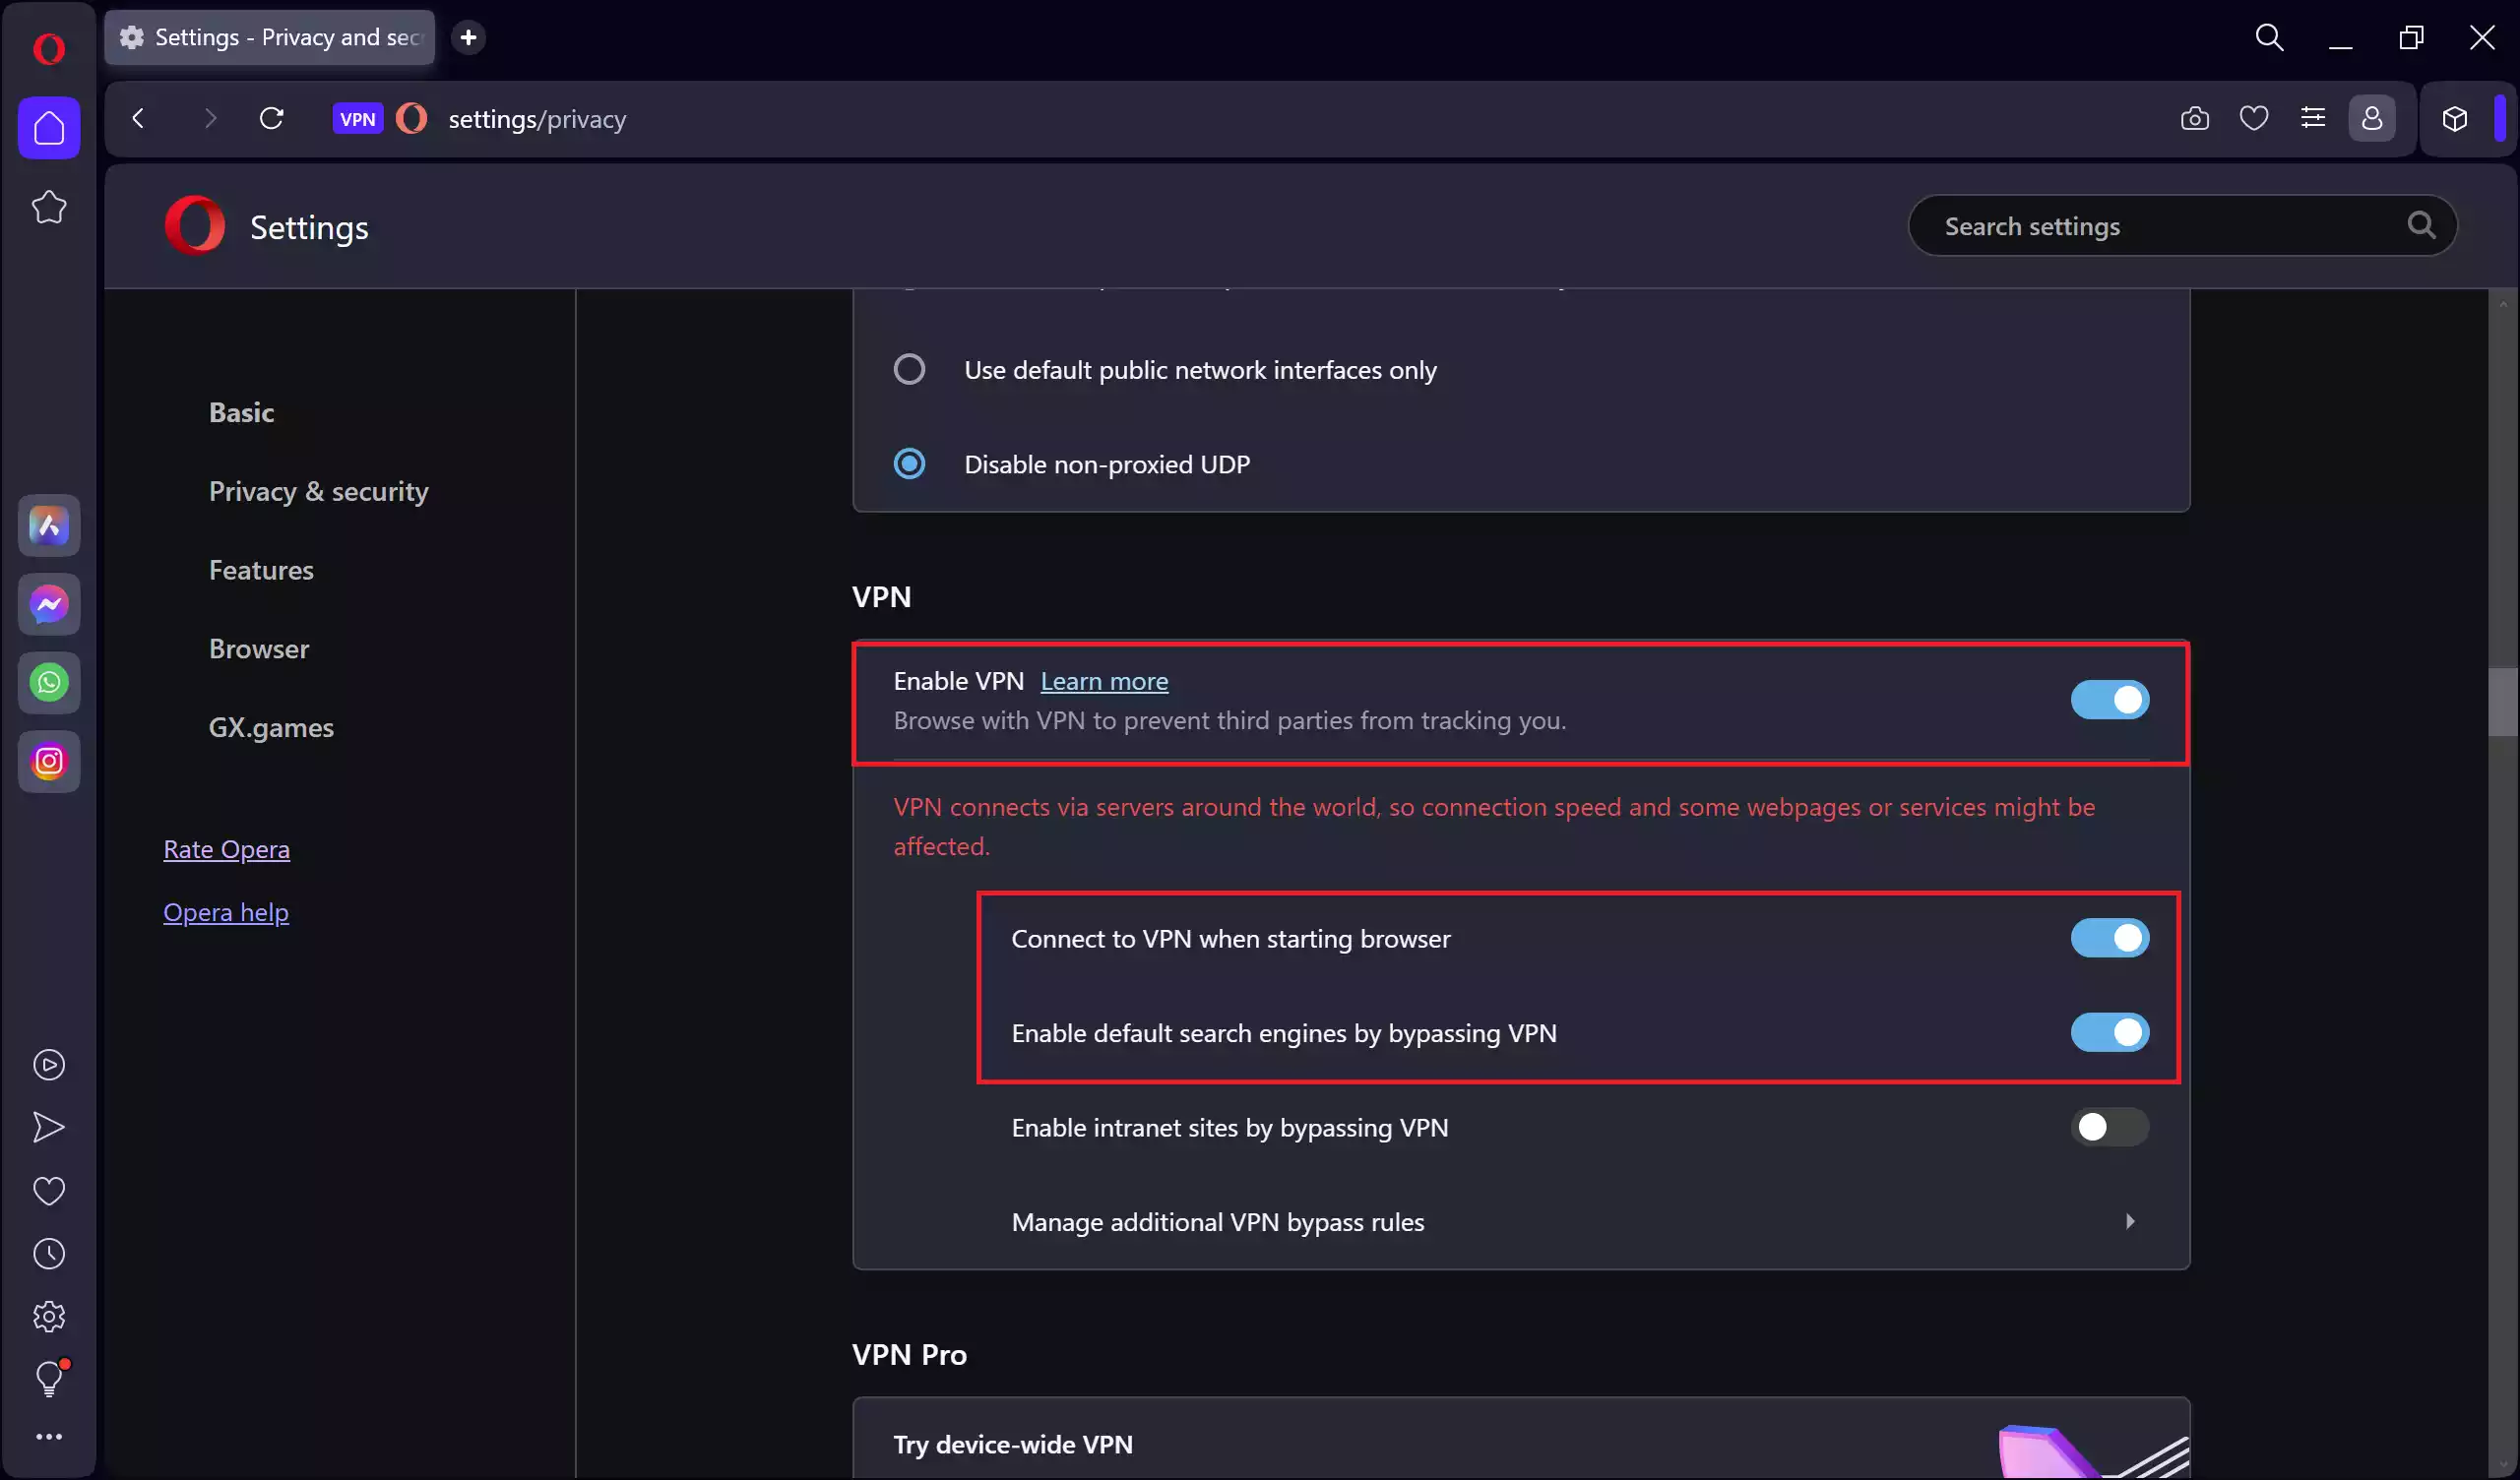
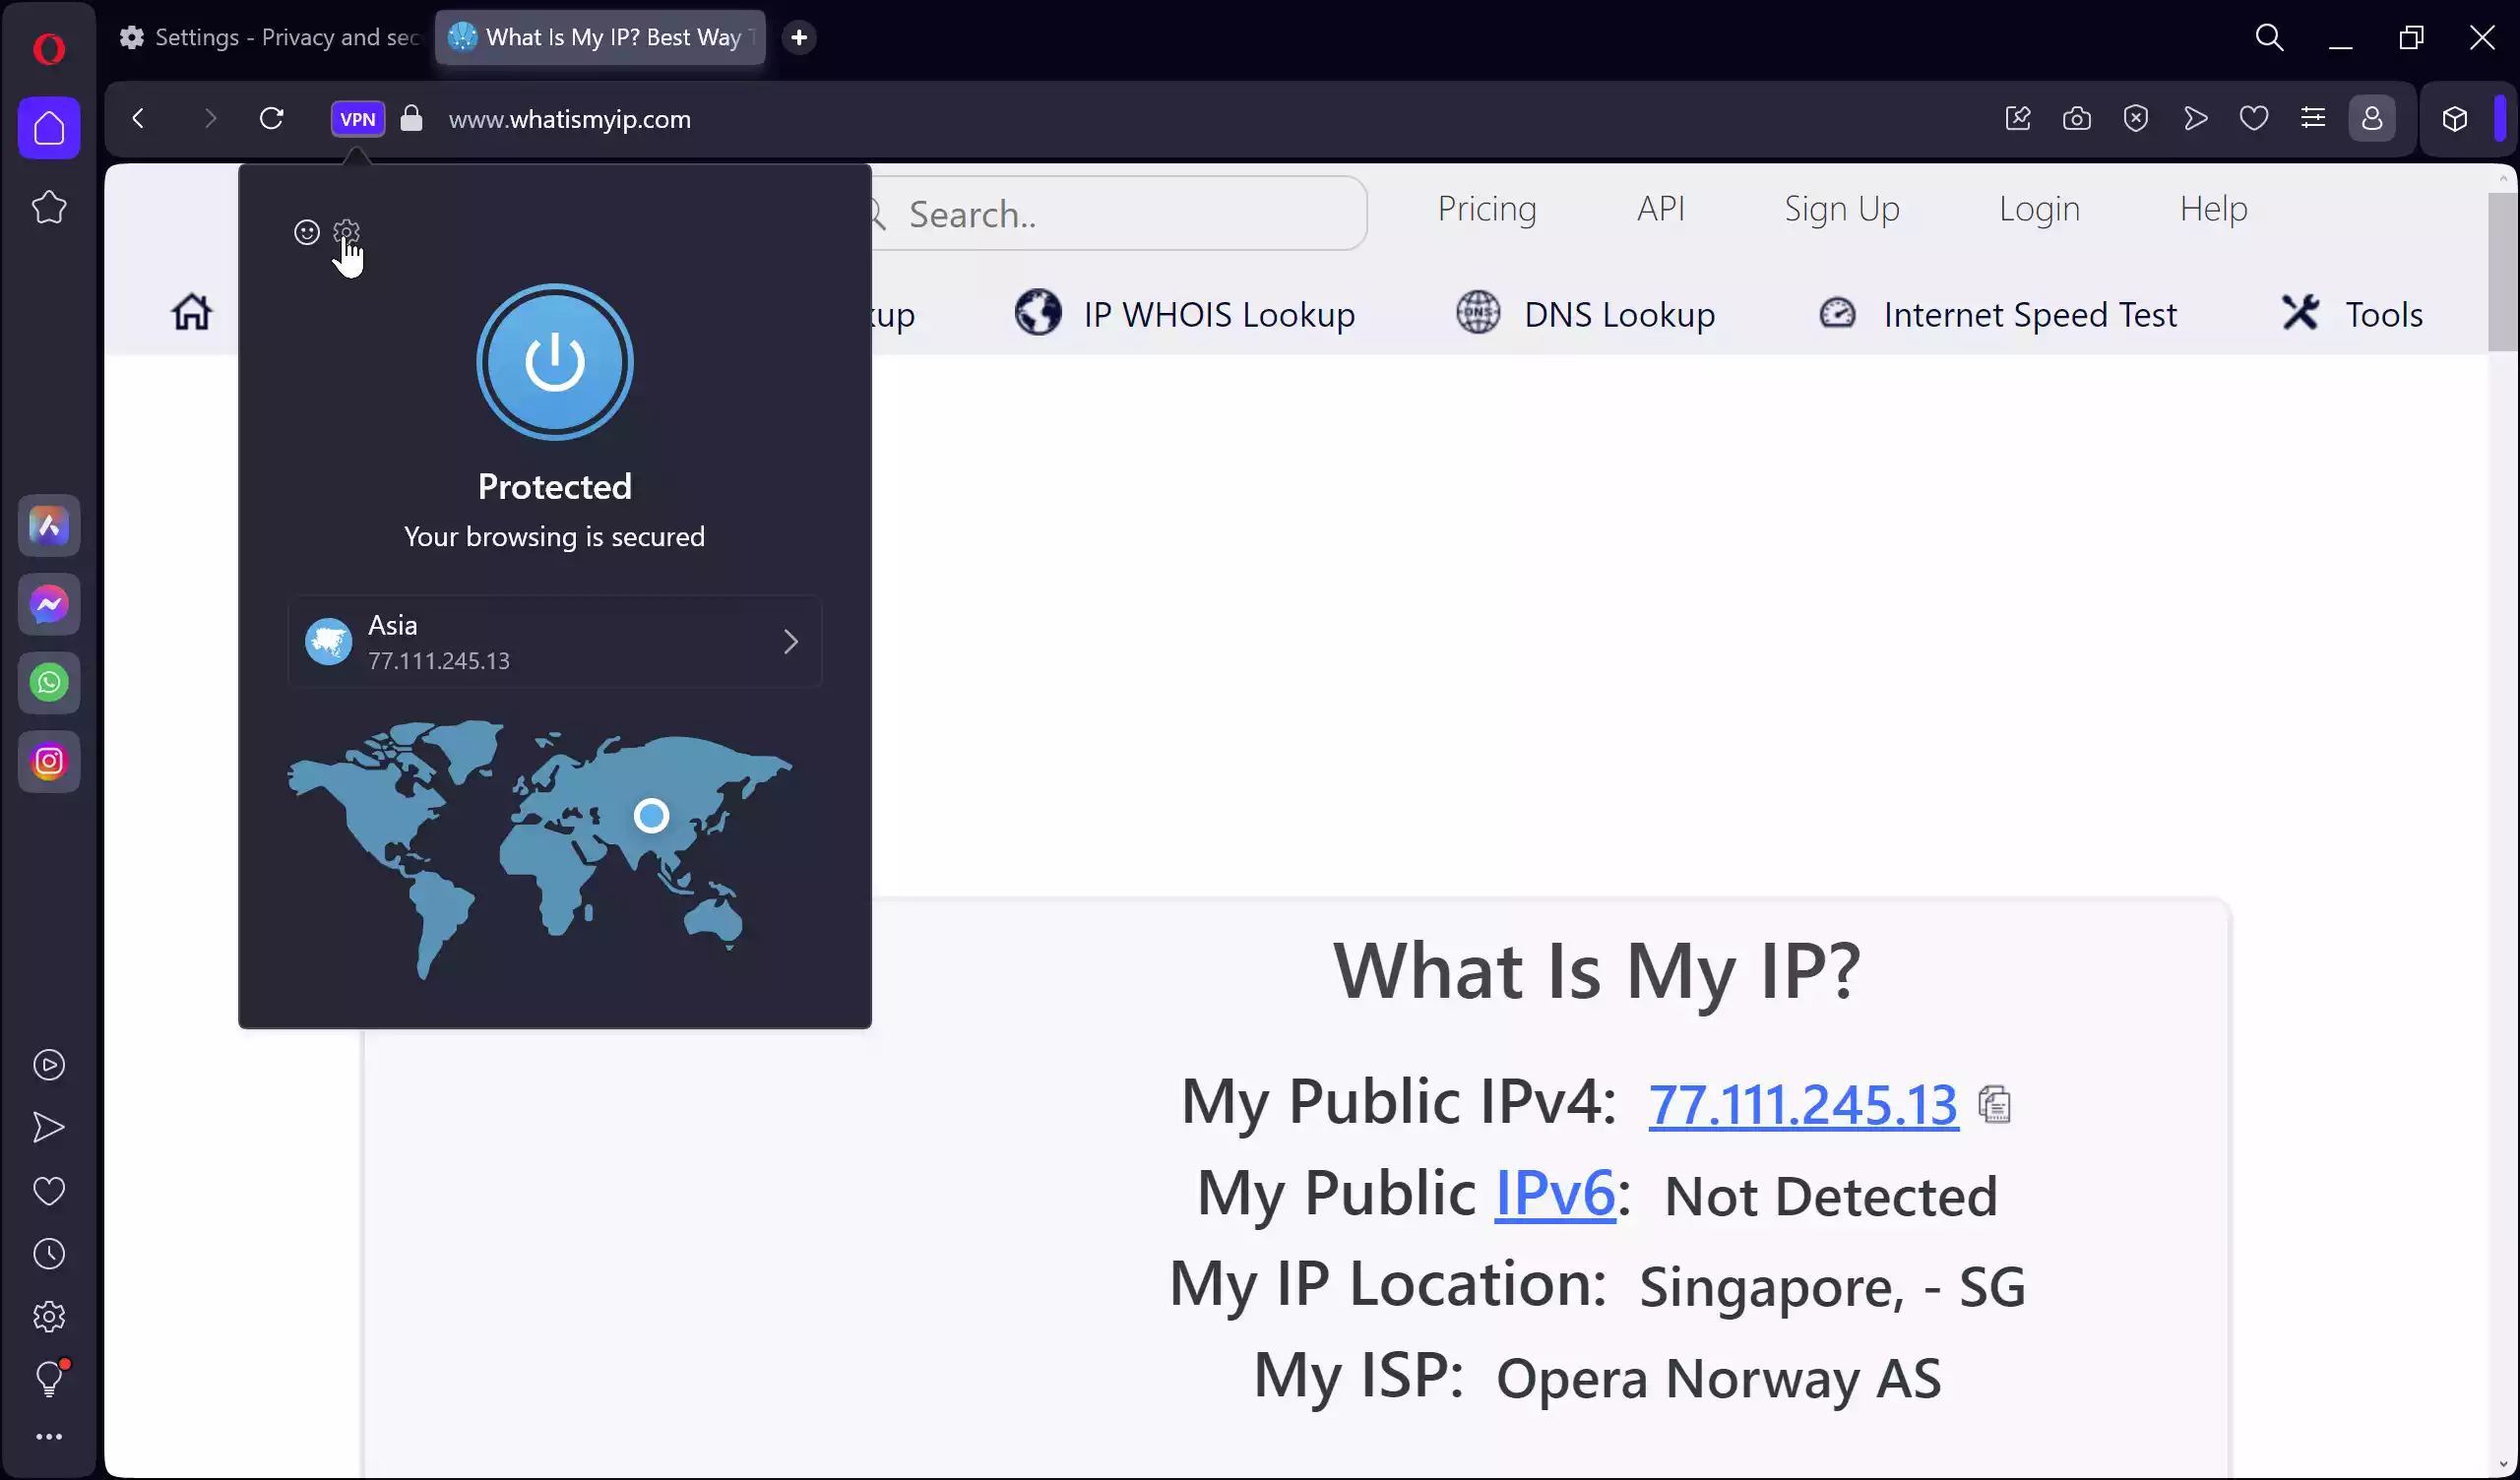
Step 8. With the VPN enabled, a blue VPN icon will appear in the address bar.
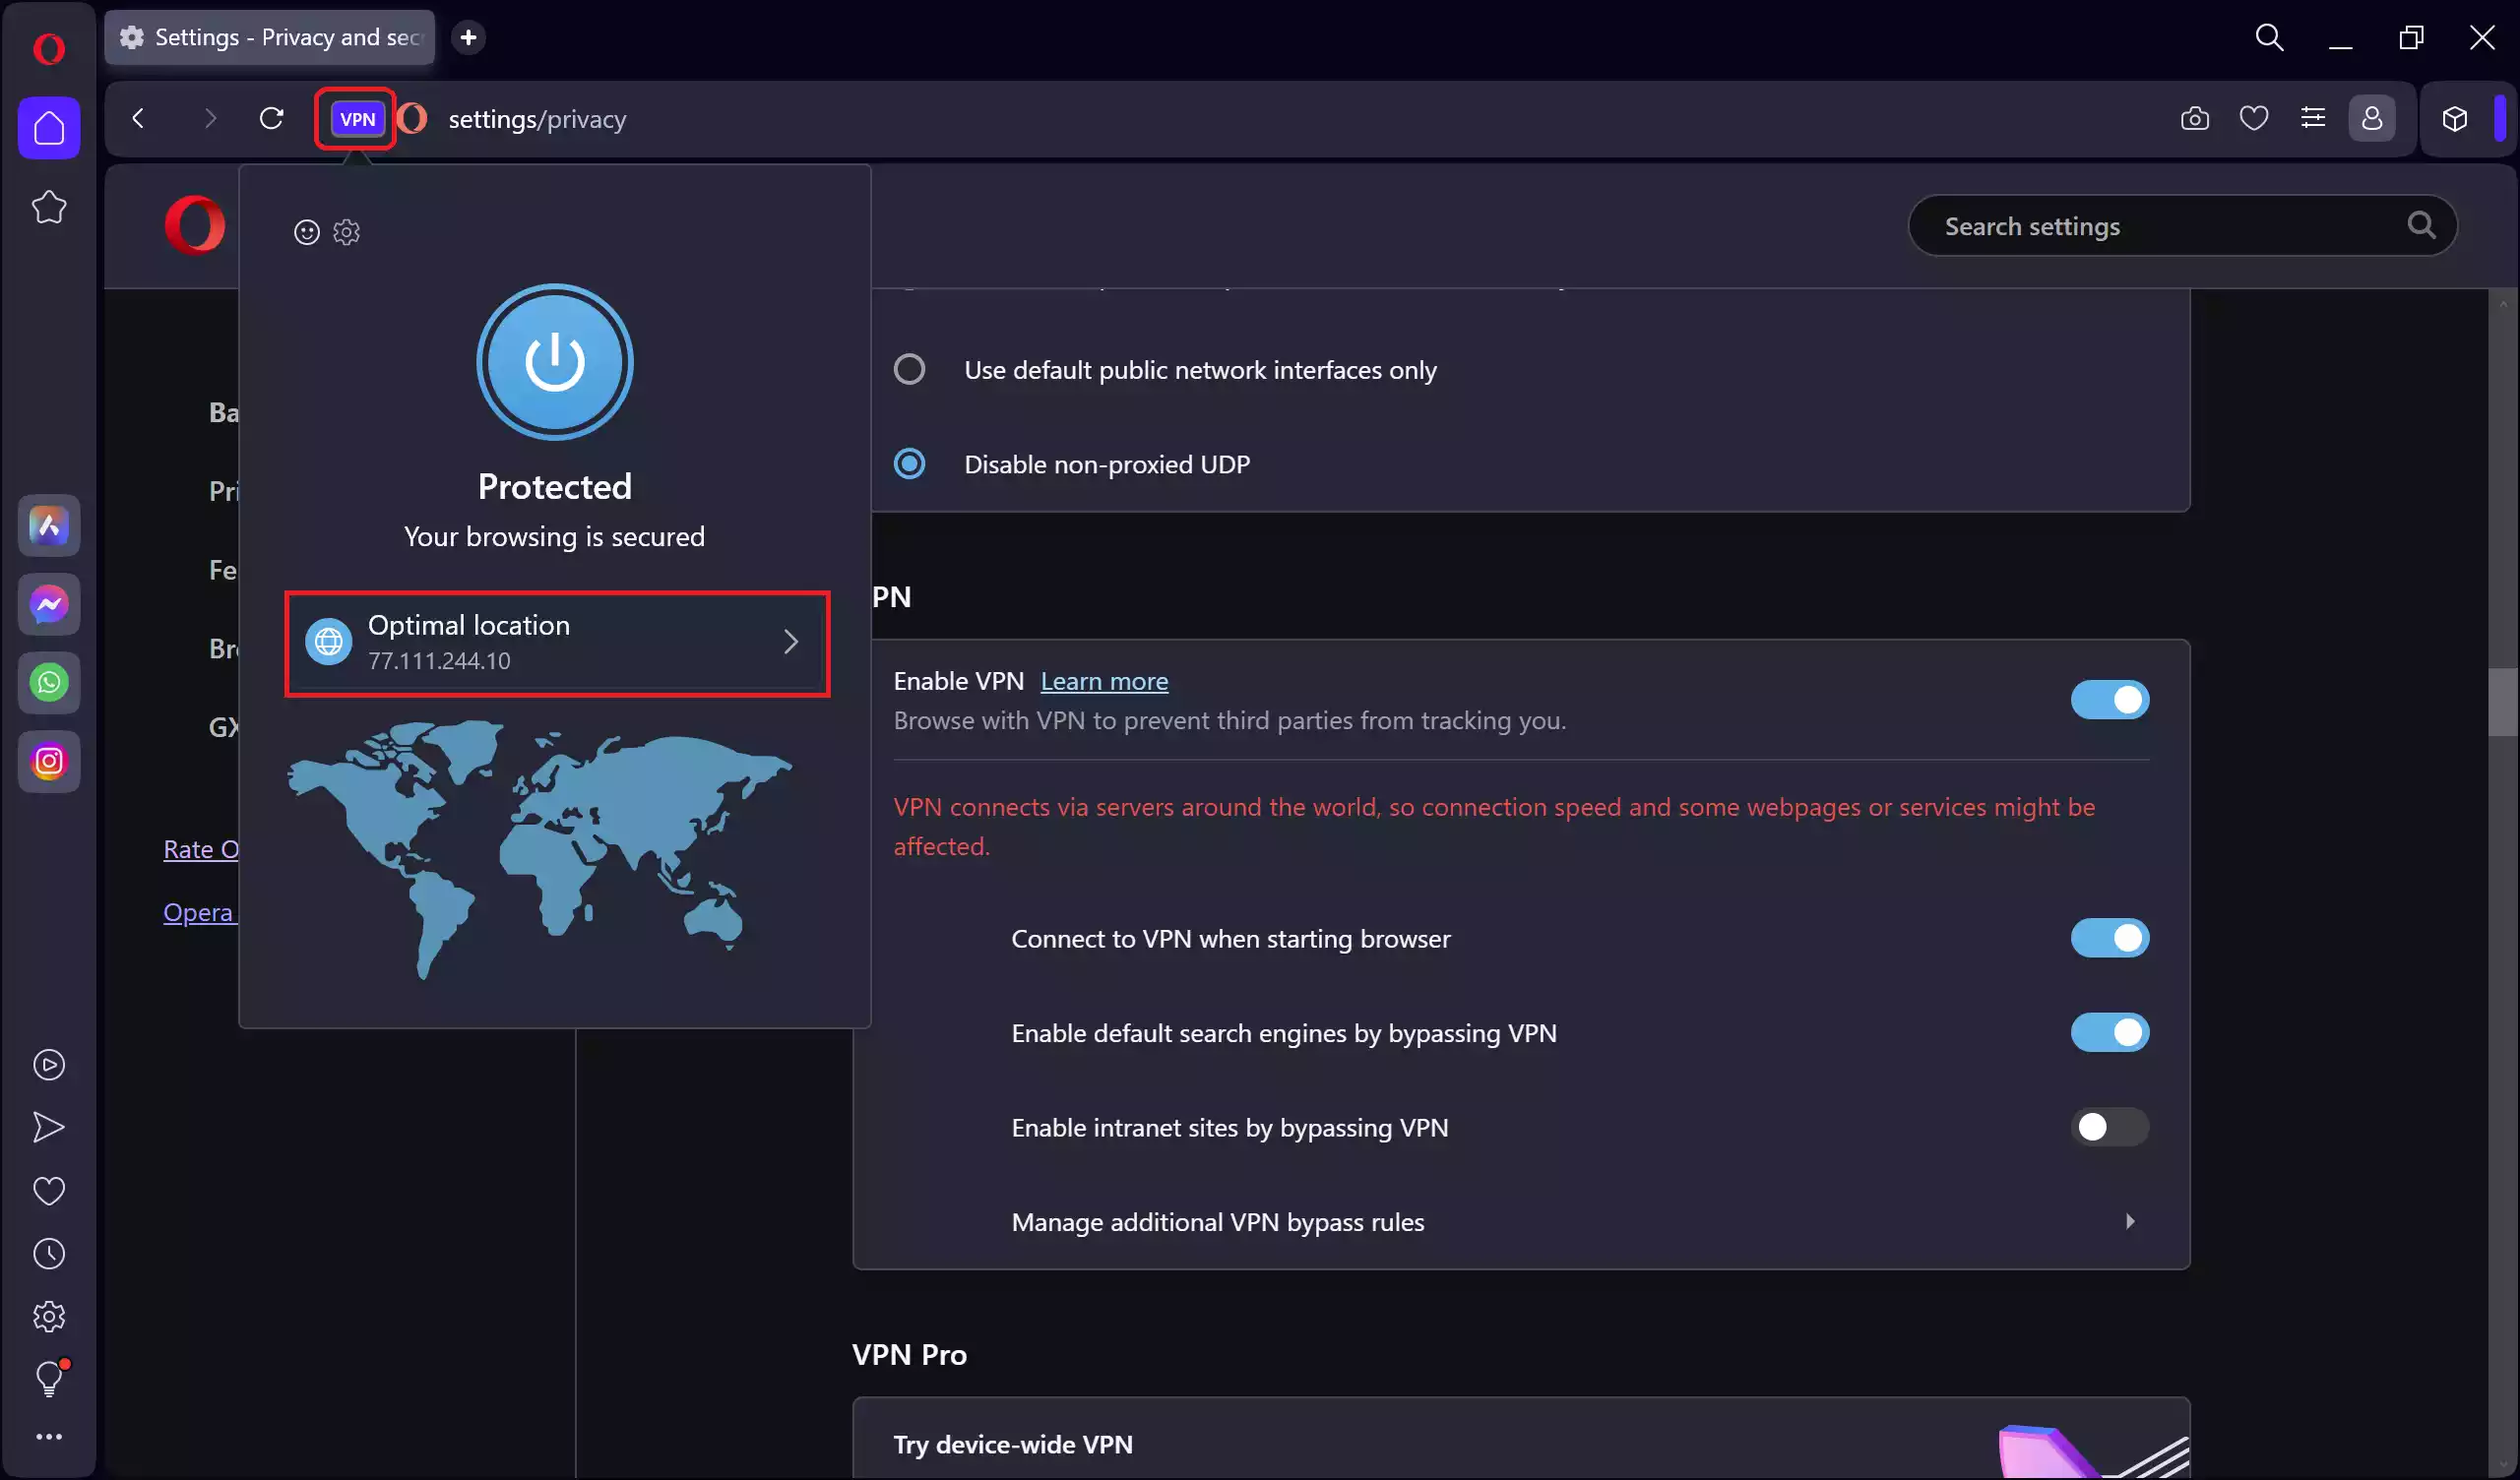
Step 9. Click on this icon to open the VPN menu.
Step 10. Here, you can choose your desired virtual location. Opera provides several locations to choose from, including Asia, Europe, the Americas, and more.
Step 11. Click on the location you want to connect to. Once connected, the VPN icon in the address bar will turn blue, indicating a secure connection.
Step 12. To confirm that your VPN is active, you can visit a website that displays your IP address, such as “https://www.whatismyip.com/.” It should show the IP address associated with the virtual location you selected.
Step 13. Opera’s built-in VPN is now active and ready to use. You can browse the web as you normally would, with the added benefit of enhanced privacy and security. Your data is encrypted, making it difficult for third parties to monitor your online activities.
Step 14. To disconnect from the VPN, simply click the blue VPN icon in the address bar and then click on the Settings gear icon.
Step 15. Toggle off the “Enable VPN” switch under the “VPN” section.
If you want to change your virtual location, click on the VPN icon, and select a different location.
Conclusion
Opera’s built-in VPN is a valuable tool for enhancing your online privacy and security. By following this complete setup tutorial, you can take advantage of its features to protect your data, access geo-restricted content, and maintain anonymity while browsing the web. Whether you’re on a public Wi-Fi network or simply want to keep your online activities private, Opera’s VPN is a convenient and effective solution.
Also Read: How to Enable Parallel Downloading in Opera to Unlock Faster Downloads?