
Windows Spotlight is not a new feature in Windows 11. It was first introduced in Windows 10, and it brought you daily changing images to the lock screen, which is what you see before logging into your PC. These are usually beautiful pictures from all over the world and sometimes in celebration of special events. Microsoft updates Spotlight library images regularly over the internet, so you’ll always find something new.
Sometimes, Microsoft also promotes specific Windows features or Microsoft Store apps. However, with the desktop background implementation, you only get photos from around the world. It’s a great way to see a new place every day or potentially even find places you’d eventually like to travel to. On the desktop version, you will not see the custom messages like on the lock screen, but the dedicated button on the desktop allows you to see where the photo was taken.
How to Enable Spotlight Images on Windows 11 Lock Screen using Setting App?
To turn on Windows 11 Spotlight images on the lock screen, you can follow these steps:-
Step 1. First, open Settings app by pressing the “Windows key + I” on your keyboard.
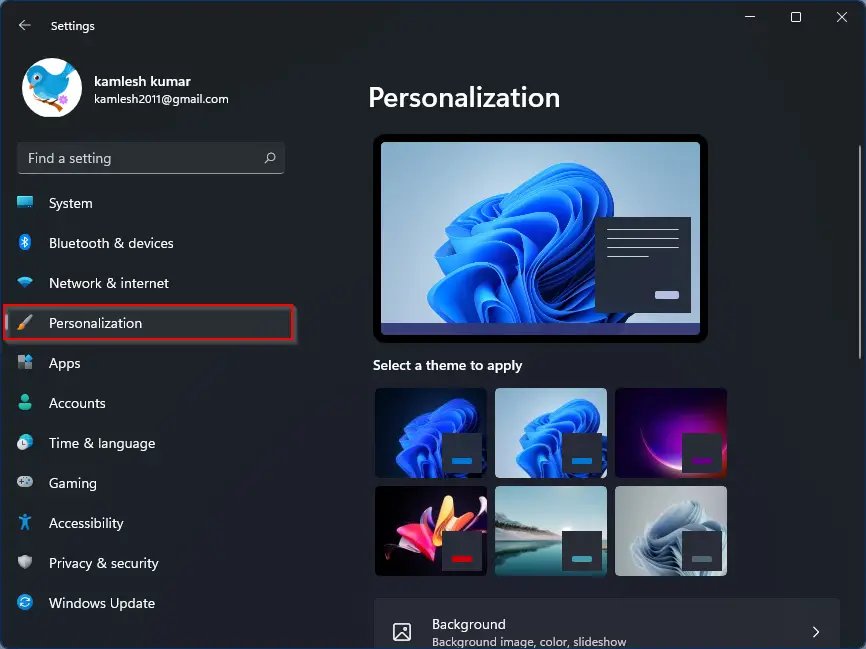
Step 2. Then, click on “Personalization” from the left-hand menu.
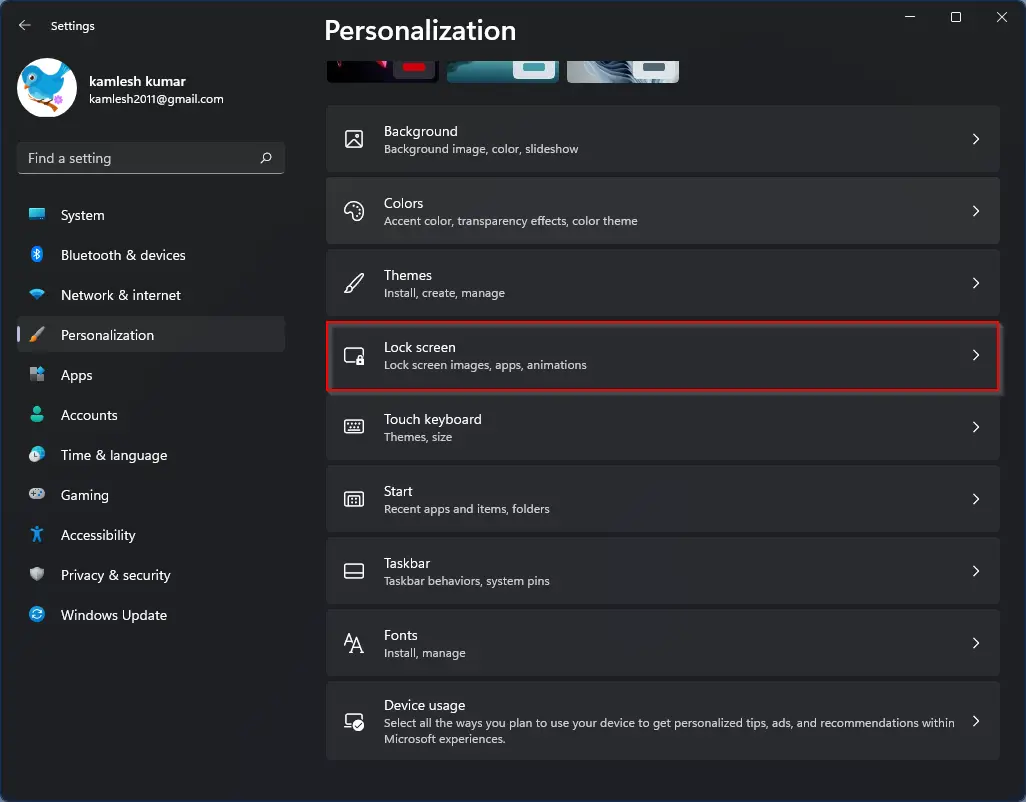
Step 3. Next, click on the “Lock screen” menu.
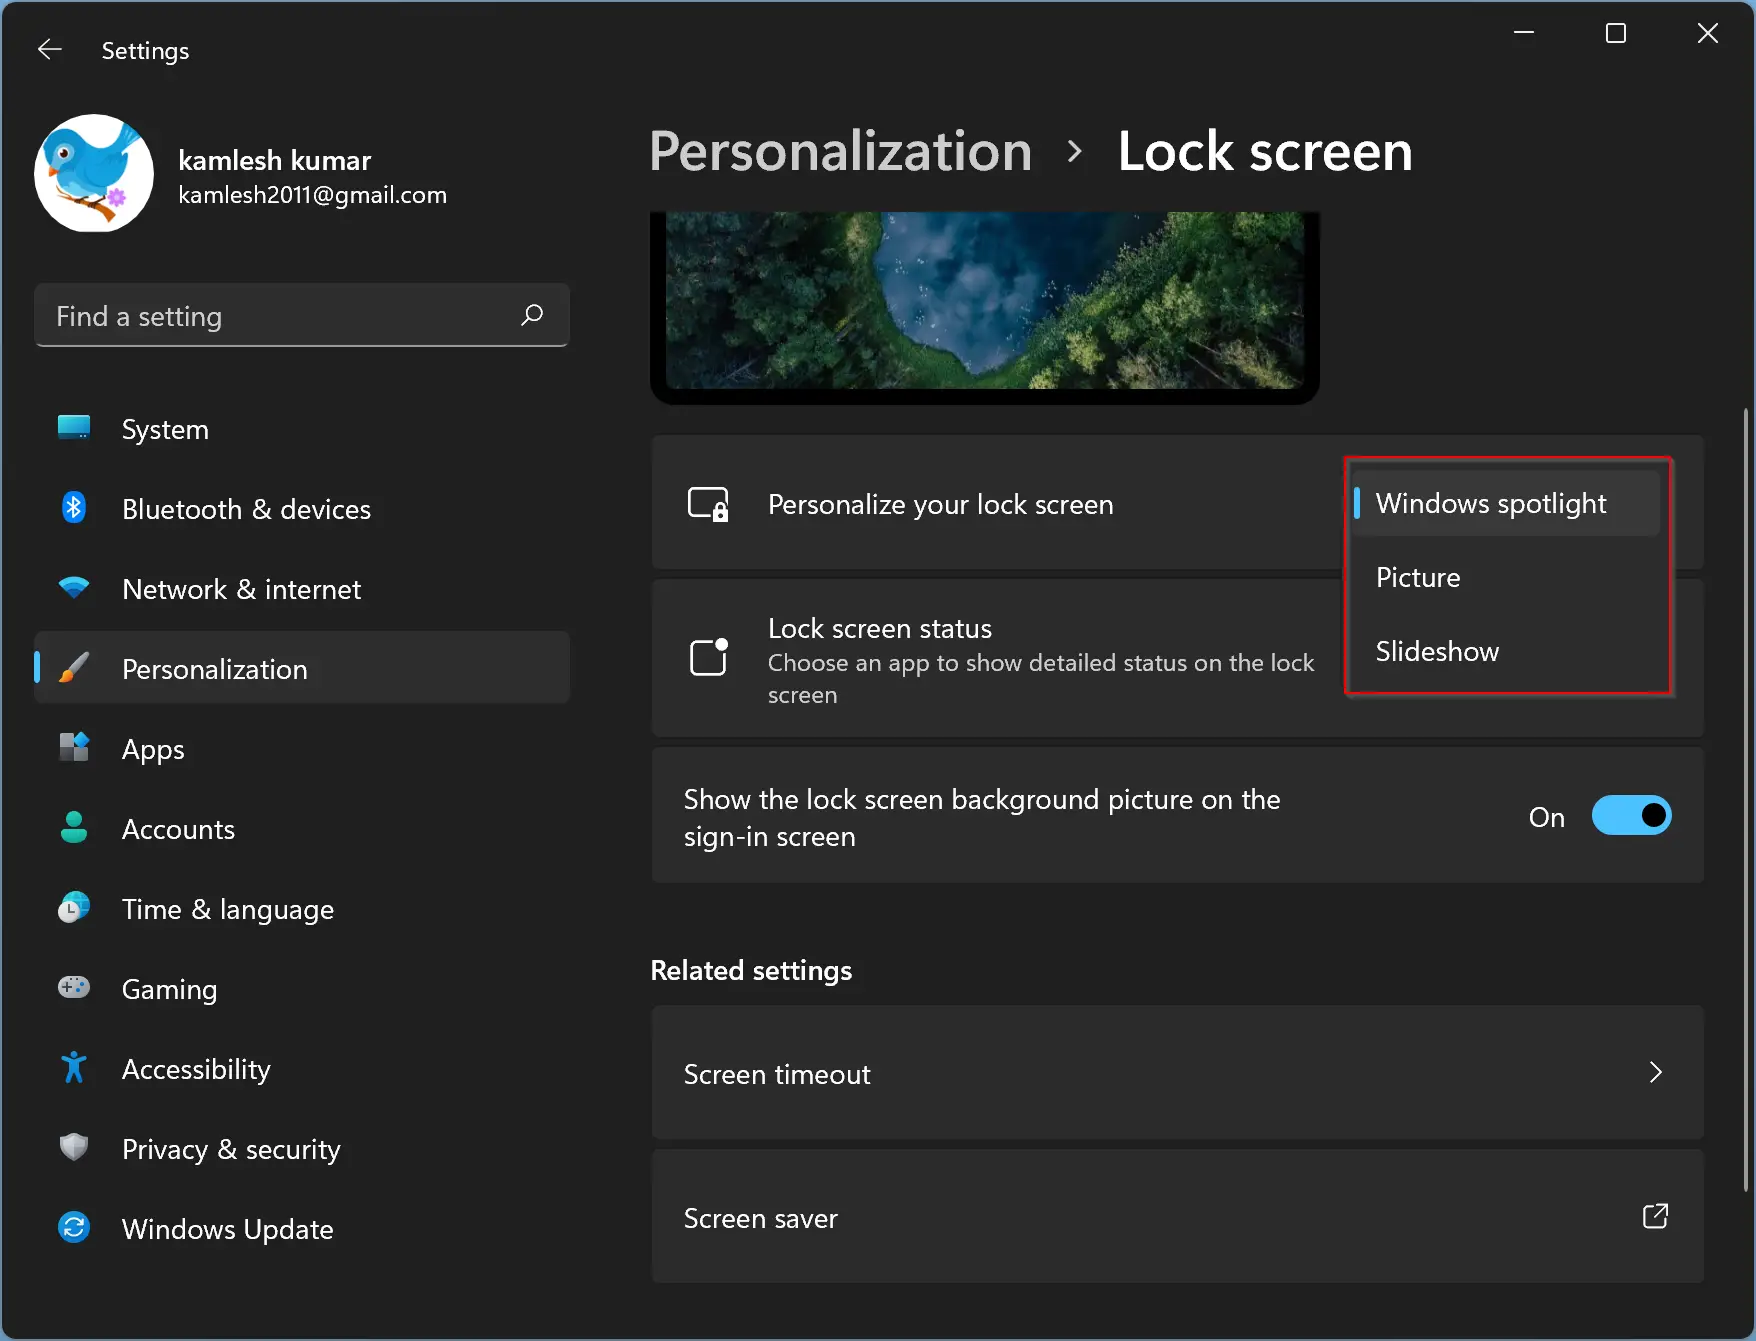
Step 4. Here, choose “Windows spotlight” from the “Personalize your lock screen” drop-down menu.
After completing these steps, Windows 11 will display Spotlight images on your lock screen.
How to Enable Spotlight Images on Windows 11 Lock Screen using Registry Editor?
Follow these steps to turn on Spotlight Images on Windows 11 Lock Screen using Registry Editor:-
Step 1. Open Registry Editor.
Step 2. Navigate or browse the following path:-
HKEY_LOCAL_MACHINE\SOFTWARE\Policies\Microsoft\Windows\Personalization
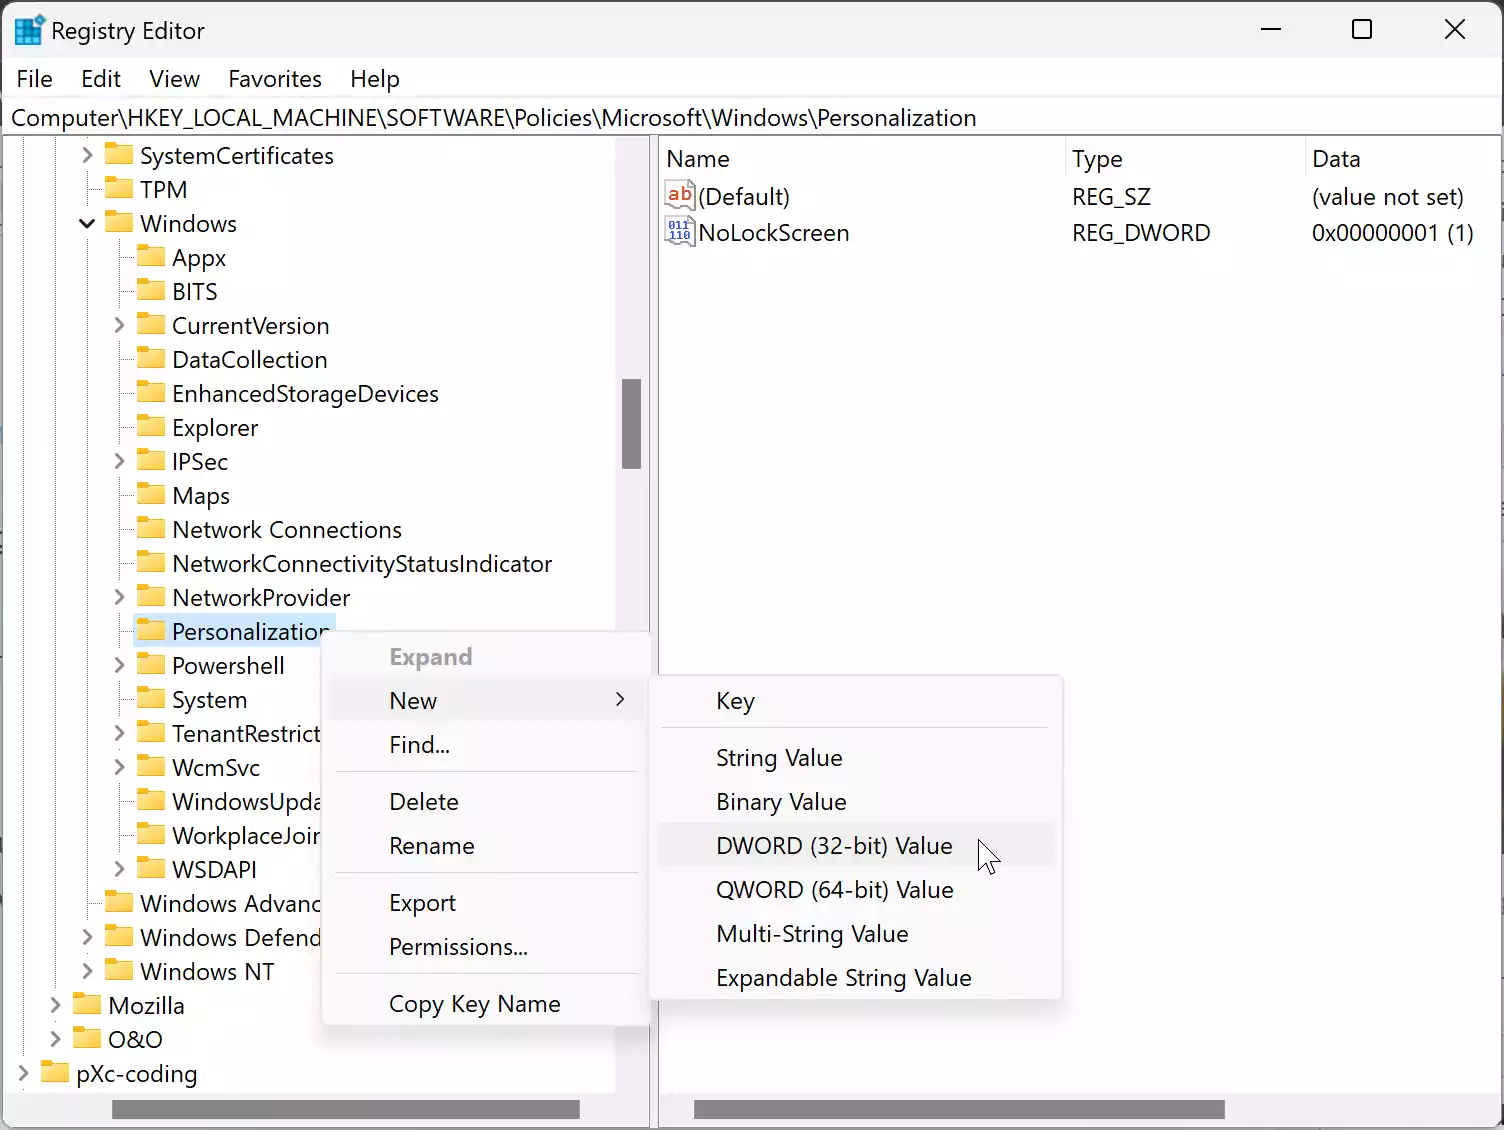
Step 3. If you do not see the “Personalization” key, right-click on the “Windows” folder and select “New” > “Key” to create it. Name this new key “Personalization.”
Step 4. Now, right-click on the “Personalization” key and select “New” > “DWORD (32-bit) Value.”
Step 5. Name the new REG_DWORD “LockScreenImageStatus” (without quotes).
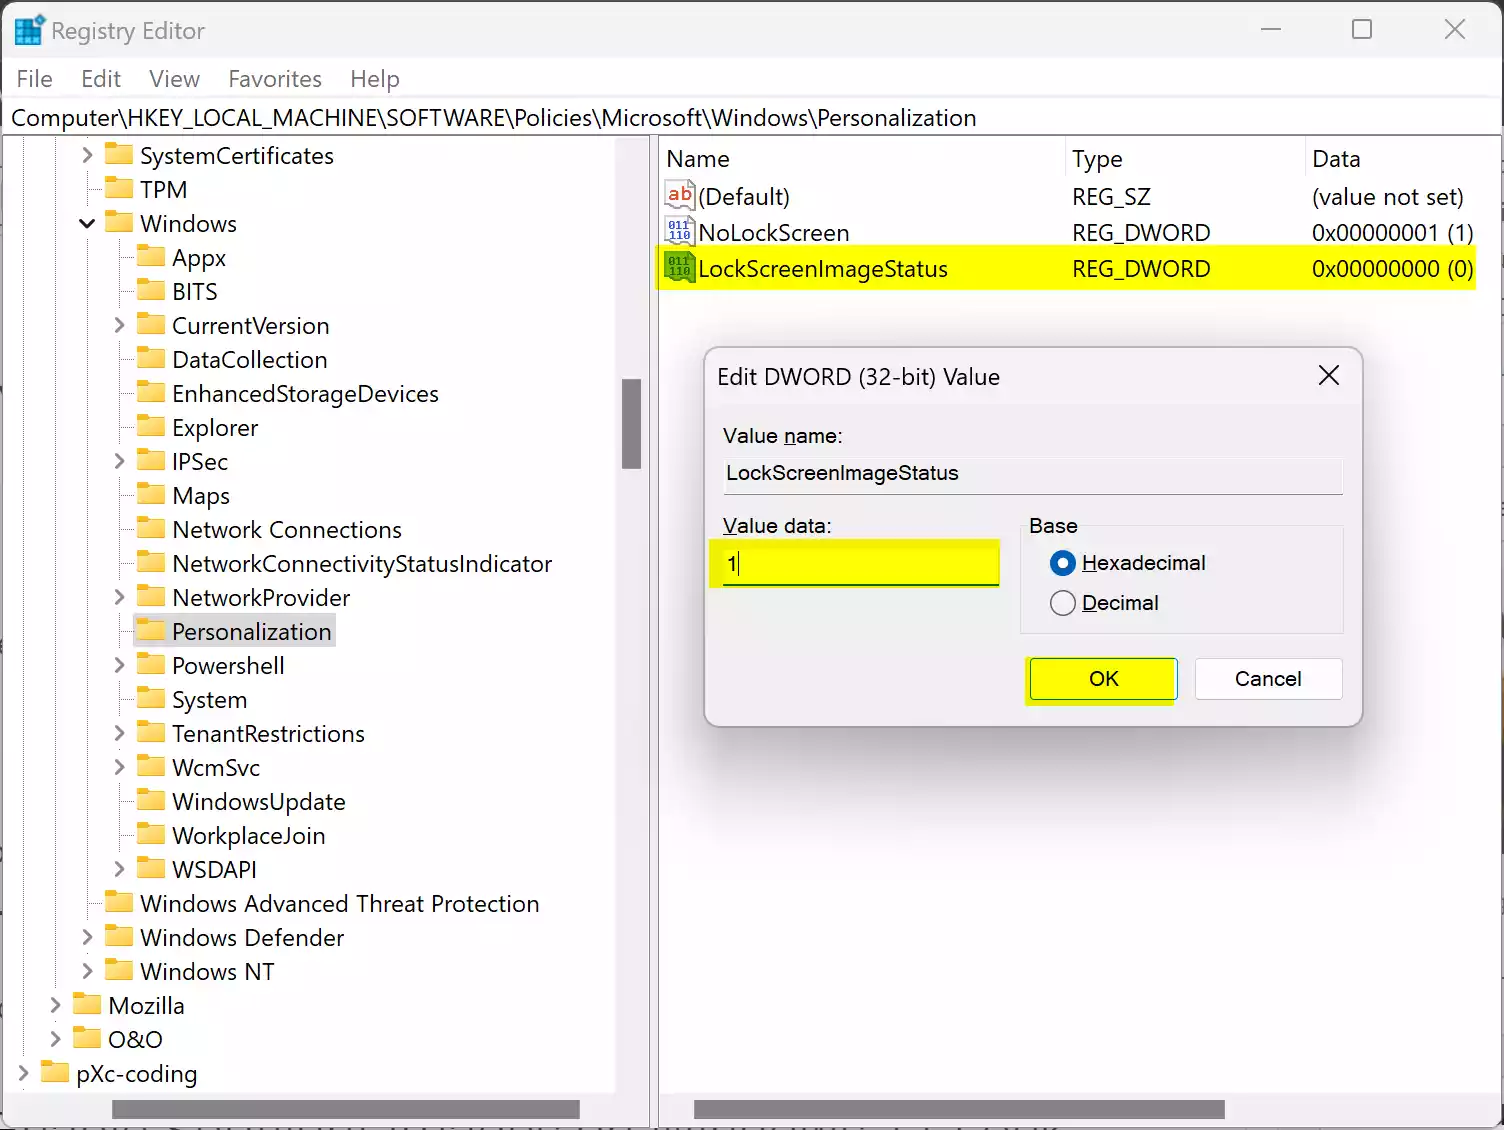
Step 6. Double-click on the “LockScreenImageStatus” REG_DWORD and set its “Value data” to “1“.
Step 7. Click OK to save the changes.
Now, close your Registry Editor and restart your computer.
How to Enable Spotlight Images on Windows 11 Lock Screen Using Group Policy Editor?
Follow these steps to turn on Spotlight Images on Windows 11 Lock Screen using Local Group Policy Editor:-
Step 1. Open Local Group Policy Editor on your computer.
Step 2. Navigate or browse the following path:-
Computer Configuration > Administrative Templates > Control Panel > Personalization
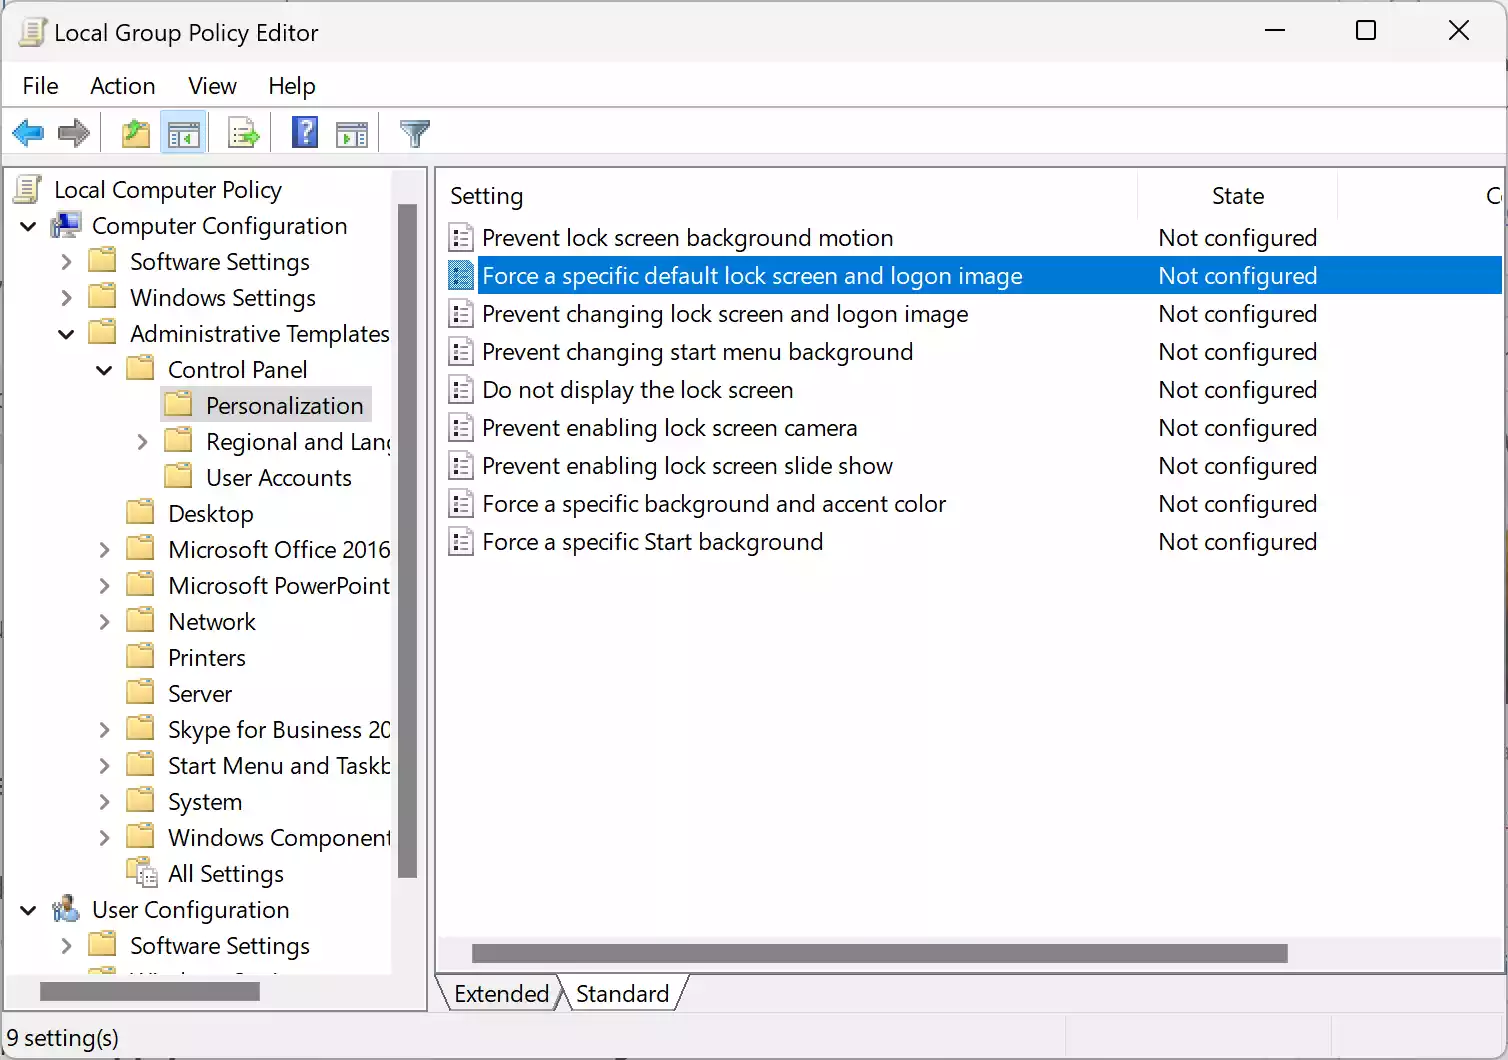
Step 3. Double-click on the “Force a specific default lock screen and logon image” policy.
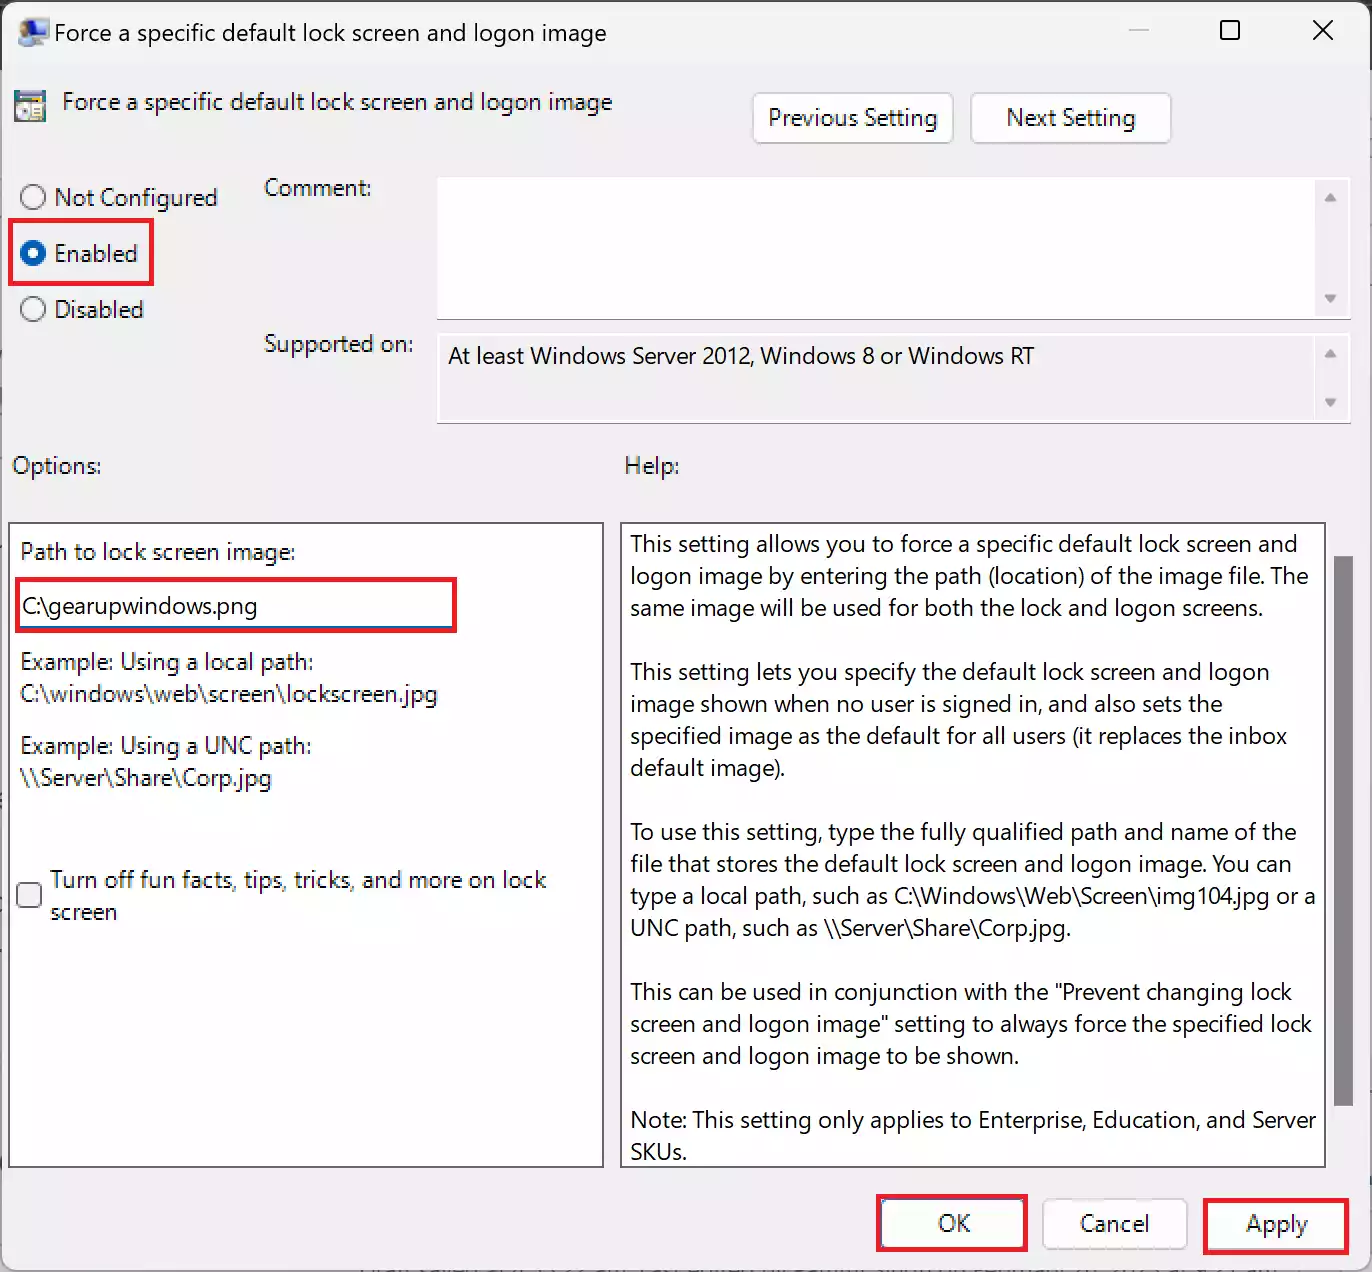
Step 4. Select the “Enabled” option.
Step 5. Under “Options,” enter the complete image path you want to see permanently on the lock screen.
Step 6. Click on “Apply” and “OK” to save the changes.
Note: The Group Policy Editor is only available in Windows 11 Pro and Enterprise editions. If you are using Windows 11 Home Edition, you can use the Registry Editor method instead.
Conclusion
In conclusion, Windows Spotlight has been a captivating feature since its inception in Windows 10, bringing a daily dose of aesthetic delight to users through a dynamic array of images on the lock screen. Its seamless integration with Windows 11 maintains this tradition, showcasing not only picturesque views from around the globe but also occasionally highlighting Microsoft’s own offerings. While the lock screen steals the spotlight with custom messages, the desktop version lets users explore the world without leaving their computers. Whether you’re a travel enthusiast or simply appreciate visual diversity, Windows Spotlight offers a refreshing experience.