By default, Windows 11/10 automatically check for new updates, and when available, it downloads and installs on our PC. You can also check updates manually by navigating to Windows Settings > Windows Update and then clicking on the “Check for updates” button at the top.
Microsoft often releases patch updates for both Windows 10 and 11 every month. Though these updates are automatically installed, sometimes you may miss some and want to manually check for new updates, for example, driver updates. You can always go through the Settings app to check Windows updates, but if you want to check for Windows updates from the desktop right-click menu, this gearupwindows article will help you.
By default, Microsoft does not provide an option to check Windows updates from the context menu in Windows 11 or 10, which means you’ll need to add them. Once “Check for update” is added to the context menu, you can quickly check Windows updates.
How to Add a Check for Updates to the Windows 11 or 10 Context Menu?
To add a “Check for Updates” option to the Windows 11/10 right-click menu, you must edit Windows Registry. Before proceeding with the steps, we recommend creating a full backup of the Registry. So, if something goes wrong, you can restore them to their original location.
Step 1. First, press the Windows + R keys together to open the Run dialog box.
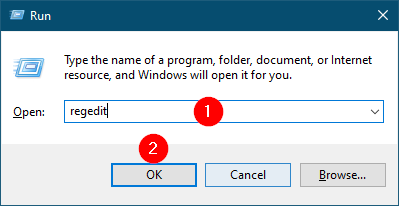
Step 2. Then, type regedit in the Run box and hit the Enter key from the keyboard to open the Registry Editor.

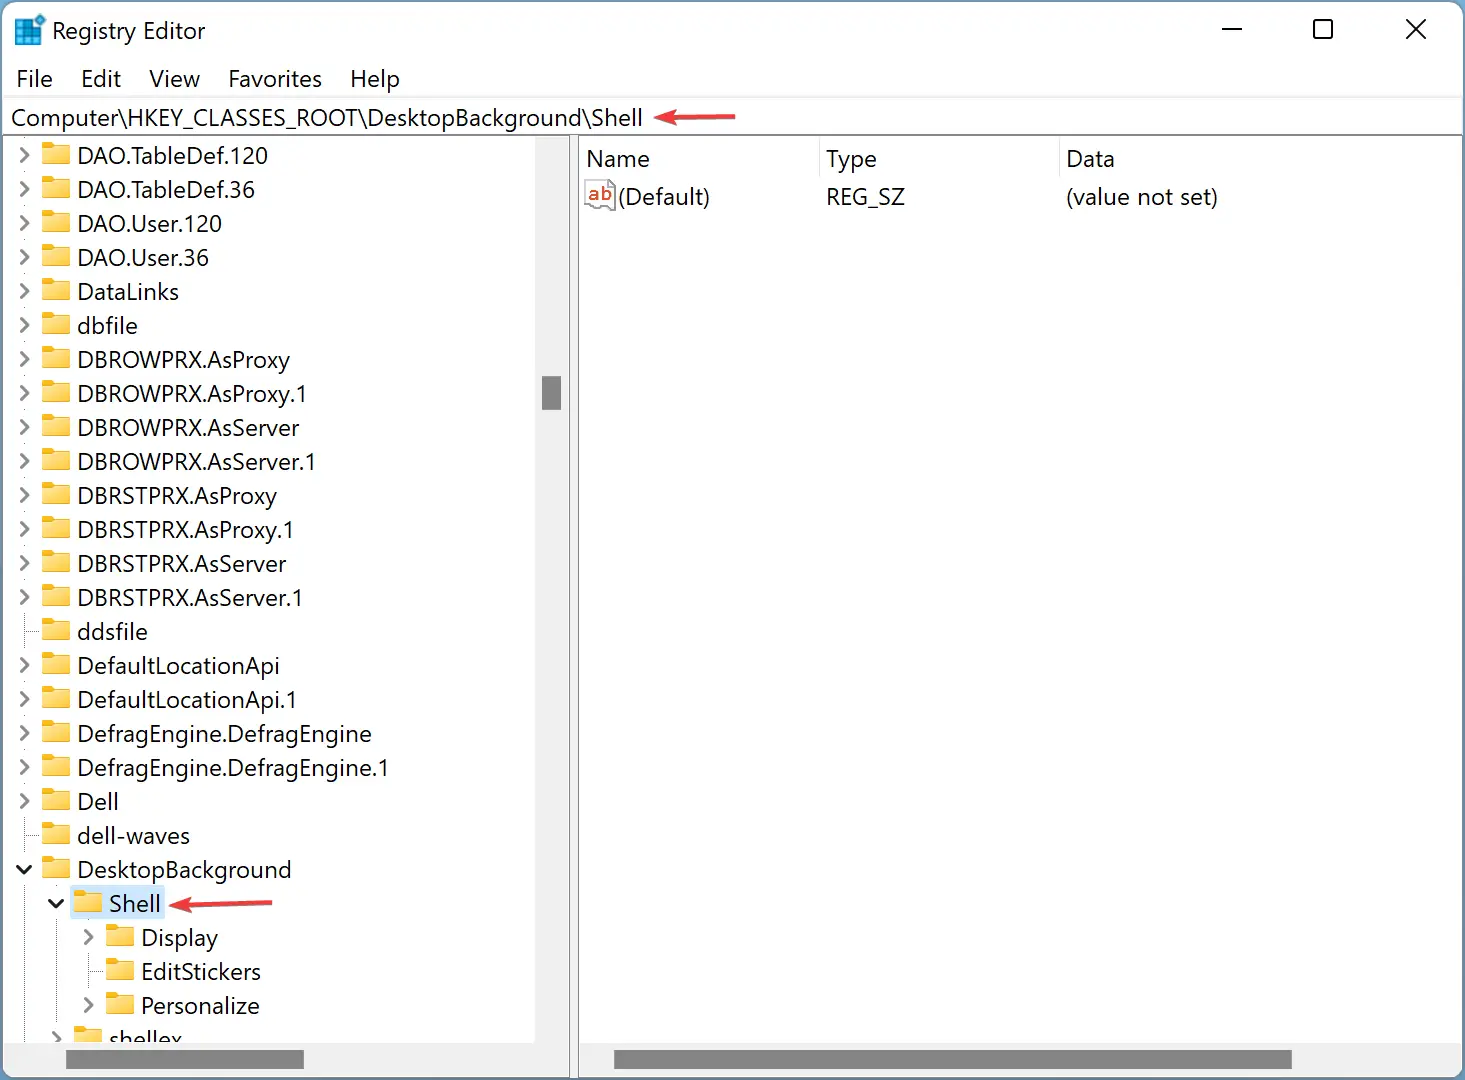
Step 3. After that, navigate to the following key:-
Computer\HKEY_CLASSES_ROOT\DesktopBackground\Shell
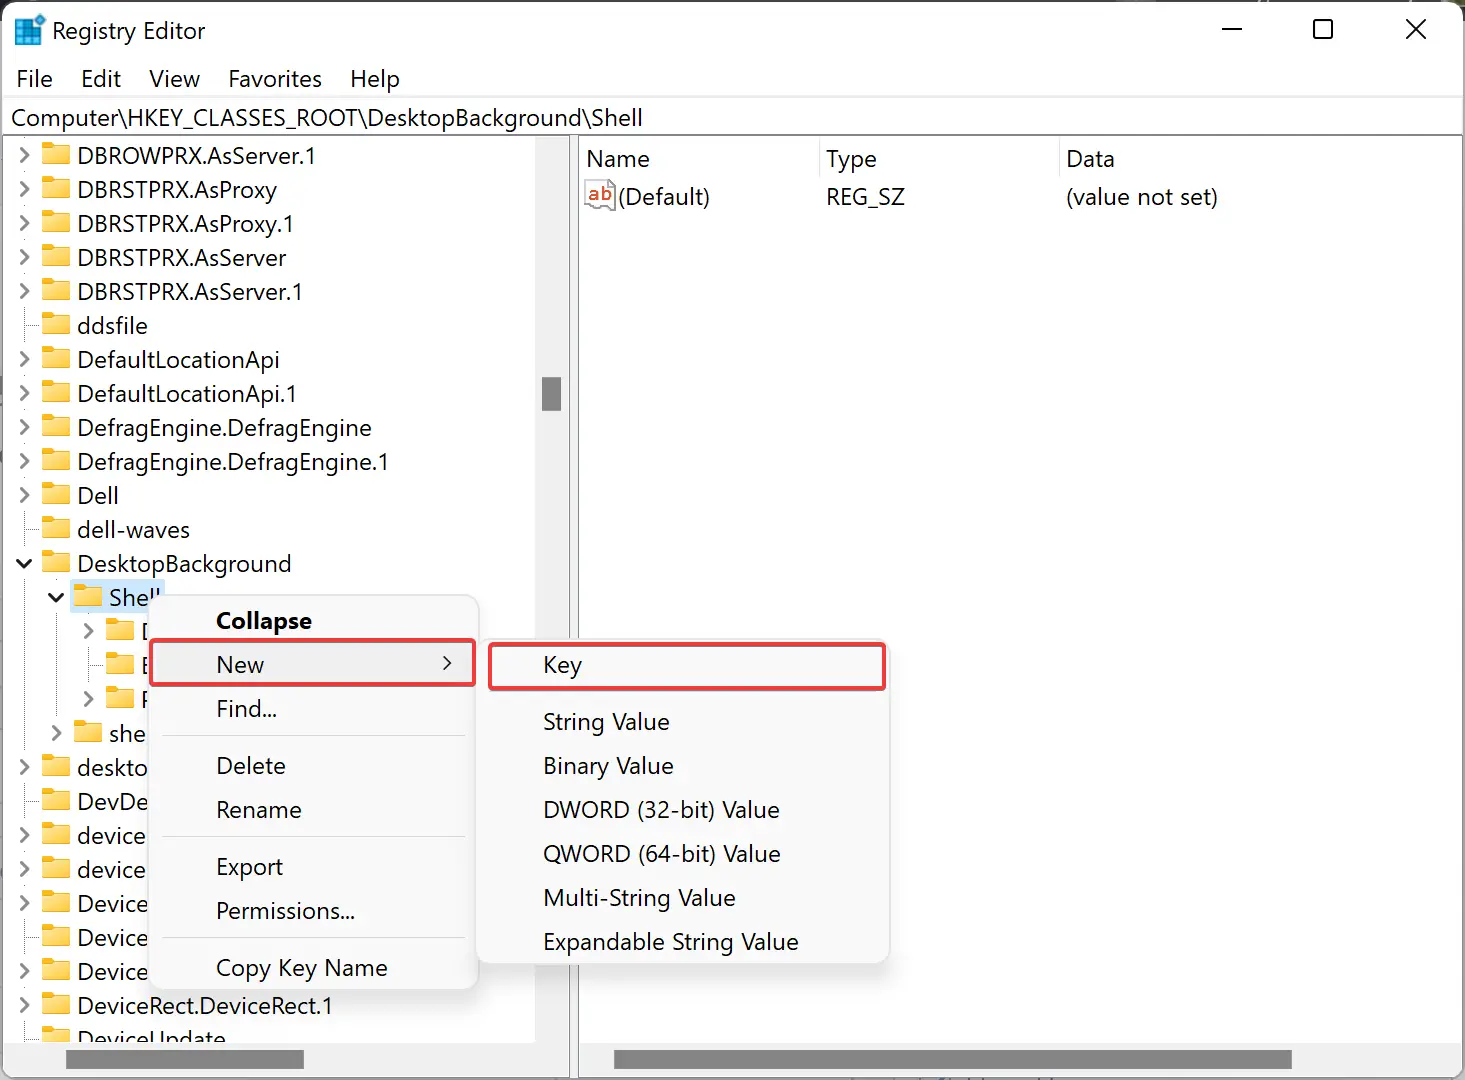
Step 4. Next, right-click the Shell key and select the New > Key option.
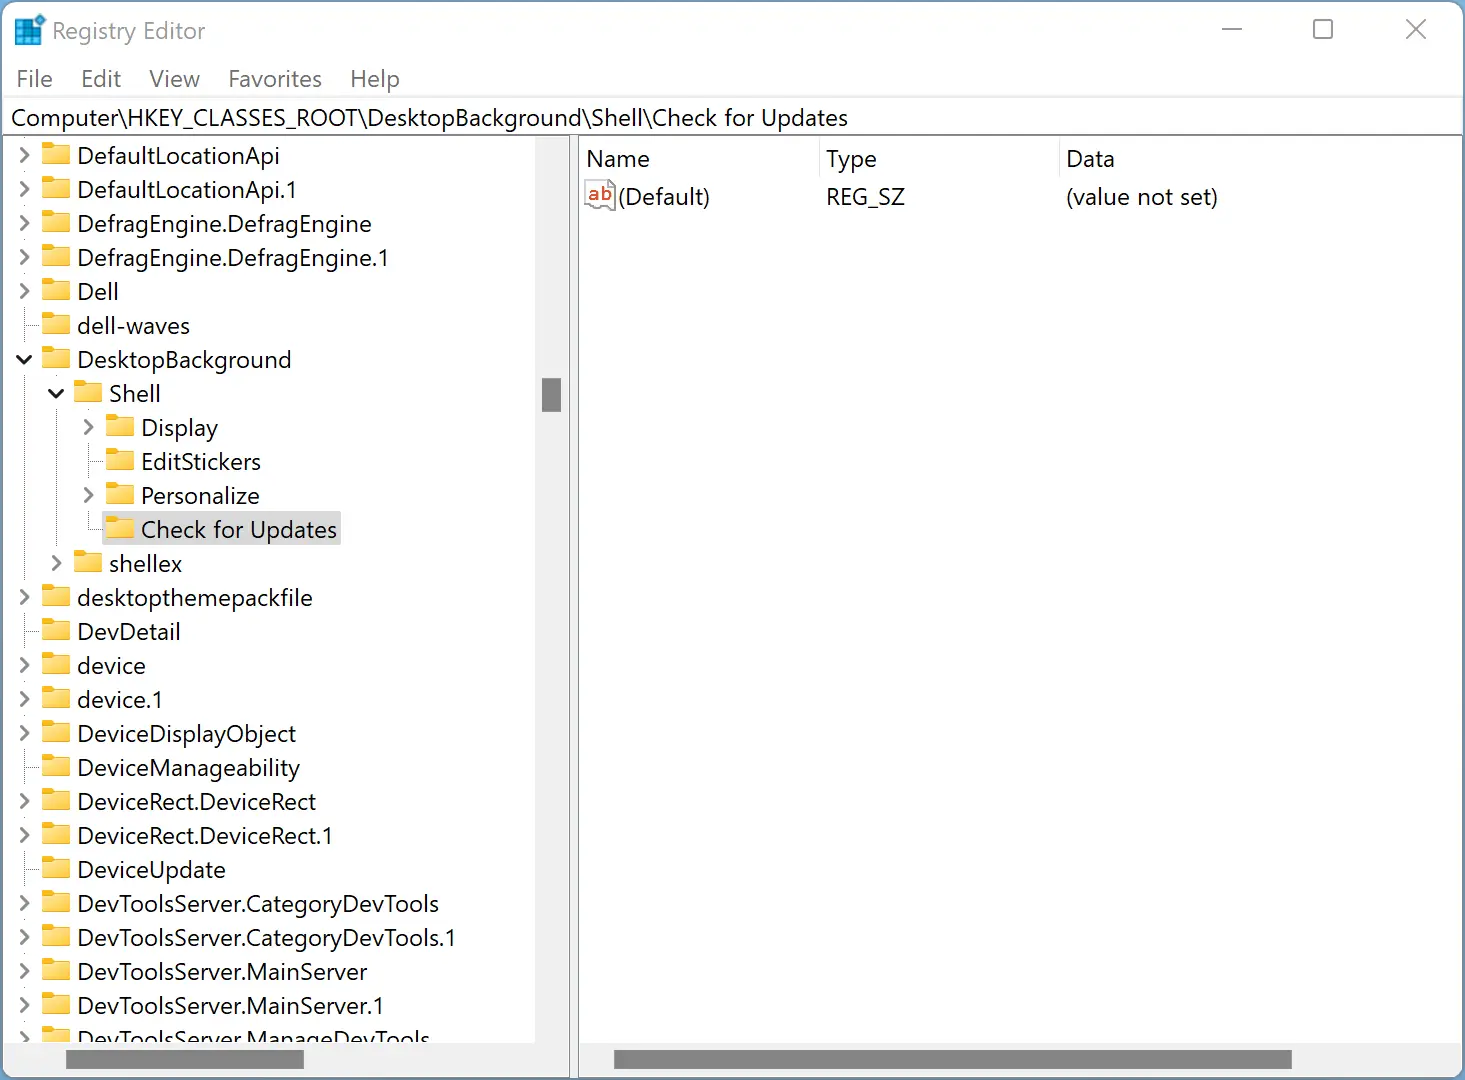
Step 5. Name the new sub-key Check for Updates.
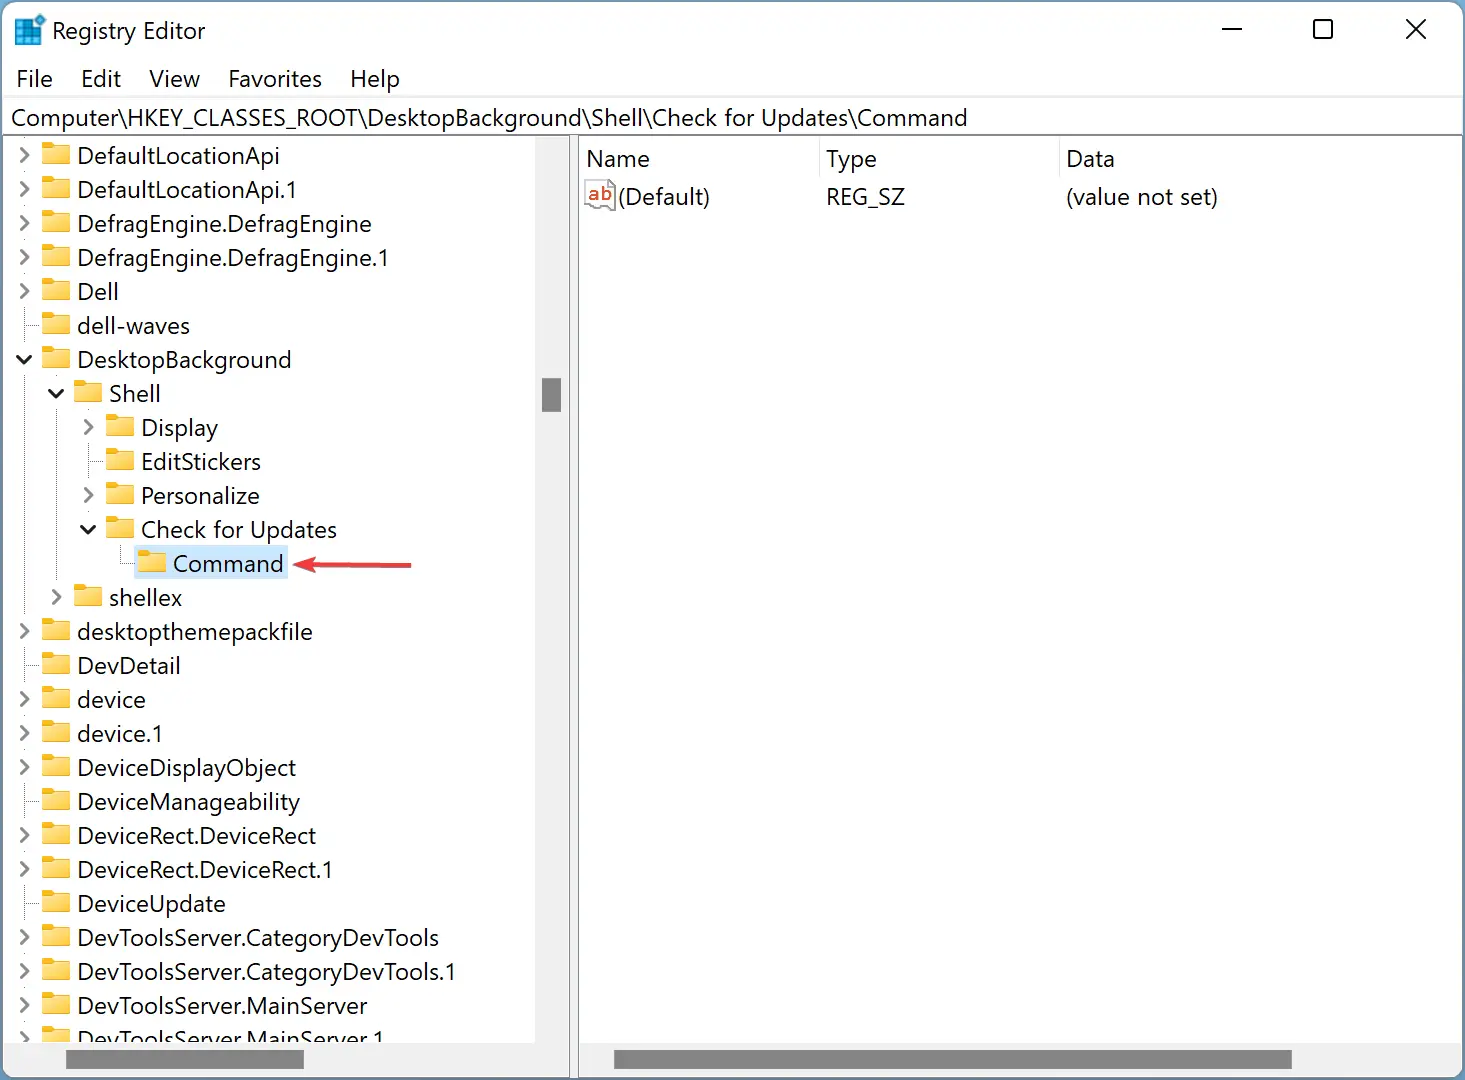
Step 6. Again, right-click on the Check for Updates key and select the New > Key option. Name the new key as Command.
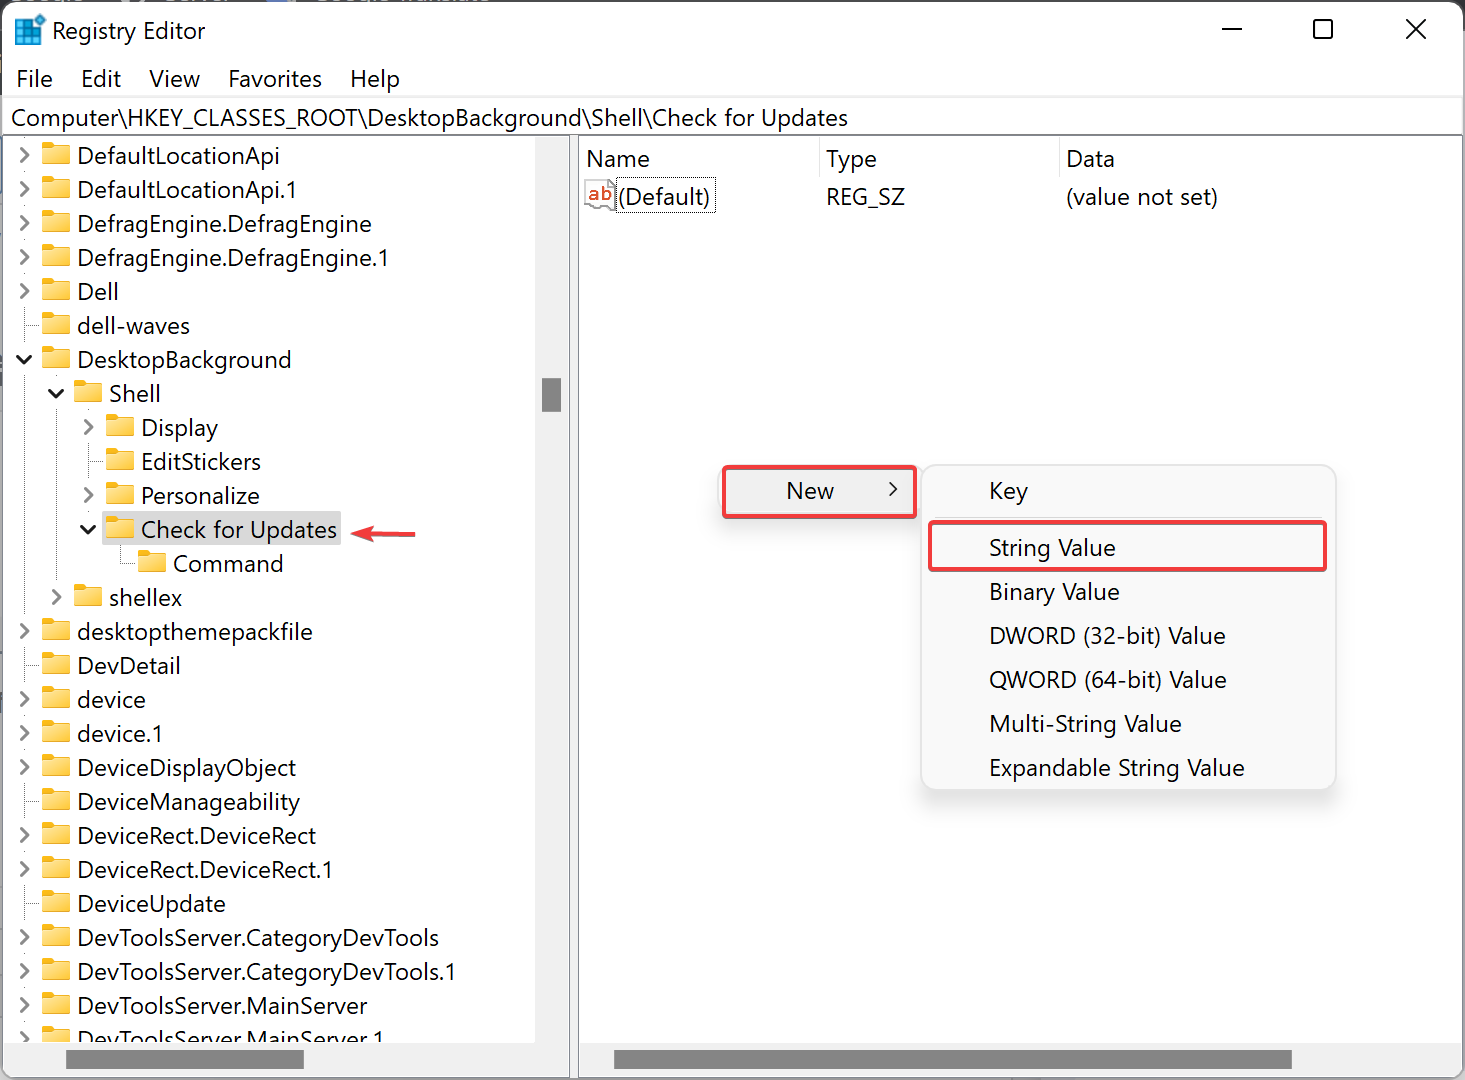
Step 7. Now, select the Check for Updates key, and then right-click on a blank space on the right side of the Registry Editor and select New > String Value.
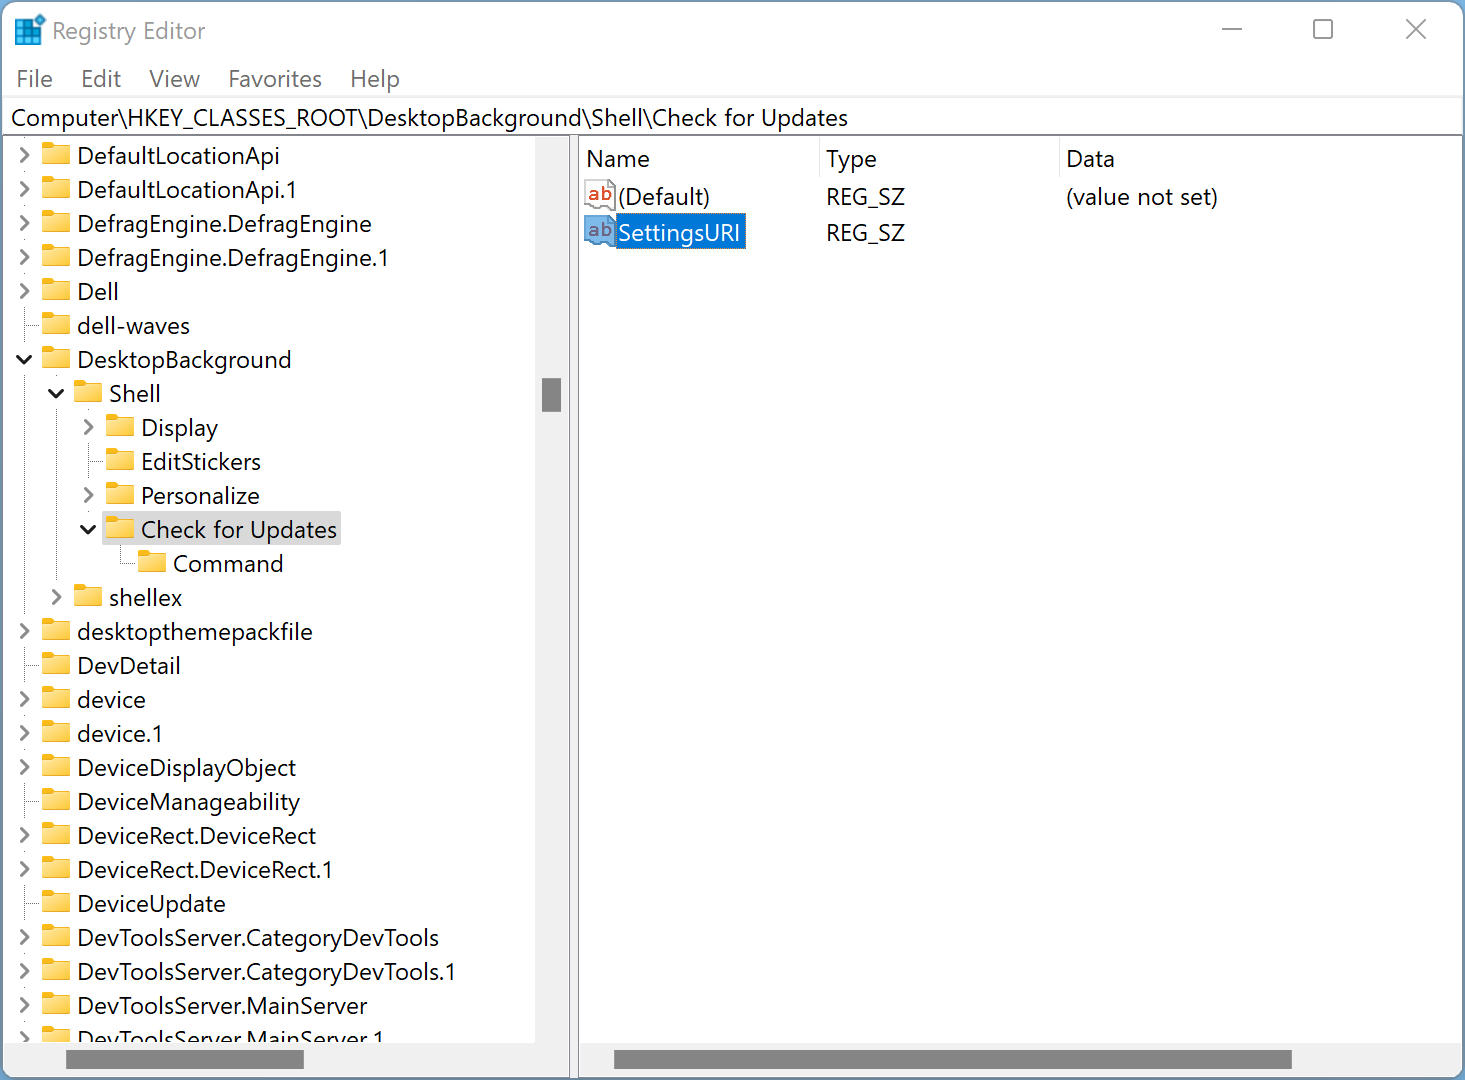
Step 8. Name the new string SettingsURI.
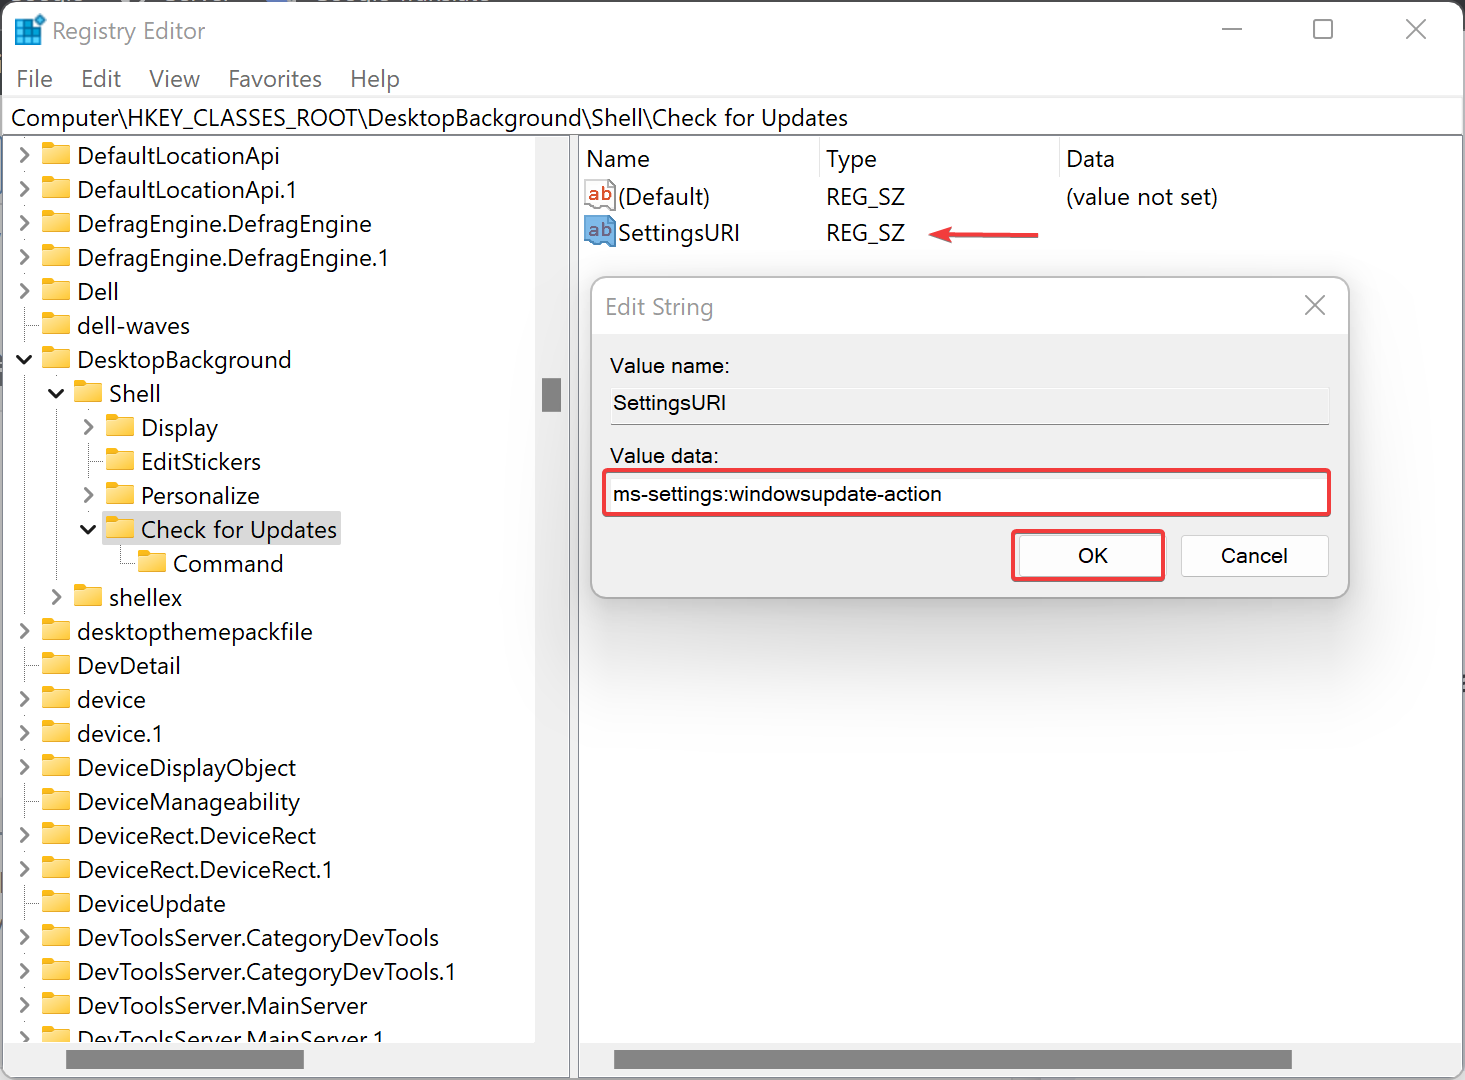
Step 9. When you’re done, double-click SettingsURI to open an Edit String window. Type ms-settings:windowsupdate-action in the “Value data” box, and click OK.
Step 10. Now, select the Command key on the left sidebar of the Registry Editor window and then right-click on it. Select the New > String Value option. Name it as DelegateExecute.
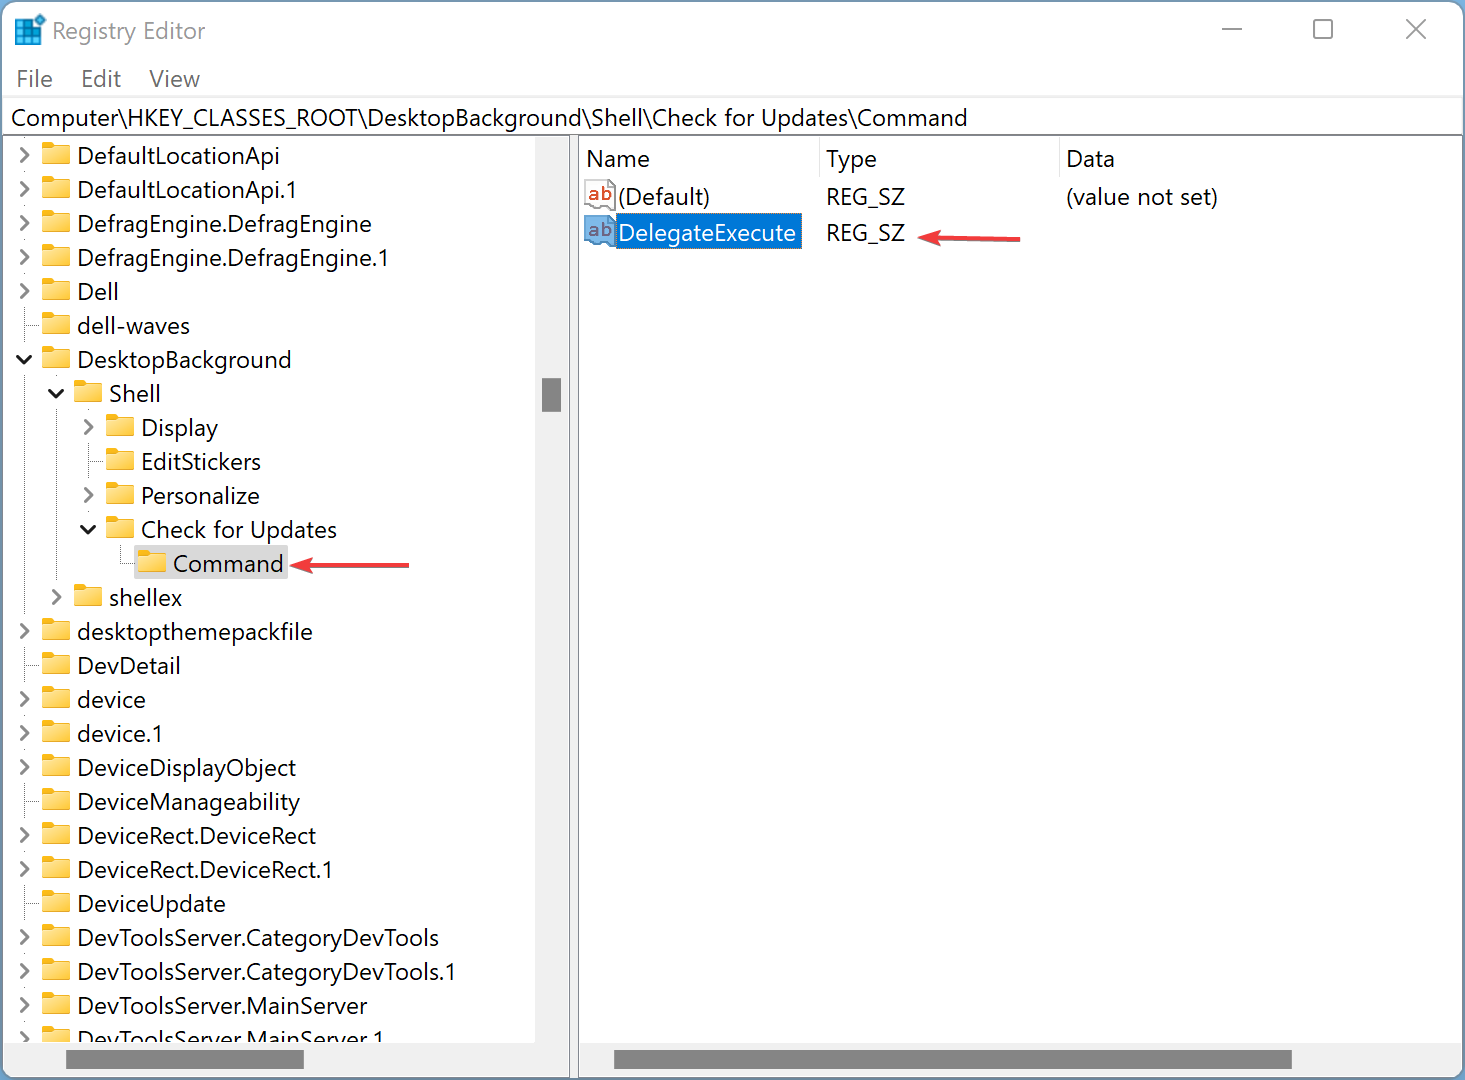
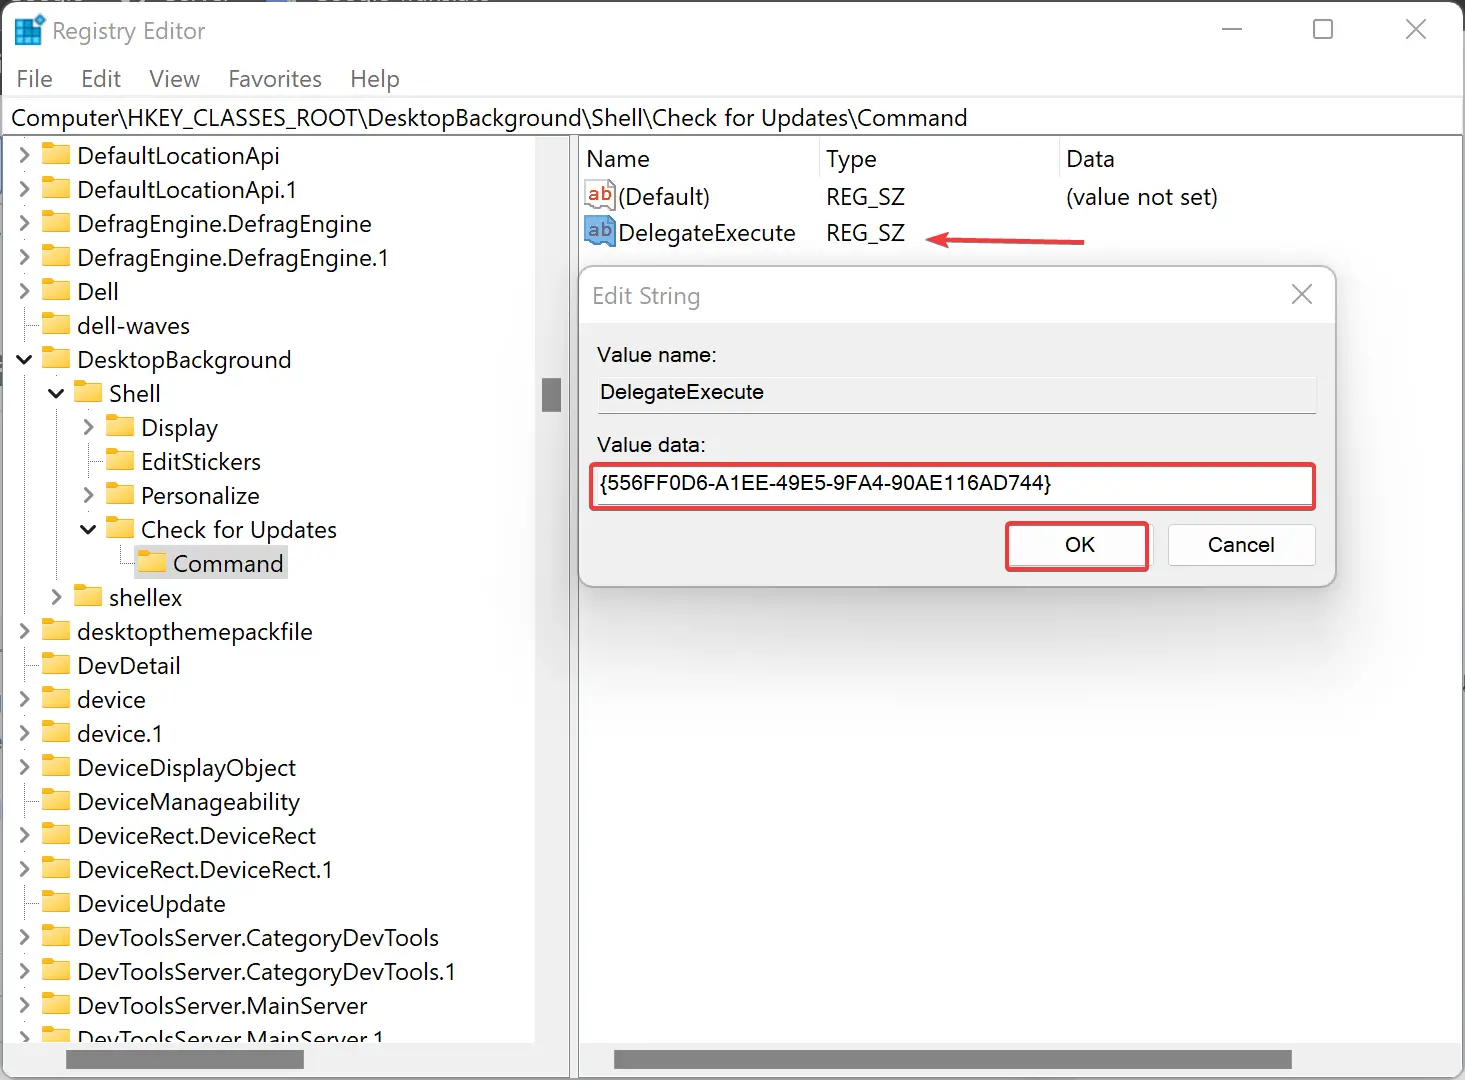
Step 11. Double-click the DelegateExecute string to bring up its Value data box. Type the following in the Value data text box, and press the OK button:-
{556FF0D6-A1EE-49E5-9FA4-90AE116AD744}
That’s it. You can close the Registry Editor’s window now.
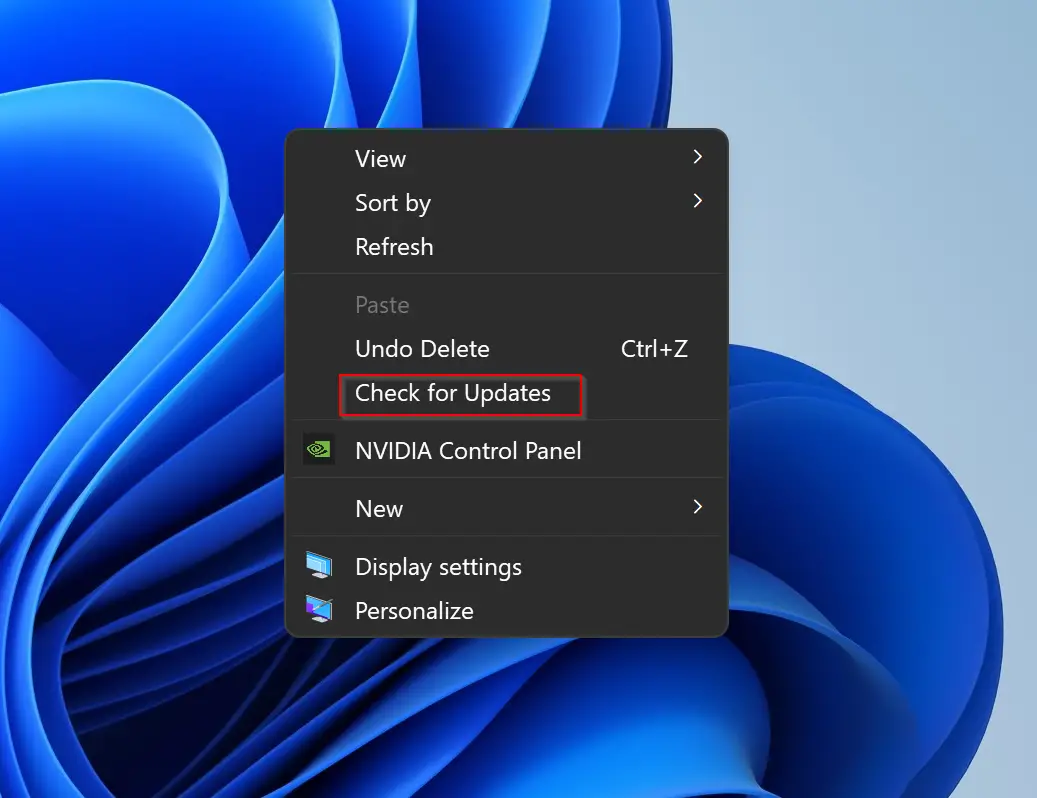
Right-click on free space on your Windows 11 desktop and select Show more options to bring up the classic context menu. You should see a “Check for Updates” option. When you select that option, it will open the Settings’ Windows Update tab. After that, you can click the Check for updates button on that tab.
Conclusion
In conclusion, while Windows 11/10 automatically checks for and downloads updates, sometimes you may want to check for updates, especially for driver updates, manually. Adding a “Check for Updates” option to the context menu can be a convenient way to do this. By following the steps outlined in this gearupwindows article, you can easily add this option to the context menu on your Windows 11/10 desktop. However, before making any changes to the Registry, it is recommended to create a backup. Once the “Check for Updates” option is added, you can quickly access the Windows Update tab and check for updates with just a few clicks.