In the ever-evolving landscape of technology, Windows 11 introduces a revamped File Explorer experience, replete with modern features tailored to streamline your workflow. Among these enhancements is the inclusion of Gallery, a dynamic tool designed to organize and showcase your photo collection seamlessly. With Gallery integrated into File Explorer’s Navigation Pane, users can effortlessly browse through their visual memories based on a chronological timeline. This innovative feature simplifies photo management, allowing users to add or remove folders with ease. In this gearupwindows guide, we’ll delve into the intricacies of harnessing Gallery’s power, unveiling the steps to both adding and removing folders within the Windows 11 File Explorer interface.
Unveiling the Gallery: Navigating Windows 11 File Explorer
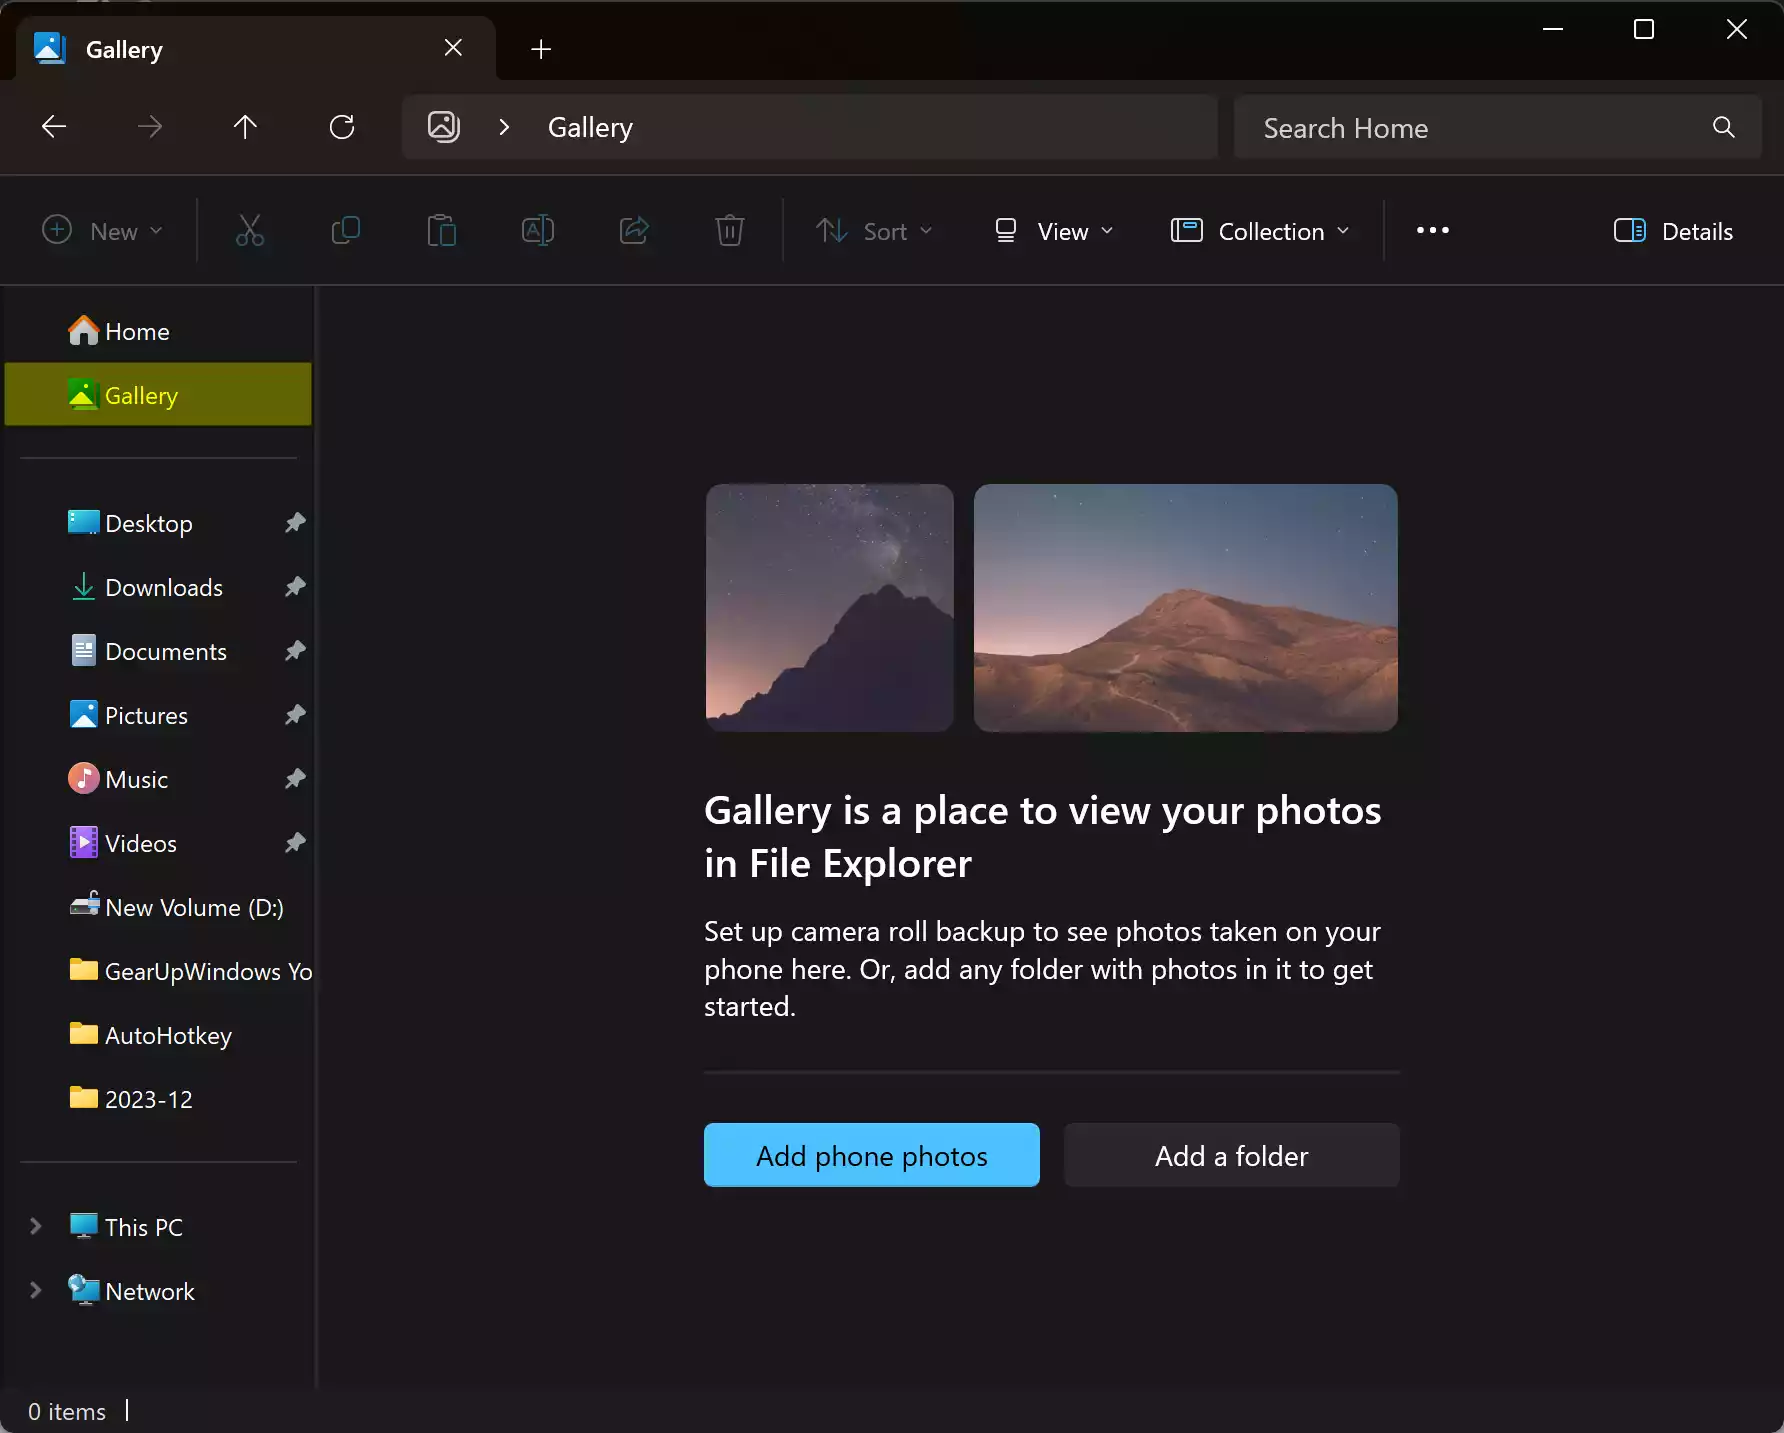
Before embarking on our journey to manipulate folders within Gallery, let’s acquaint ourselves with the layout of Windows 11 File Explorer. Upon launching File Explorer, users are greeted with a sleek interface, characterized by intuitive navigation options. Located prominently in the Navigation Pane is the Gallery tab, serving as the gateway to your visual library.
Adding a Folder to Gallery: Organizing Your Memories
Follow these steps to add a folder to Windows 11 File Explorer Gallery:-
Step 1. Begin by launching File Explorer, either through the Start menu or by pressing the Windows key + E shortcut.
Step 2. In the Navigation Pane, locate and select the Gallery tab. This action will unveil a timeline-based view of your photo collection.
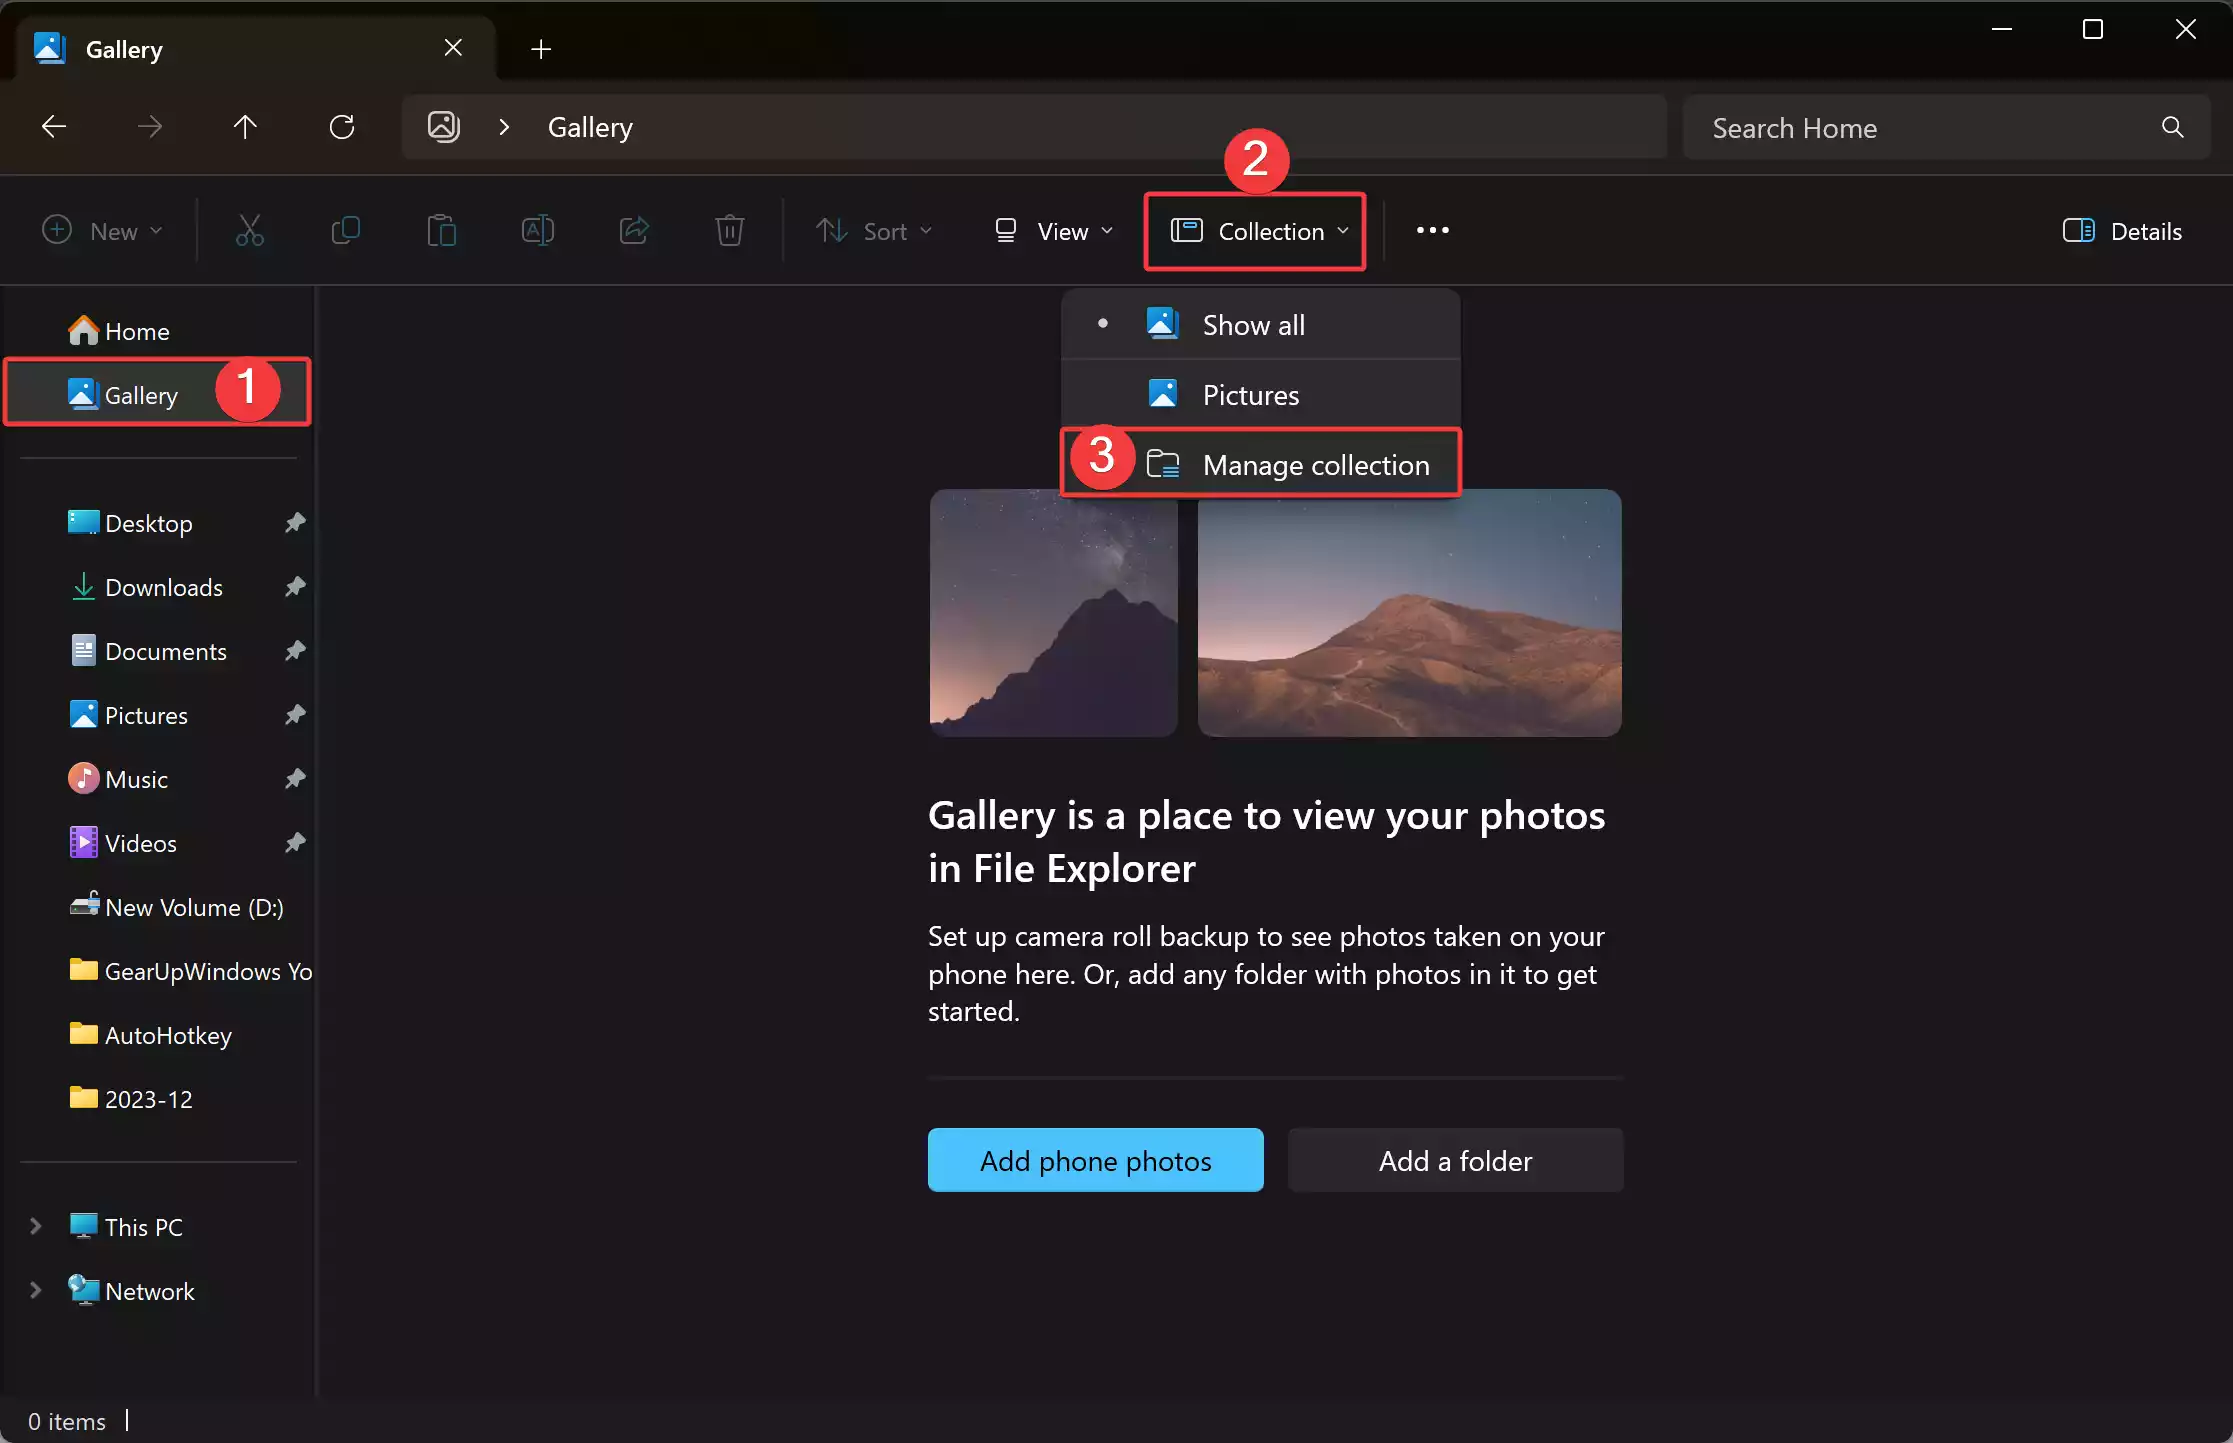
Step 3. Within the Gallery interface, click on the “Collection” tab, situated at the top of the window. From the dropdown menu, select “Manage Collection.”
Step 4. A dialog box labeled “Gallery Locations” will emerge. Here, click on the “Add” button to initiate the folder inclusion process.
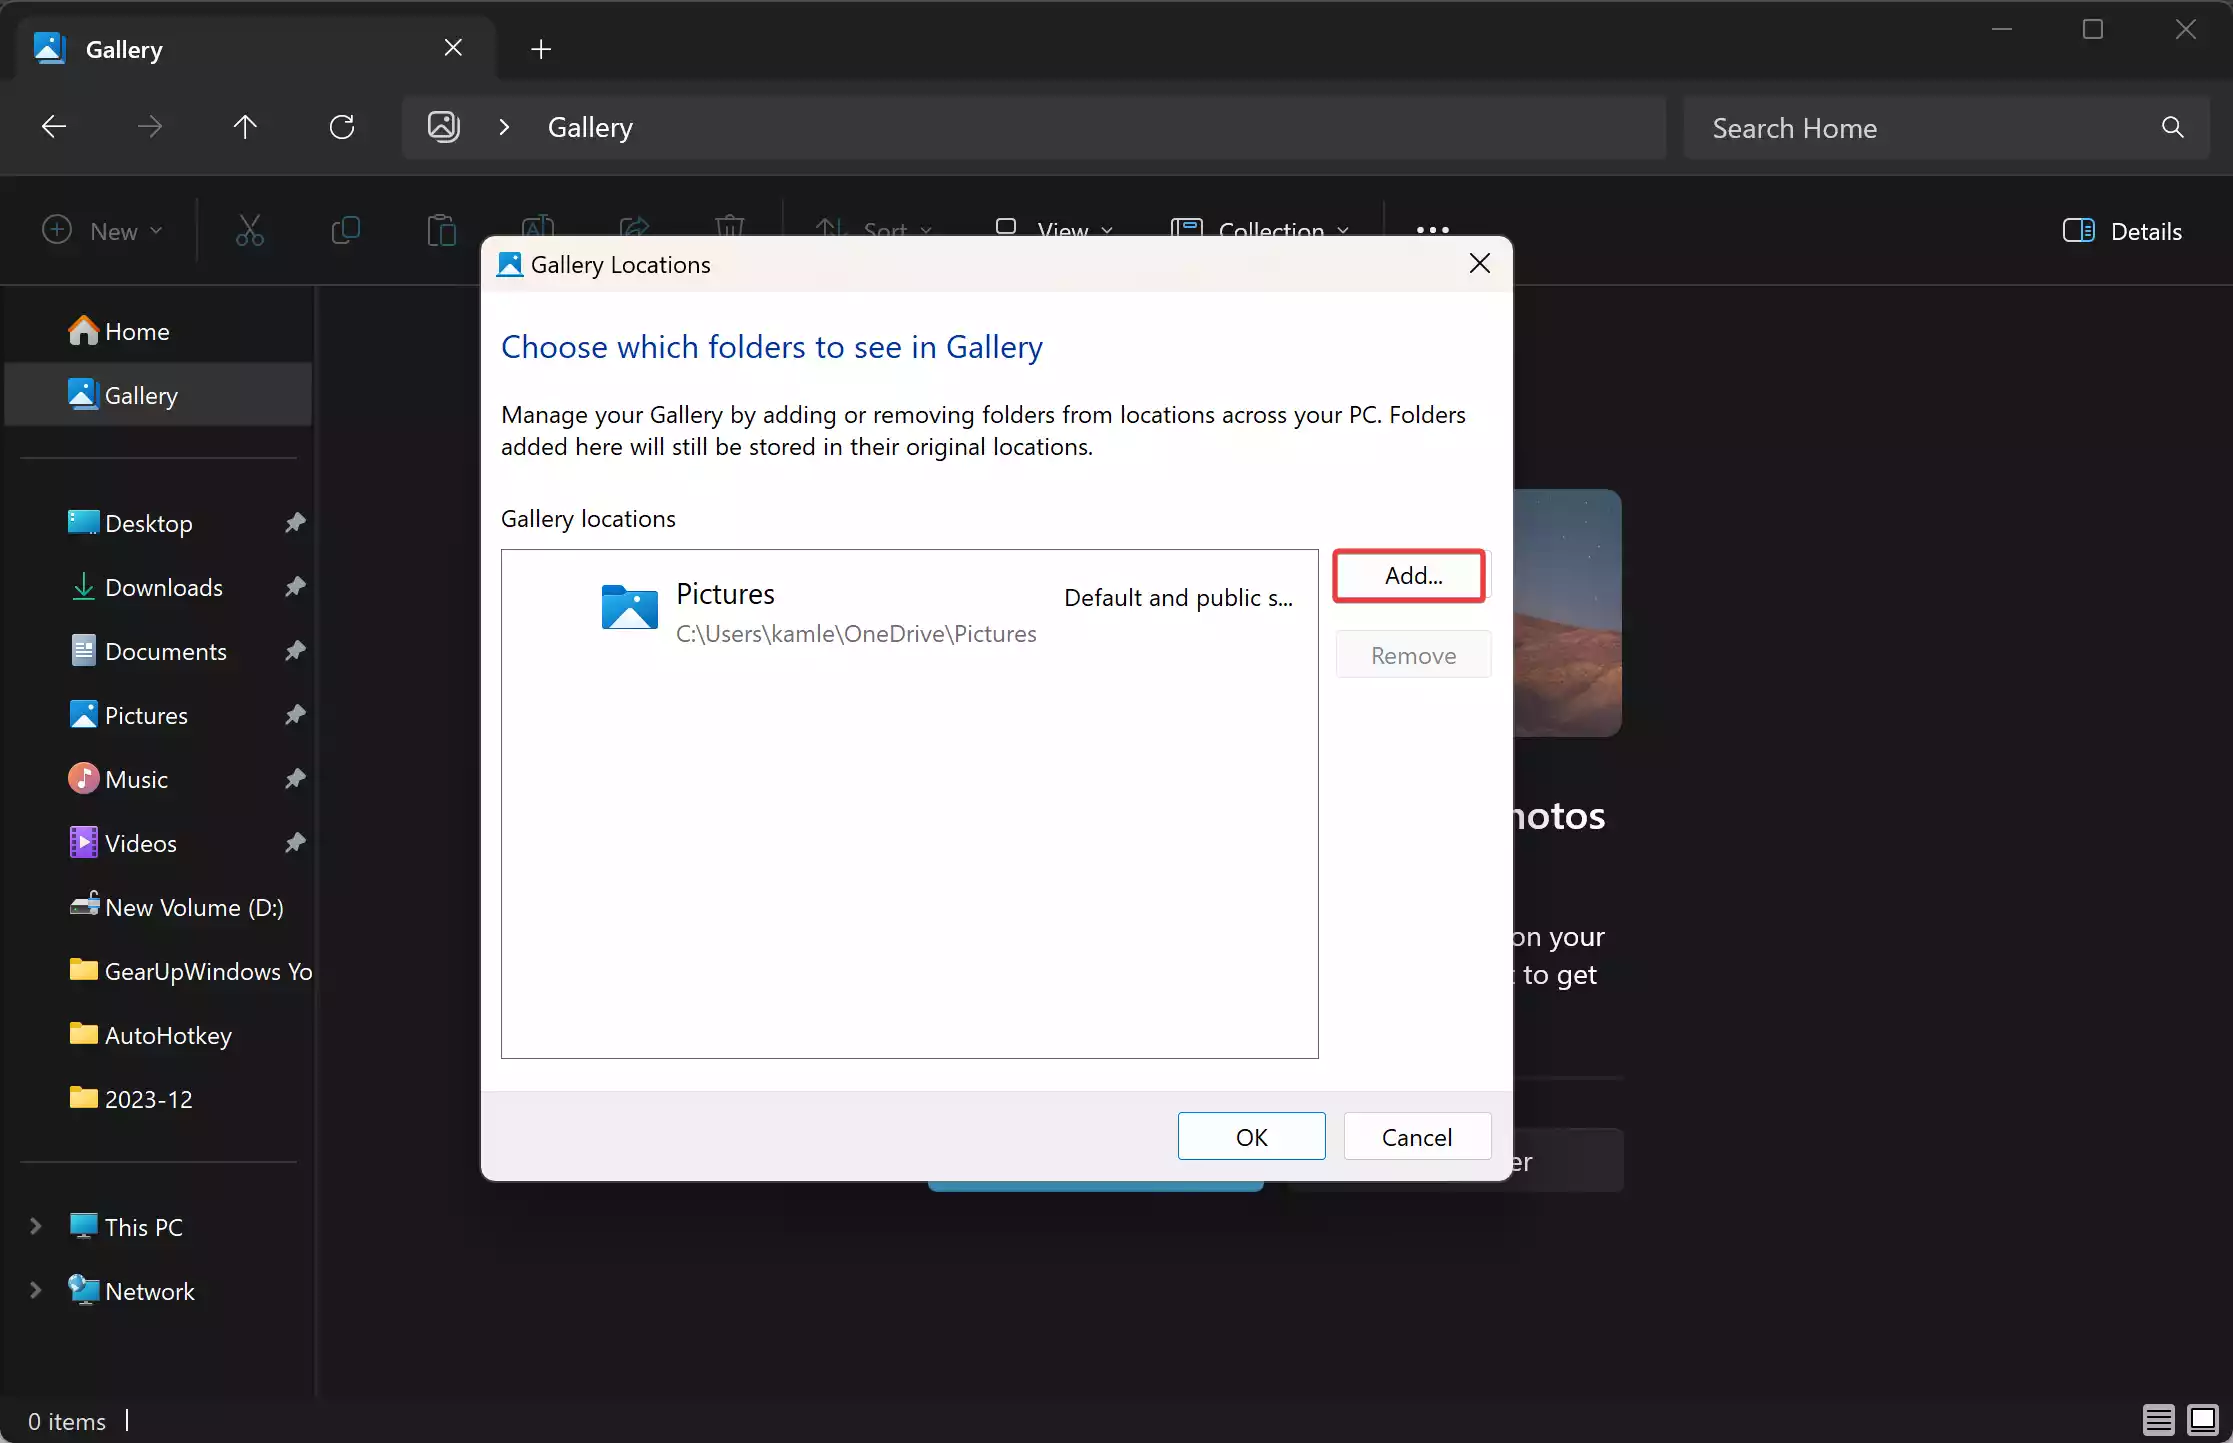
Step 5. Browse through your system’s directory structure to pinpoint the desired folder. Once identified, select the folder and click on “Include folder” to add it to the Gallery.
Step 6. Click OK to save the changes.
With the folder successfully added, Windows 11 will automatically detect all photos within the designated directory, including those nestled within subfolders. Navigate back to the Gallery interface to revel in the seamless integration of your newly incorporated folder.
Removing a Folder from Gallery: Streamlining Your Collection
Follow these steps to remove a folder from Windows 11 File Explorer Gallery:-
Step 1. Once again, open File Explorer and navigate to the Gallery tab within the Navigation Pane.
Step 2. Under the “Collection” tab, opt for “Manage Collection” to access the folder management options.
Step 3. A list of included folders will be presented. Identify the folder you wish to remove from the Gallery and select it accordingly.
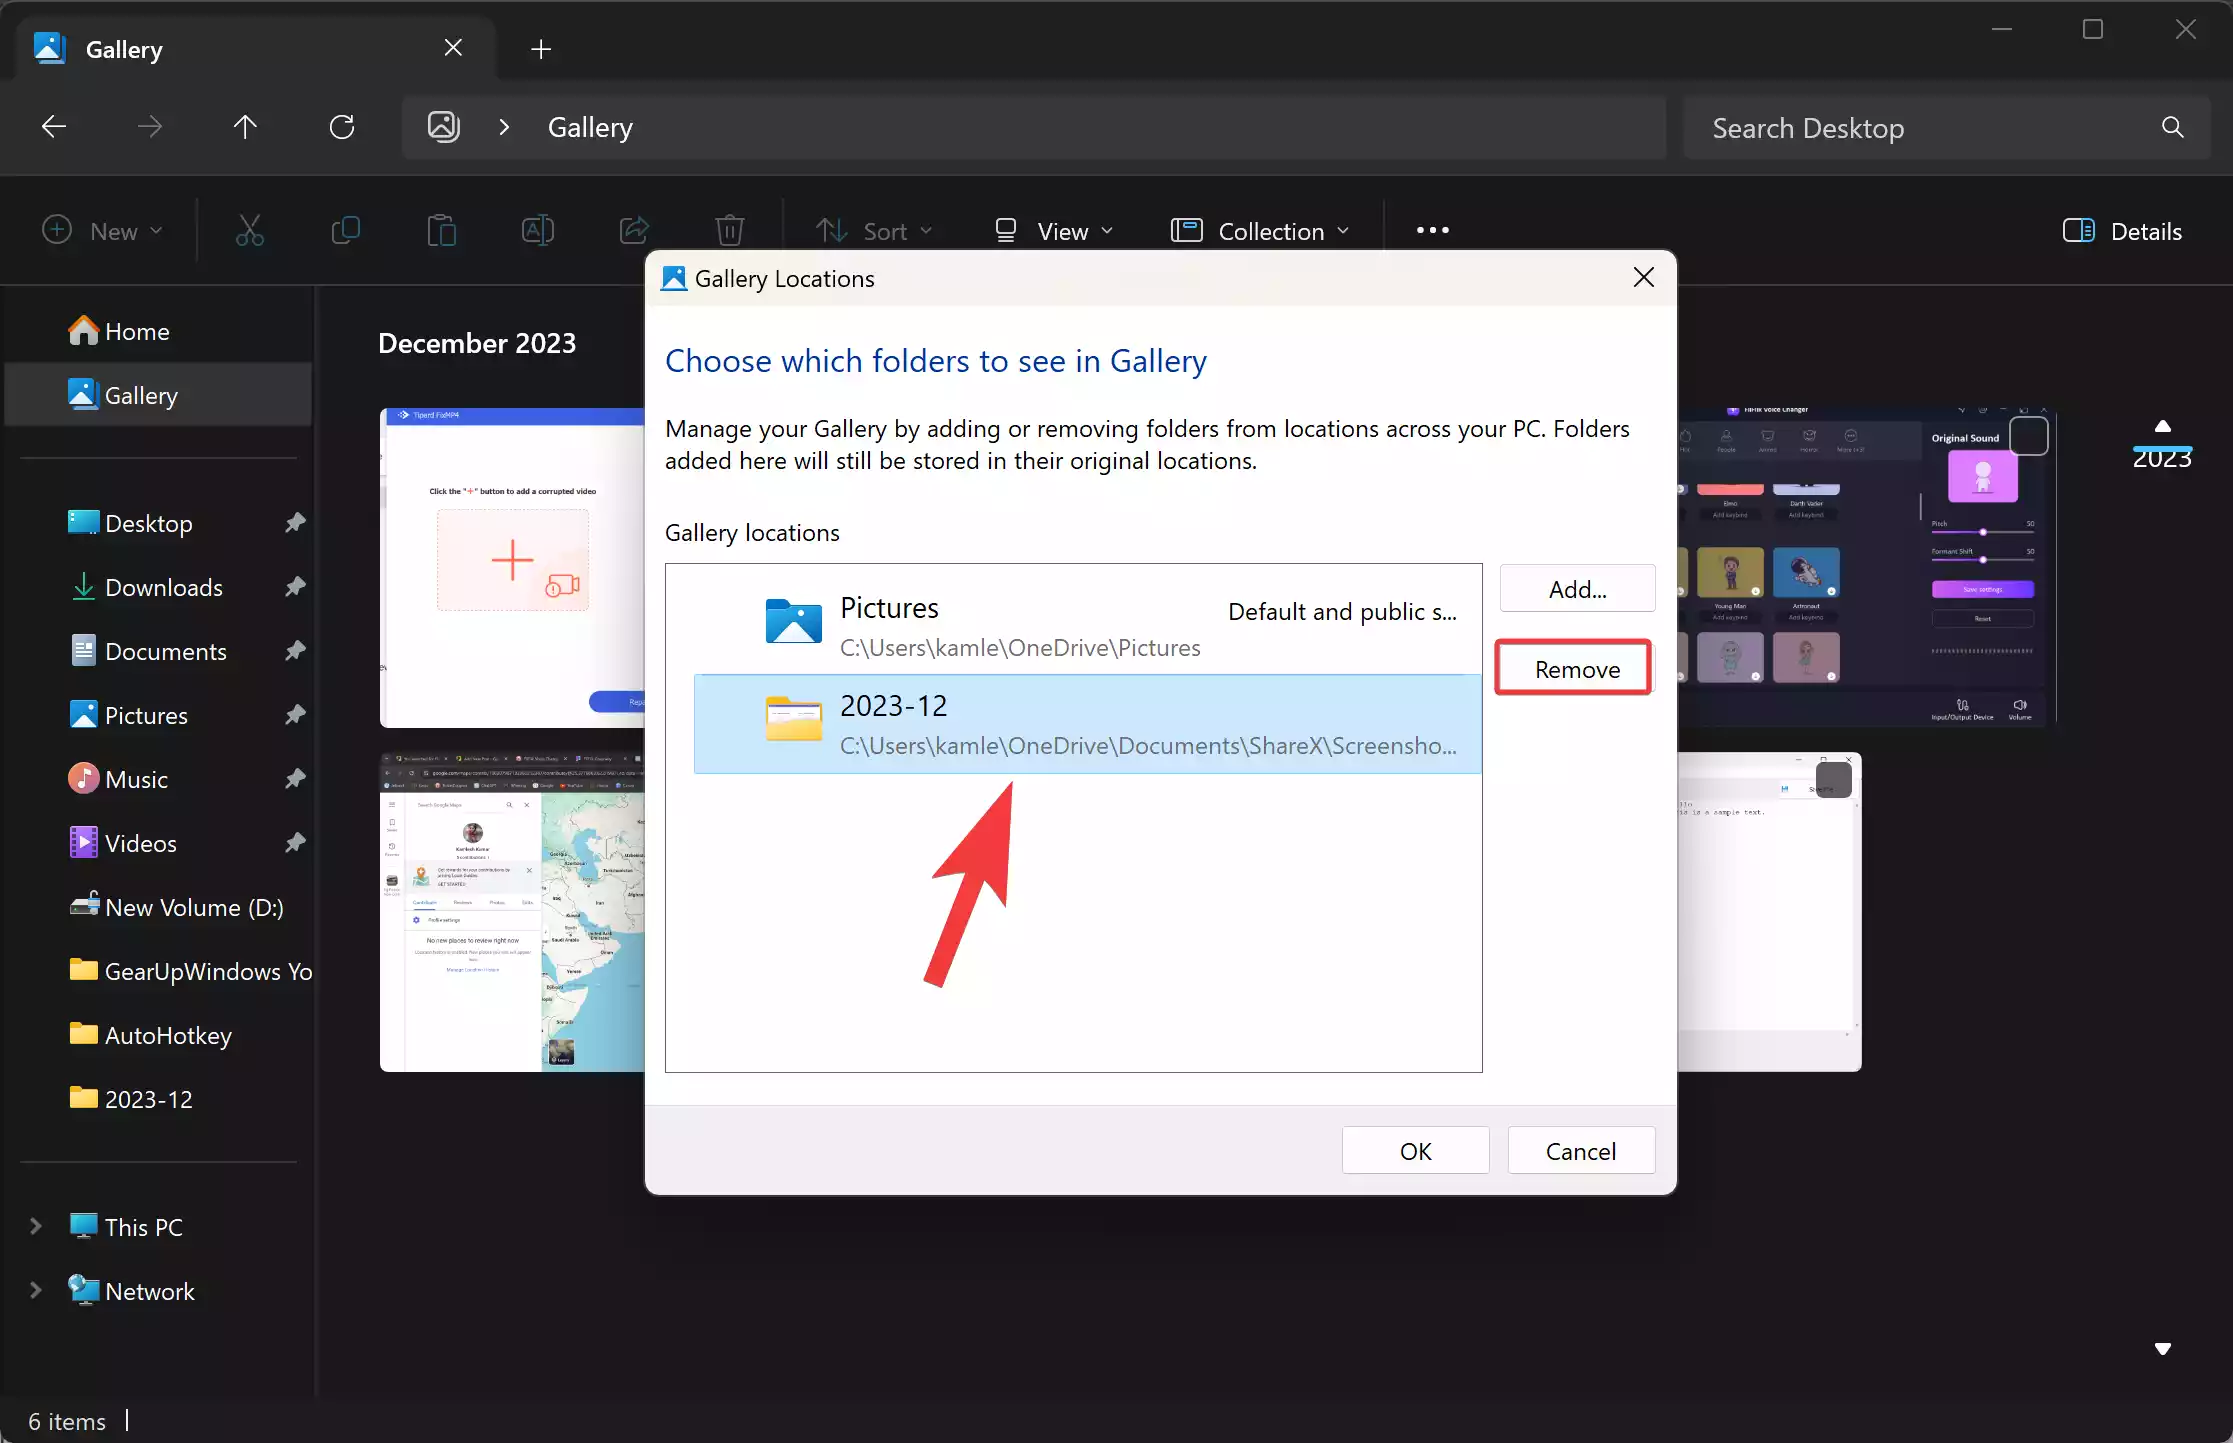
Step 4. With the folder highlighted, click on the “Remove” button to commence the removal process.
Step 5. Click OK to apply the changes.
As the folder is successfully removed, the Gallery interface will reflect the updated collection, ensuring a refined and tailored browsing experience.
Conclusion: Empowering Photo Management in Windows 11
In conclusion, the integration of Gallery within Windows 11 File Explorer heralds a new era of streamlined photo management. Whether you’re adding folders to expand your visual repertoire or removing them to curate a refined collection, the process is seamlessly orchestrated, catering to the diverse needs of users. By following the outlined steps, you can harness the full potential of Gallery, transforming your File Explorer into a personalized sanctuary for your cherished memories. Embrace the power of organization and embark on a journey of photo management mastery with Windows 11 Gallery at your fingertips.
Also Read: How to Add or Remove Gallery from File Explorer on Windows 11?