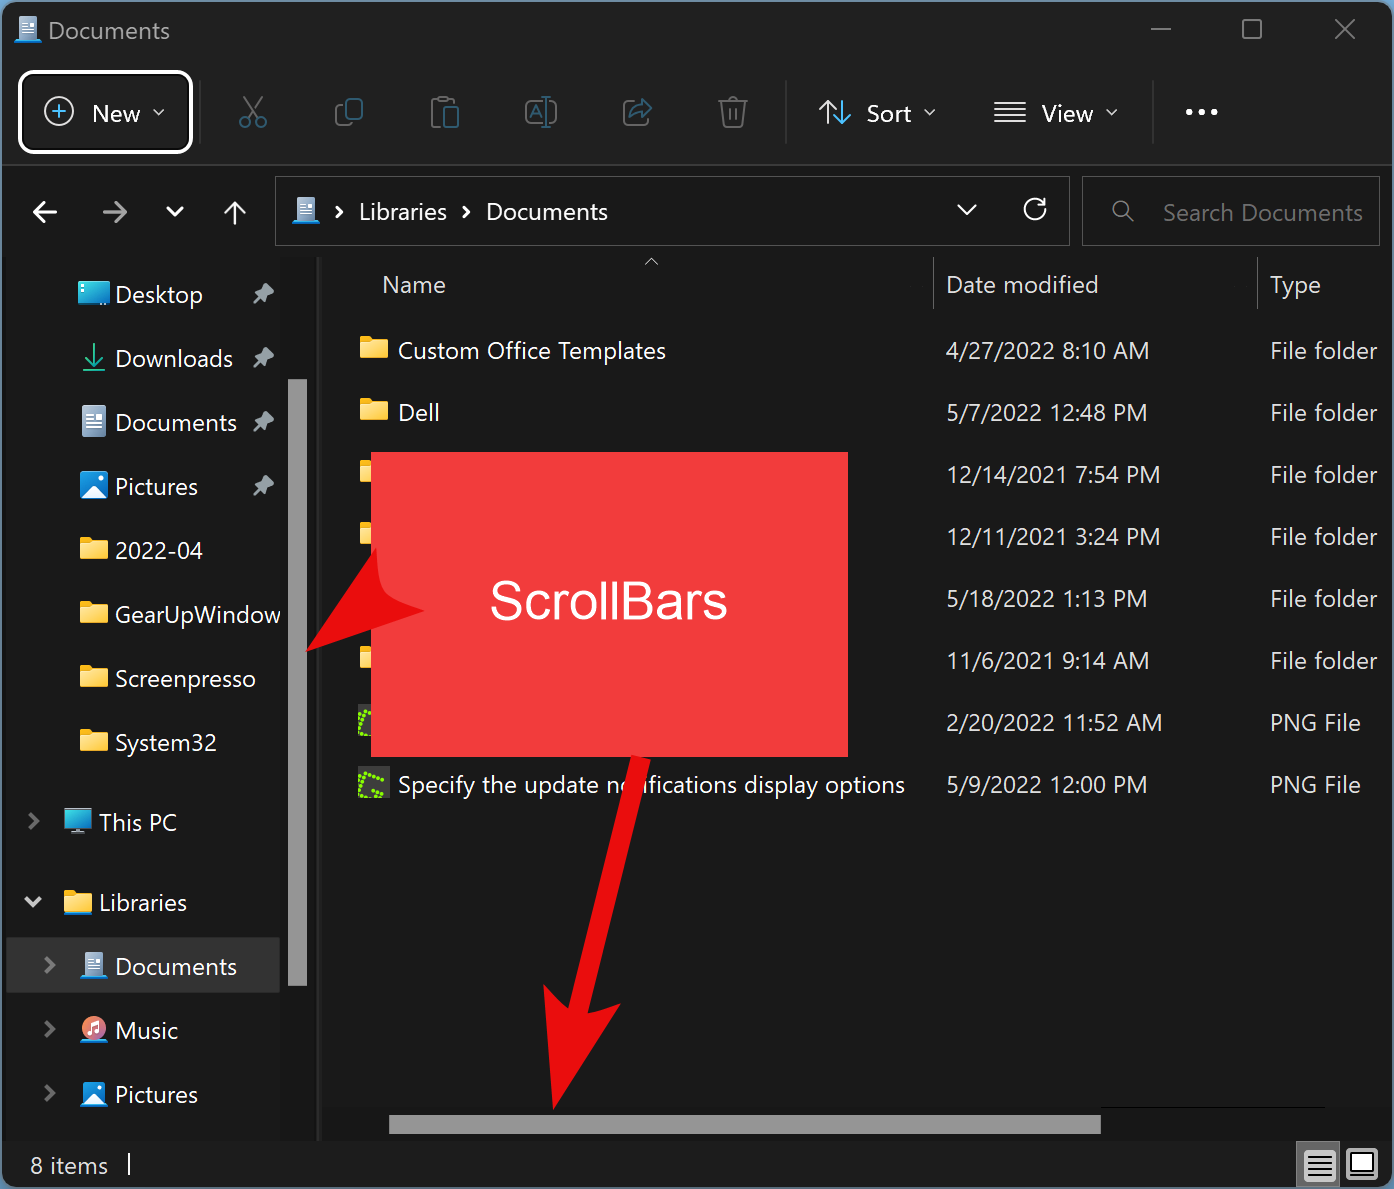
How do I always display scrollbars in Windows 11? If you have used Windows 11 for a few days, you might have noticed that scrollbars automatically hide when they’re not in use. You may feel uncomfortable scrolling when it is not always visible. However, Microsoft has provided an option to show or hide scrollbars always when not in use on your screen. All you can do is from the settings app.
In this gearupwindows article, we will guide you on always showing scrollbars in Windows 11. Using the same steps, you can hide the scrollbars when not in use.
How to Always Show Scrollbars in Windows 11?
Follow these steps to always display Scrollbars in Windows 11:-
Step 1. Open the Settings app by pressing the Windows + I shortcut keys on the keyboard.
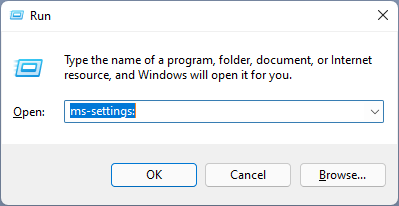
Alternatively, press the Windows + R keys simultaneously from the keyboard to open the Run dialog box. In the Run box, type ms-settings: and hit the Enter key on the keyboard to launch the Settings app.
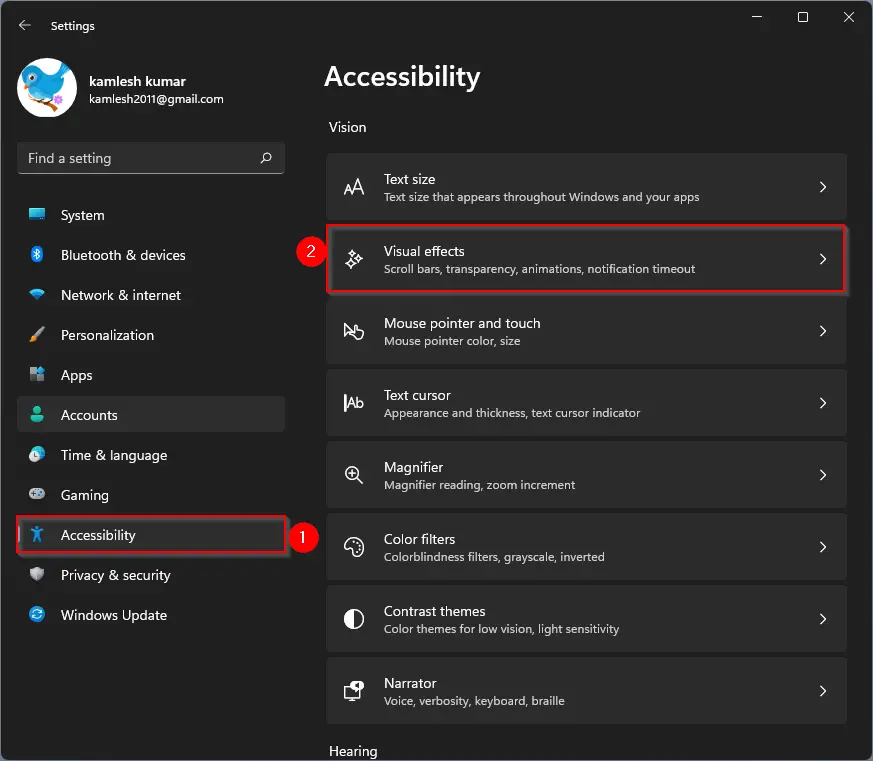
Step 2. In the Settings window, click on the Accessibility category from the left sidebar, and then on the right-side pane, select the Visual Effects tab.
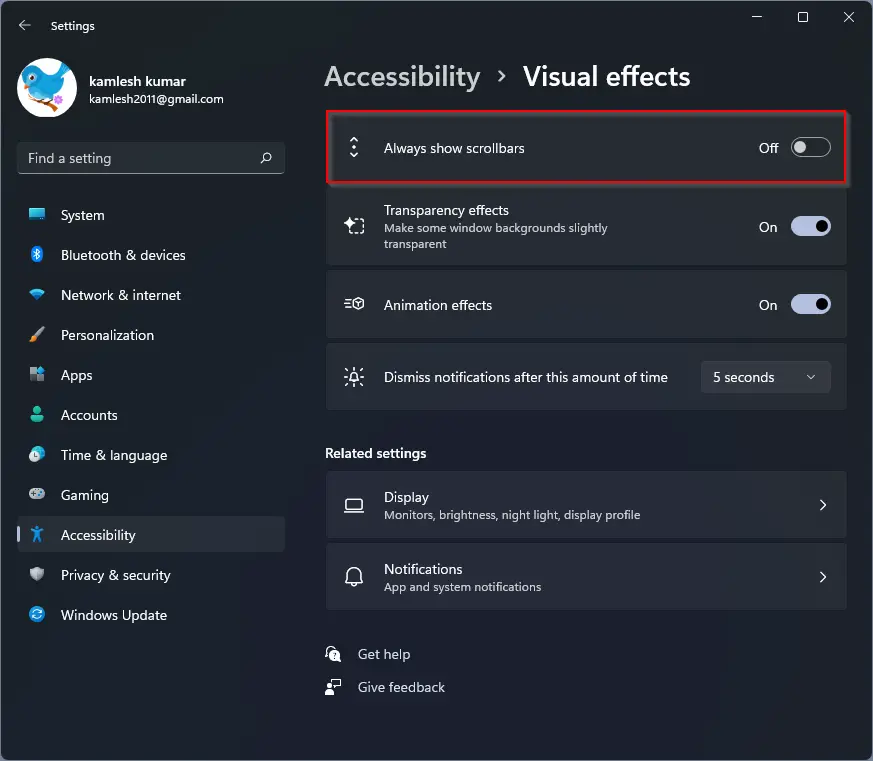
Step 3. In Visual Effects settings, turn the toggle switch to the On position next to the Always Show Scrollbars option.

Once you complete the above steps, you’ll always see scrollbars in your windows unless an app handles its scrollbars independently.
How to Hide Scrollbars in Windows 11 when not in use?
Follow these steps to hide Scrollbars in Windows 11 when not in use:-
Step 1. Open the Settings app by pressing the Windows + I shortcut keys on the keyboard.
Alternatively, press the Windows + R keys simultaneously from the keyboard to open the Run dialog box. In the Run box, type ms-settings: and hit the Enter key on the keyboard to launch the Settings app.
Step 2. In the Settings window, click on the Accessibility category from the left sidebar, and then on the right-side pane, select the Visual Effects tab.
Step 3. In Visual Effects settings, turn the toggle switch to the Off position next to the Always Show Scrollbars option.
Once you complete the above steps, when not in use or the cursor is away from the scrollbars, it will automatically hide on Windows 11.
How to Always Show or Hide Inactive Scrollbars Using Registry Editor?
To always show or hide inactive scrollbars through Registry Editor, use the following steps:-
Step 1. First, open the Registry Editor.
Step 2. Then, navigate to the following key in the left sidebar of Registry Editor:-
HKEY_CURRENT_USER\Control Panel\Accessibility
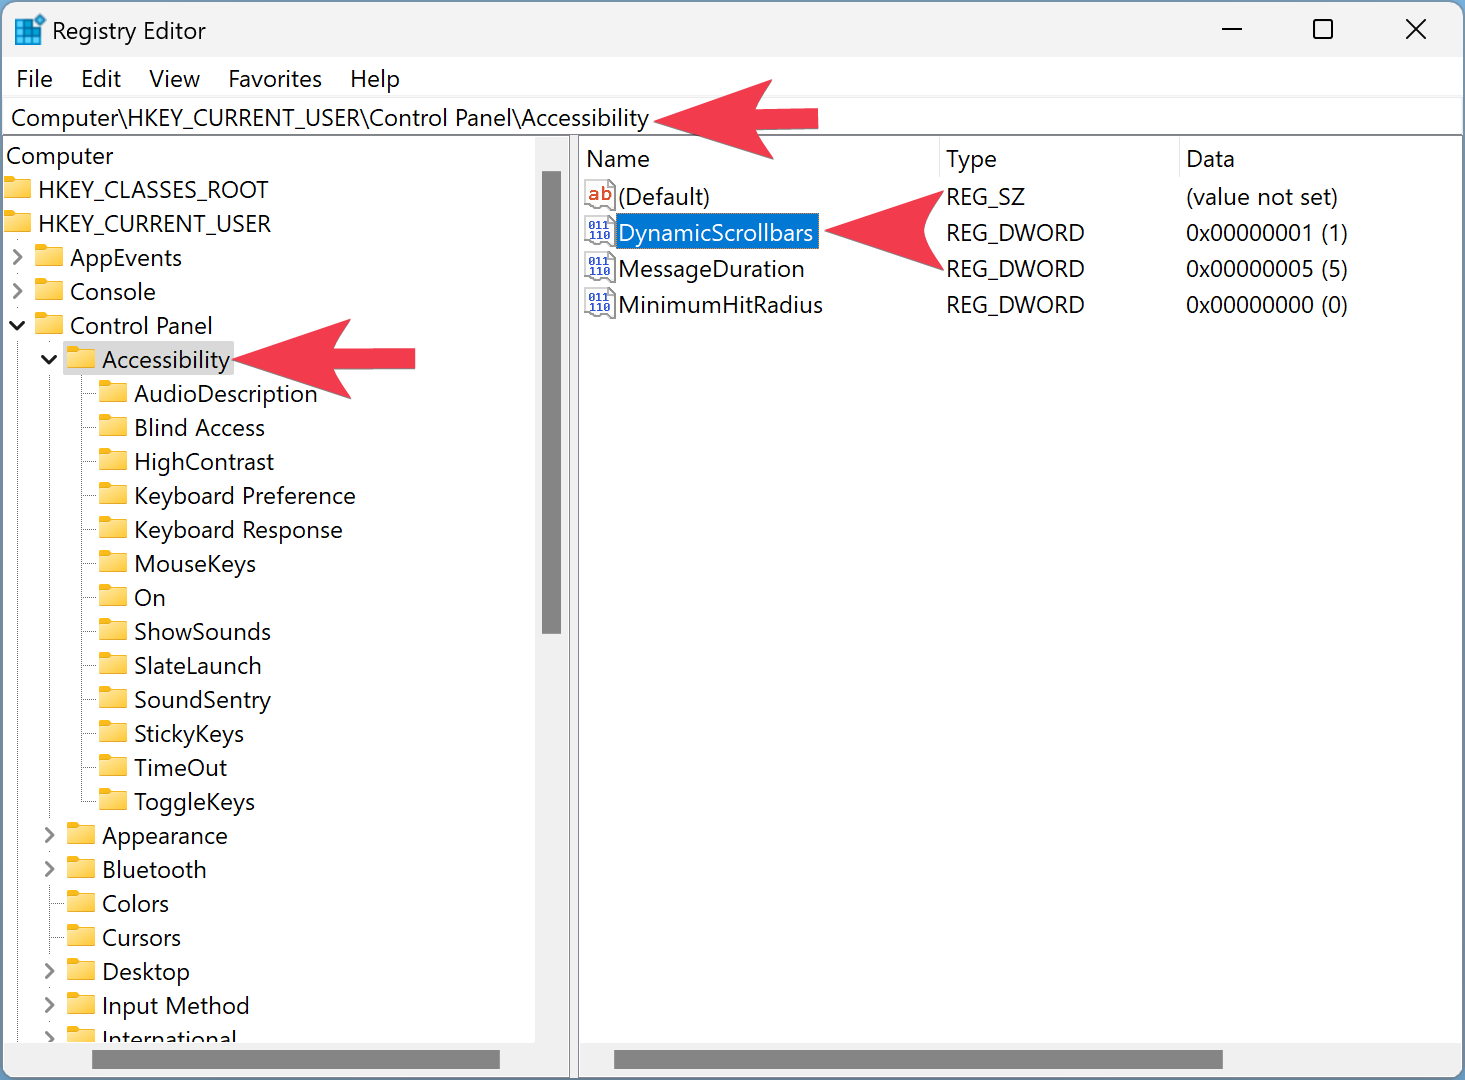
Step 3. On the right side of the Accessibility folder, double-click the DynamicScrollbars REG_DWOED and set its value to the following:-
- 0 – Show the scrollbar.
- 1 – Hide the scrollbar.
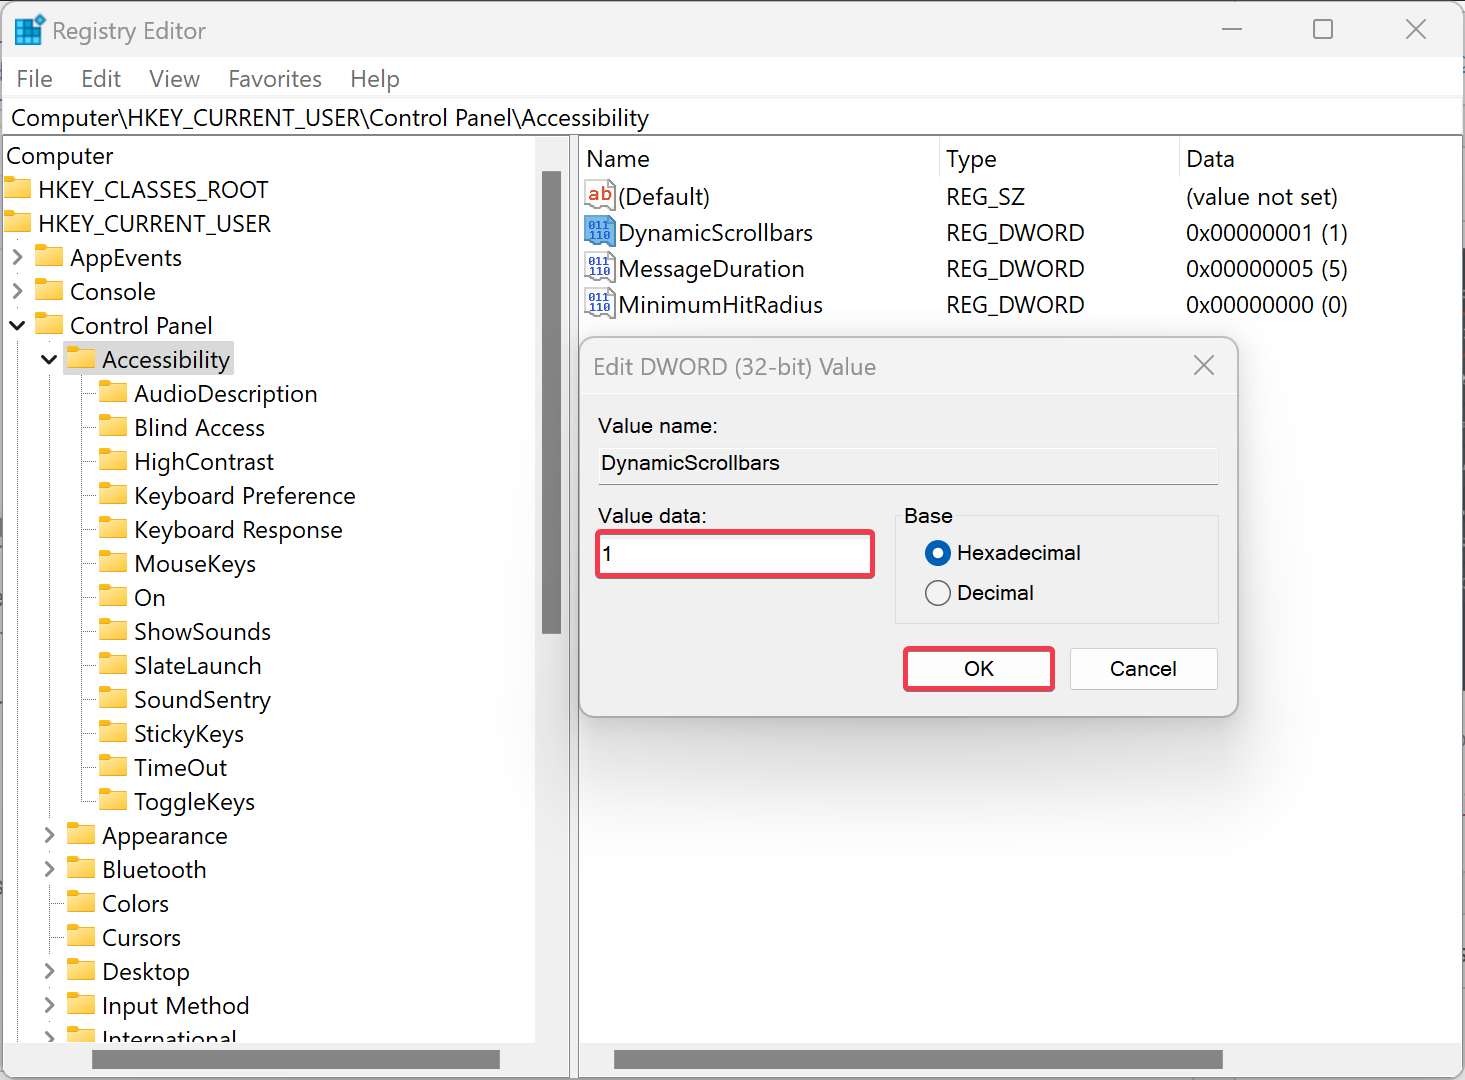
Step 4. Click OK.
Step 5. Restart your computer.
Once you complete the above steps, the scrollbar will always be visible or disabled when inactive, depending on your settings.
Conclusion
In conclusion, the scrollbars on Windows 11 automatically hide when they are not in use, which might cause discomfort to some users. However, Microsoft has provided an option to always display or hide the scrollbars when not in use. In this article, we have discussed the steps to always show or hide the scrollbars using the Settings app as well as the Registry Editor. By following these steps, you can easily customize the appearance of scrollbars on your Windows 11 PC according to your preferences.
Also Read: How to always show Scroll Bars in Windows 10?