With the default configuration, the Windows operating system gets installed on the “C” drive. All the programs get install on C:\Program Files or C:\Program Files (x86) directory, depending on the type of Windows version (32-bit or 64-bit architecture) and the program you are installing.
If your default installation drive runs out of free space and you want to set a default installation directory other than the “C” drive, it is possible by making registry changes. It is possible to change the default installation location of Windows 10/8/7, but you need to edit the registry to change the default installation directory or path.
Once you see sufficient space in your other drive and you wish to install all the new programs in a new directory, it is possible with a registry tweak. With a small registry hack, you can set your new directory as the default installation drive. It may also happen; you have attached a new hard drive to your computer or laptop and want to install all new programs on a new hard disk drive.
This post will guide you on how to change the default installation directory in Windows 10/8/7 PC.
How to change the Default Installation Directory in Windows 10/8/7 using Registry Editor?
Note: Before making changes in your Windows PC’s Registry, we recommend creating a system restore point and taking a full registry backup.
To change the Default Installation Directory in Windows 10/8/7, perform the following steps:-
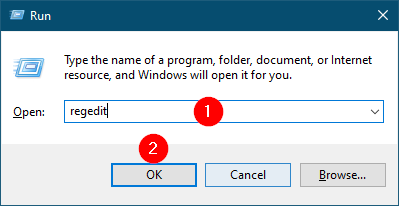
Step 1. Press and hold the Windows logo key, and then press the R key to open the Run dialog box.
Step 2. Type the following in the Run box that opens, and press Enter from the keyboard:-
regedit

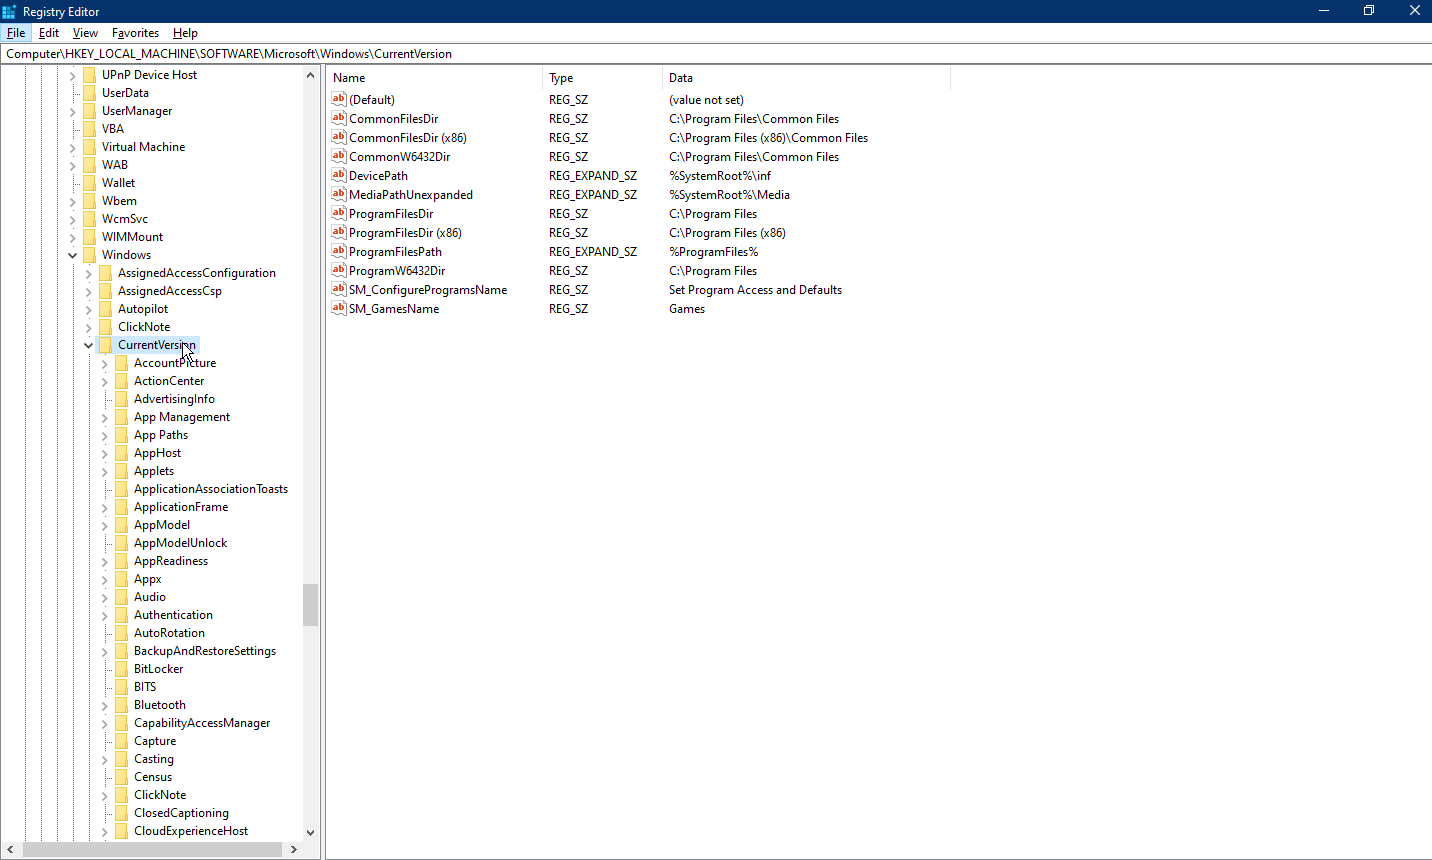
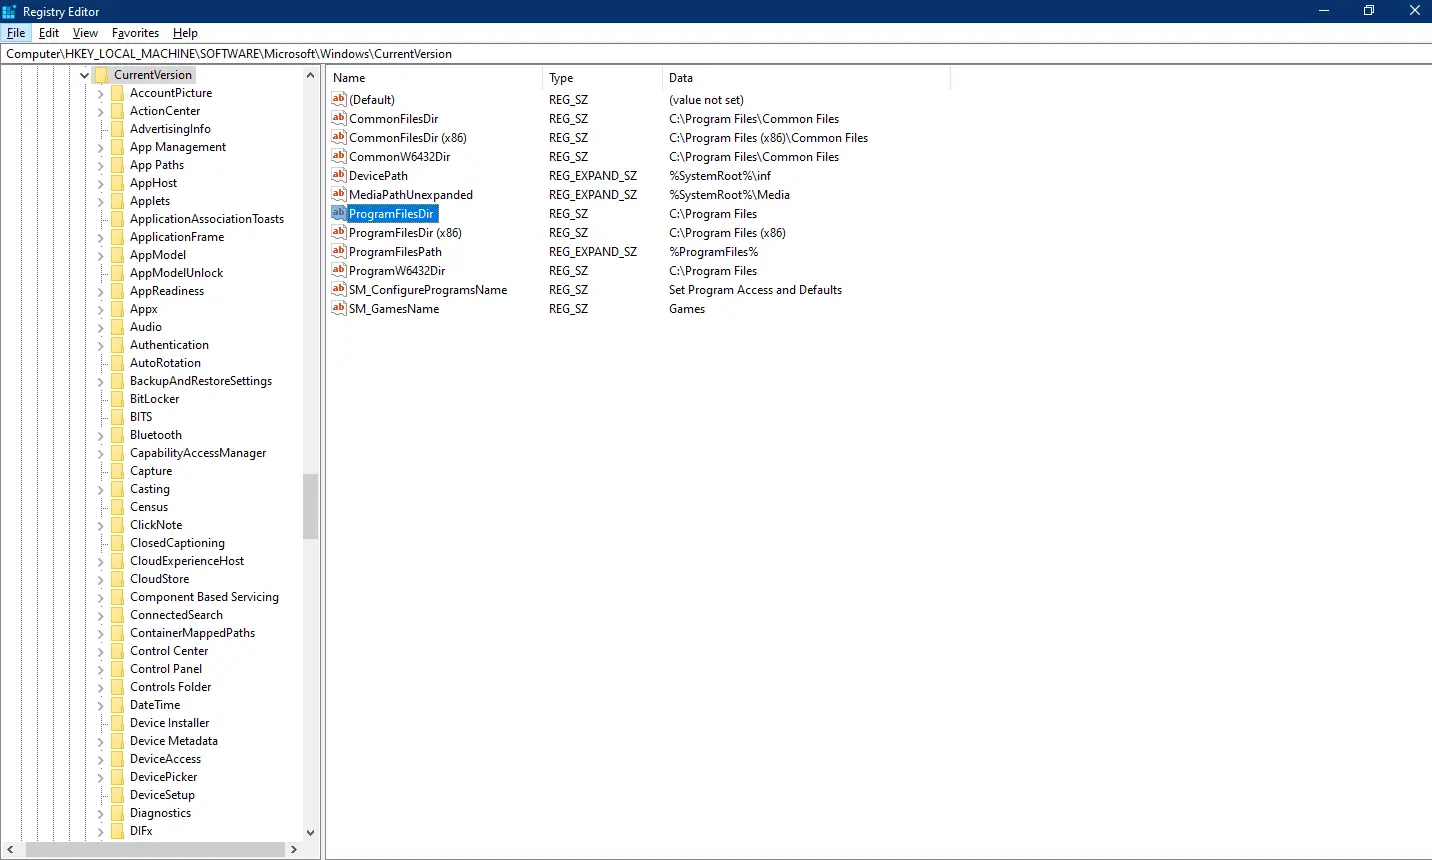
Step 3. In the Registry Editor window that opens, navigate to the following registry key:-
HKEY_LOCAL_MACHINE\SOFTWARE\Microsoft\Windows\CurrentVersion
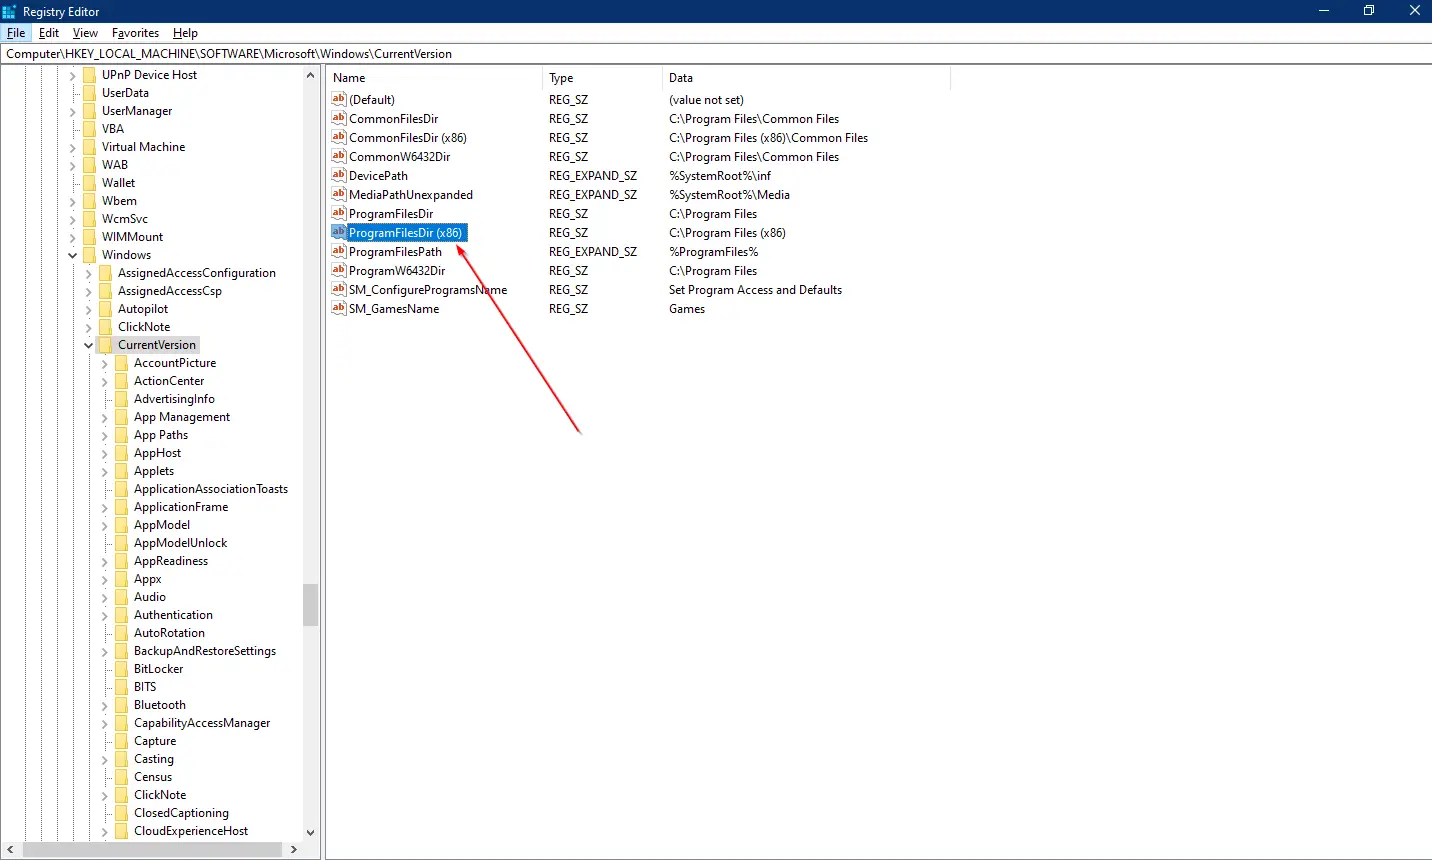
Step 4. On the right side of the CurrentVersion key, double click the String labeled with “ProgramFilesDir (x86)” and change the default value “C:\Program Files” to your new directory path (address).
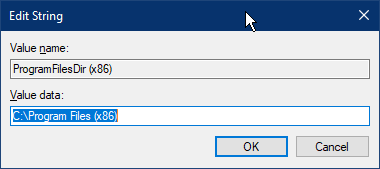
Step 5. After typing the new path in the Value data field, click the OK button.
Step 6. Now, double click the String labeled with “ProgramFilesDir” and change the default value “C:\Program Files” to your new directory path (address).
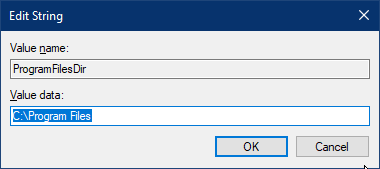
Step 7. After typing the new path in the Value data field, click the OK button.
Step 8. Close the Registry Editor window.
Step 9. Restart your computer or laptop.
Now, to test the new changes, download a program and install it. It should install in the new installation directory, which you have specified in the above steps.
If you want to restore the previous installation directory to the default one, repeat the above steps and in steps 4 & 6, change the installation path to the previous one.