Windows 11 offers to customize your desktop experience with various old and new features. Some features are newly introduced on Windows 11, while many features are carried forward from its predecessor, Windows 10. Login Screen Background changing facility was earlier available on Windows 10, and it is still part of Windows 11.
Before proceeding with the steps, you should know about the Login Screen and Lock Screen of Windows 11.
What are Login Screen and Lock Screen?
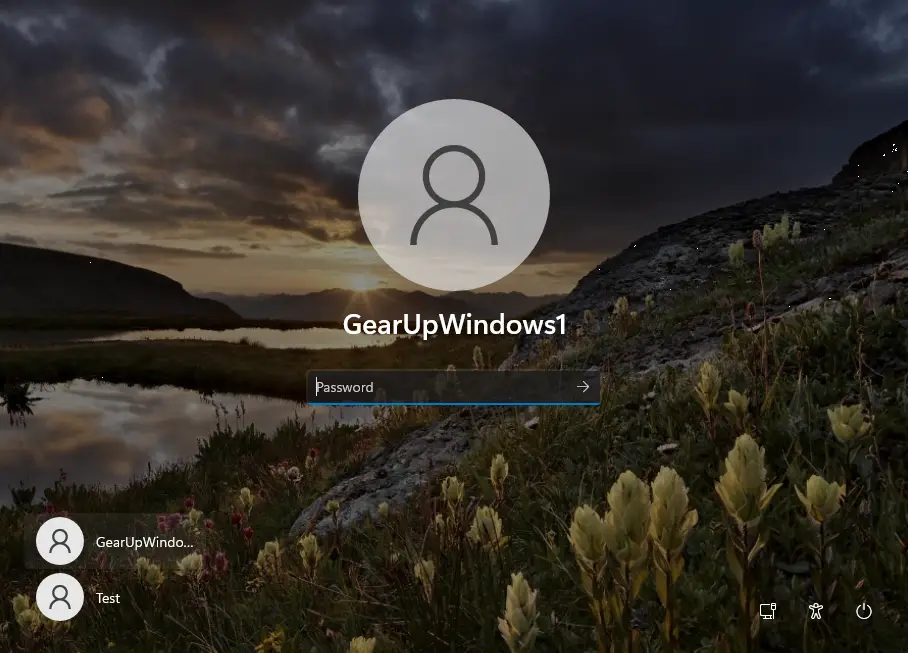
On Windows 11, the login screen and lock screen backgrounds are separate from the desktop background. The login screen or sign-in screen is the screen you see when your PC turns on and asks for your password or PIN. You can also reach to lock screen by pressing the Windows + L keys from the keyboard. After that, click anywhere on the Lock Screen to see the login or sign-in screen. However, the login screen and lock screen can be configured simultaneously in Settings under the Lock screen.
How to Change Login Screen and Lock Screen Background in Windows 11?
Follow these steps to change Login Screen and Lock Screen Background in Windows 11:-
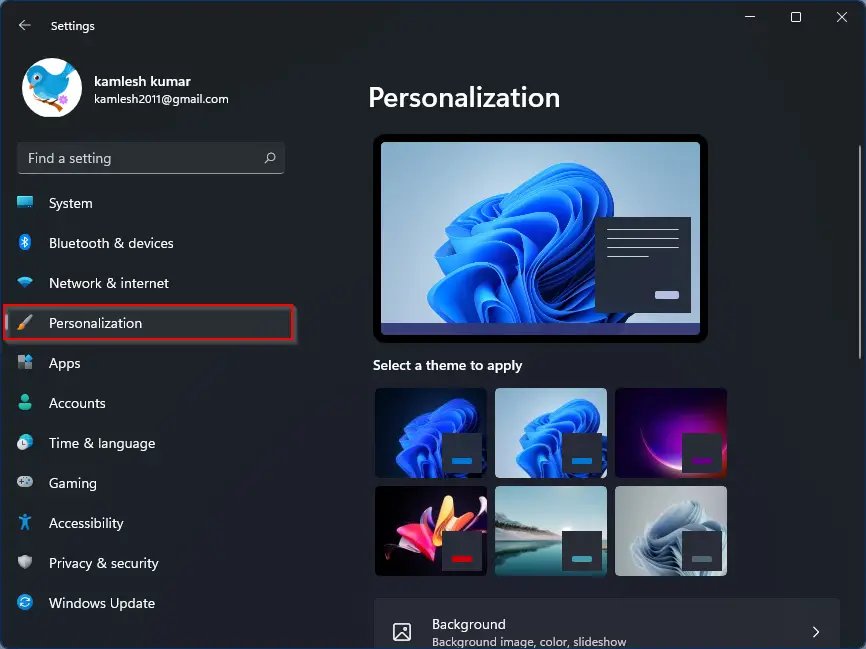
Step 1. Open the Settings app by pressing Windows + I keys simultaneously from the keyboard or any other method. If the Settings app is not opening or crashing, you can quickly fix it by resetting it. Once the Settings app is opened, click on the Personalization category from the left side pane.
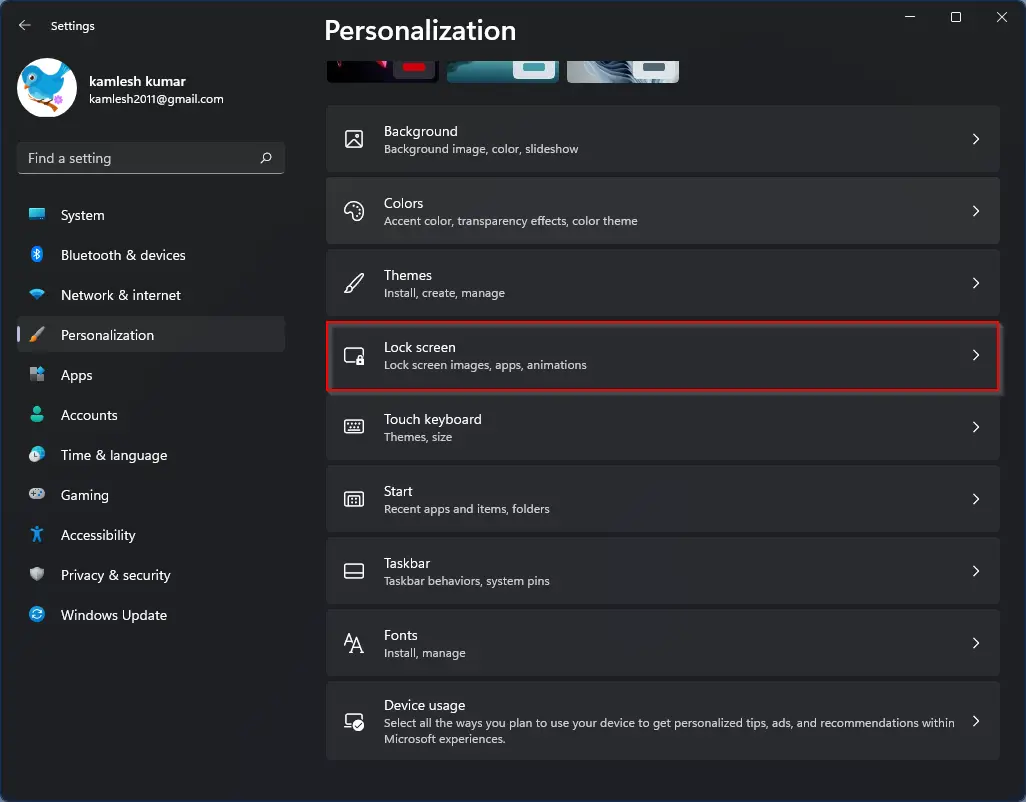
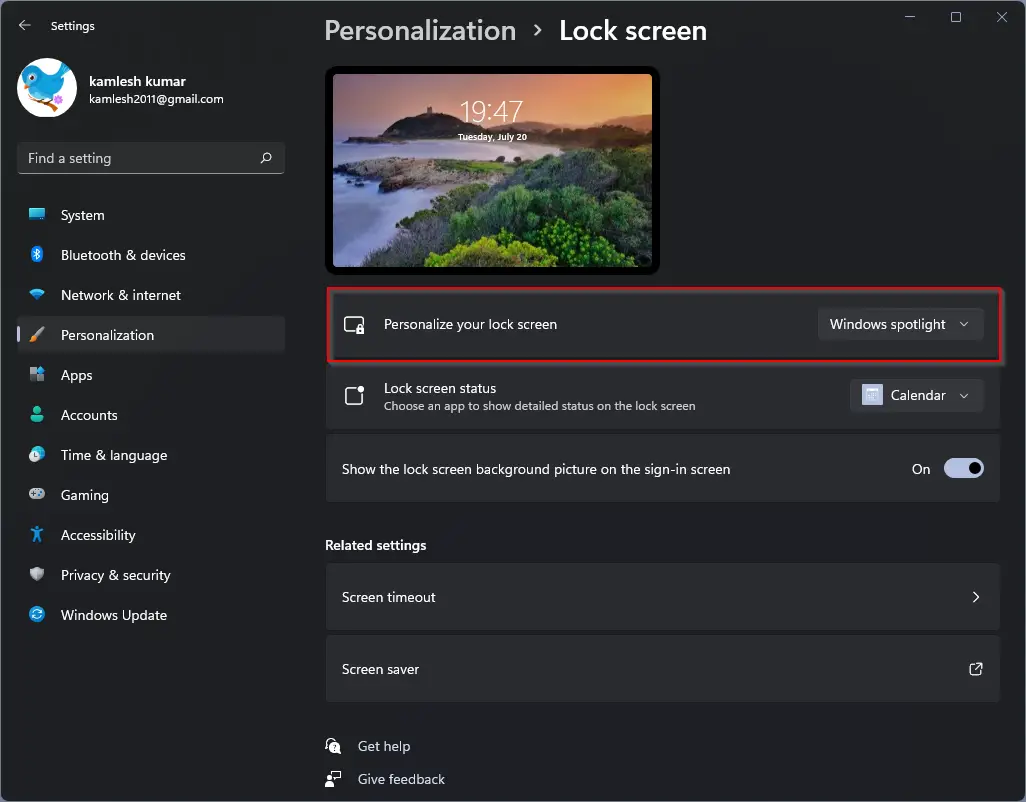
Step 2. On the right side pane, scroll down and then click on the Lock screen tab.
Step 3. Turn On the toggle switch next to the “Show the lock screen background picture on the sign-in screen” option.
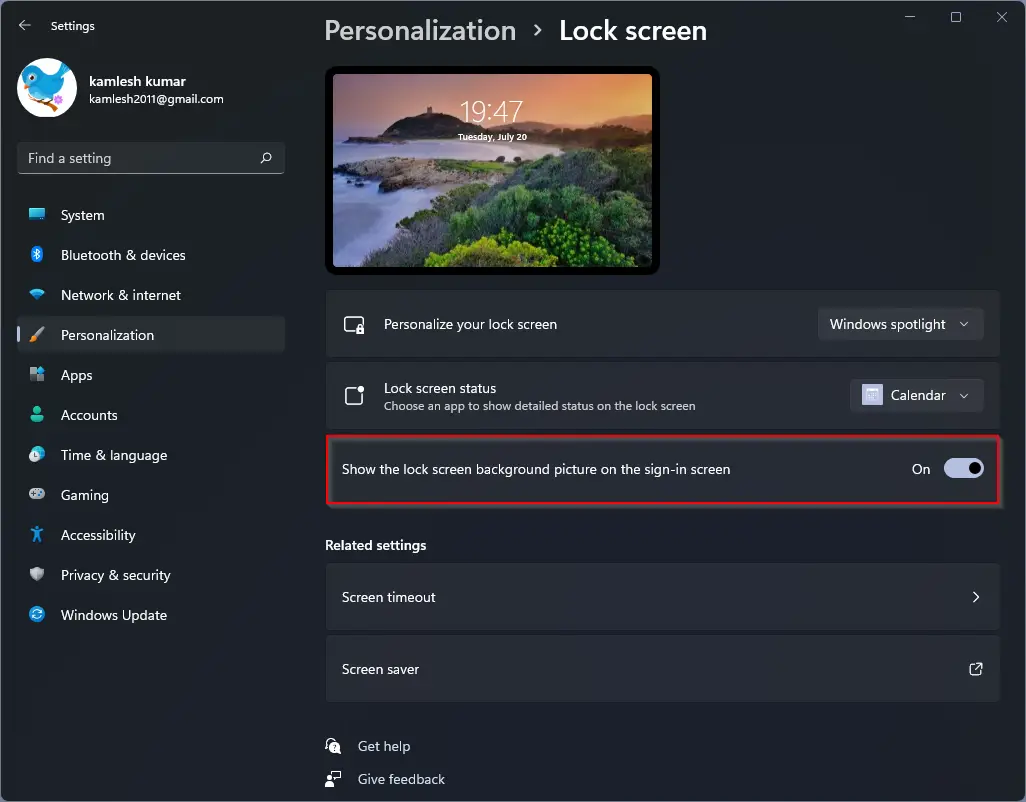
Step 4. Now, on the same window, click on the drop-down next to Personalize your lock screen option.
Here, you will see these options:-
- Windows spotlight – If you select the Windows spotlight option, the lock screen background image will be downloaded automatically from the Microsoft server and display different images periodically.
- Picture – If you prefer to select an image from your PC, selecting the Picture option will allow you to choose from a selection of thumbnails or upload your own images.
- Slideshow -The Slideshow option allows you to choose multiple images to become part of a rotating picture slideshow.
If you wish to select an image from your PC, you can either select “Picture” or “Slideshow.” Then you will have the option to choose the picture(s) from your computer. Select the desired image from your PC, and it will be used as a login screen background by Windows 11.
How to Change Login Screen Background Image on Windows 11 with Registry Editor?
Follow these steps to change Login Screen Background Image on Windows 11 with Registry Editor:-
Step 1. Open Registry Editor.
Step 2. Then, navigate or browse to the following registry key in the left sidebar:-
HKEY_LOCAL_MACHINE\SOFTWARE\Microsoft\Windows\CurrentVersion\Authentication\LogonUI\Background
Step 3. On the right side, look for a REG_DWORD “OEMBackground.” If the “OEMBackground” value doesn’t exist, right-click on an empty area in the right pane and select “New” > “DWORD (32-bit) Value“. Name the new value “OEMBackground” (without quotes).
Step 4. Now, double-click on the “OEMBackground” REG_DWORD and set the value data to “1“.
Step 5. Navigate to the folder where your desired background image is located and rename the image file to “backgroundDefault.jpg” (without quotes) and copy it to the following location: C:\Windows\System32\oobe\info\backgrounds
If the “backgrounds” folder doesn’t exist, create a new folder and name it “backgrounds” (without quotes).
That’s it.
Restart your computer to see the new login screen background image.
How to Change Login Screen Background Image on Windows 11 with Group Policy Editor?
Follow these steps to change Login Screen Background Image on Windows 11 with Group Policy Editor:-
Note: Group Policy Editor is only available on Windows 11 Pro, Education, and Enterprise editions.
Step 1. Open Local Group Policy Editor on your PC.
Step 2. Navigate or browse the following policy path:-
Computer Configuration > Administrative Templates > System > Logon
Step 3. On the right sidebar, double-click on the “Always use custom login background” policy setting.
Step 4. Set the policy setting to “Enabled.”
Step 5. Click “Apply” and “OK” to save the changes.
Log out of your account or restart your computer to see the new login screen background image.
Conclusion
In conclusion, Windows 11 offers a variety of options to customize the desktop experience, including changing the login screen and lock screen background images. The login screen and lock screen backgrounds are separate from the desktop background, and users can configure them simultaneously in the Settings app. Users can choose from Windows Spotlight, Picture, or Slideshow options to set their preferred background image. Additionally, users can change the login screen background image by using Registry Editor or Group Policy Editor, depending on their Windows 11 edition. Overall, changing the login screen and lock screen background images in Windows 11 is a simple process that can enhance the visual appeal of the user interface.
Do you know how to actually change win11 login background?
Dear, you are reading the correct post. Let me know if something is wrong with the article; we will edit it.
I’ve done this, my lock screen is a group of pictures from a folder i selected, but my login screen is still the default blue and wont change
Please refer to step 3 of the above post. On the Settings > Personalization > Lock Screen, turn toggle ON beside “Show the lock screen background picture on the sign-in screen.”
Setting the switch to toggle on “Show the lock screen background picture on the sign-in screen” has no effect on my PC. Might have something to do with domain policy requiring ctrl-alt-delete? Before upgrade to Win11, this setting worked correctly, showing the selected image instead of the default.
If your login screen is the blue one and you set a slideshow then your login will still always be the blue one. You have change the login image to the specific image you want, then change to a slideshow. I don’t see a way to make it use whatever image it happen to be on in the slideshow when go to login.
Thanks. This was way more helpful than the Microsoft page on the same topic.
I want nothing but a black screen, no photos, no slide show, no graphics. How?
Dear Stephen,
Pick an image that is totally dark and set it as a login screen background, that should solve the issue.
always i used to read smaller posts which also clear their motive, and that is also happening with this post which I am reading at this place.