By default, Windows 11’s lock screen times out and switches off the monitor after just a minute. When you try to enter into your PC, you need to type in the user account password to access your desktop. It is very little time, and a lot of Windows users are not happy with this behavior. However, it is possible on Windows 11 to increase the screen time out. If you are one of those Windows users who are not happy with a one-minute screen lock, you can increase the time. In this gearupwindows article, we will guide you on increasing the Windows 11 lock screen timeout.
There are at least two ways through which you can change the lock screen timeout on Windows 11. Either use Control Panel or Settings app. Ultimately, both will do the same job.
The Control Panel does not allow you to change the lock screen timeout settings. So, you need to take the help of the Windows Registry to appear this setting under Control Panel. Then, you can increase the lock screen timeout according to your needs on your computer using Control Panel.
How do I Increase the Windows 11 Lock Screen Timeout using Control Panel?
Follow these steps to increase the Windows 11 Lock Screen Timeout through Control Panel:-
Step 1. Open Registry Editor.
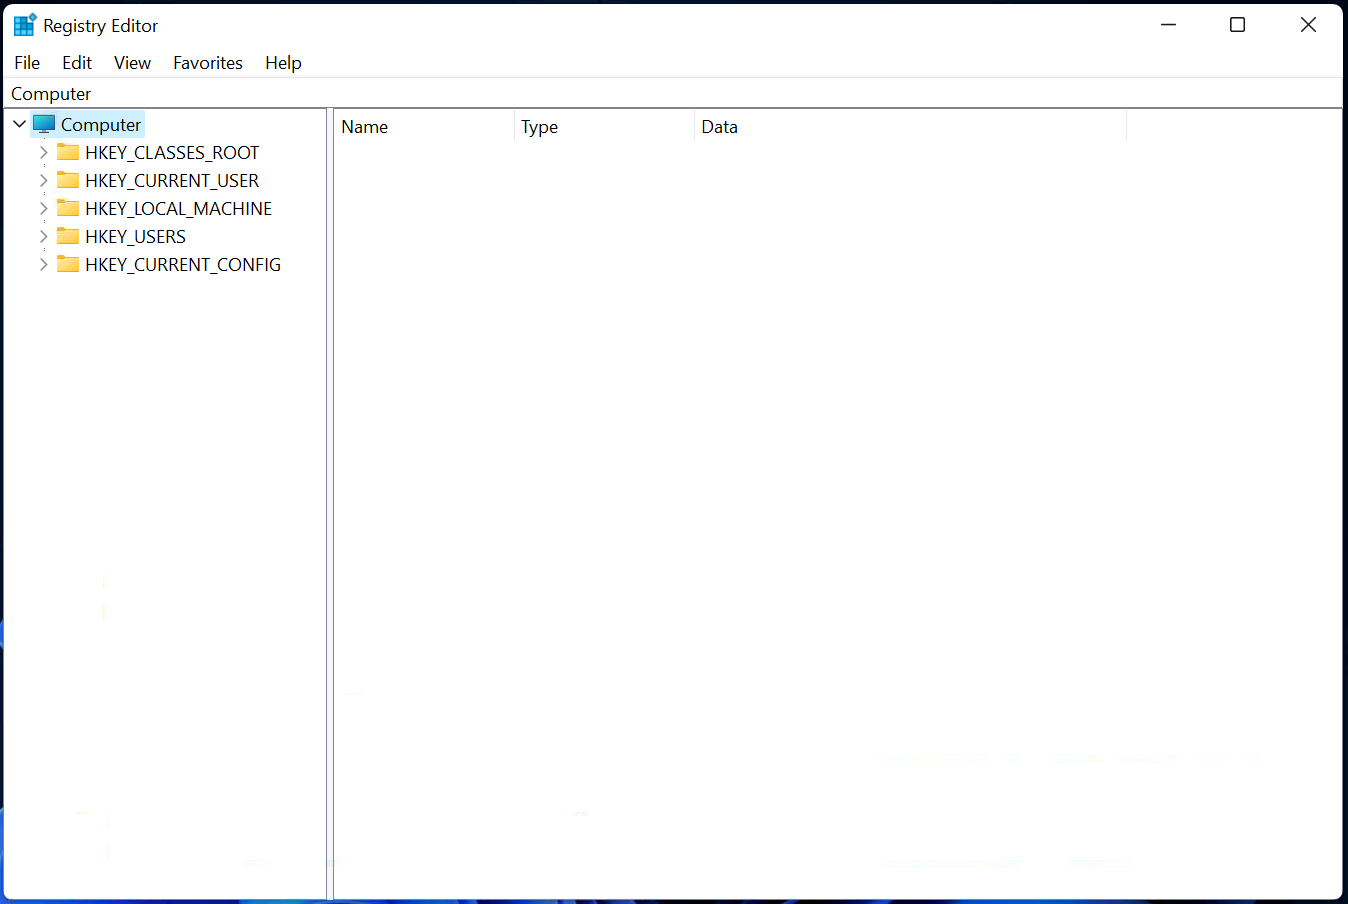
Step 2. When Registry Editor opens, navigate to the following key from the left side pane:-
Computer\HKEY_LOCAL_MACHINE\SYSTEM\CurrentControlSet\Control\Power\PowerSettings\7516b95f-f776-4464-8c53-06167f40cc99\8ec4b3a5-6868-48c2-be75-4f3044be88a7
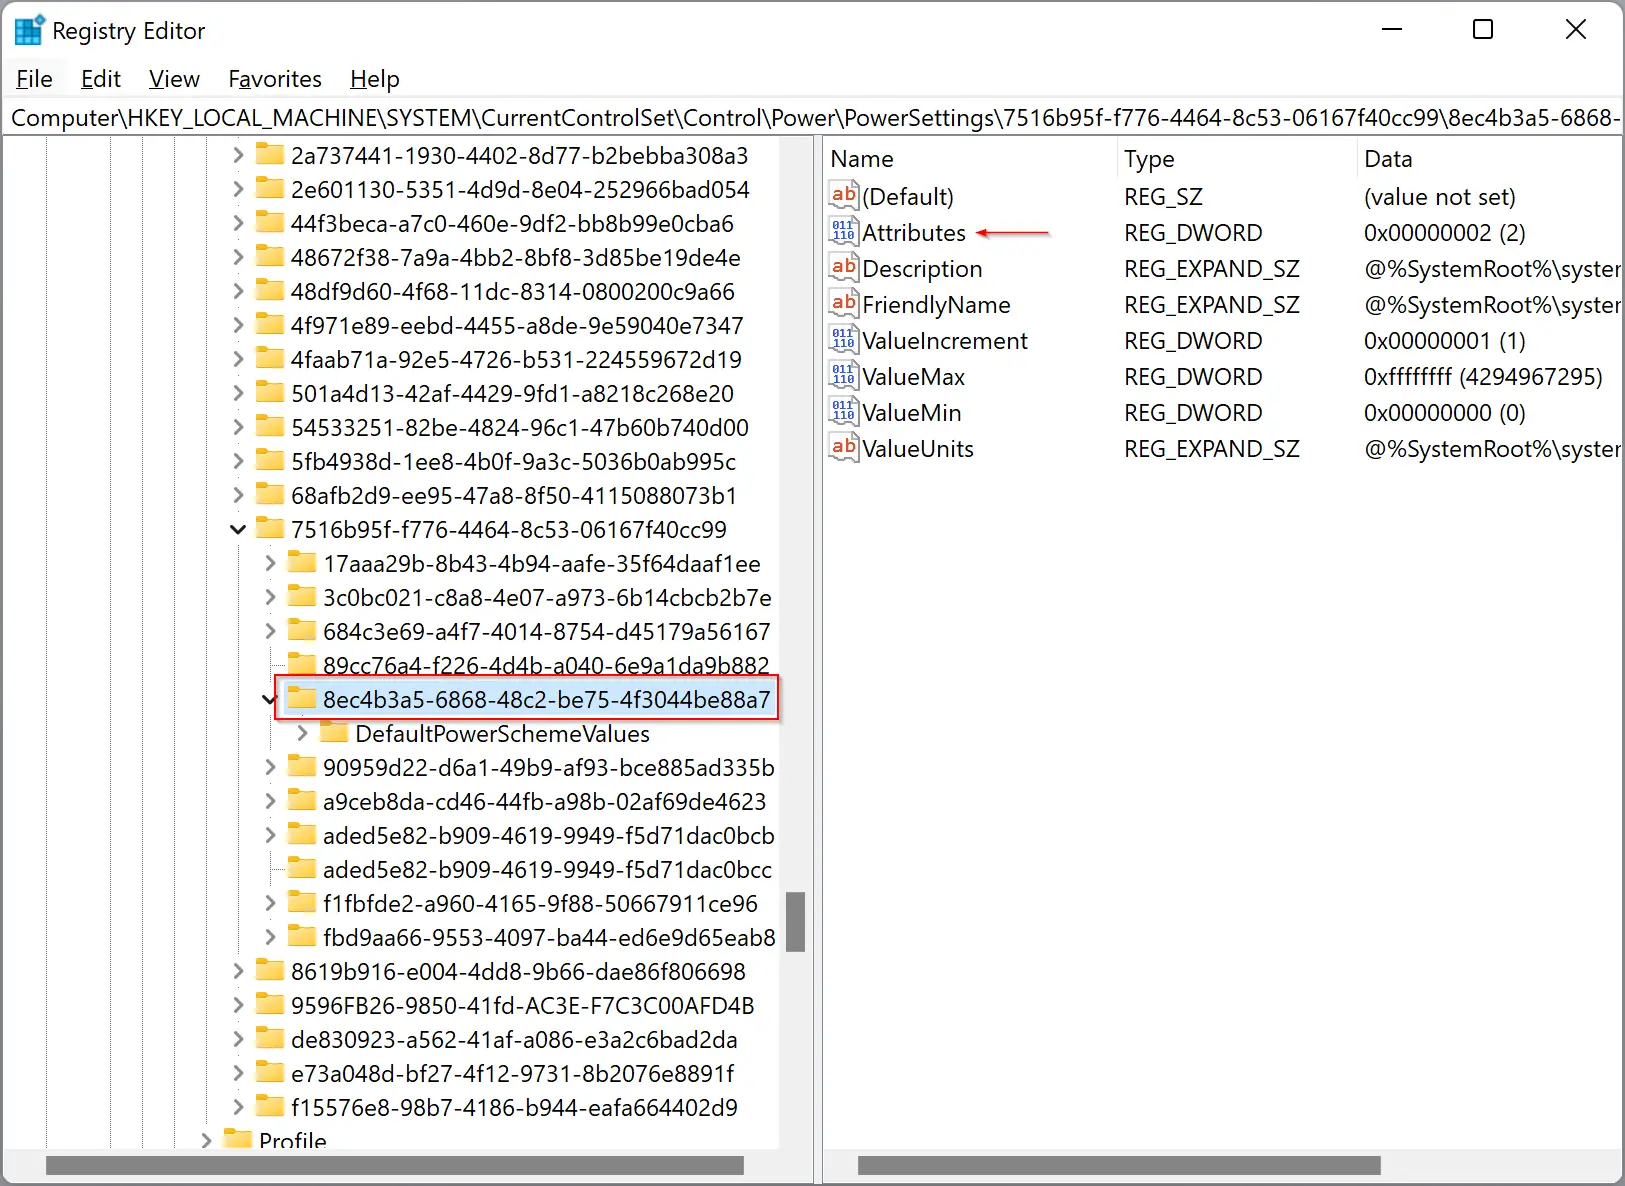
Step 3. On the right side pane, locate the Attributes DWORD (32-bit) Value and double-click to open its settings.
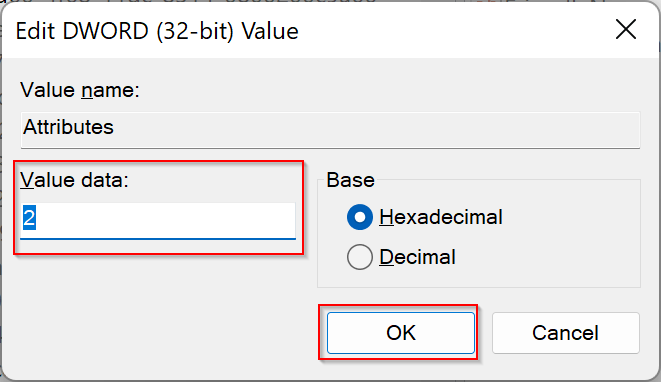
Step 4. Now enter 2 in the Value data field and then click the OK button.
That’s all. You can close the Registry Editor. Next, you need to increase the lock screen time on Control Panel.
Step 5. Open Control Panel.
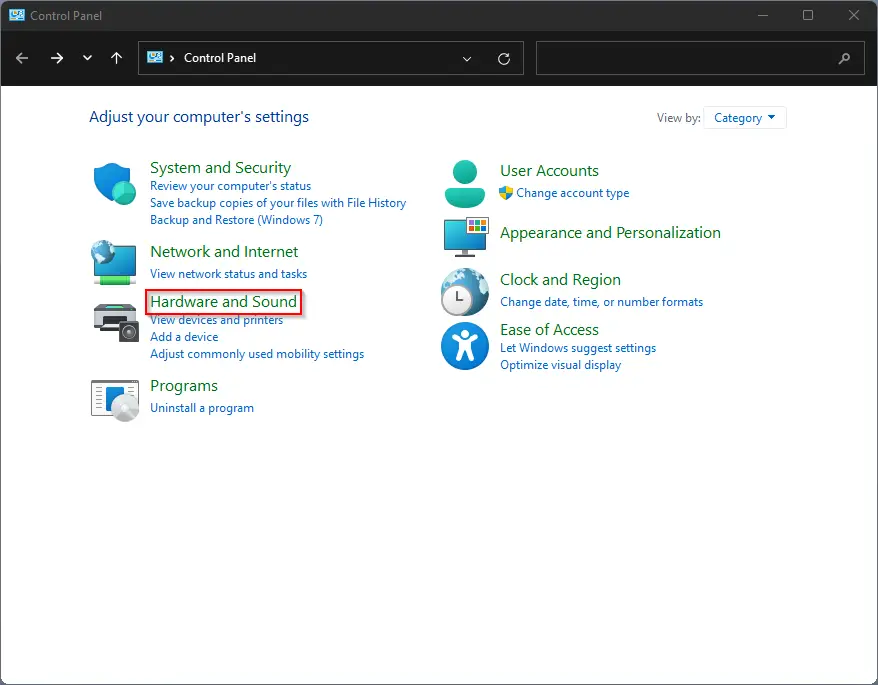
Step 6. When the Control Panel window opens, click the Hardware and Sound category.
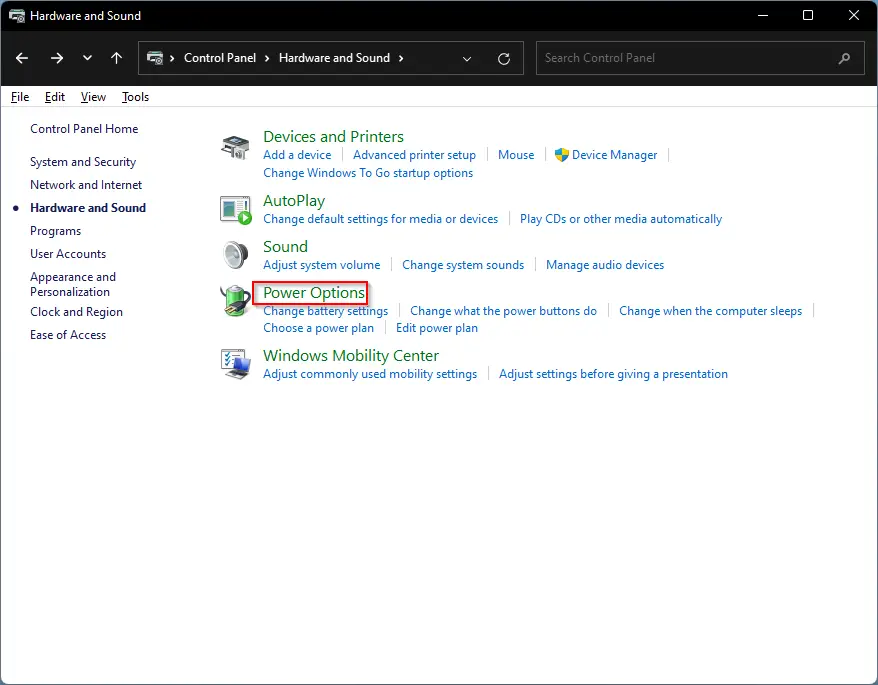
Step 7. In the next window, click the Power Options.
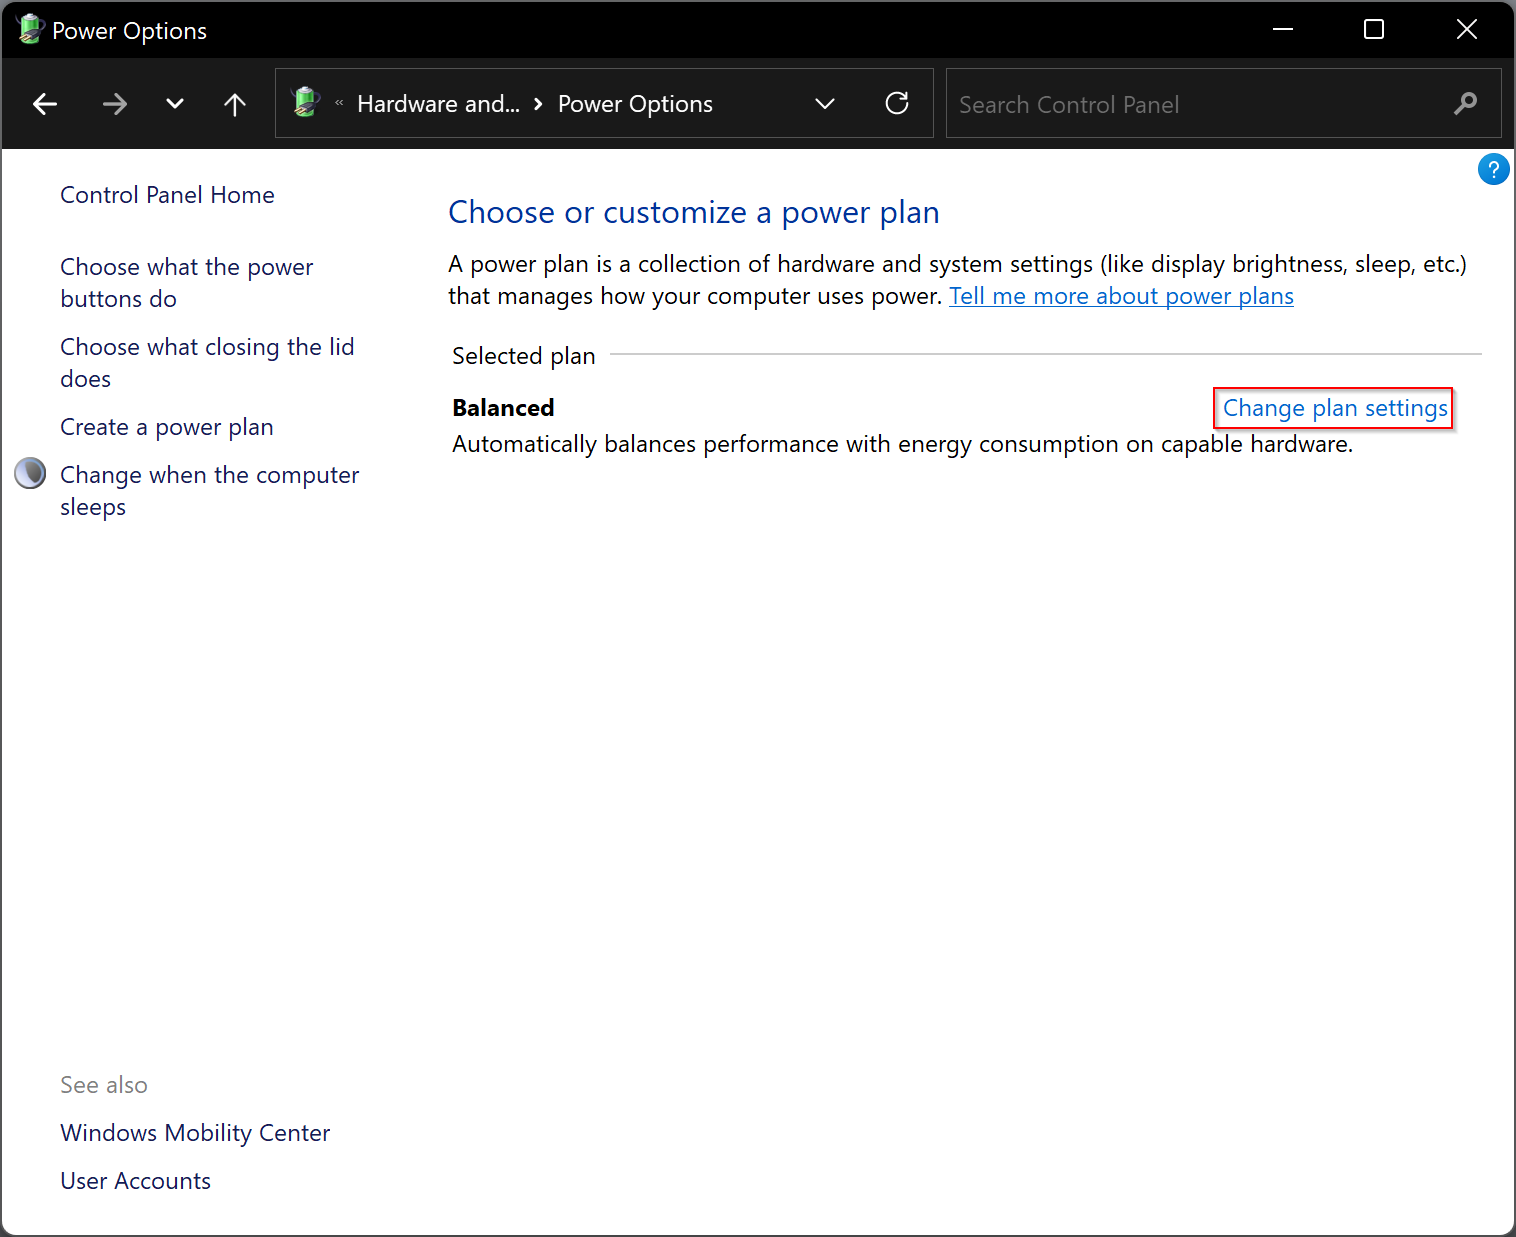
Step 8. Here, click the link labeled Change plan settings next to the Balanced option.
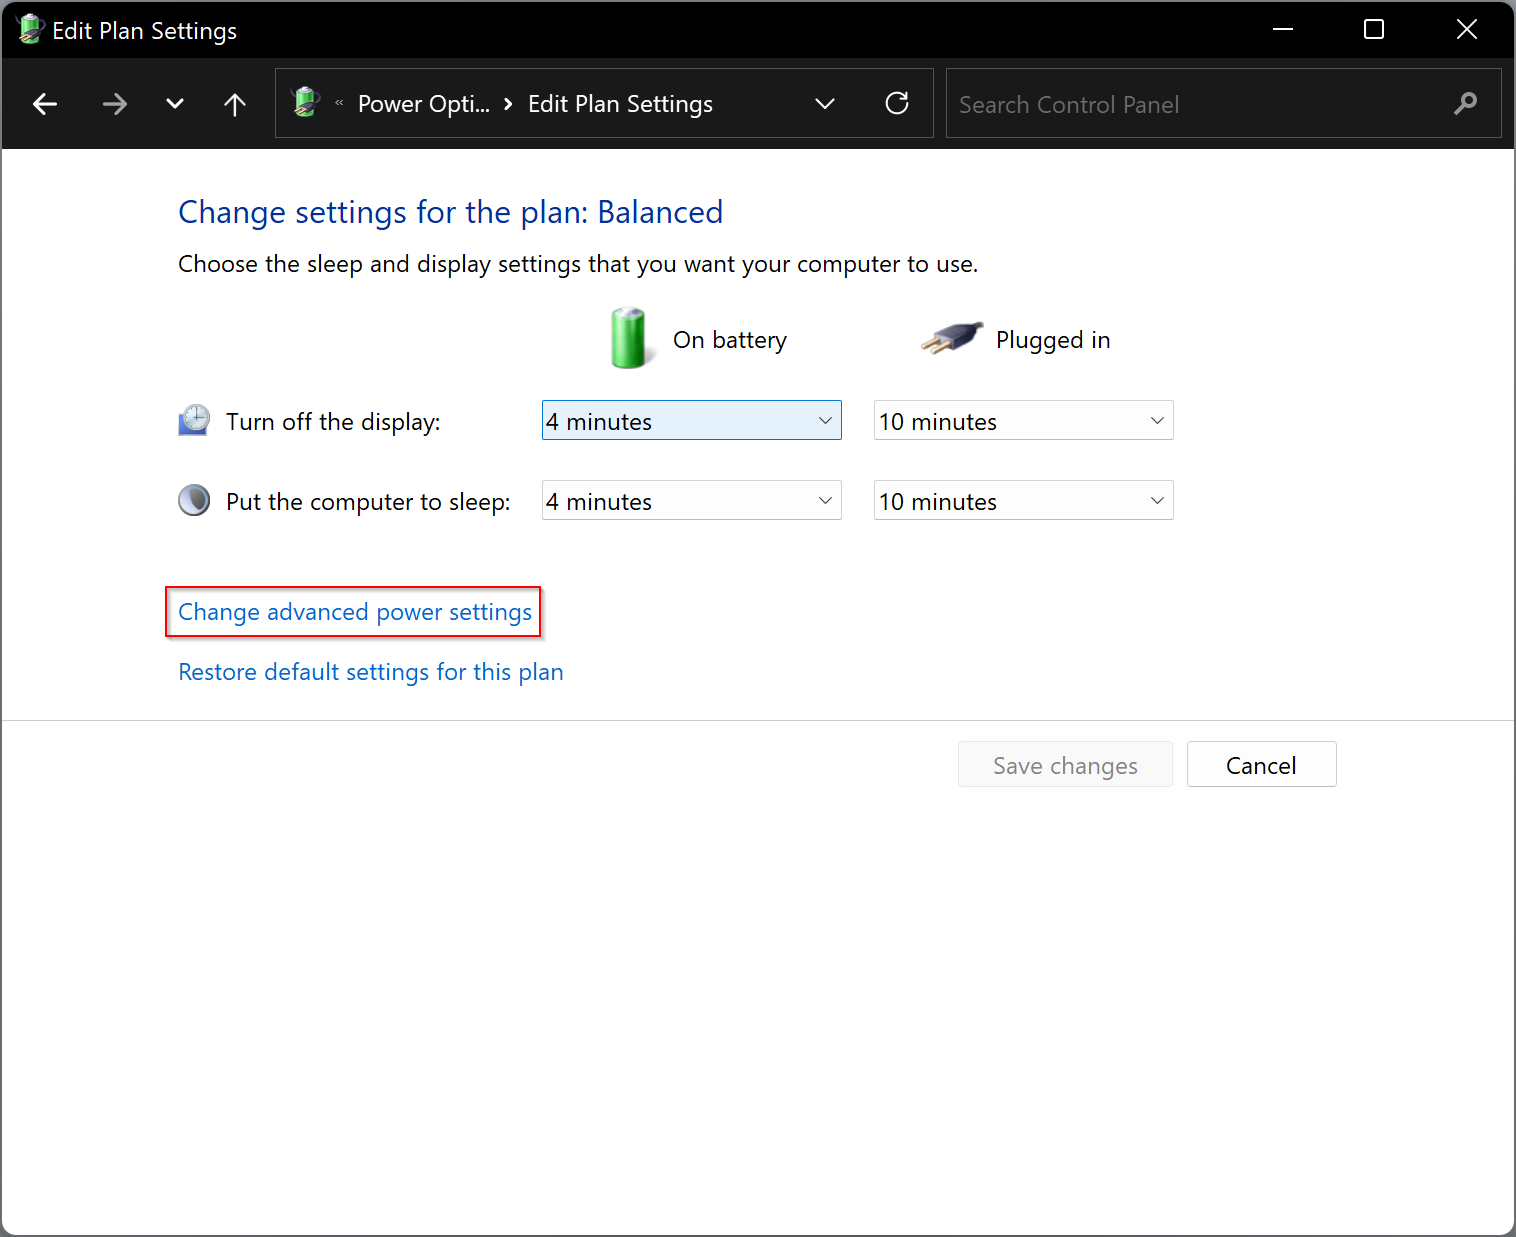
Step 9. Now, click the link Change advanced power settings.
Step 10. A new pop-up window will appear. Expand the Display and then Console lock display off timeout setting.
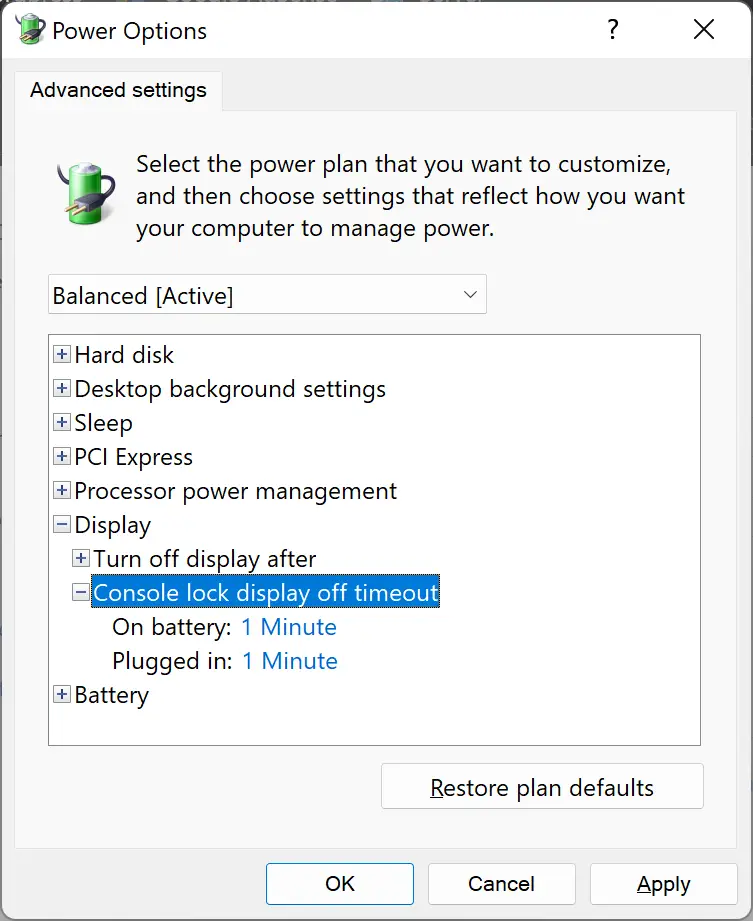
Step 11. Now, set the timeout for how many minutes you want to lock the screen.
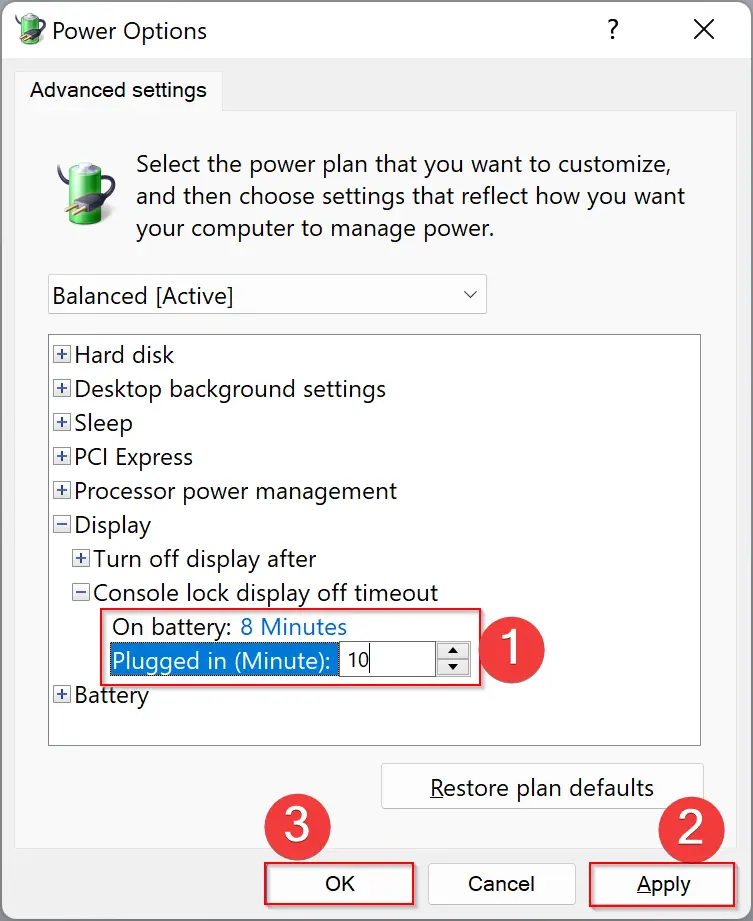
Step 12. Click Apply.
Step 13. Click OK.
Step 14. Restart your computer.
Now, the Windows 11 Lock Screen Timeout is set by you. Your PC’s screen will lock out after the time that you have specified in the above settings.
How do I Increase the Windows 11 Lock Screen Timeout via the Settings app?
Follow these steps to increase the Windows 11 Lock Screen Timeout using the Settings app:-
Step 1. Open the Settings app by pressing Windows + I keys from the keyboard or any other method that you use.
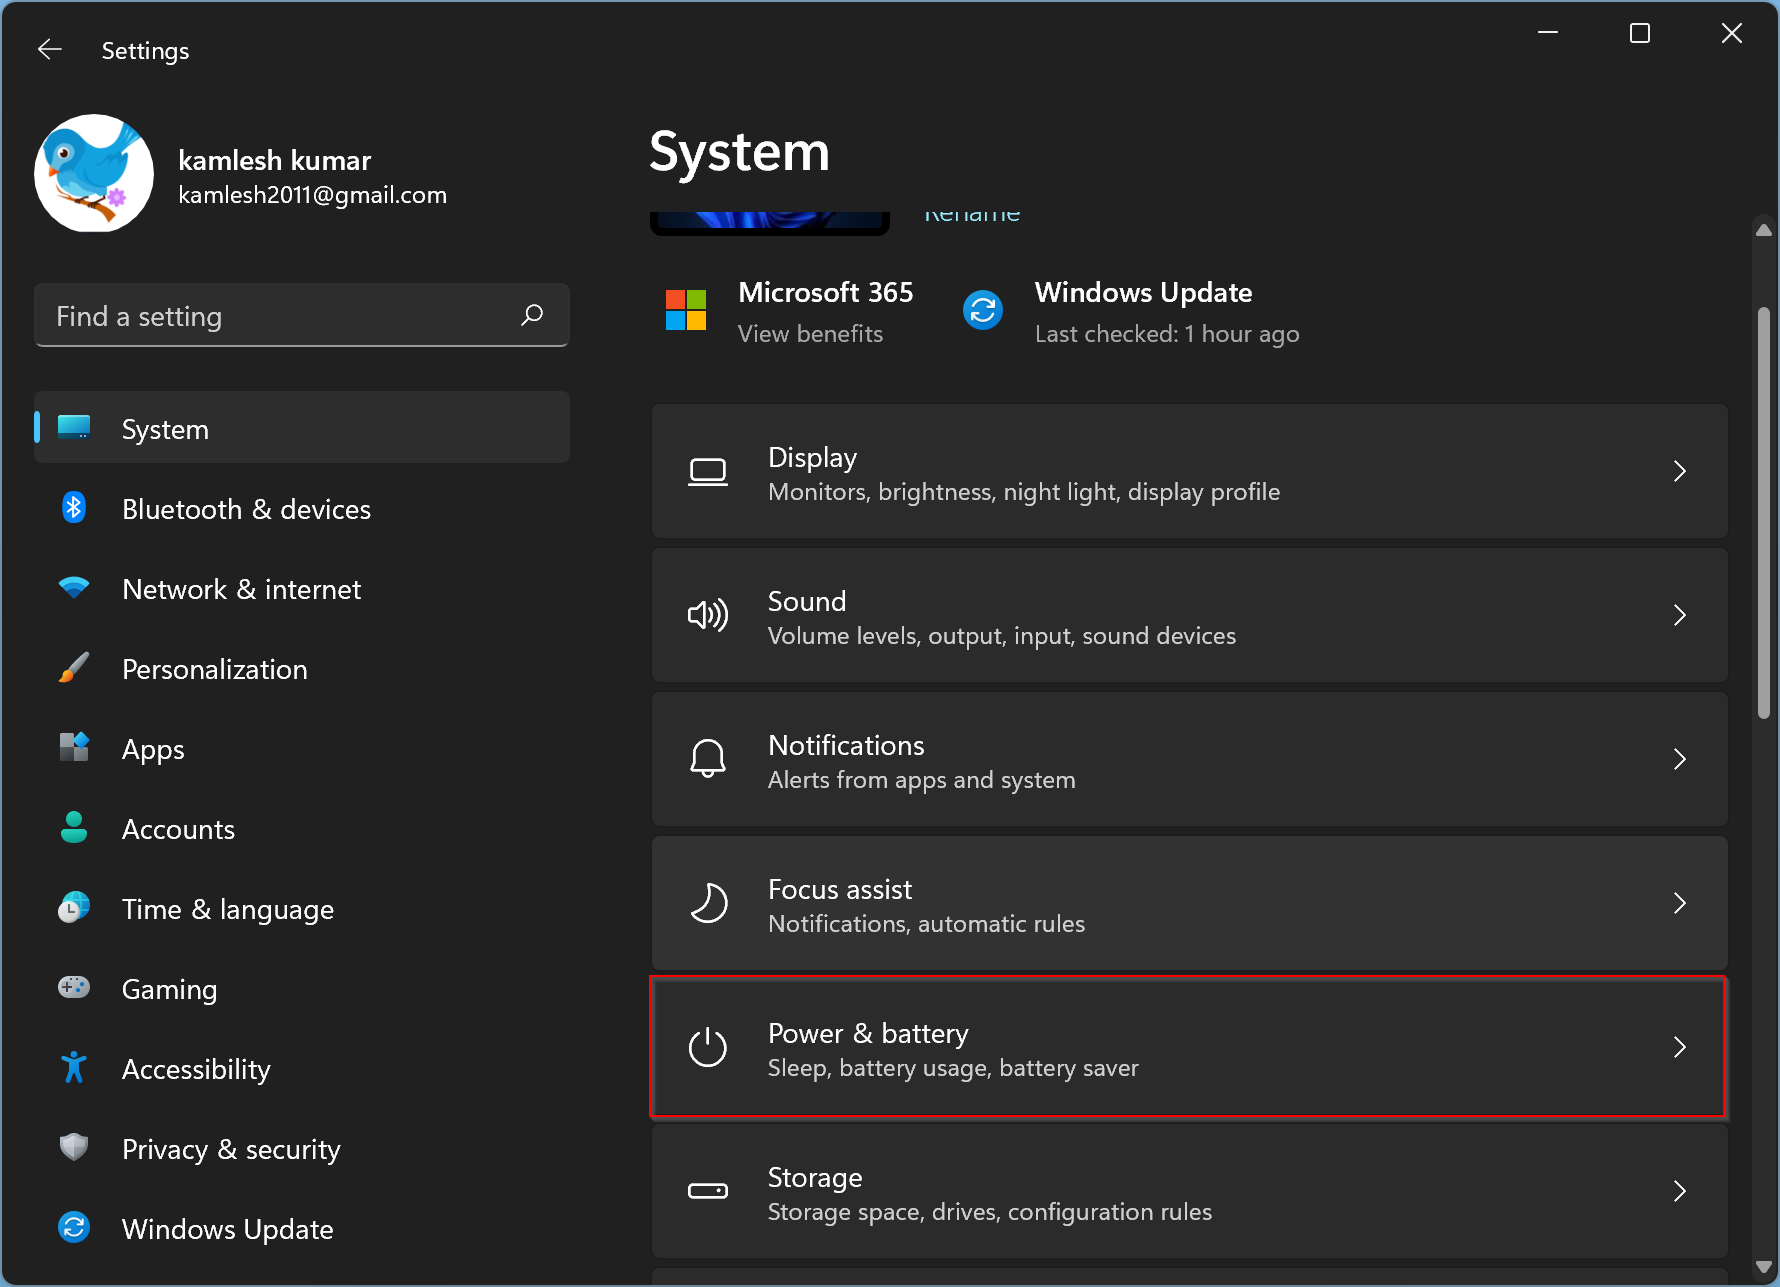
Step 2. Select the System category from the left sidebar when Windows Settings opens.

Step 3. On the right sidebar, click on the Power & battery option.
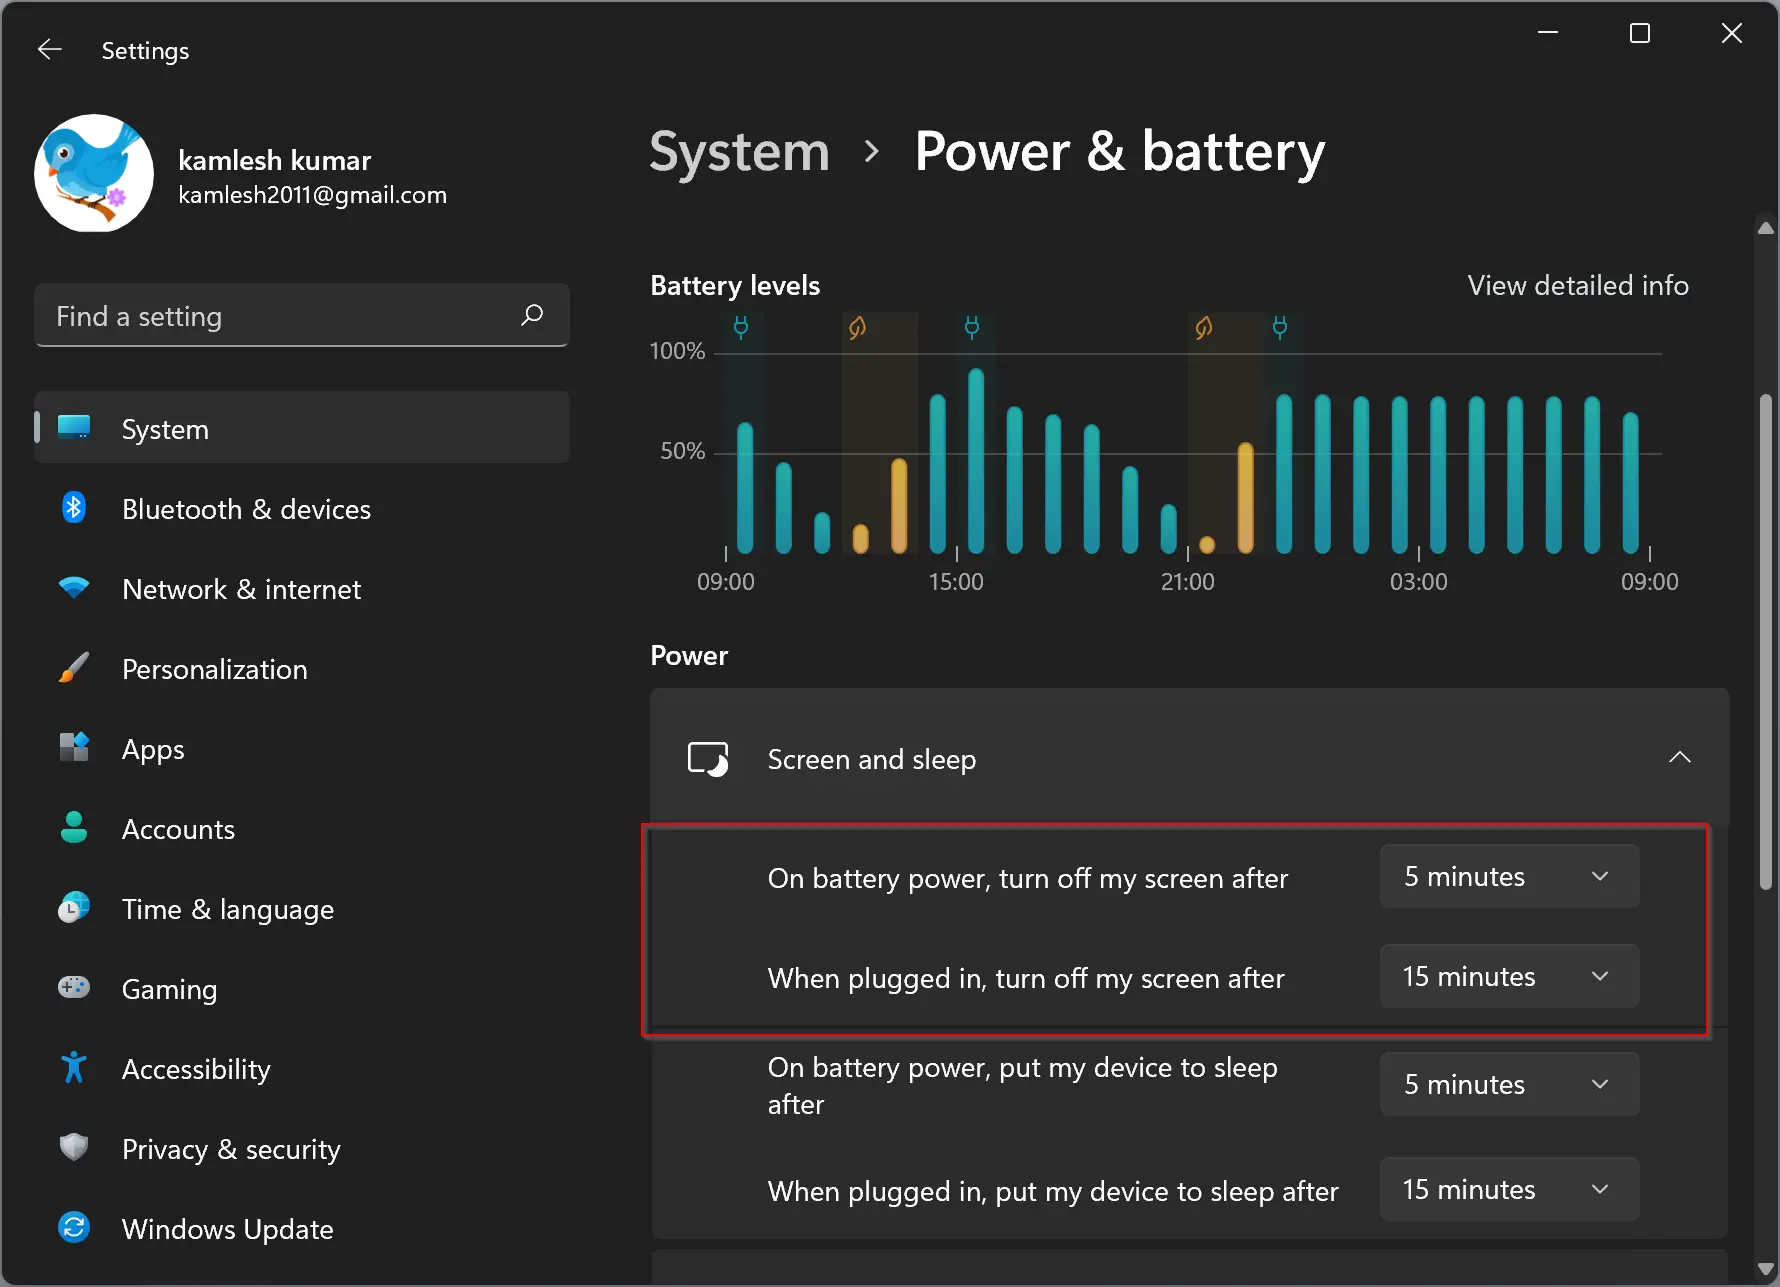
Step 4. Now, scroll down to the Power section and then click on Screen & sleep.
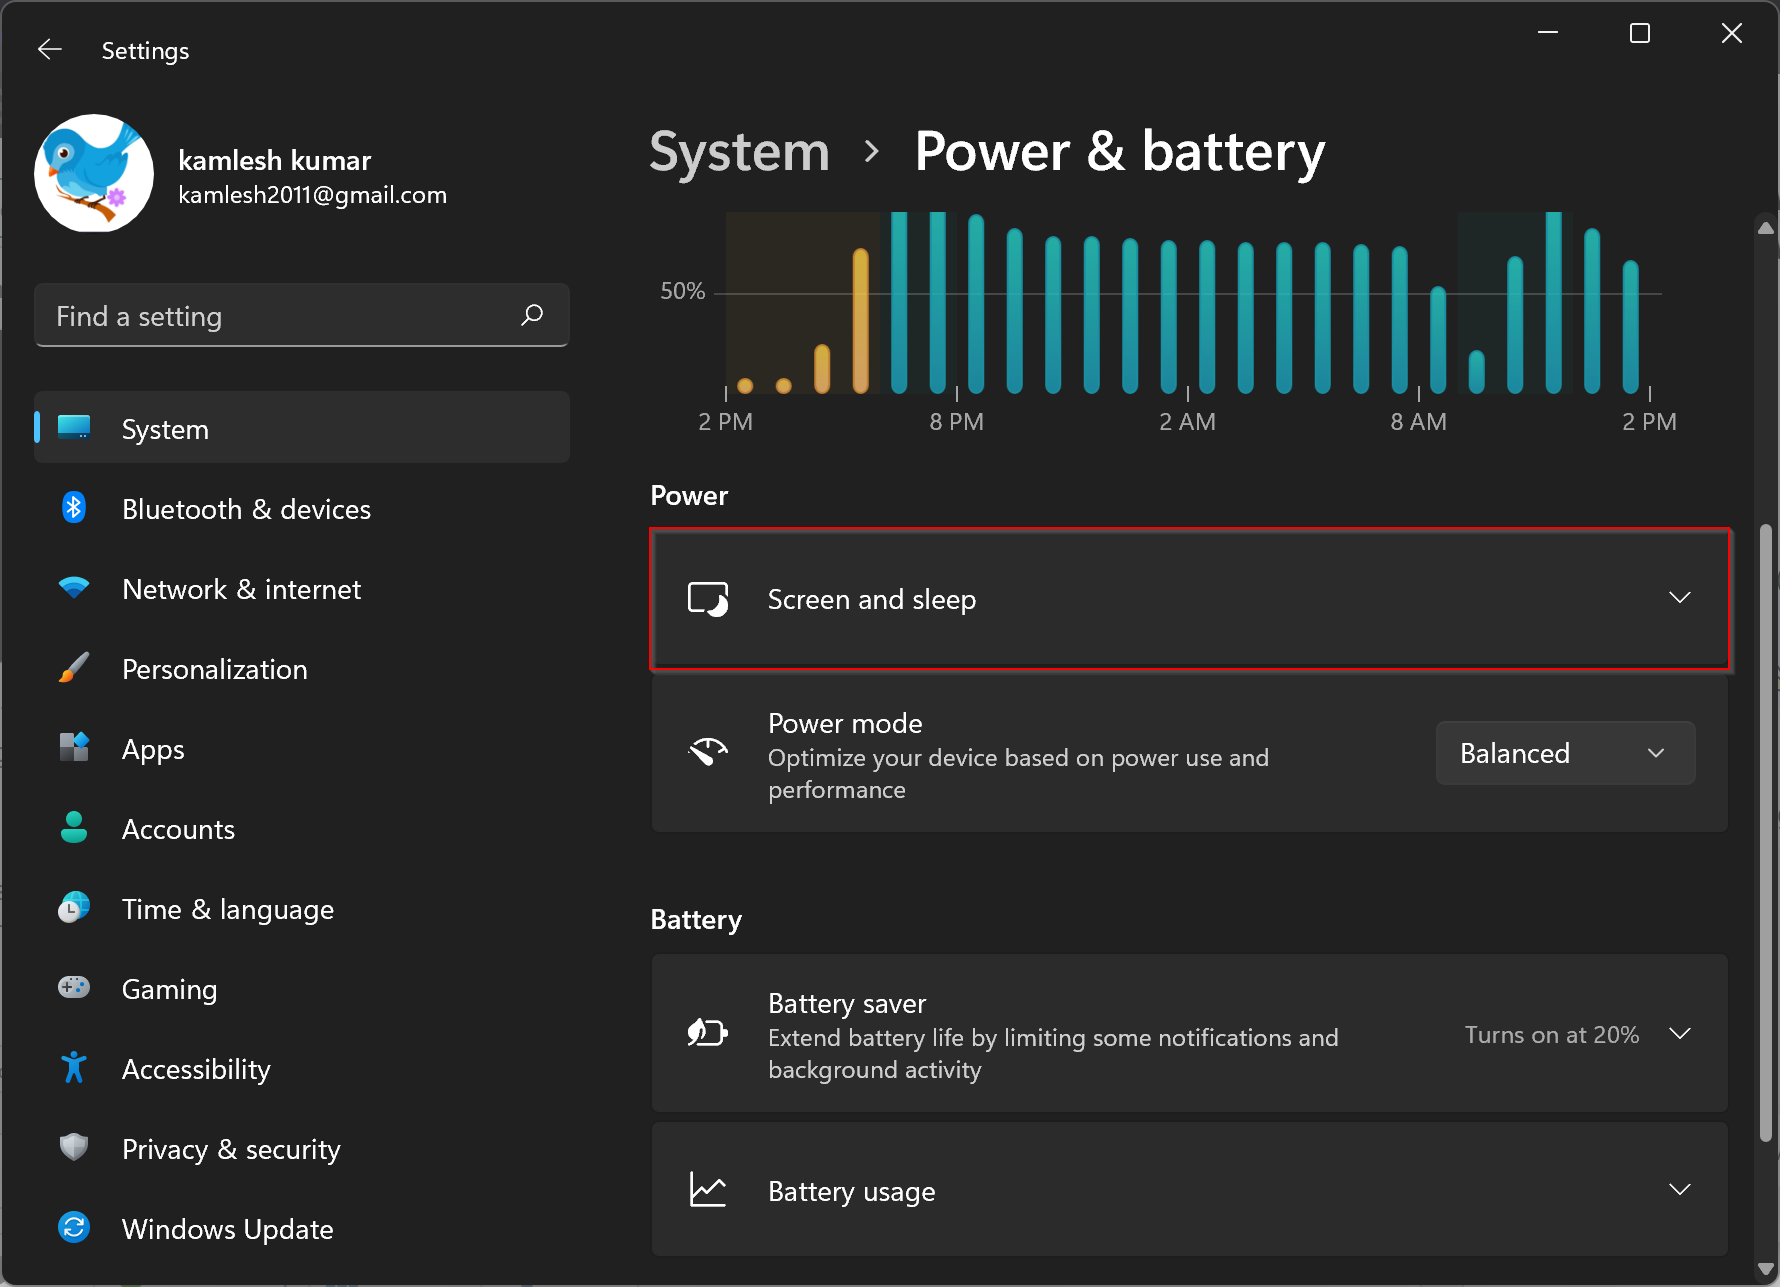
Step 5. Under Screen and sleep, select the turn-off-screen time from both drop-down menus marked in the below image.
That’s it. Now you can close the settings app safely.
Conclusion
In conclusion, Windows 11 has a default lock screen timeout of just one minute, which may not be convenient for some users. However, it is possible to increase the lock screen timeout using either the Control Panel or the Settings app. The Control Panel method requires modifying the Windows Registry, while the Settings app method is more straightforward. Users can choose the method that suits them best to set a lock screen timeout that meets their needs. By following the steps provided in this gearupwindows article, Windows 11 users can easily increase the lock screen timeout and improve their user experience.