Microsoft Word is a powerful word-processing tool that provides a vast range of features and commands to help users create and edit documents of all types. However, with so many options available, navigating the program’s interface and finding the tools you need can be overwhelming. Fortunately, Microsoft Word allows users to customize the ribbon, the menu bar located at the top of the program, to suit their specific needs.
Customizing the ribbon in Microsoft Word can help users streamline their workflow, improve their productivity, and make it easier to access the tools and commands they need most. By adding frequently used commands to the ribbon and removing unnecessary ones, users can create a customized interface that reflects their individual preferences and work habits. In this article, we will provide a step-by-step guide to customizing the ribbon in Microsoft Word so that you can optimize your experience with this powerful program.
How to Customize the Ribbon in Microsoft Word?
Follow these steps to customize the Ribbon in Microsoft Word:-
Step 1. To begin, open Microsoft Word on your computer.
Step 2. In the top right corner of the screen, you will see a small button with an upward-pointing arrow. Click on this button to open the Ribbon Display Options menu.
Step 3. The Ribbon Display Options menu will provide you with several options for customizing the ribbon. You can choose from the following options:-
- Auto-hide Ribbon: This option will hide the ribbon when you are not using it, providing more screen space for your document.
- Show Tabs: This option will display only the tab names on the ribbon without showing the commands.
- Show Tabs and Commands: This option will display the full ribbon, with all tabs and commands visible.
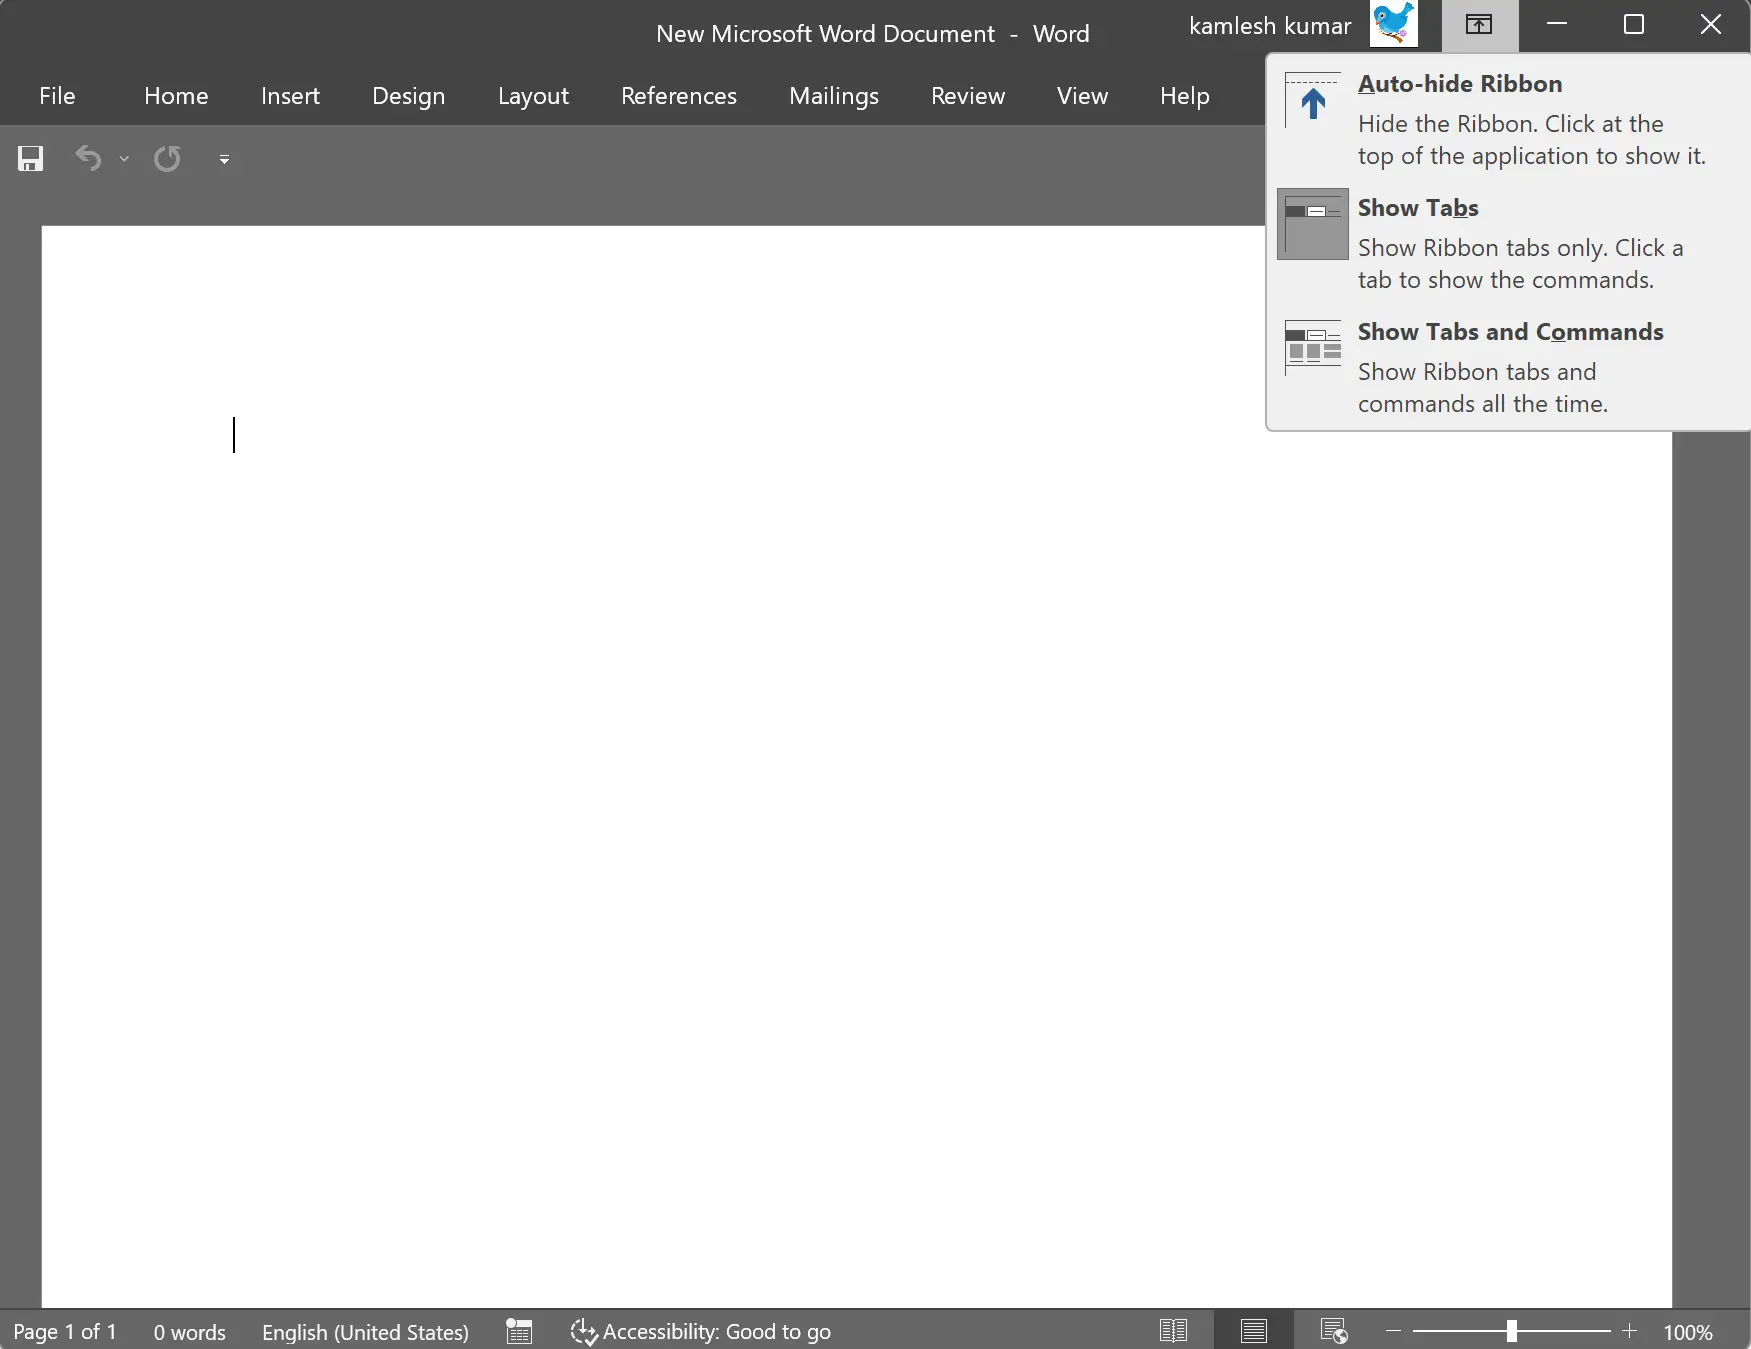
Choose the display option that best suits your needs.
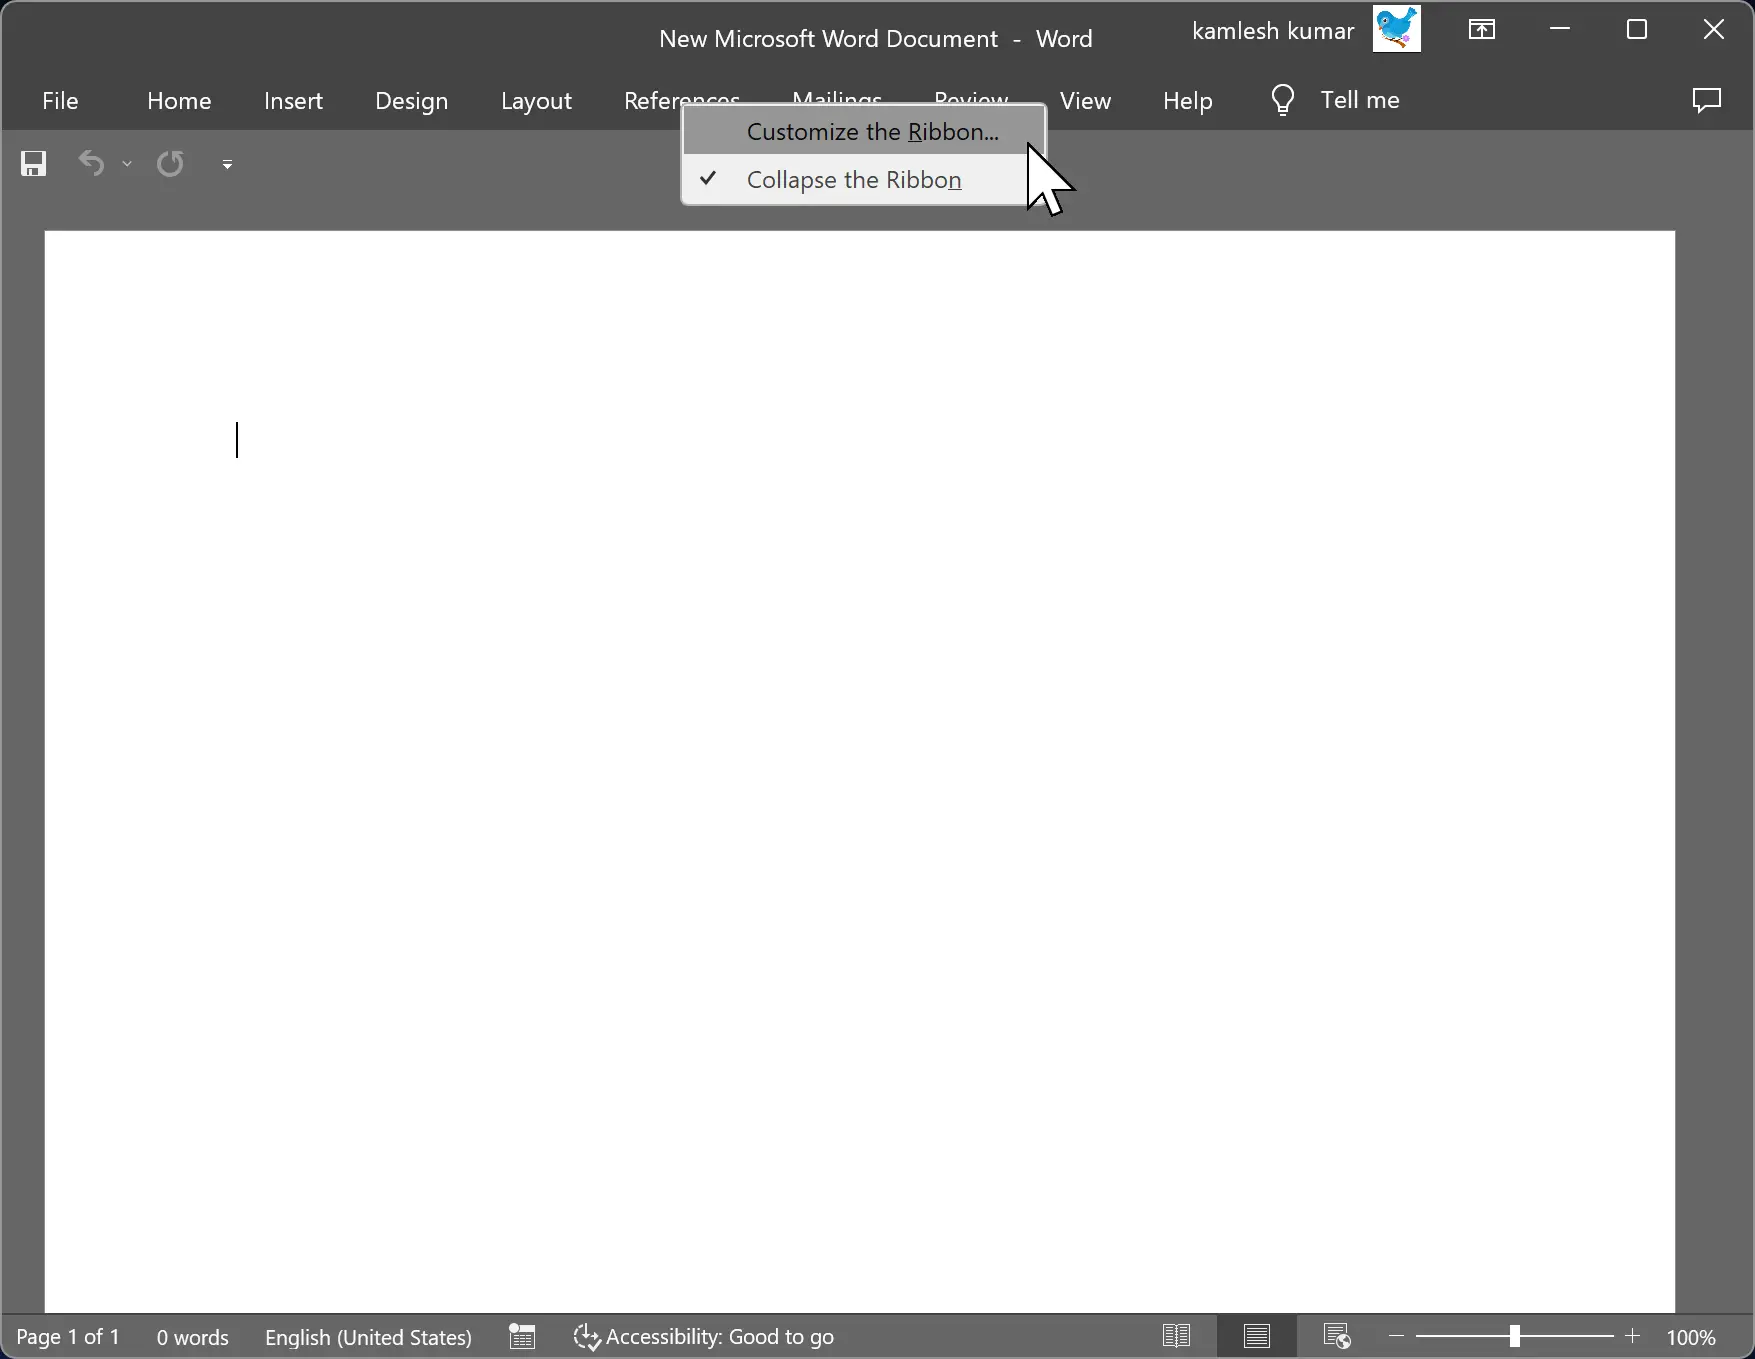
Step 4. Once you have chosen your preferred display option, you can begin customizing the ribbon to include the commands and tools you use most frequently. To do this, follow these steps:-
Right-click on the ribbon and select Customize the Ribbon from the context menu.
In the Customize the Ribbon dialog box, you will see two panes: the left pane contains a list of all the tabs and commands currently available on the ribbon, while the right pane contains a list of all the tabs and commands that are not currently visible.
To add a command to the ribbon, select the command in the right pane and click the Add button. The command will be added to the selected tab on the ribbon.
To remove a command from the ribbon, select the command in the left pane and click the Remove button. The command will be removed from the selected tab on the ribbon.
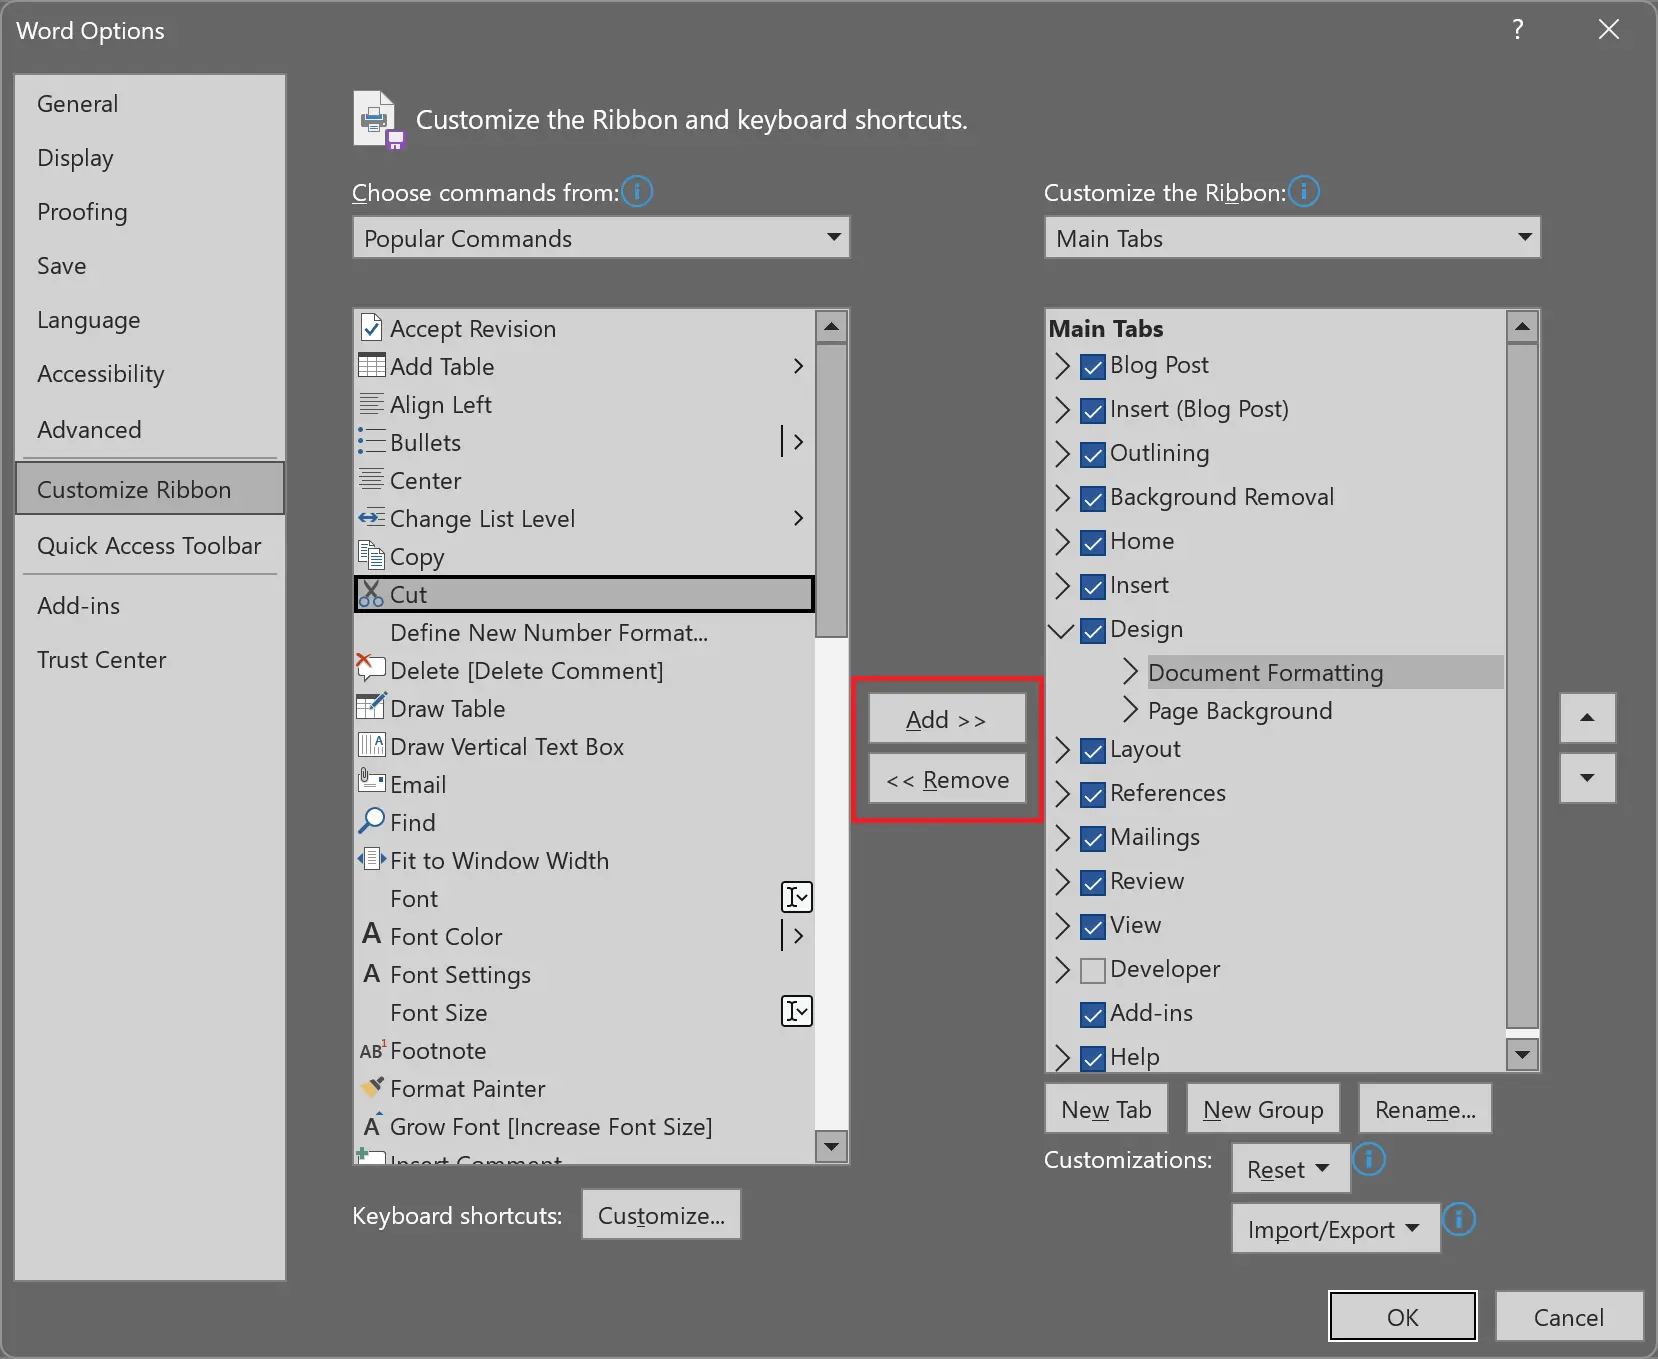
To create a new tab on the ribbon, click the New Tab button and give the tab a name. You can then add commands to the new tab by selecting them from the right pane and clicking the Add button.
To rename a tab on the ribbon, select the tab in the Customize the Ribbon dialog box and click the Rename button. Enter a new name for the tab and click OK.
Once you have customized the ribbon to your satisfaction, click the OK button to save your changes. You can then begin using the ribbon with your customized commands and tabs.
Conclusion
In conclusion, customizing the ribbon in Microsoft Word can help you work more efficiently and streamline your workflow. By following the steps outlined in this article, you can create a customized ribbon that includes the commands and tools you use most frequently and improve your overall experience with Microsoft Word.