If you use a laptop, you know the use of an integrated touchpad. You can use the touchpad as an alternative to the external mouse. When you connect a mouse to your Windows 11 or 10 laptop, the touchpad remains active, and you can use either touchpad or mouse for navigation or another specific task on your computer.
However, in some cases, when both (the mouse and touchpad) are active, you may run into situations where you accidentally move the mouse pointer simply by resting your palm on the touchpad of your device. This behavior may be annoying, and you might want to disable the touchpad when connecting a mouse to your Windows 11/10.
Fortunately, Windows 11/10 offers a built-in setting that allows you to disable the touchpad when you connect an external mouse. Windows 11/10 will automatically disable the touchpad when it finds an external mouse. And when you remove the external mouse from your PC, the touchpad will automatically be activated. So, there is no need to disable the touchpad on your computer when not in use.
In this gearupwindows article, we will guide you on automatically disabling the Windows 11/10 Touchpad when you connect a mouse.
How to Automatically Turn Off Touchpad when you Connect a Mouse to your Windows 11 PC?
To automatically disable the touchpad when you connect a mouse to your Windows 11, use these steps:-
Step 1. First, open the Settings app.
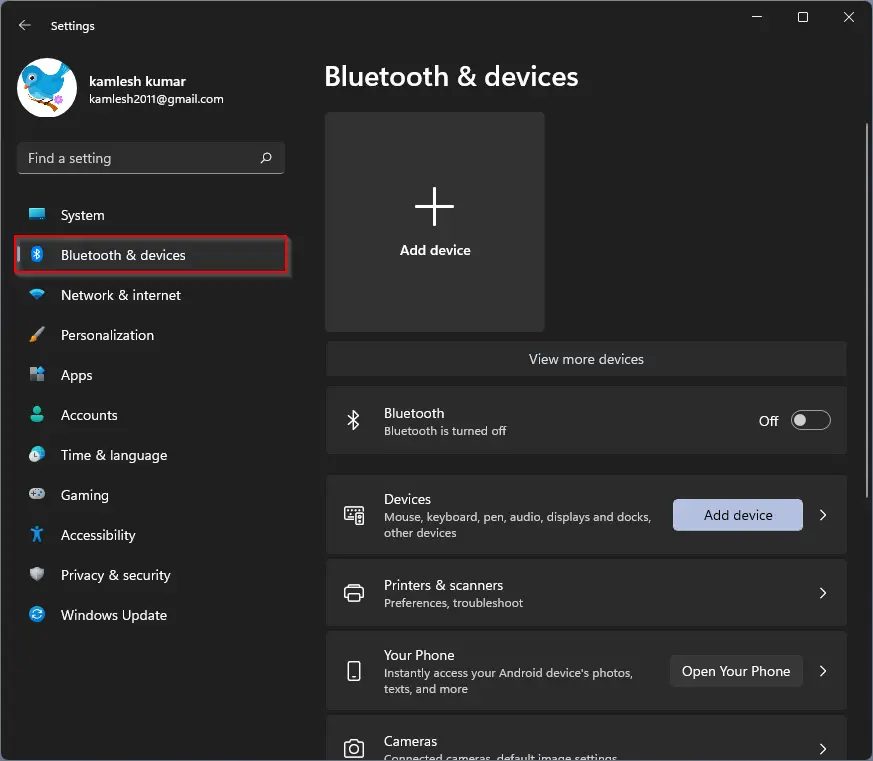
Step 2. Then, select Bluetooth & devices on the left side of the Settings window:-
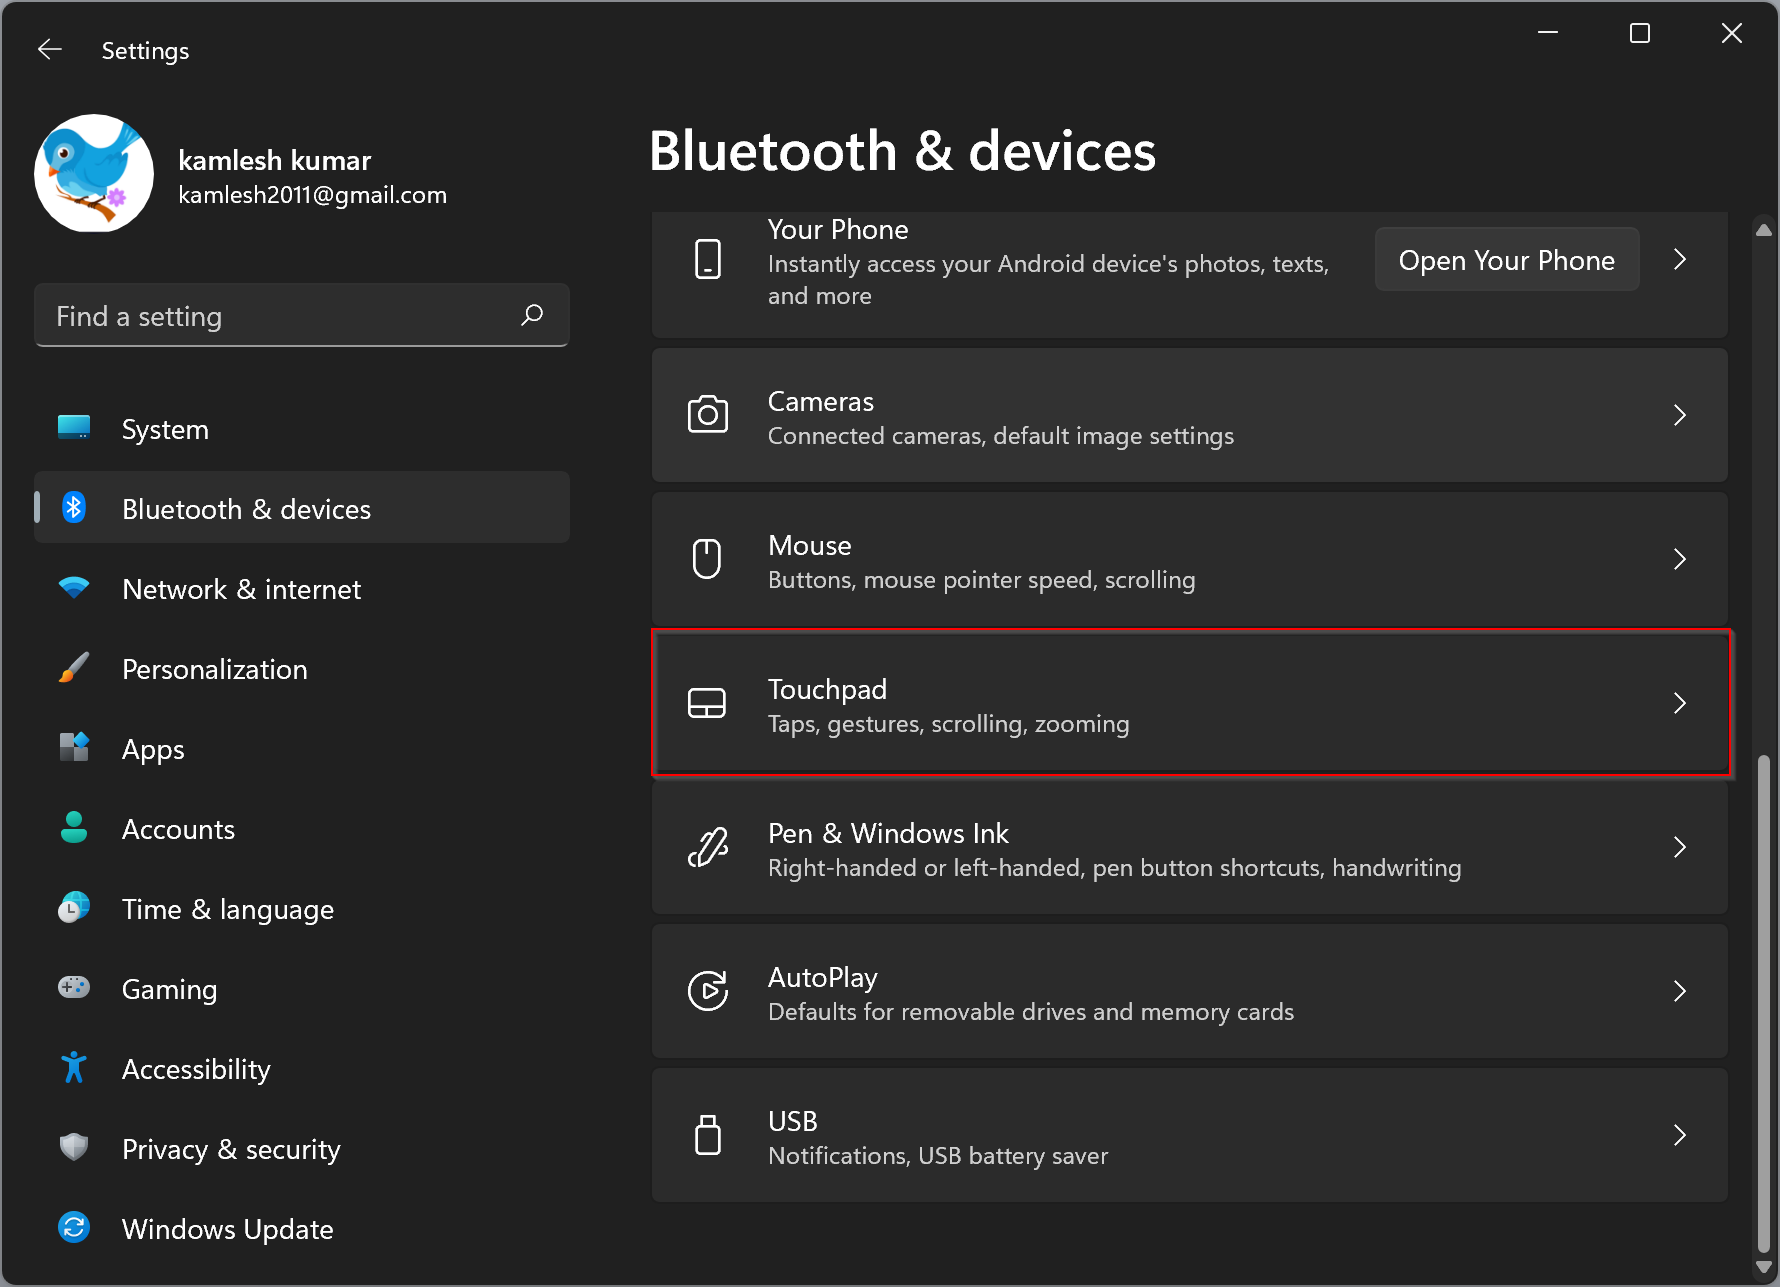
Step 3. On the right sidebar of “Bluetooth & devices,” click on the Touchpad tile.
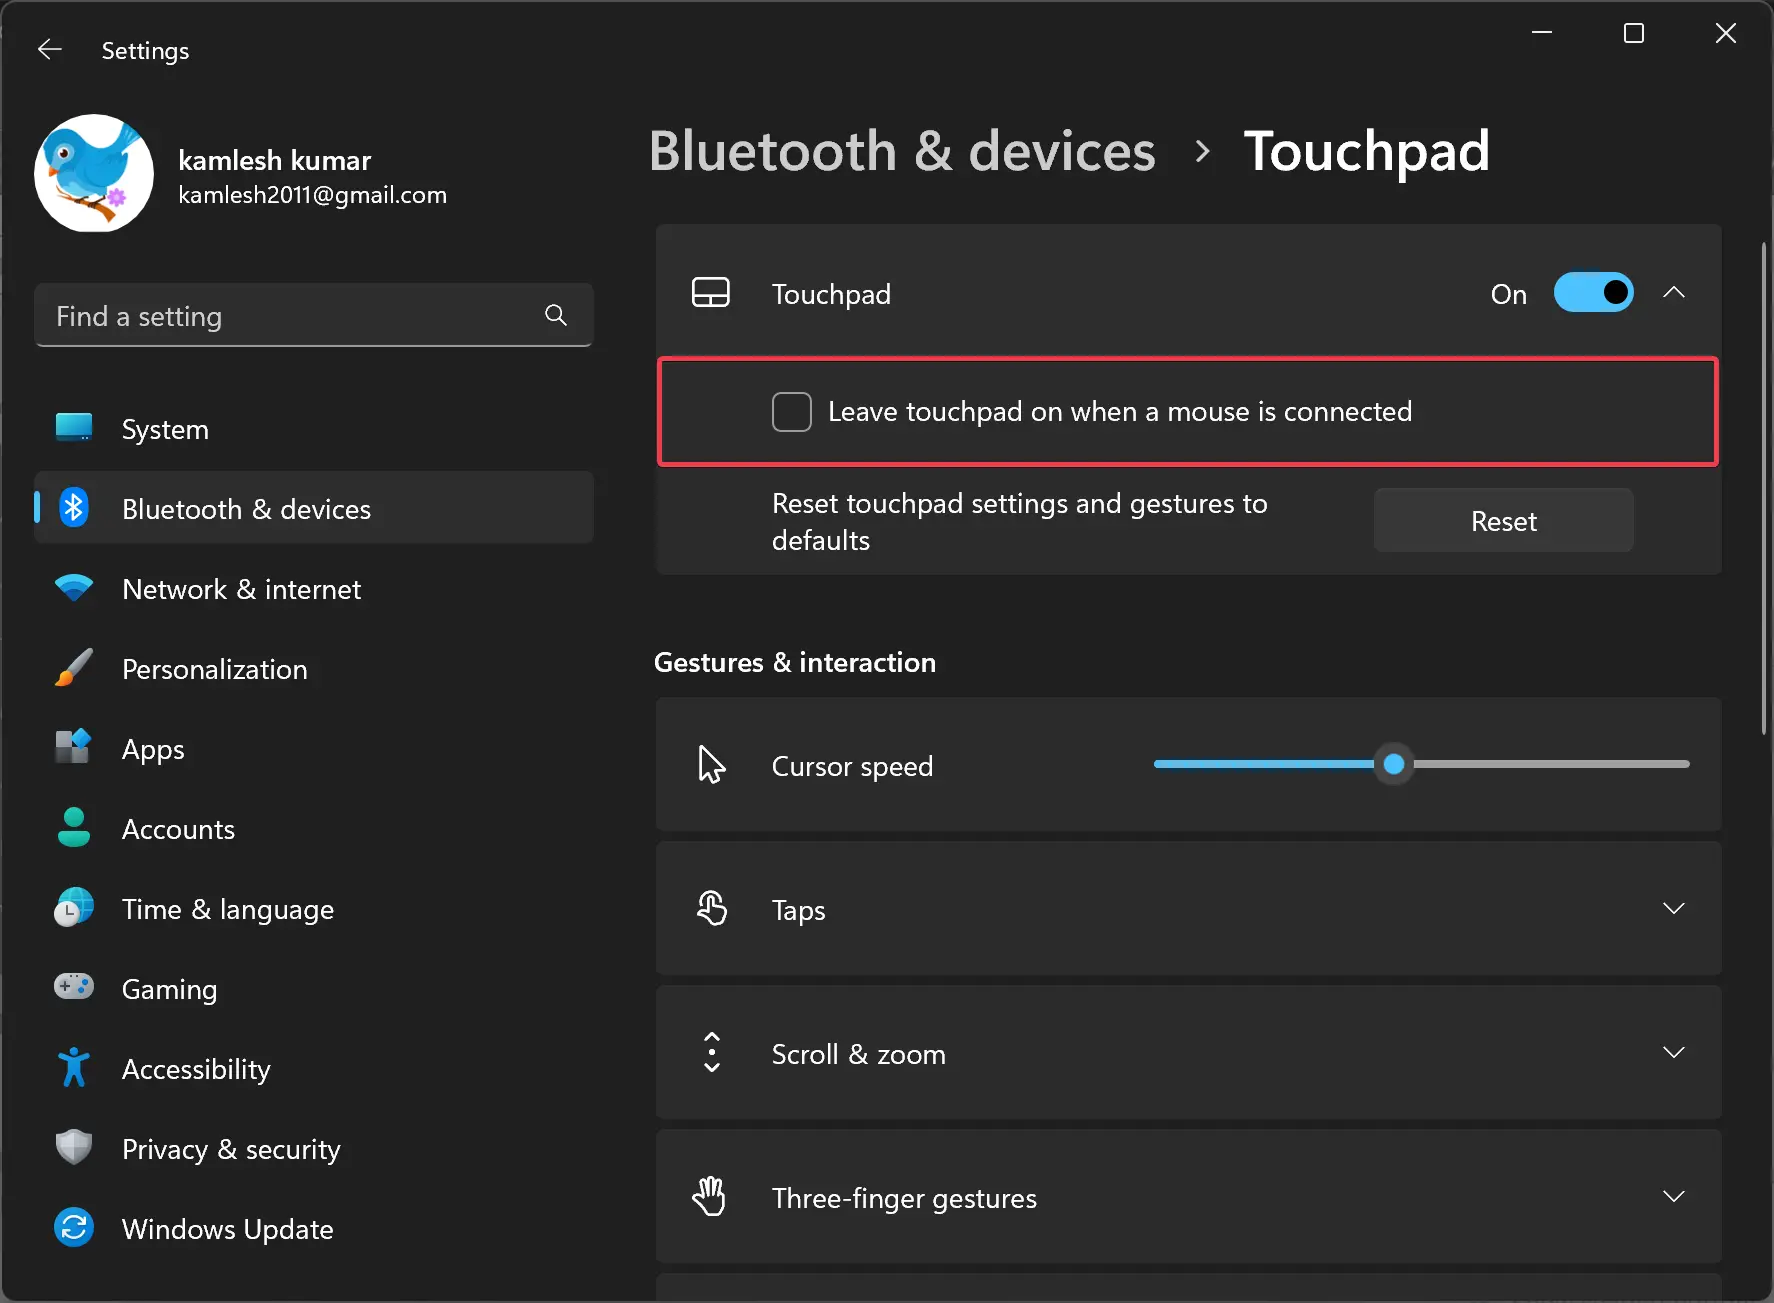
Step 4. Now, click on the Touchpad header to expand it.

Step 5. Finally, uncheck the “Leave touchpad on when a mouse is connected” option.
Once you complete the above steps, move the finger on your touchpad, you will notice it is not working anymore if you have connected the mouse to your PC. Just remove the mouse, and your touchpad will start working automatically again.
This setting is also helpful if you use a Bluetooth mouse.
How to Automatically Disable Touchpad when you Connect a Mouse to your Windows 10 PC?
To automatically disable the touchpad when you connect a mouse to your Windows 10, use these steps:-
Step 1. Open Windows Settings.
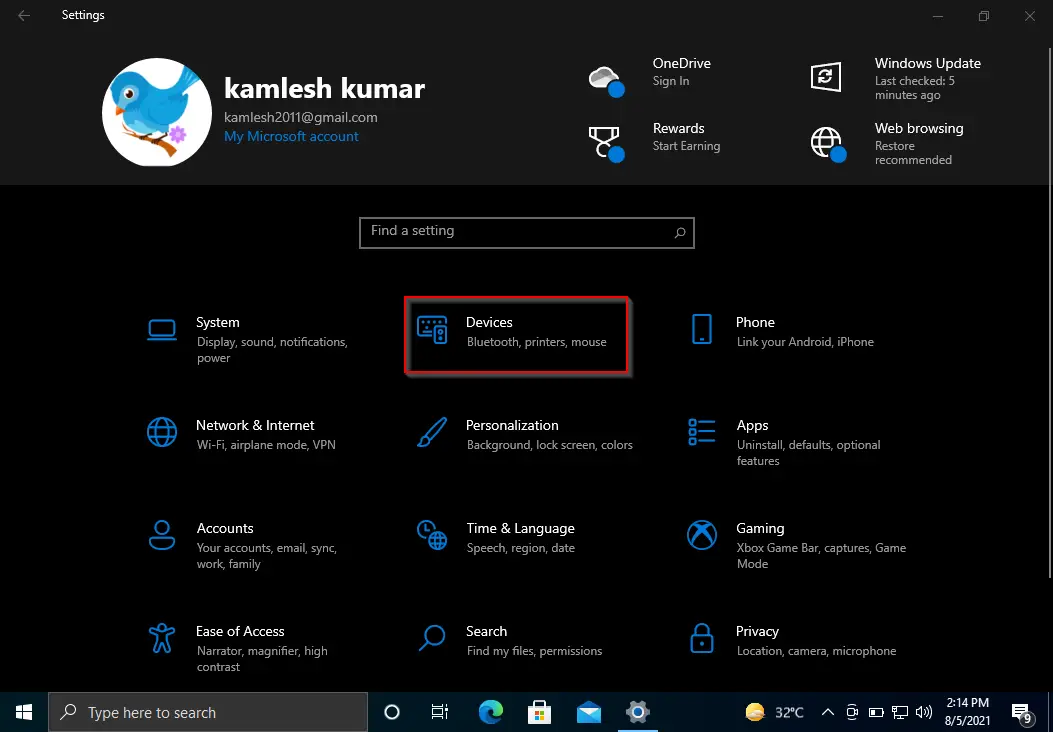
Step 2. Then, click on Devices.
Step 3. Under Devices, select Touchpad in the left sidebar.
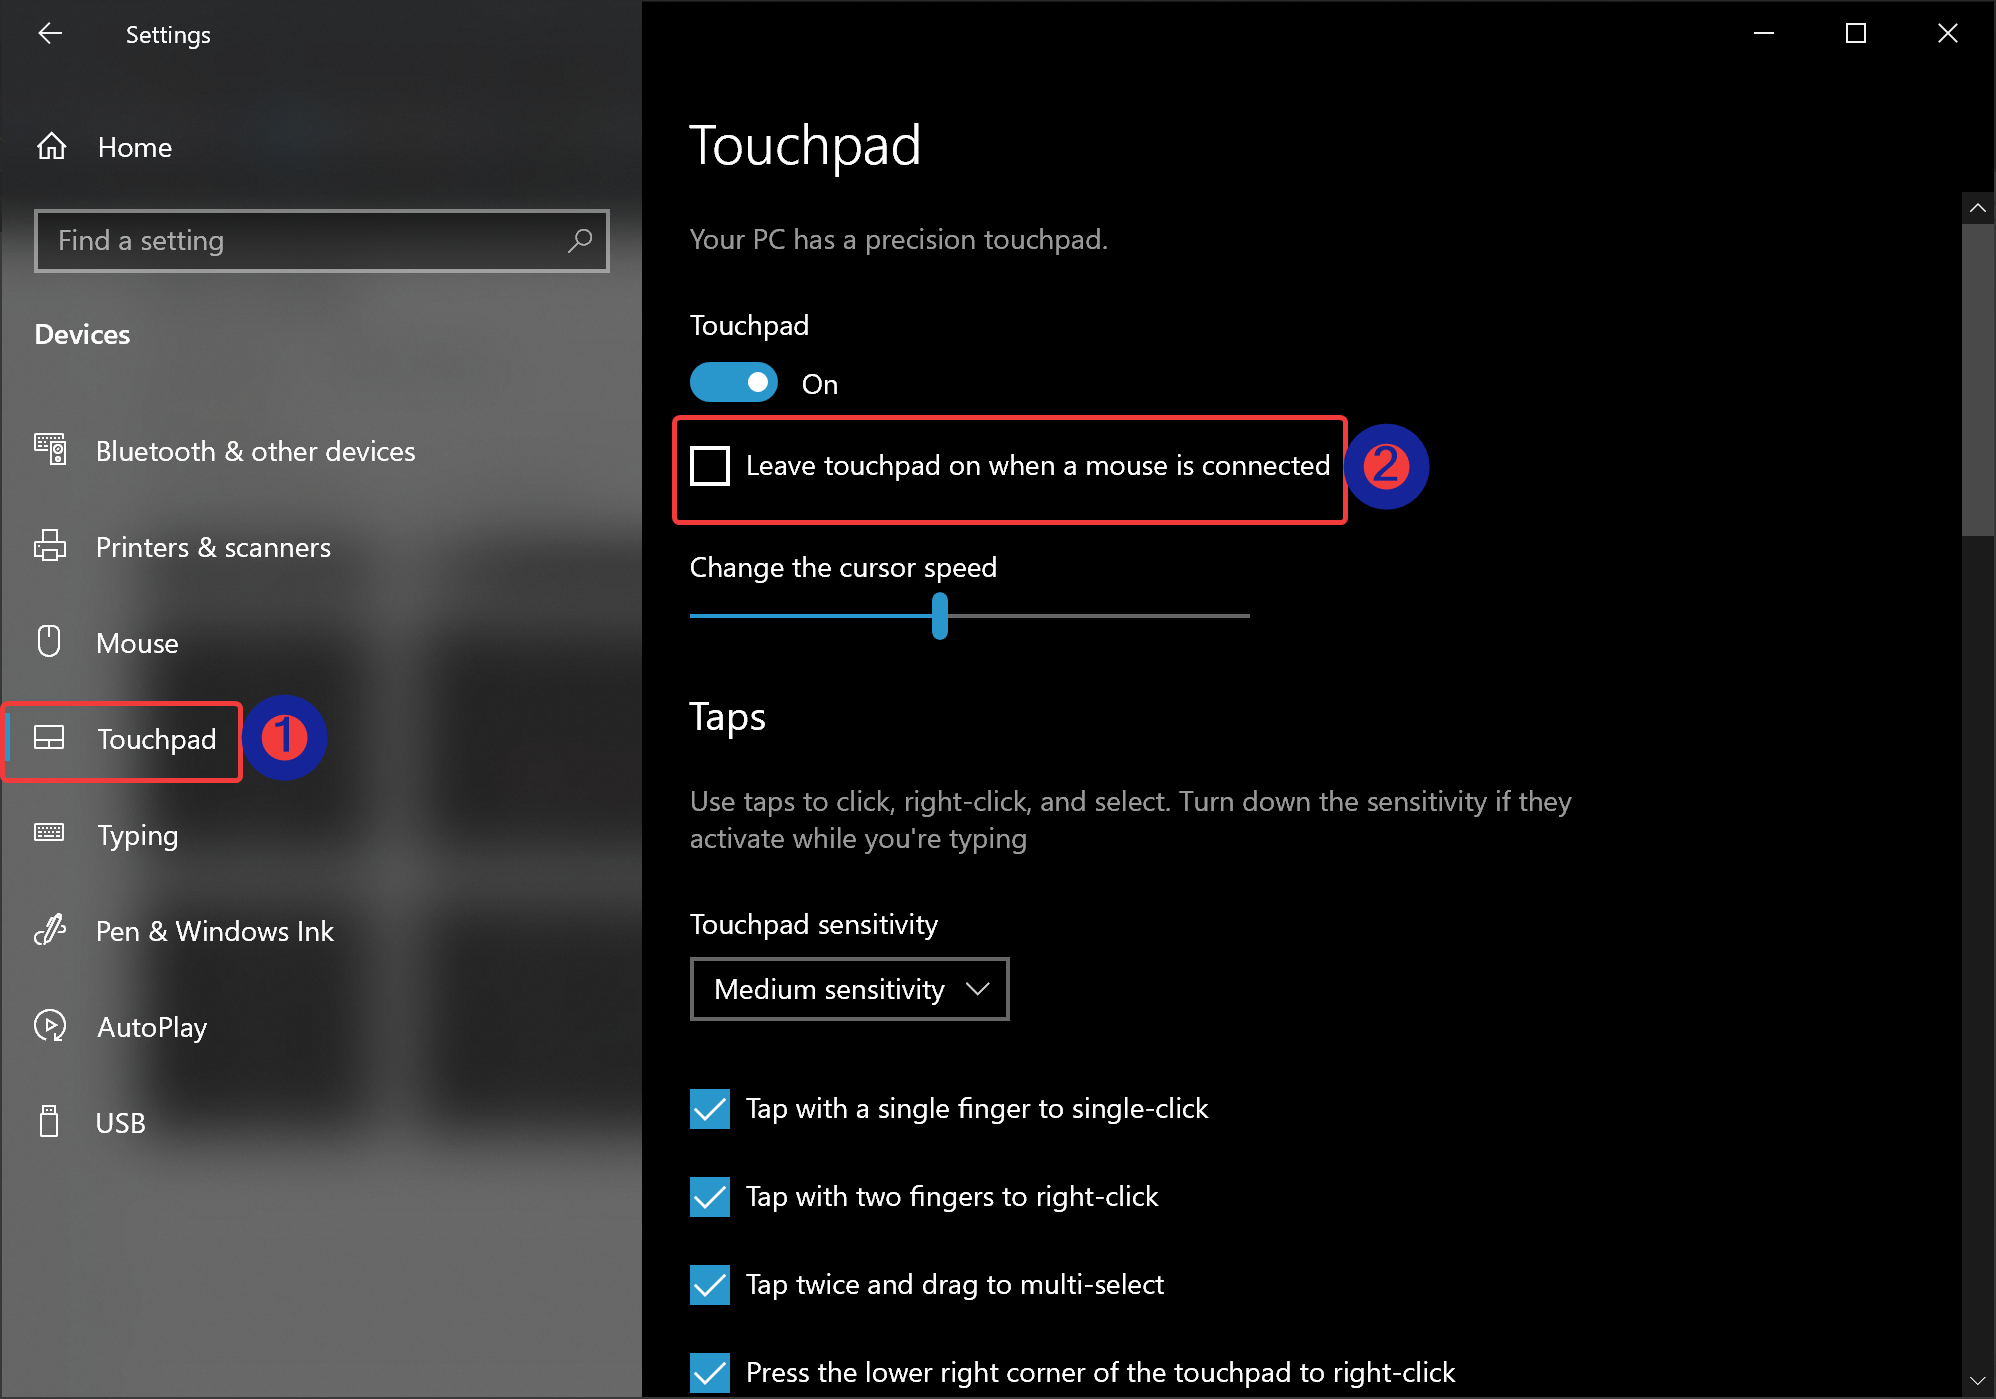
Step 4. On the right side of the Touchpad, uncheck the option “Leave touchpad on when a mouse is connected.”
After you execute the above steps, when you move your fingers on your touchpad, you will notice it is not working anymore if you have connected the mouse to your PC. Just remove the mouse from the PC, and your touchpad will start working automatically again.
Conclusion
In conclusion, using a laptop’s integrated touchpad as an alternative to an external mouse is a common practice. However, it can be frustrating when both are active and accidental movements occur. Luckily, Windows 11/10 has a built-in setting that automatically disables the touchpad when an external mouse is connected. This article provides a step-by-step guide on how to enable this feature on both Windows 11 and 10, making the transition between touchpad and mouse more seamless. By following these simple steps, users can customize their computer’s settings to their preferences and enhance their user experience.
