User Account Control (UAC) is a security feature of the Windows operating system that helps prevent unauthorized changes to the system. It was first introduced in Windows Vista and is now available on Windows 11. When a change is initiated by applications, users, viruses, or other forms of malware, UAC asks for your permission. After approval from the administrator, a program is allowed to make changes to your computer. If the administrator does not approve the changes, they are not executed, and your Windows remain safe.
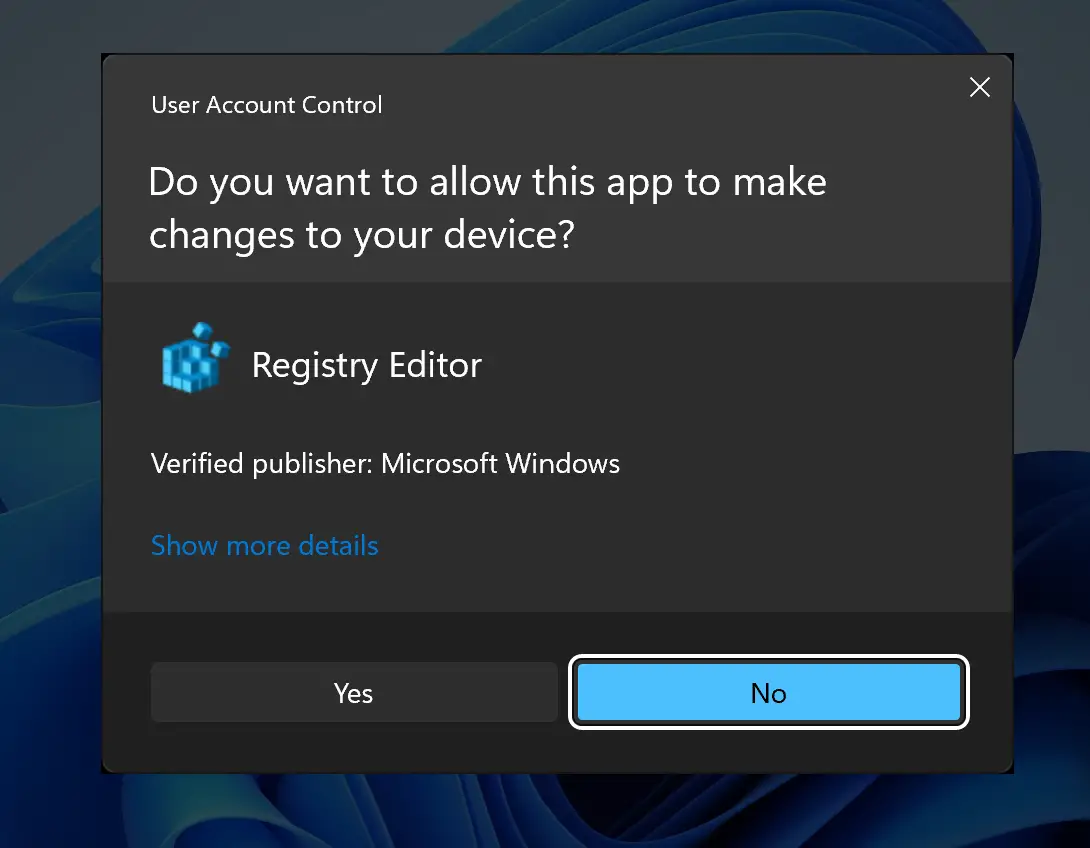
UAC does not open every time you open a file. It will only open and ask for approval when you or an application tries to make important changes to your Windows. For example, when you open Registry Editor, the User Account Control dialog appears.
Basically, UAC is a security layer that needs a user to confirm changes in the system when you or an app tries to make changes. Although UAC is a security feature, some people find it annoying and want to disable it completely.
There are multiple ways to disable the User Account Control (UAC) in Windows 11. We will review them one by one in this gearupwindows article.
How to Disable or Enable User Account Control in Windows 11 using the Settings app?
To turn on turn off User Account Control using the Settings app, do the following:-
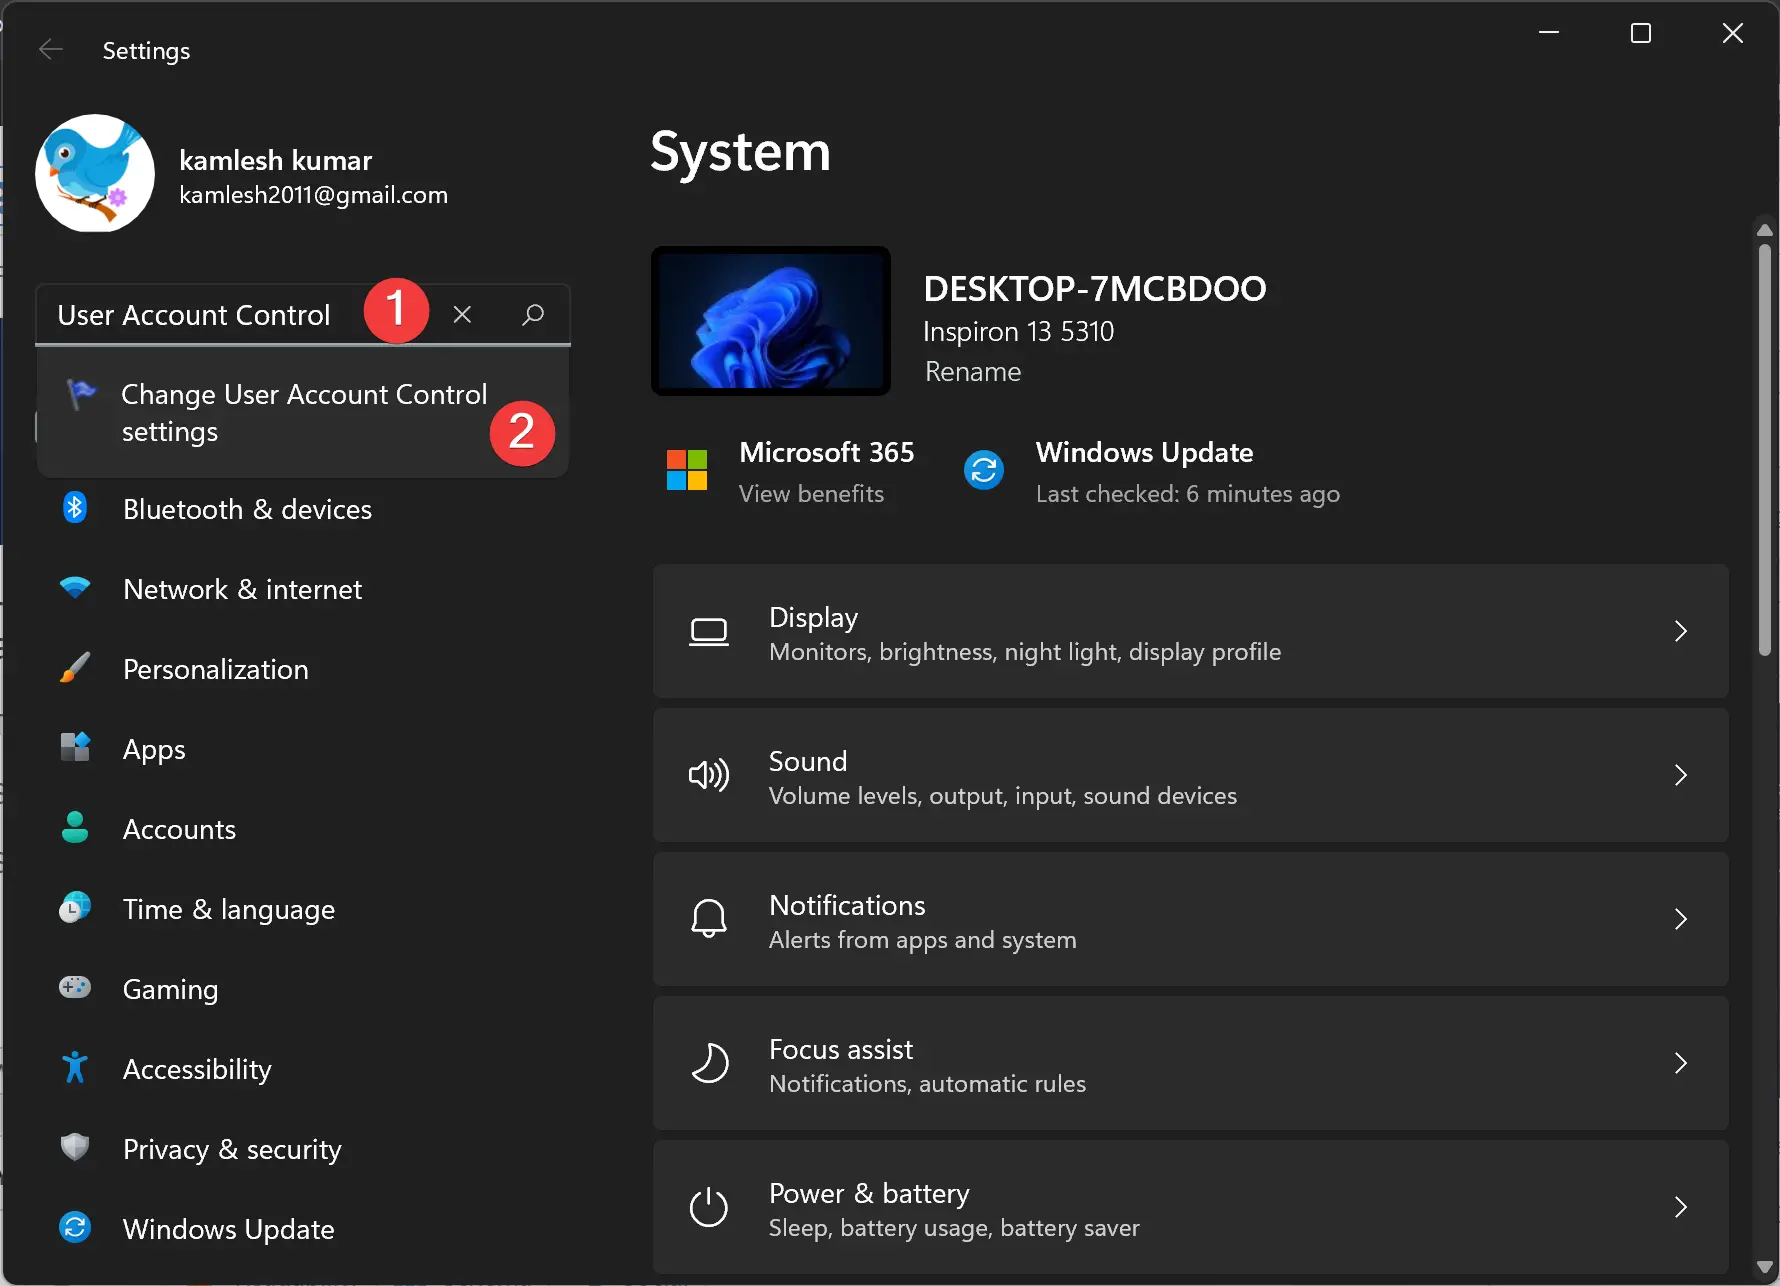
Step 1. Open the Settings app by pressing Windows + I keys from the keyboard.
Step 2. On the Settings search box, type User Account Control.
Step 3. After that, User Account Control Settings will open. Drag the slider to the extreme bottom (Never notify) and then click the OK button.
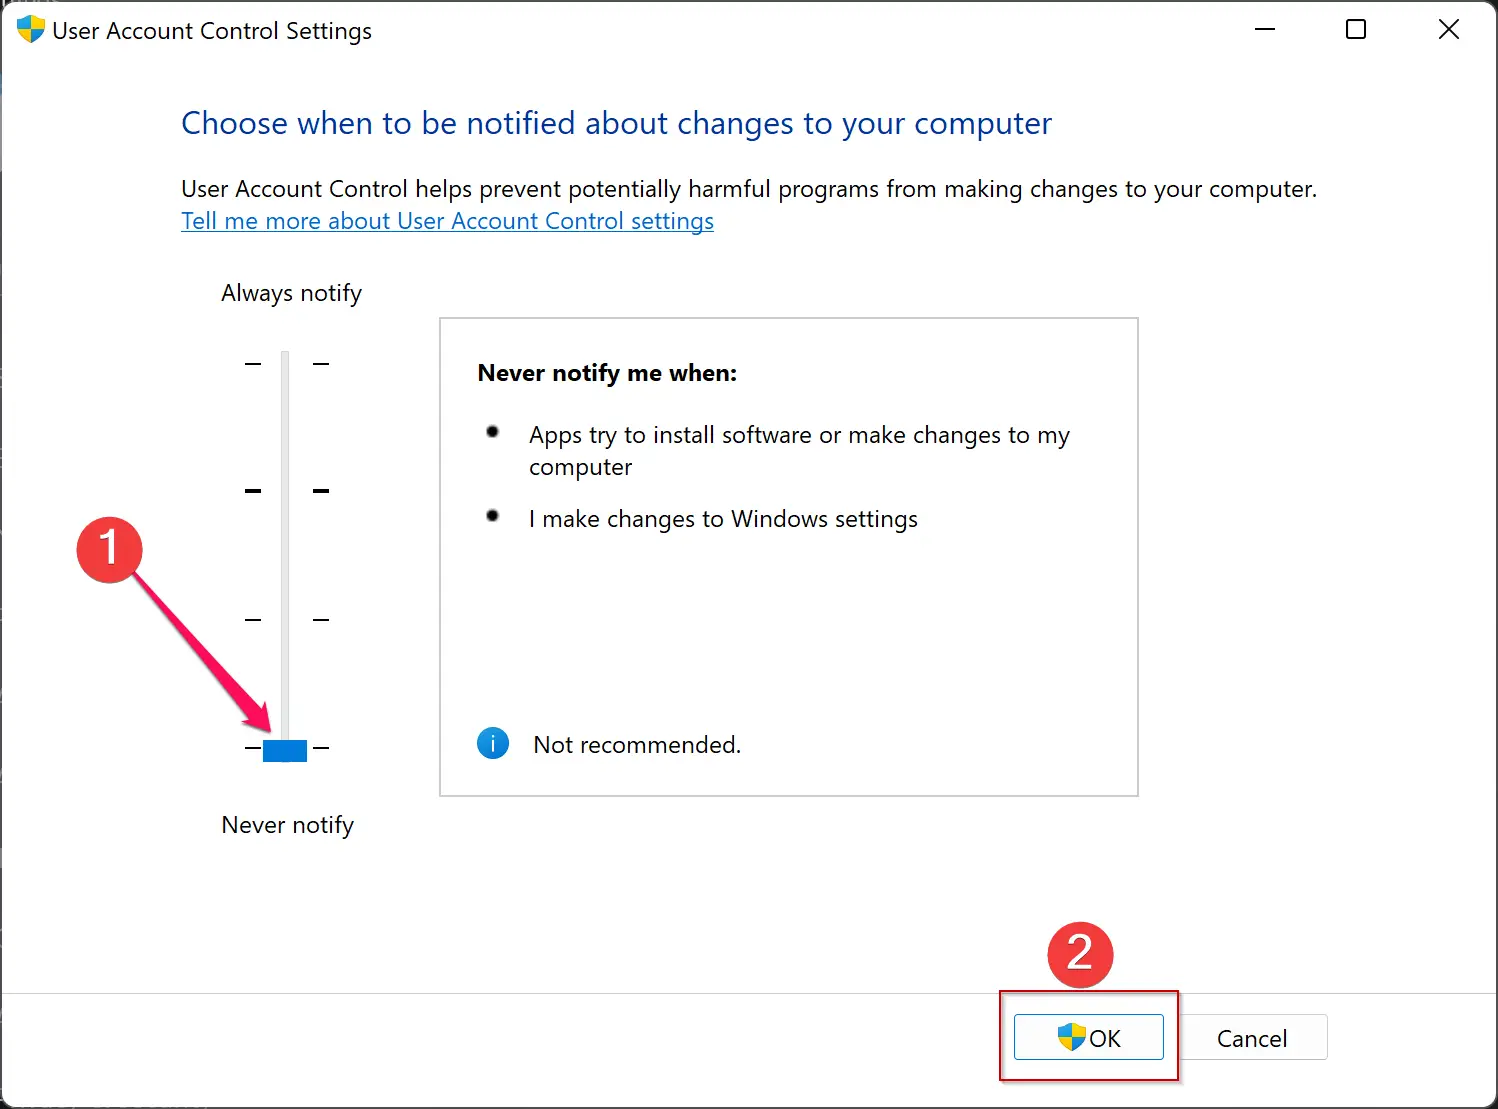
Once done, Windows 11 will no more prompt with the UAC dialog box.
When you want to see the UAC prompt, repeat the above steps, and in step 3, move the slider upward. Then click OK.
How to Turn On or Turn Off User Account Control in Windows 11 via Control Panel?
On Windows 11, it is also possible to adjust the UAC using Control Panel. Here are the steps.
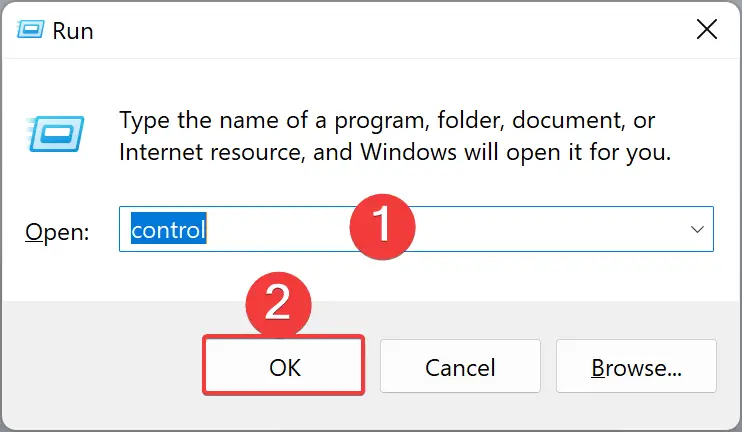
Step 1. Open Control Panel.
To do that, open the Run dialog box by pressing Windows + R keys from the keyboard. Type, Control in the Run box and then click the OK button.
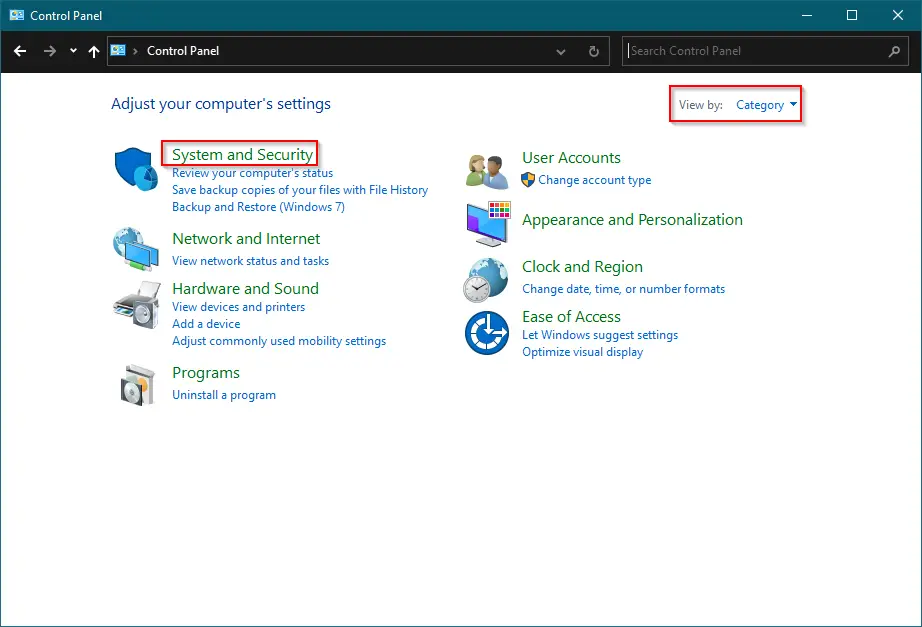
Step 2. When Control Panel opens, select the System and Security category.
Step 3. Next, click Security and Maintenance.
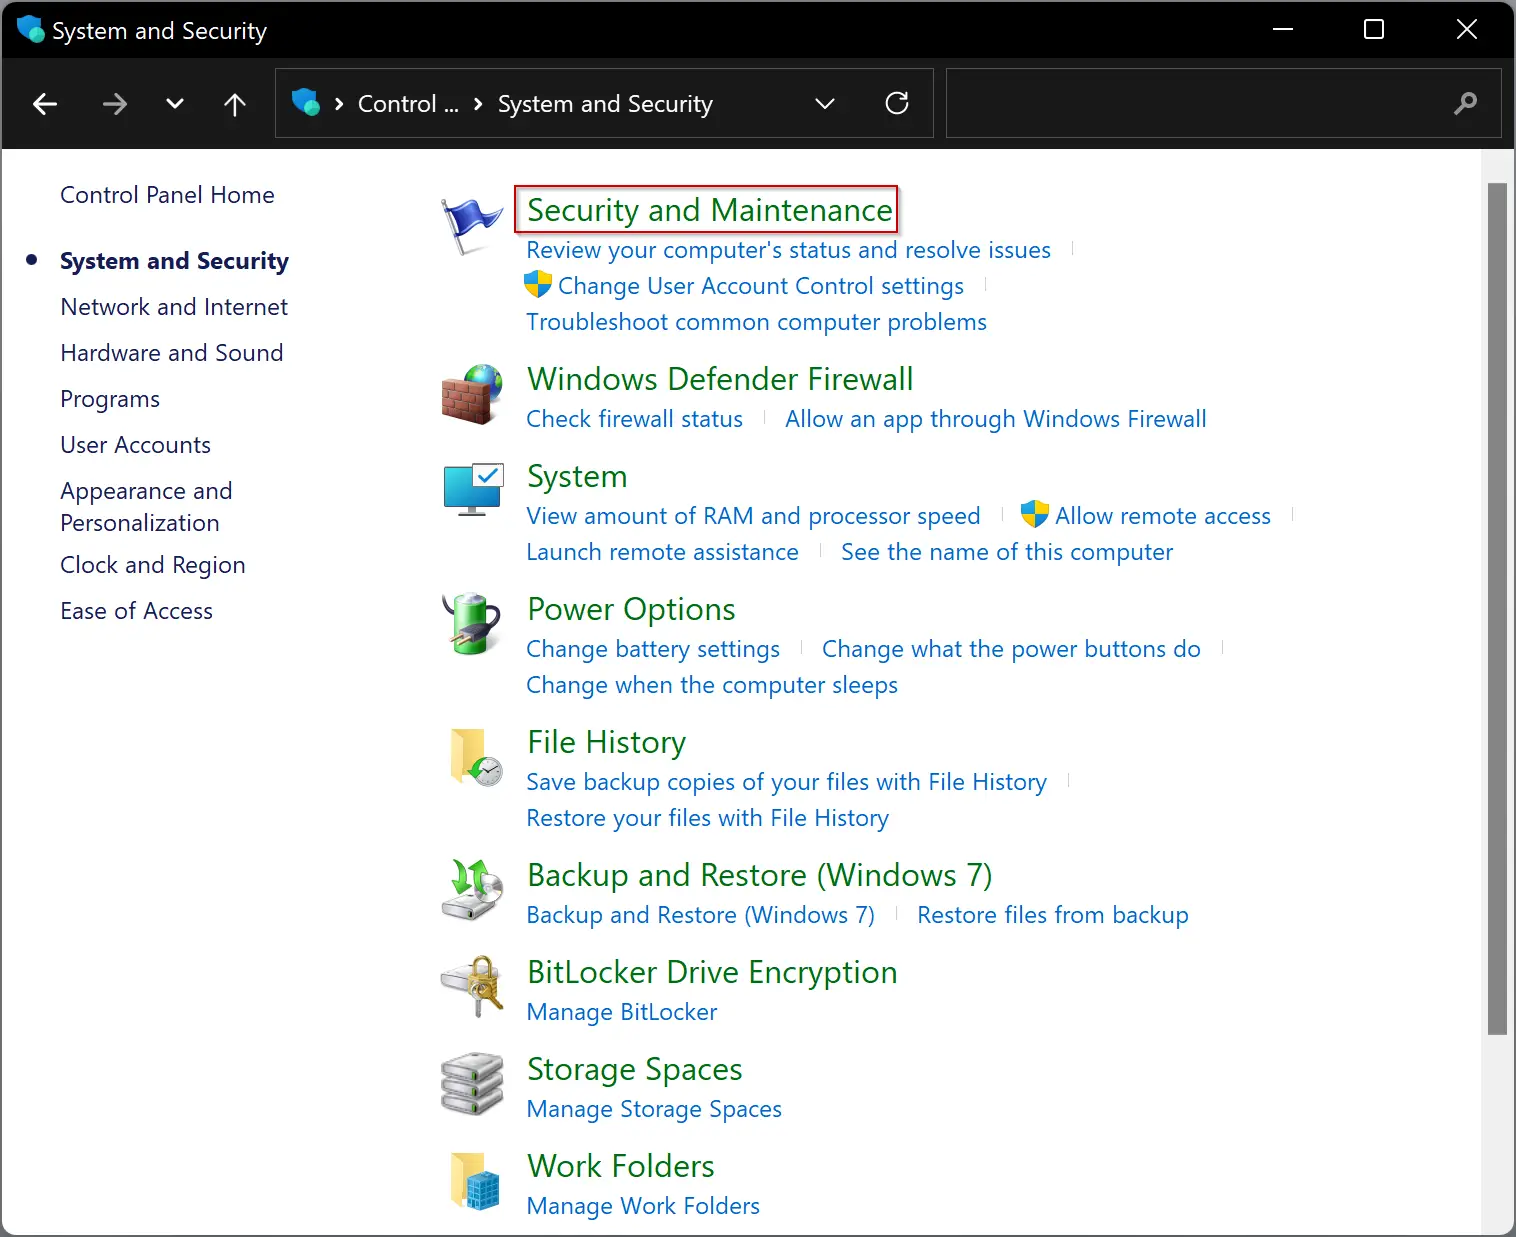
Step 4. Click the Change User Account Control settings link on the left sidebar.

Step 5. After that, User Account Control Settings pop-up window opens. Drag the slider to the extreme bottom (Never notify) and then click the OK button.
That’s it! Windows 11 will no more prompt with the UAC dialog box.
If you change your mind and want to get a prompt of UAC when an app tries to make changes on your system, repeat the above steps, and in step 5, move the slider towards Always notify.
How to Turn On or Off User Account Control in Windows 11 through Local Group Policy Editor?
To enable or disable User Account Control in Windows 11 through Local Group Policy Editor, do these steps:-
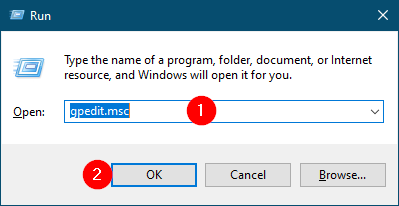
Step 1. Open Local Group Policy Editor.
To do that, press the Win + R keys from the keyboard and then type gpedit.msc in the Run box. Now, click the OK button or press Enter from the keyboard.
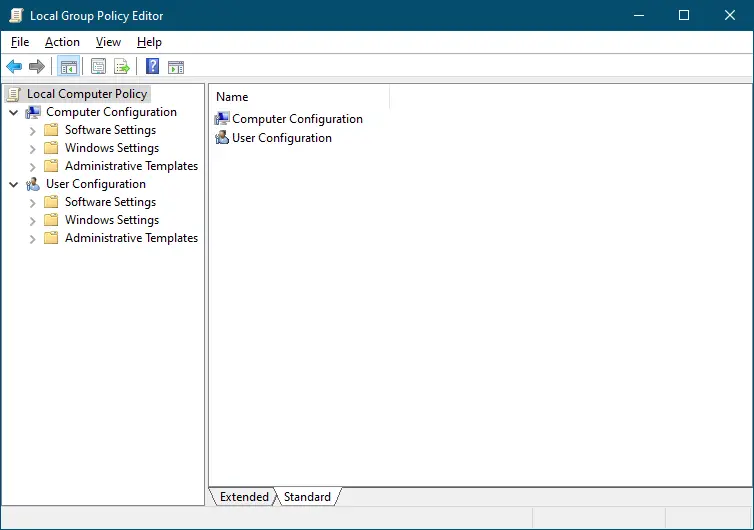
Step 2. When Local Group Policy Editor opens, navigate to the following key from the left sidebar:-
Computer Configuration > Windows Settings > Security Settings > Local Policies > Security Options
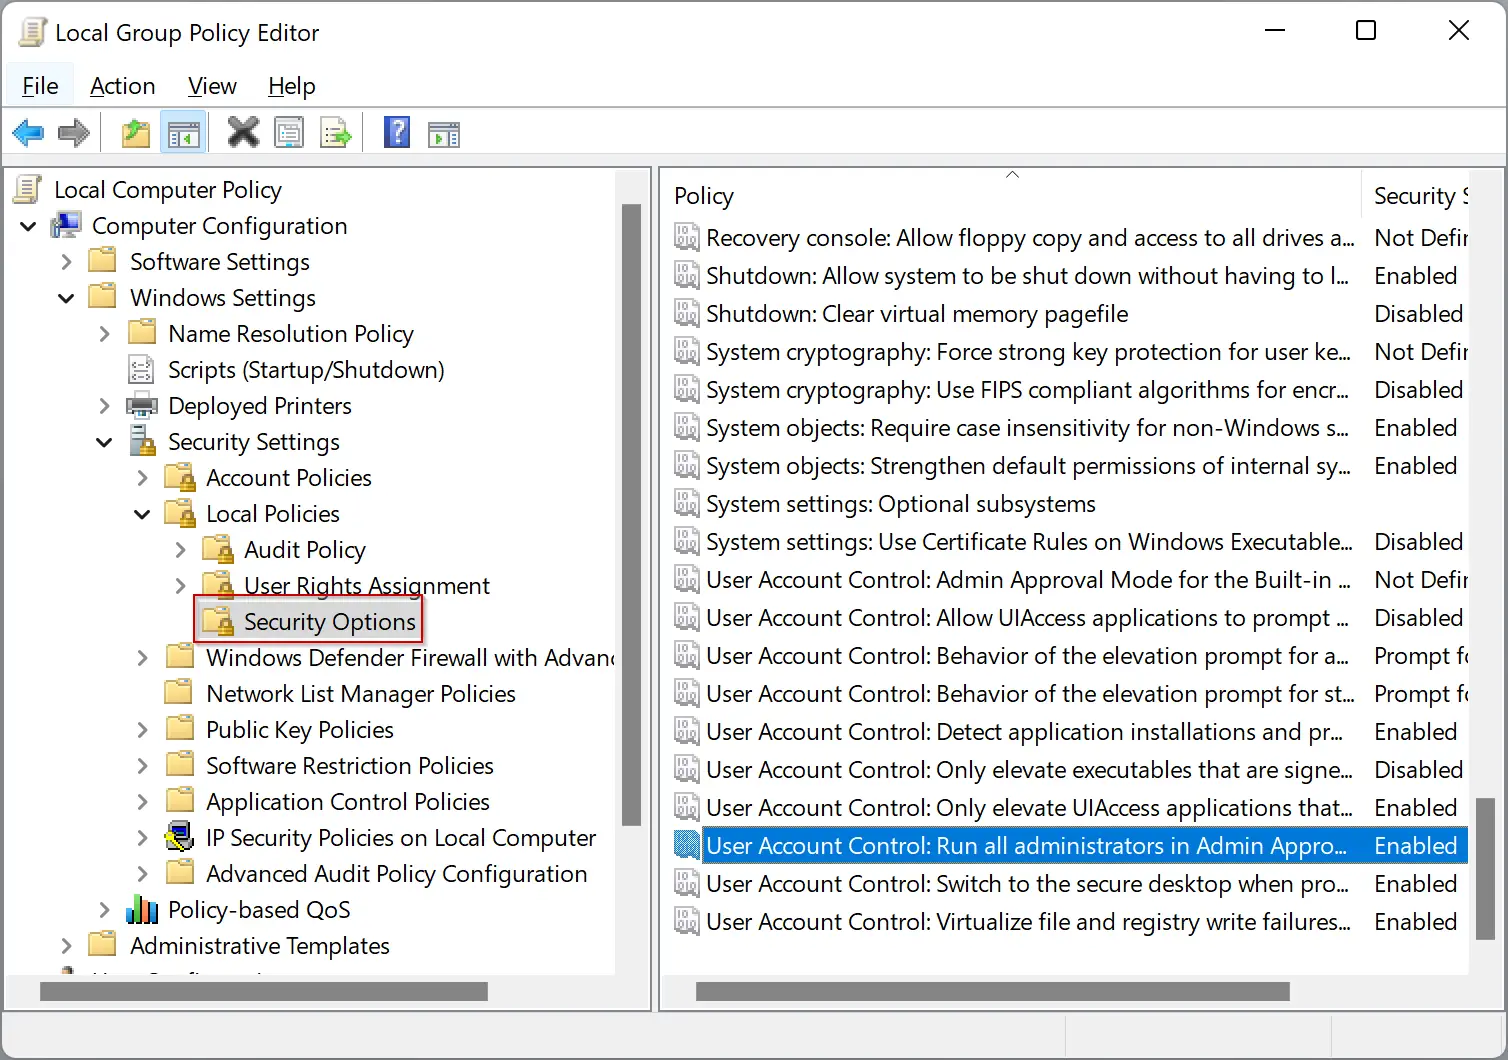
Step 3. On the right-side pane, look for the policy name, “User Account Control: Run all administrators in Admin Approval Mode.” Double-click on this policy to open its Properties dialog.
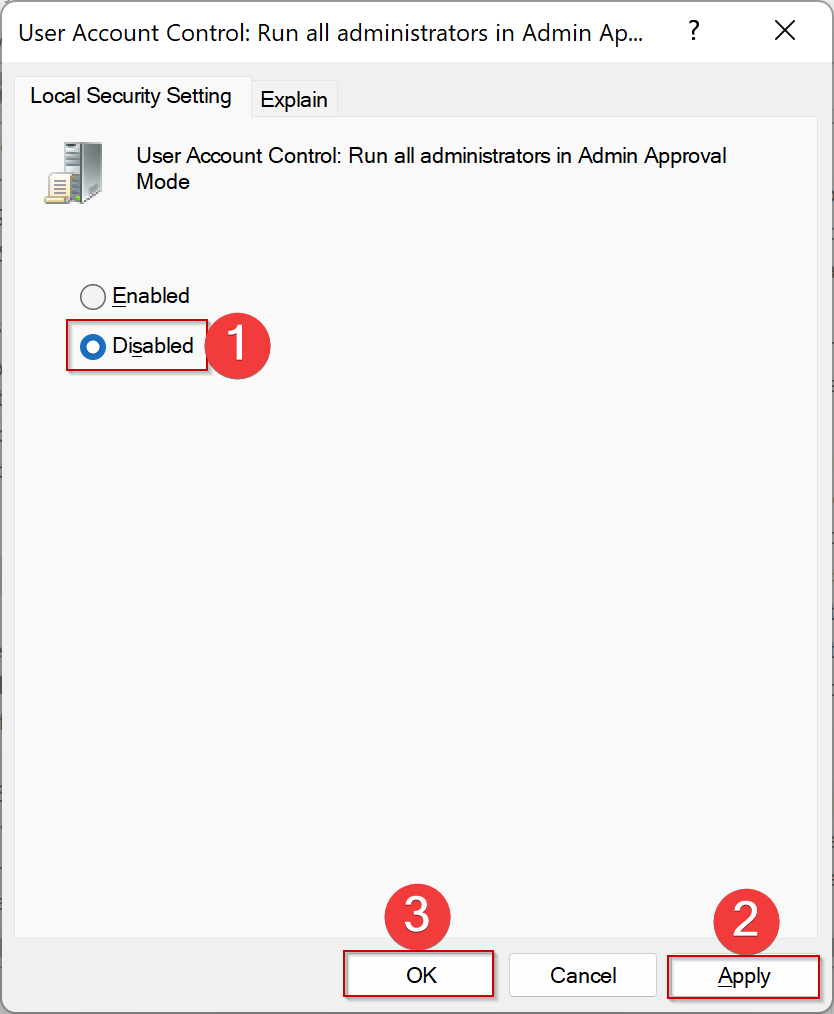
Step 4. Select the Disabled option.
Step 5. Click Apply.
Step 6. Click OK.
Once you complete the above steps, Windows 11 will no more prompt with the UAC dialog.
If you want to see a UAC prompt in the future, repeat the above steps, and in step 4, select the Enabled option. That’s it! Now UAC is enabled.
How to Turn On or Turn Off User Account Control in Windows 11 using Registry Editor?
Those Windows users who prefer to apply policy using Registry Editor can do the following steps:-
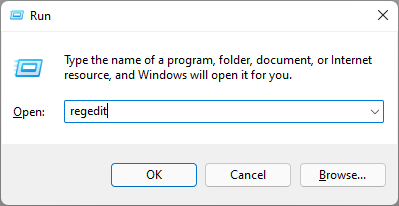
Step 1. Open Registry Editor.
To do that, press the Windows + R keys from the keyboard to open the Run dialog box and then type regedit into that. Now, press Enter from the keyboard.
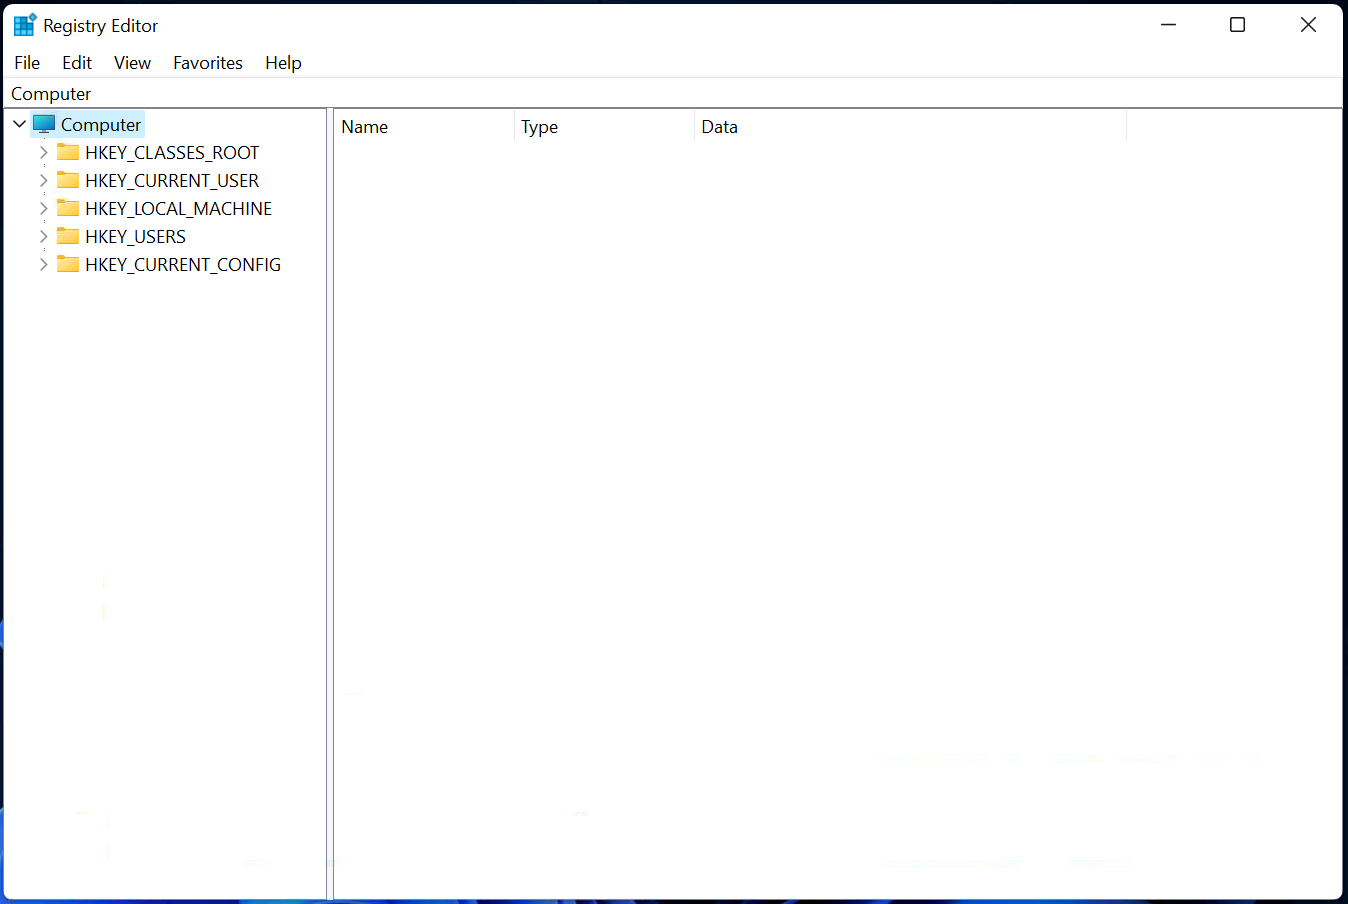
Step 2. When Registry Editor opens, navigate or browse for the following key from the left sidebar:-
Computer\HKEY_LOCAL_MACHINE\SOFTWARE\Microsoft\Windows\CurrentVersion\Policies\System
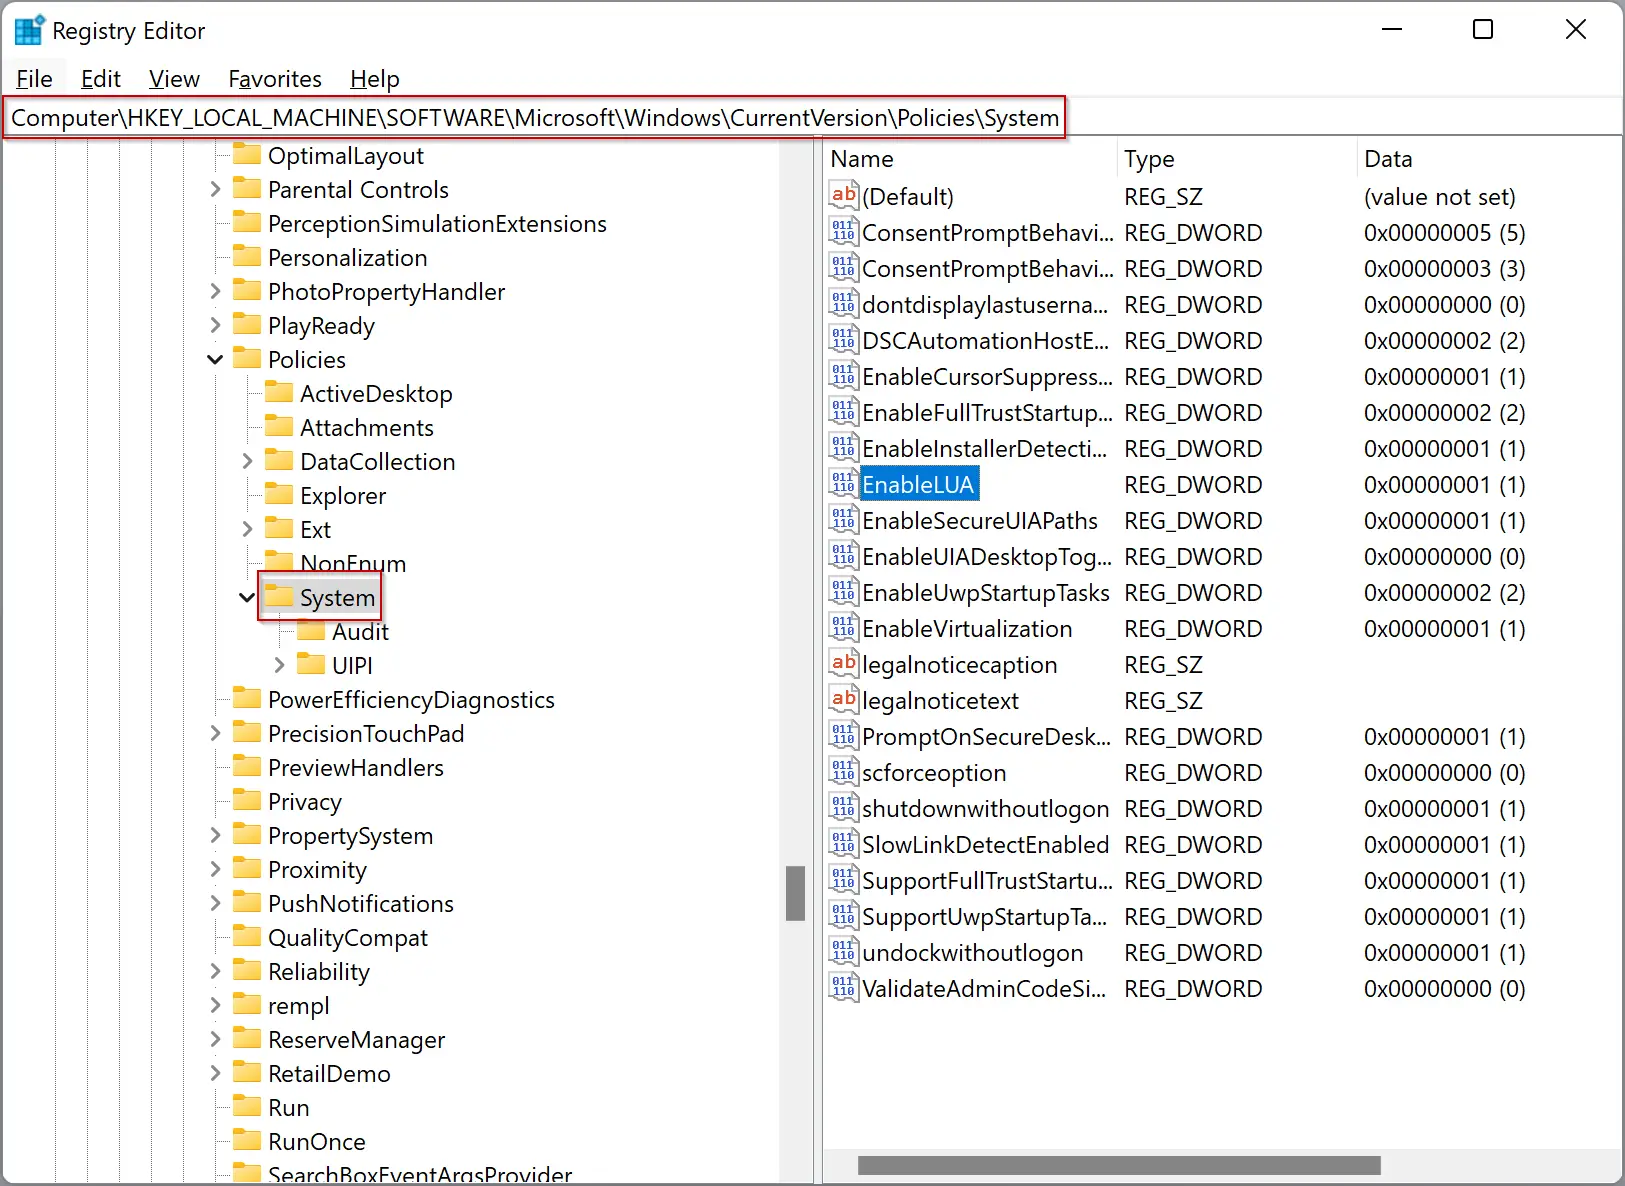
Step 3. Find the EnableLUA DWORD (32-bit) value on the right-side pane and double-click to modify it.
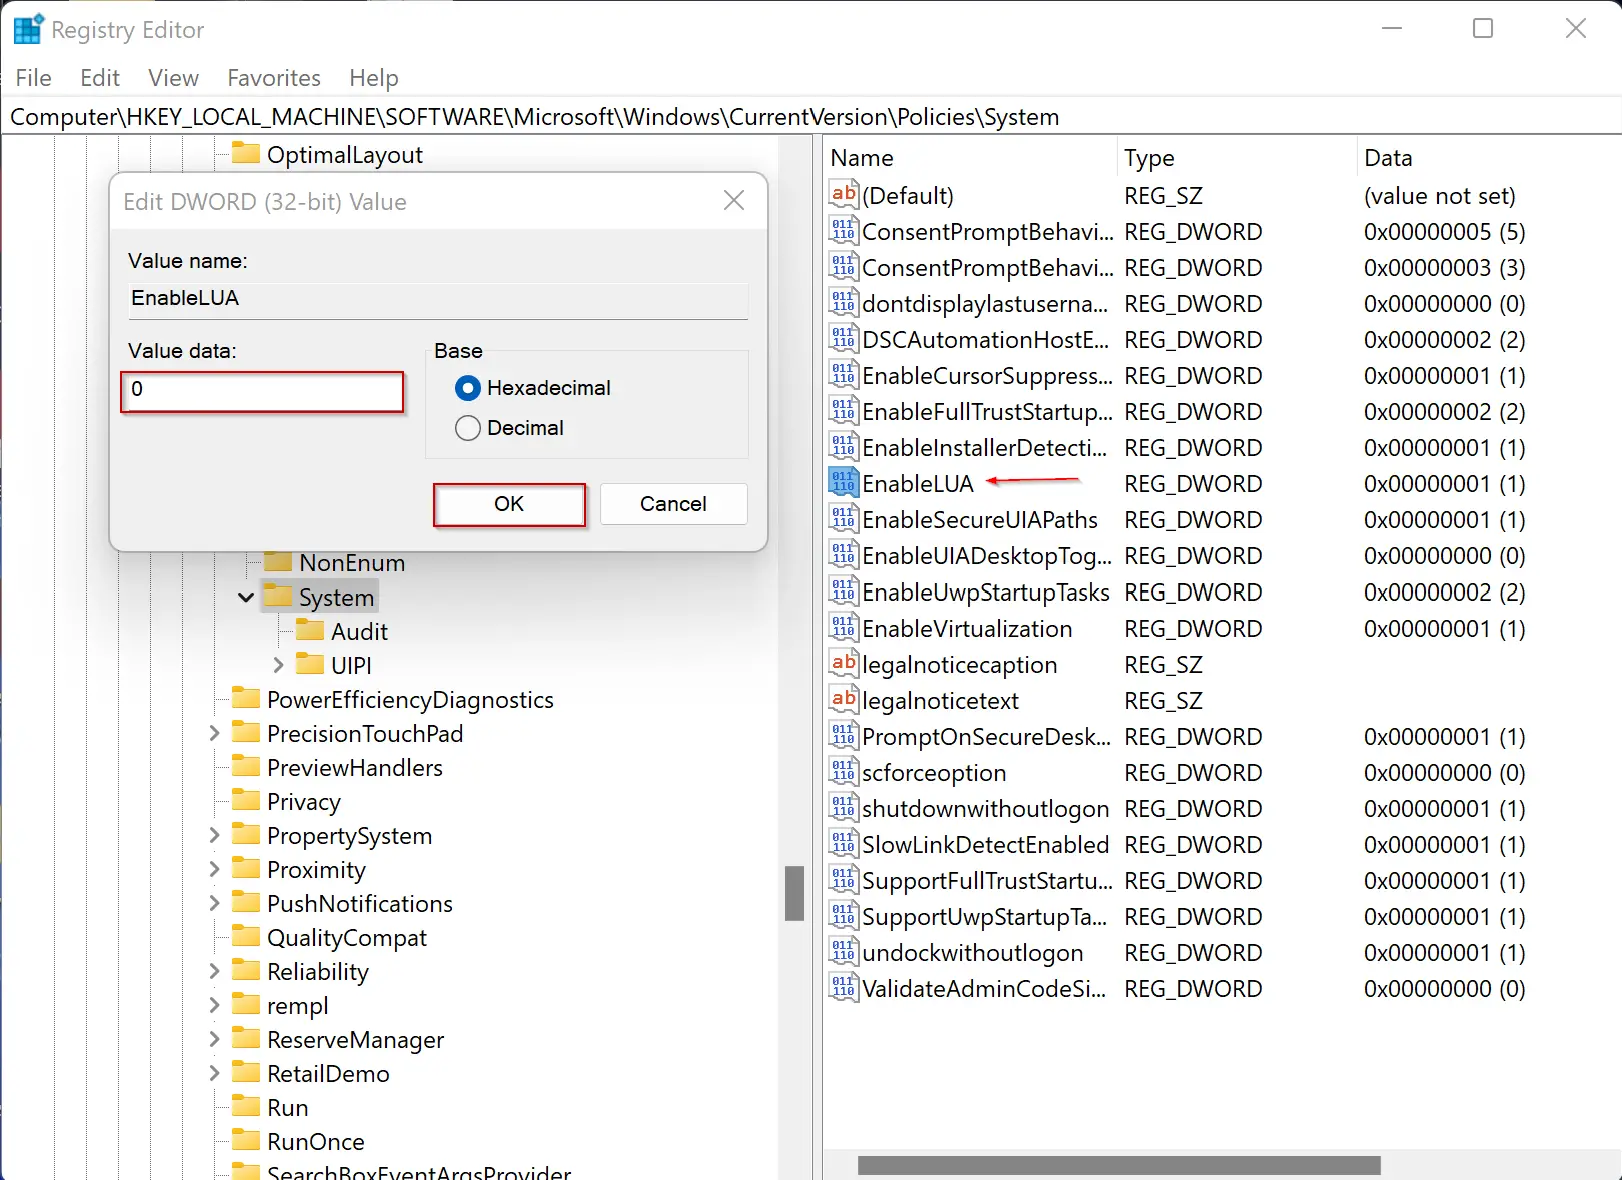
Step 4. Replace 1 with 0 under the Value data field and click the OK button to disable the UAC prompt.
Step 5. Finally, restart your computer to apply the changes on your Windows 11 PC.
Now, UAC is disabled, and it will not ask for approval when you open any program on your computer. To enable UAC to prompt again, repeat the above steps and in step 4, replace 0 with 1 under the Value data field and click the OK button.
Conclusion
In conclusion, User Account Control (UAC) is an essential security feature of the Windows operating system that helps prevent unauthorized changes to the system. Although some users find it annoying, it is crucial to keep it enabled to keep your Windows secure. In this article, we have discussed various methods to disable or enable UAC in Windows 11 using the Settings app, Control Panel, Local Group Policy Editor, and Registry Editor. It is essential to note that disabling UAC can pose a significant security risk and should only be done by advanced users who understand the consequences. We recommend keeping UAC enabled at all times to ensure the safety and security of your Windows 11 PC.