Windows 11 lets you change the mouse cursor color and size according to your needs. It comes with a few mouse pointers schemes that you can change if you need. If you are still unhappy with Windows cursor theme packs and want to see new ones, you can download and install a third-party theme pack.
Thousands of free cursor themes are available at RealWorld Designers’ Open Cursor Library to download. If you want to customize theme cursors, this is an excellent place to browse from many themes.
How to Download and Install Custom Cursor Theme Packs on Windows 11?
Windows 11 ships with a few built-in cursor schemes that allow you to change the default appearance of the mouse pointer. It allows you to change the color (white, black, or inverted) and size (default, large, or extra-large). If you are still unhappy with the default Mouse Cursor Theme, you can change it using the Settings app. To do that, you first need to download a theme and then install it.
Step 1. Download a mouse cursor theme from any website.
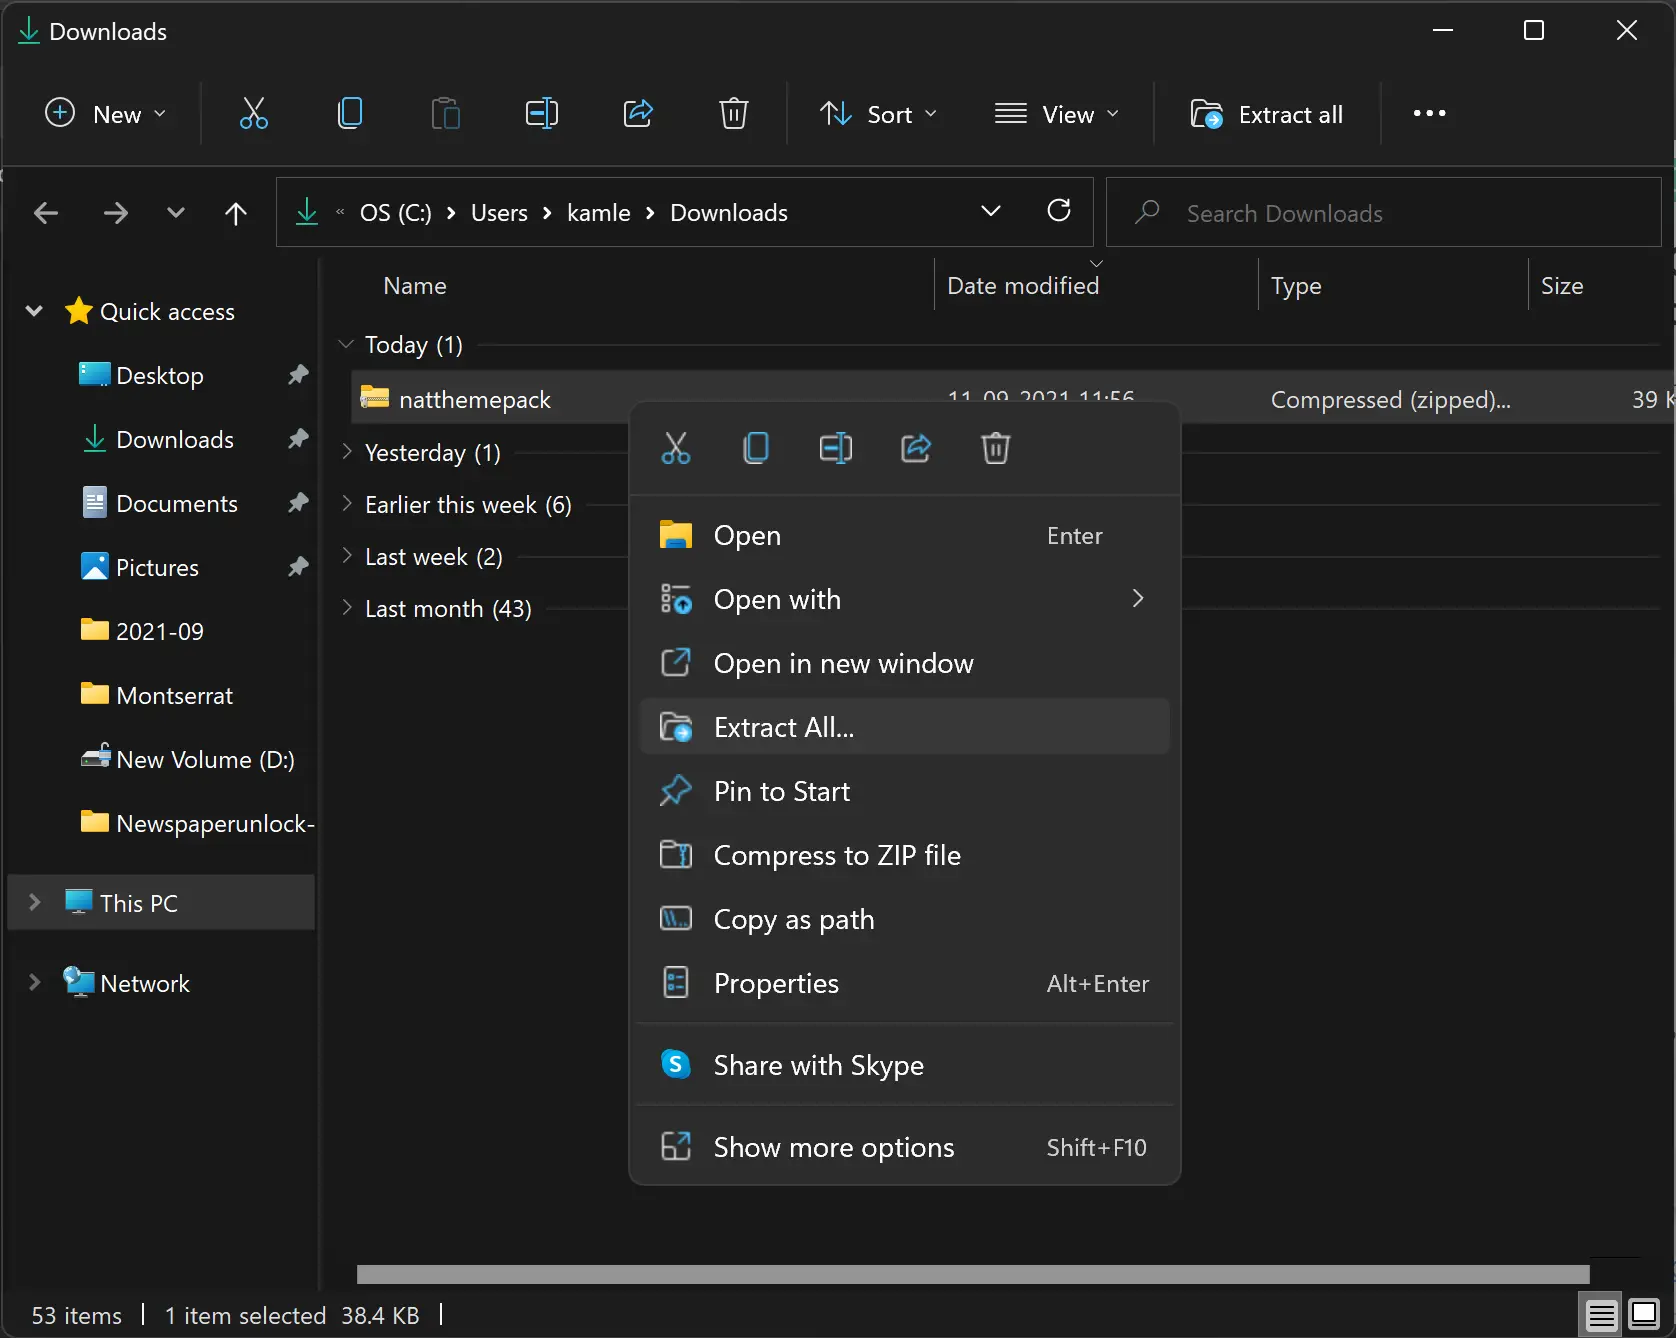
Step 2. If the downloaded theme is packed in a zip file, right-click on it and select Extract all to unzip them in a folder.
Step 3. Now, open the Settings app by pressing Windows + I keys from the keyboard.
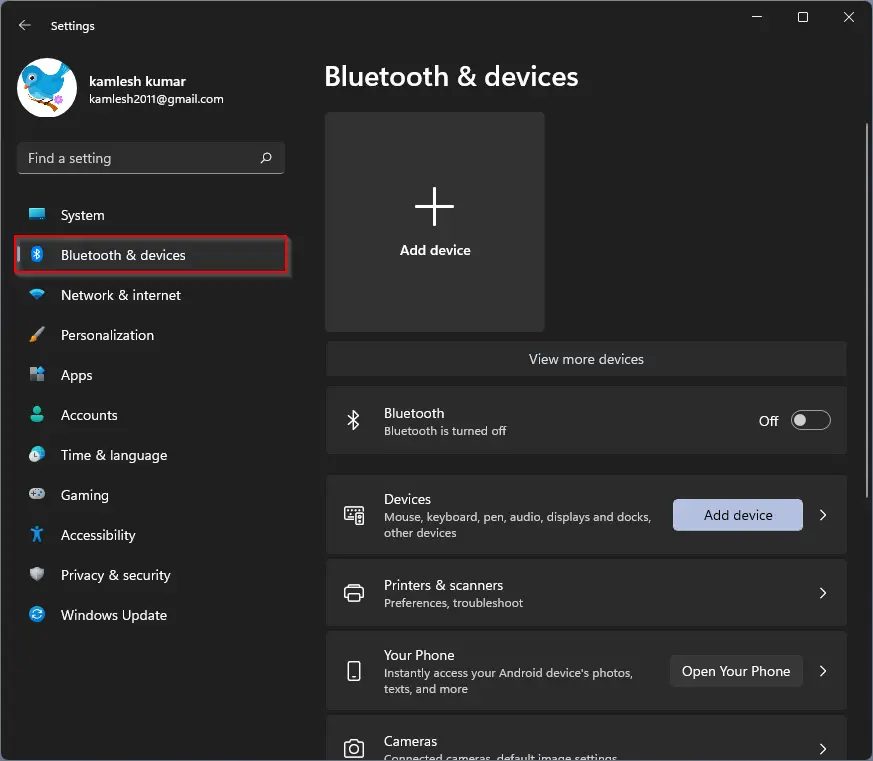
Step 4. When Windows Settings opens, select Bluetooth & devices category from the left sidebar.
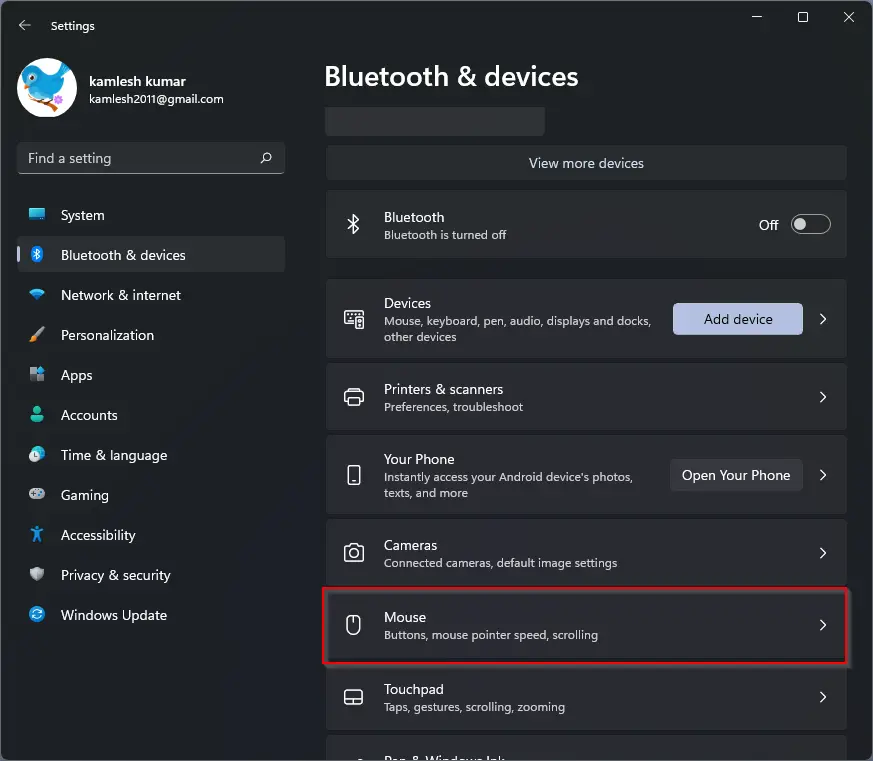
Step 5. On the right sidebar of Bluetooth & devices, click the Mouse tab.
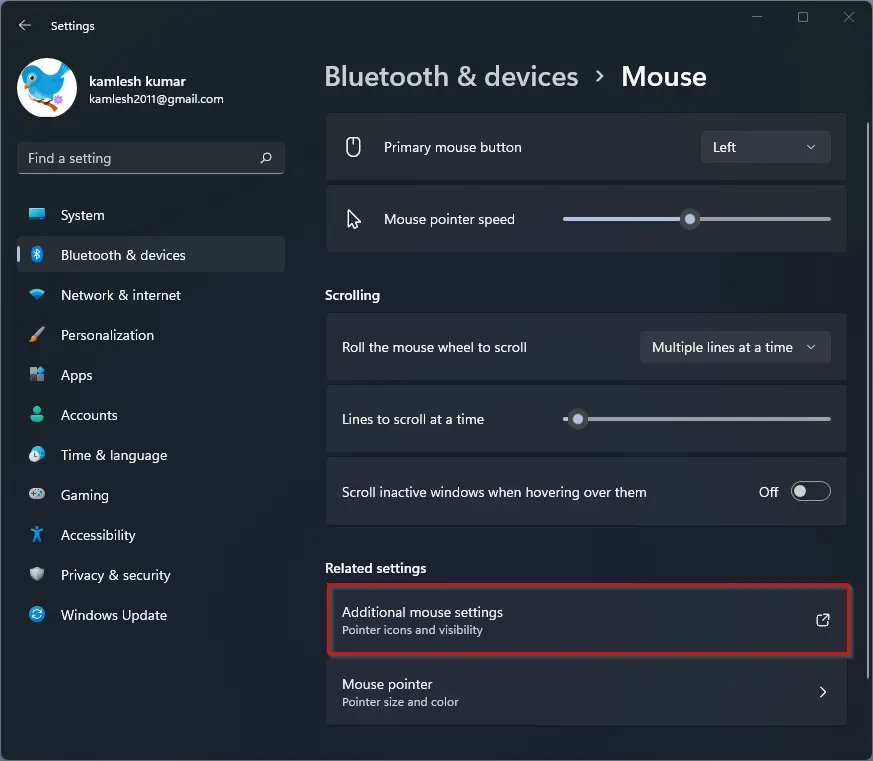
Step 6. Locate the Related settings section and then click on the Additional mouse settings option.
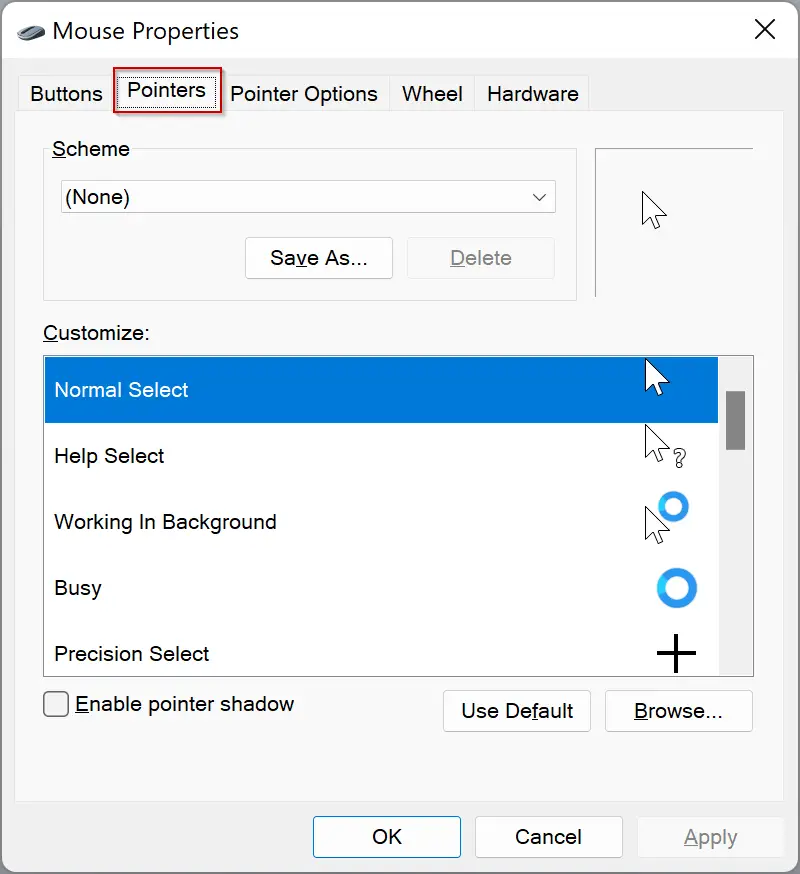
Step 7. When you’re done, the Mouse Properties dialog will open. Navigate to the Pointers tab.
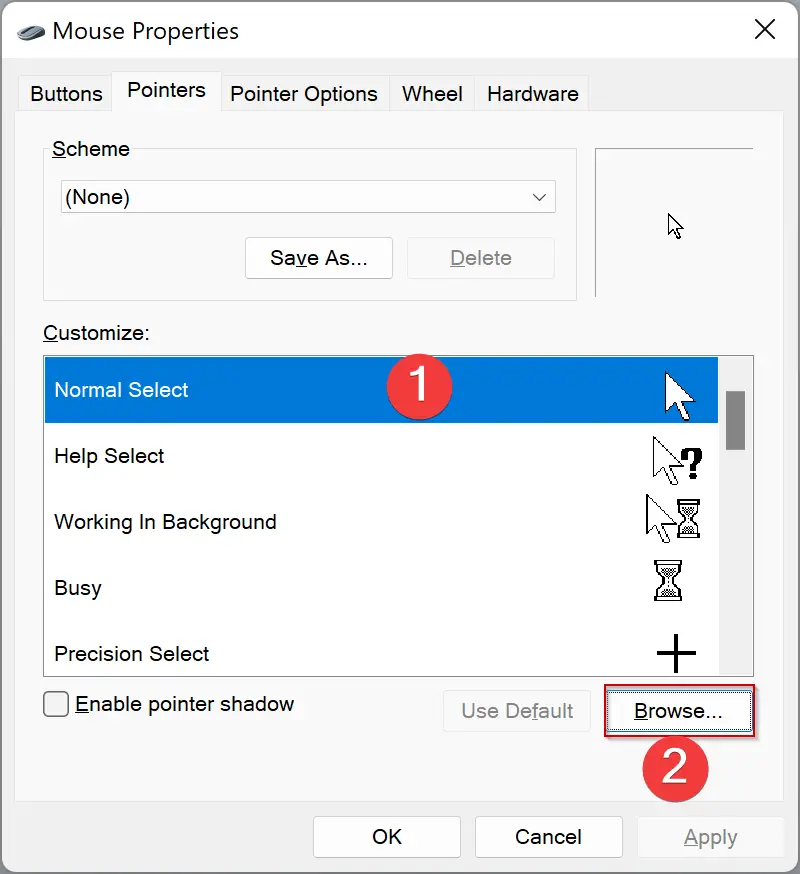
Step 8. Select a cursor situation from the Customise section, and then click the Browse button.
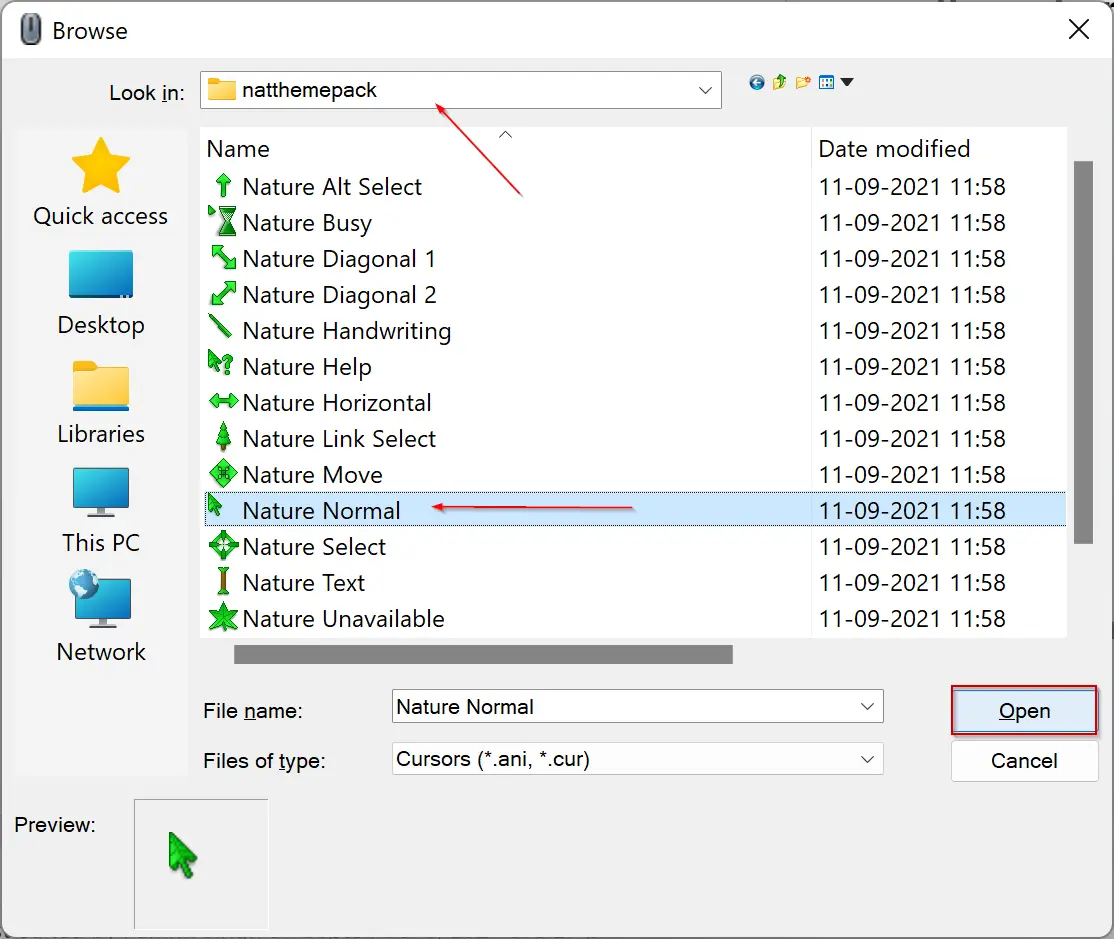
Step 9. Now, File Explorer will open the system folder that stores all the cursors available for each scheme. From here, navigate to the folder with the cursor file. Then select a cursor file you want to use and click the Open button.
Step 10. You need to repeat the process for each cursor in the list to replace all with customer cursors. When you’re done, click Save as. Give it a name, and then click “OK” to save the custom scheme.
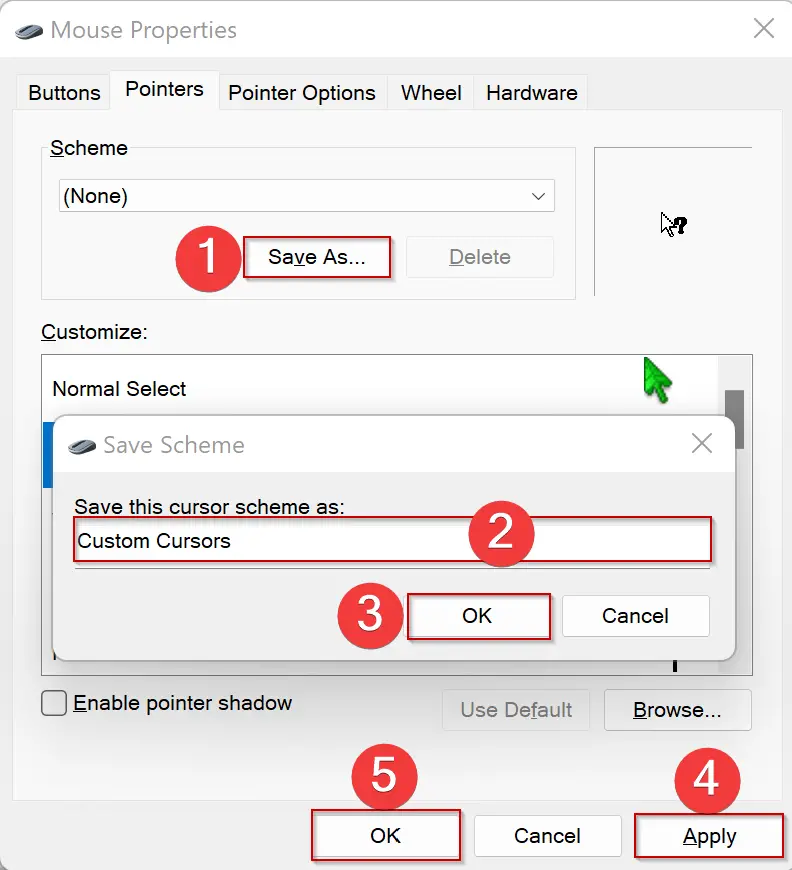
Step 11. Click Apply.
Step 12. Click OK.
Now that your custom theme has been applied.
Conclusion
In conclusion, Windows 11 offers a range of options for customizing the appearance of the mouse cursor. The built-in cursor schemes can be easily changed, and if you are still unsatisfied, you can download and install custom cursor theme packs from third-party websites. The RealWorld Designers’ Open Cursor Library offers a vast collection of free cursor themes that you can choose from. Installing a custom cursor theme on Windows 11 is a straightforward process, as we have seen. By following the steps outlined above, you can easily download, install and apply a custom cursor theme to make your Windows 11 experience more personalized and enjoyable.
very help full thanks
thanks LOT