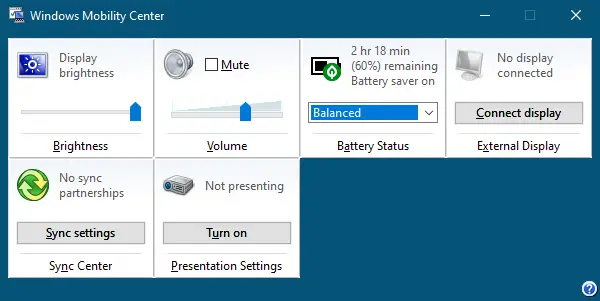
Windows 10 comes with a built-in feature called Windows Mobility Centre. With the help of Windows Mobility Centre on a Windows 10 laptop or notebook, you can quickly and easily access or adjust the display brightness, mute or adjust volume, view and change Power Plans, access the remaining battery percentage, set Sync Settings, and connect to an external display. However, this feature is active by default on laptops only, so you need to allow the same first if you are using Windows 10 on a desktop PC.
This post will guide you through enabling the Windows Mobility Centre on Windows 10 desktop and multiple ways to open it.
How to enable or turn on Windows Mobility Center on Windows 10 desktop computer?
Those who have not enabled the Windows Mobility Center on Windows 10 desktop PC and try to access it will receive a message “Windows Mobility Center is available only on laptops.”
Gentle Reminder: To enable the Windows Mobility Center on Windows 10 desktop computer, you need to modify the Registry; hence, we recommend taking the full backup of the Windows Registry and creating a system restore point. In case something goes wrong, you can revert your PC to a previous working state.
To enable or turn on the Windows Mobility Center on Windows 10 desktop, perform the following steps:-
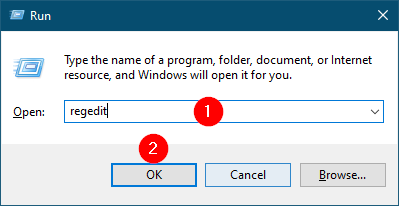
Step 1. Press the Windows logo + R keys to open the Run dialog box.
Step 2. In the Run dialog box, type the following and hit Enter from the keyboard or click the OK button to open the Windows Registry:-
regedit

Step 3. In the Registry Editor window that opens, navigate to the following key:-
Computer\HKEY_CURRENT_USER\Software\Microsoft\MobilePC
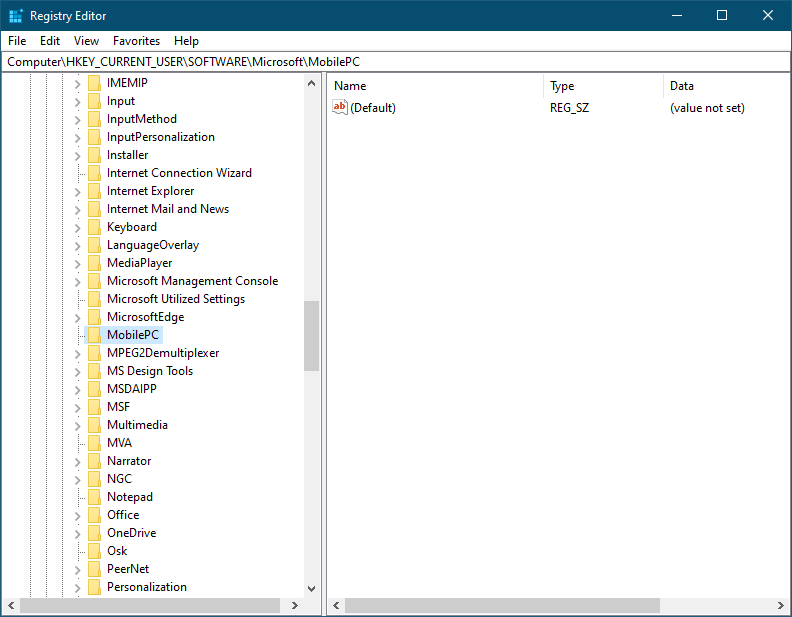
Note: On the MobilePC folder, you need to create two sub-keys, AdaptableSettings and MobilityCenter. If any key is present, you can skip the step.
Step 4. Right-click on MobilePC and select New, and then Key. Name the newly created key as AdaptableSettings.
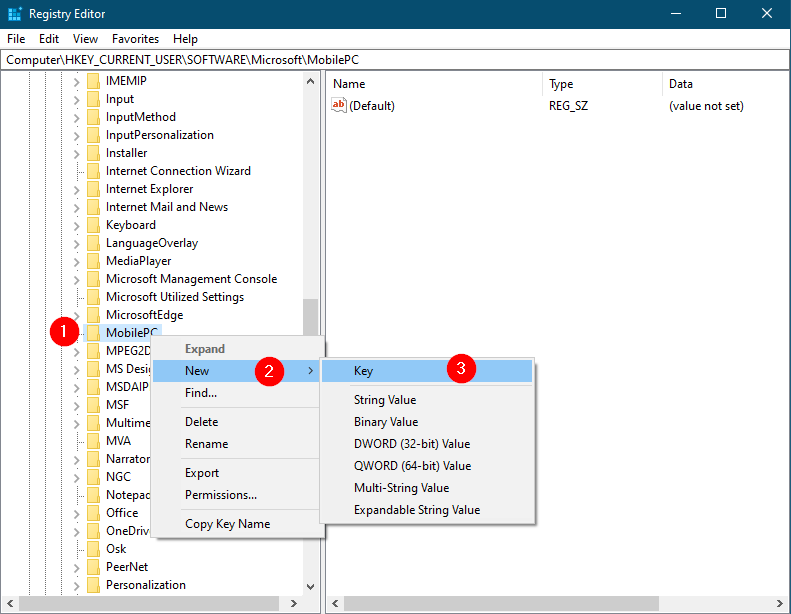
Step 5. Again, right-click on MobilePC, select New, and then Key. Name the newly created key as MobilityCenter.
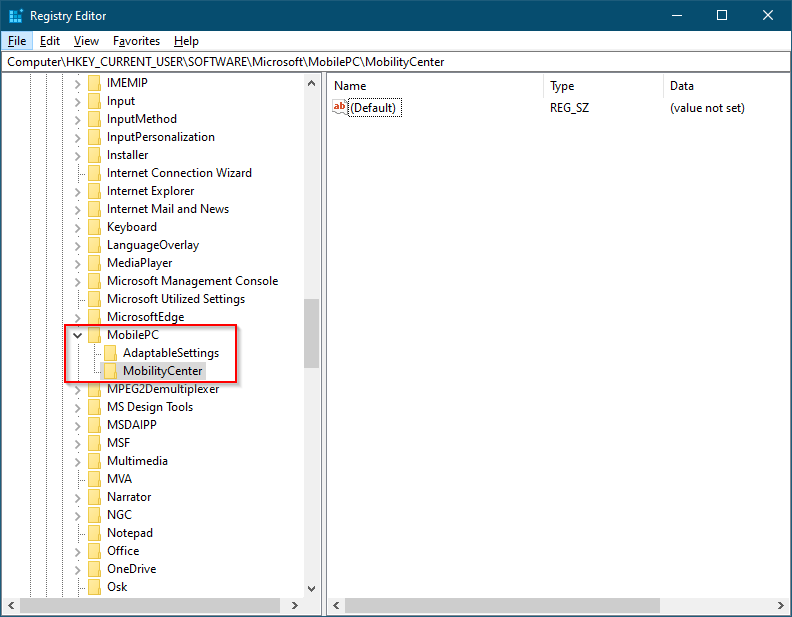
Once both keys are created or already present, it should look like a lead-in image.
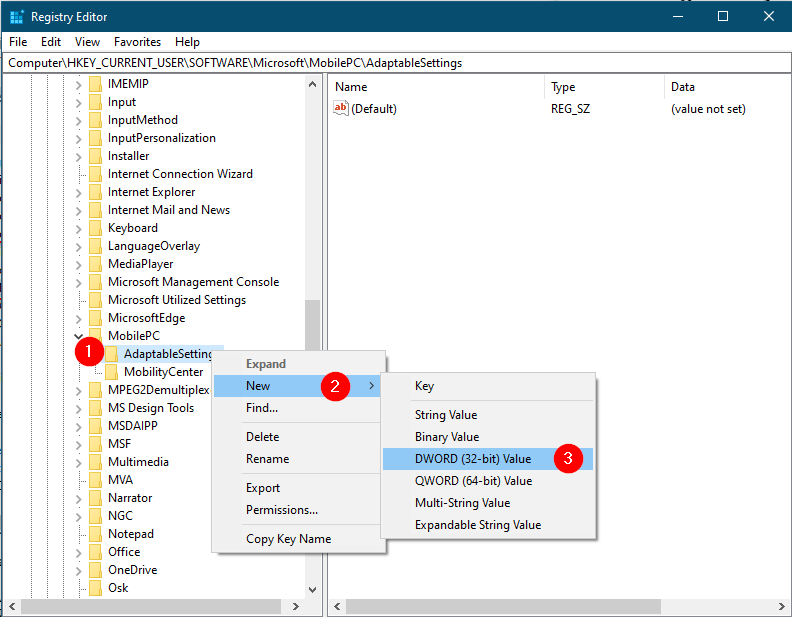
Step 6. Now, highlight the AdaptableSettings key on the left side pane by clicking on it, perform a right-click on it, and select New and then DWORD (32-bit) Value.
Step 7. Name the newly created DWORD (32-bit) Value as SkipBatteryCheck.
Step 8. On the right side pane of the AdaptableSettings key, double-click on SkipBatteryCheck. Change its Value Data from 0 to 1.
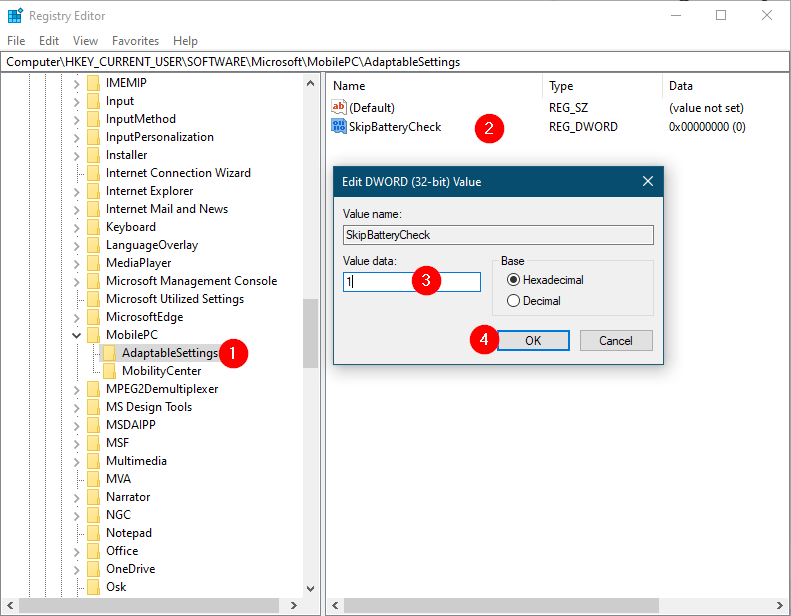
Step 9. Click OK to save the changes.
Step 10. Now, select the MobilityCenter on the left side pane and right-click on it. Choose New and then DWORD (32-bit) Value. Name the newly created DWORD (32-bit) Value as RunOnDesktop.
Step 11. Double-click on the RunOnDesktop on the right side pane and set its Value data to 1.
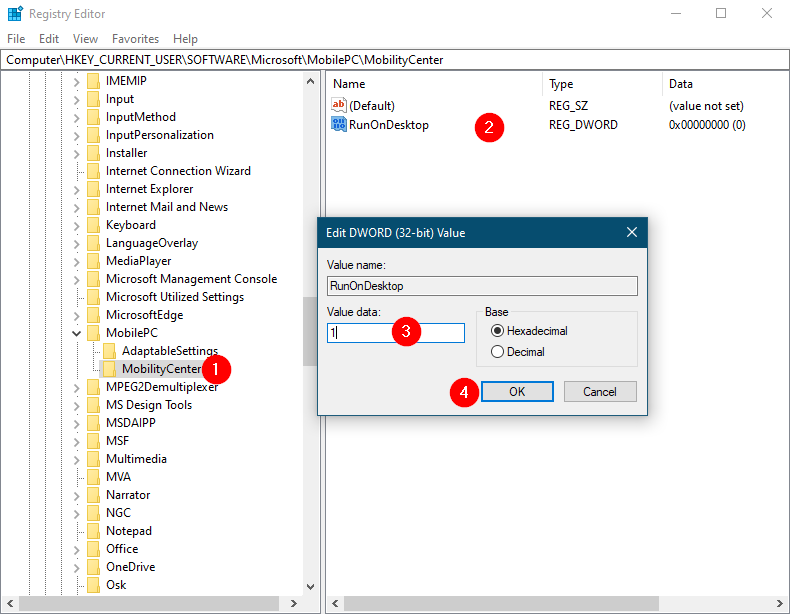
Step 12. Click OK to apply the changes.
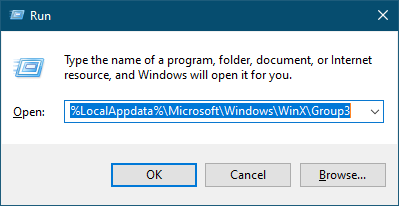
Once you complete the above steps, press the Windows logo + R keys to open the Run dialog box. Copy and paste the following path and press Enter from the keyboard:-
%LocalAppdata%\Microsoft\Windows\WinX\Group3
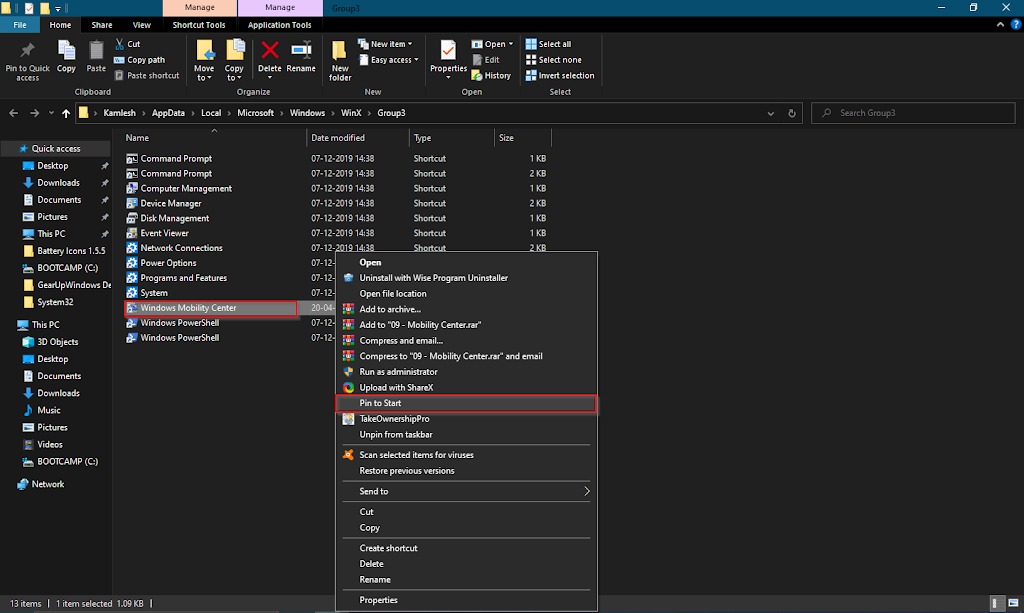
Here, you will see an executable file of Windows Mobile Center. Double-click on the Windows Mobile Center shortcut to open it. For easy access, you can drag it to the Windows 10 Taskbar or right-click on the program shortcut and select Pin to Start.
After performing the above steps, you should enable Windows Mobility Center on your Windows 10 desktop computer.
The second part of this article is about how to access Windows Mobility Center on Windows 10. There are at least five ways to access Windows Mobility Center on Windows 10 computers or laptops. These are the following:-
- Open Windows Mobility Center using the Search box
- Launch Windows Mobility Center via the Battery icon in the system tray
- Start Windows Mobility Center through Win + X menu
- Begin Windows Mobility Center from the Run Command box
- Open Windows Mobility Center via a shortcut
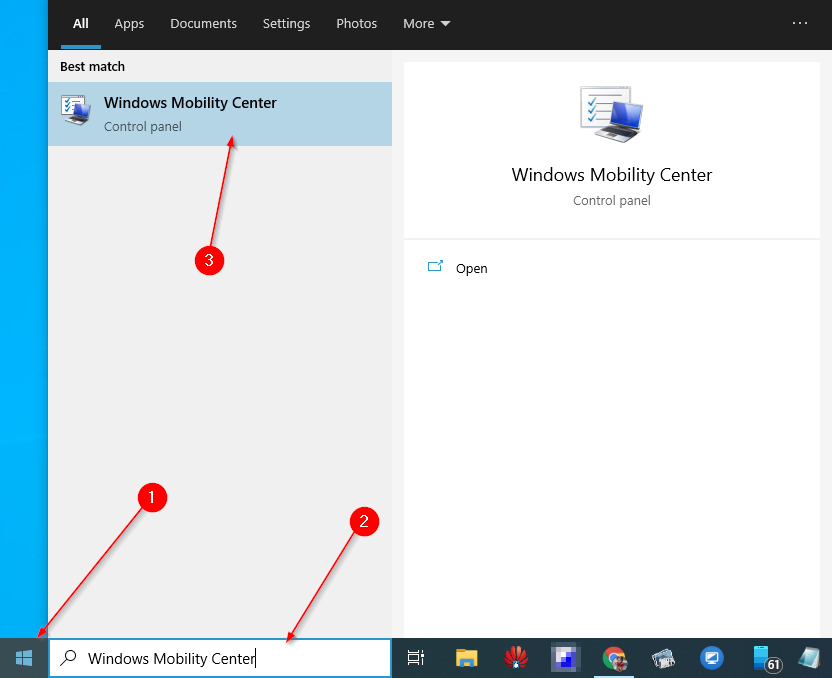
How to Start Windows Mobility Center on Windows 10 using the Search box?
The search box is the simplest way to open the Windows Mobility Center on Windows 10 PC.
Step 1. To open the Windows Mobility Center, click on the Start button/menu of Windows 10 and type Windows Mobility Center.
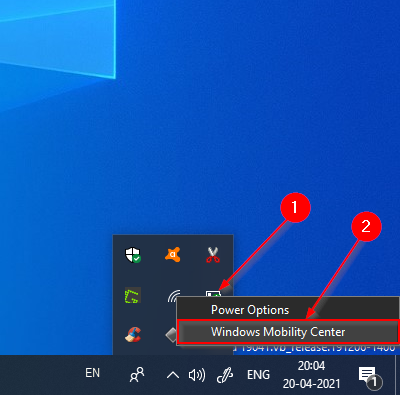
How to Launch Windows Mobility Center on Windows 10 using the Battery icon in the system tray?
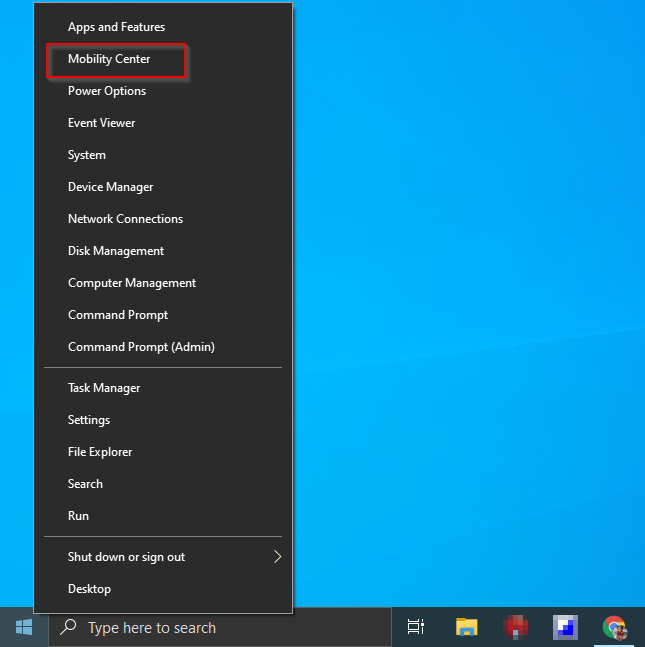
By pressing the Windows logo + X hotkey open the power user menu and then click on the Mobility Centre to open it.
Alternatively, please right-click on the Start button to access the WinX menu and then select the Mobility Centre to open it.
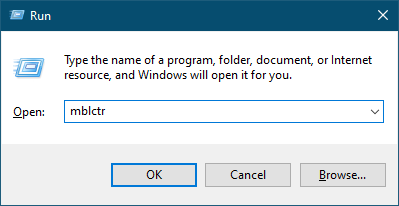
How to Access Windows Mobility Center on Windows 10 using the Run Command box?
How to Launch Windows Mobility Center on Windows 10 via a Shortcut?
%LocalAppdata%\Microsoft\Windows\WinX\Group3
Conclusion
In conclusion, the Windows Mobility Center is a useful feature built into Windows 10 laptops that allows easy access and adjustment of various settings such as display brightness, volume, power plans, battery percentage, Sync Settings, and external display connection. However, this feature is not enabled by default on desktop PCs, and users need to modify the Registry to activate it. This article has provided a step-by-step guide to enable the Windows Mobility Center on Windows 10 desktop and various ways to access it, such as using the search box, battery icon, Win + X menu, Run Command box, and a shortcut. By following these methods, users can access and use the Windows Mobility Center to adjust their device’s settings quickly and easily.