Microsoft PowerPoint is a powerful presentation software that allows users to create engaging slideshows with various elements, including tables. While PowerPoint tables are useful for presenting data and information, you may sometimes want to add checkboxes to your tables to make your presentations more interactive and visually appealing. In this gearupwindows article, we will guide you through the process of inserting checkboxes in a PowerPoint table.
Why Use Checkboxes in PowerPoint Tables?
Checkboxes are a versatile element that can serve various purposes in your PowerPoint presentations. Here are some reasons to consider adding checkboxes to your tables:-
- Interactive Quizzes: You can create interactive quizzes or surveys within your presentation by using checkboxes. This can be particularly useful in educational and training presentations.
- To-Do Lists: Checkboxes can be used to create to-do lists or task lists, making it easy for your audience to follow along and check off completed items.
- Feedback Forms: Inserting checkboxes in tables is an effective way to create feedback forms where the audience can rate or provide input on various topics.
- Decision-Making: Checkboxes can help your audience make decisions, such as choosing between multiple options or selecting preferred features.
Now, let’s get started on how to insert checkboxes into a PowerPoint table.
How to Add the Developer Tab to the PowerPoint Ribbon?
Before delving into the steps on how to insert a checkbox in a PowerPoint table, you need to add the Developer Tab to the PowerPoint ribbon because there’s no checkbox option available by default. Therefore, you’ll need to manually add the Developer tab to your ribbon.
Adding the Developer tab to the PowerPoint ribbon allows you to access advanced tools and features, including the option to insert checkboxes into tables. Here are the steps to add the Developer tab to the PowerPoint ribbon:-
Step 1. Launch Microsoft PowerPoint and open the presentation, or create a new one where you want to insert checkboxes.
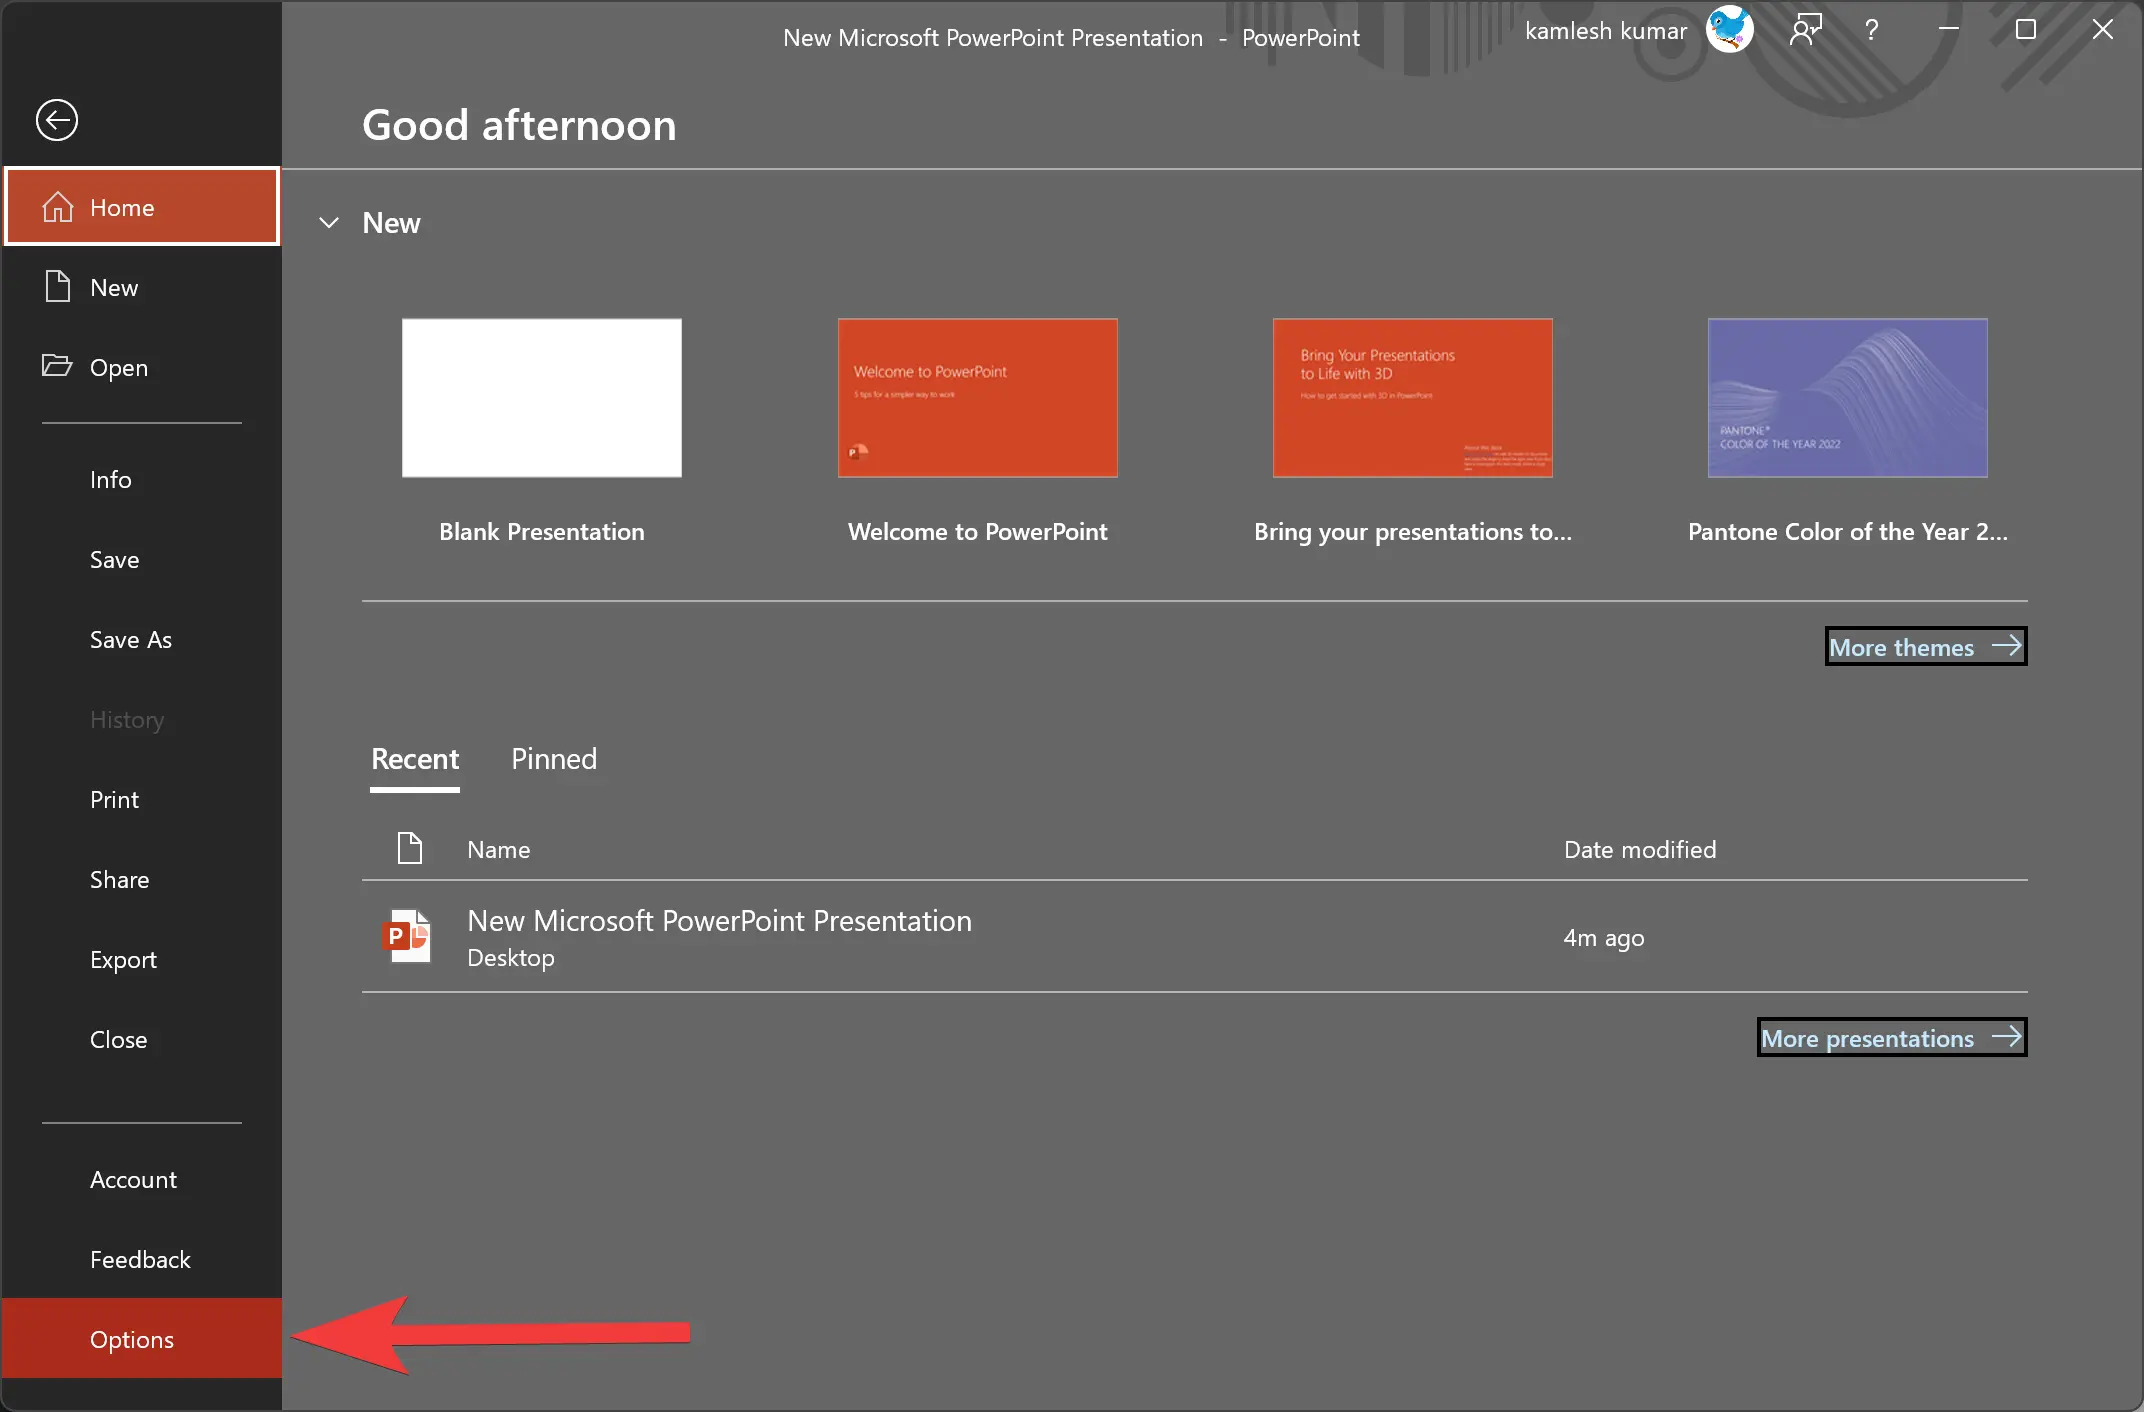
Step 2. Click on the “File” tab in the top-left corner of the PowerPoint window. This will take you to the Backstage view.
Step 3. In the Backstage view, select “Options” at the bottom of the navigation pane. This opens the PowerPoint Options window.
Step 4. In the PowerPoint Options window, you will see a list of categories on the left. Click on “Customize Ribbon.” This is where you can configure which tabs are visible in your PowerPoint ribbon.
Step 5. In the right panel of the PowerPoint Options window, you will see two columns. The left column lists the tabs currently displayed in the ribbon. In the right column, which represents tabs not yet in the ribbon, you can find the “Developer” tab.
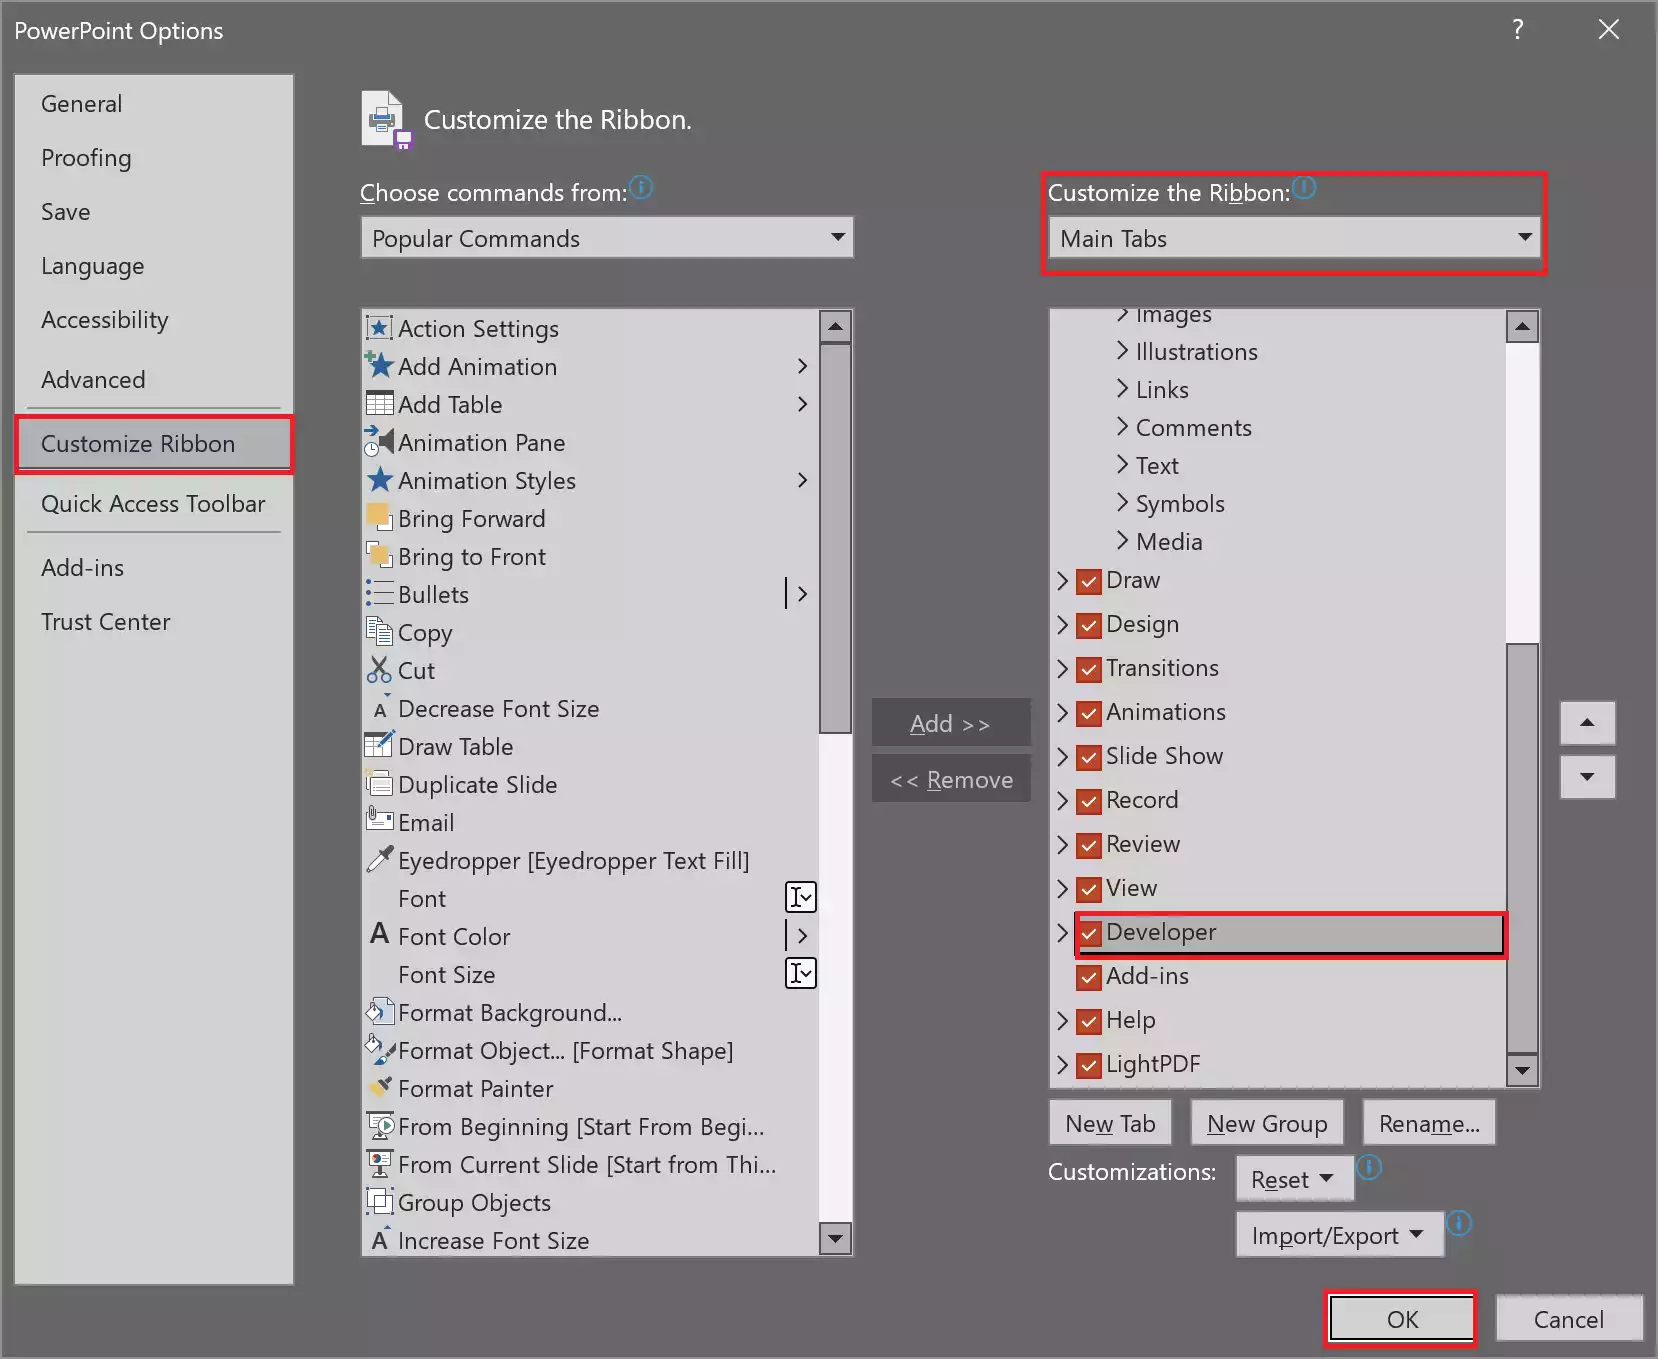
Step 6. Select the “Developer” checkbox to enable it.
Step 7. Once you’ve checked the “Developer” tab, click the “OK” button at the bottom of the PowerPoint Options window to confirm your selection and close the window.
You should now see the “Developer” tab in your PowerPoint ribbon.
By following these steps, you can easily add the Developer tab to your PowerPoint ribbon, giving you access to advanced customization and interactive features, such as checkboxes, within your presentations.
How to Insert a Checkbox in a PowerPoint Table?
To insert a Checkbox in a PowerPoint table, follow these steps:-
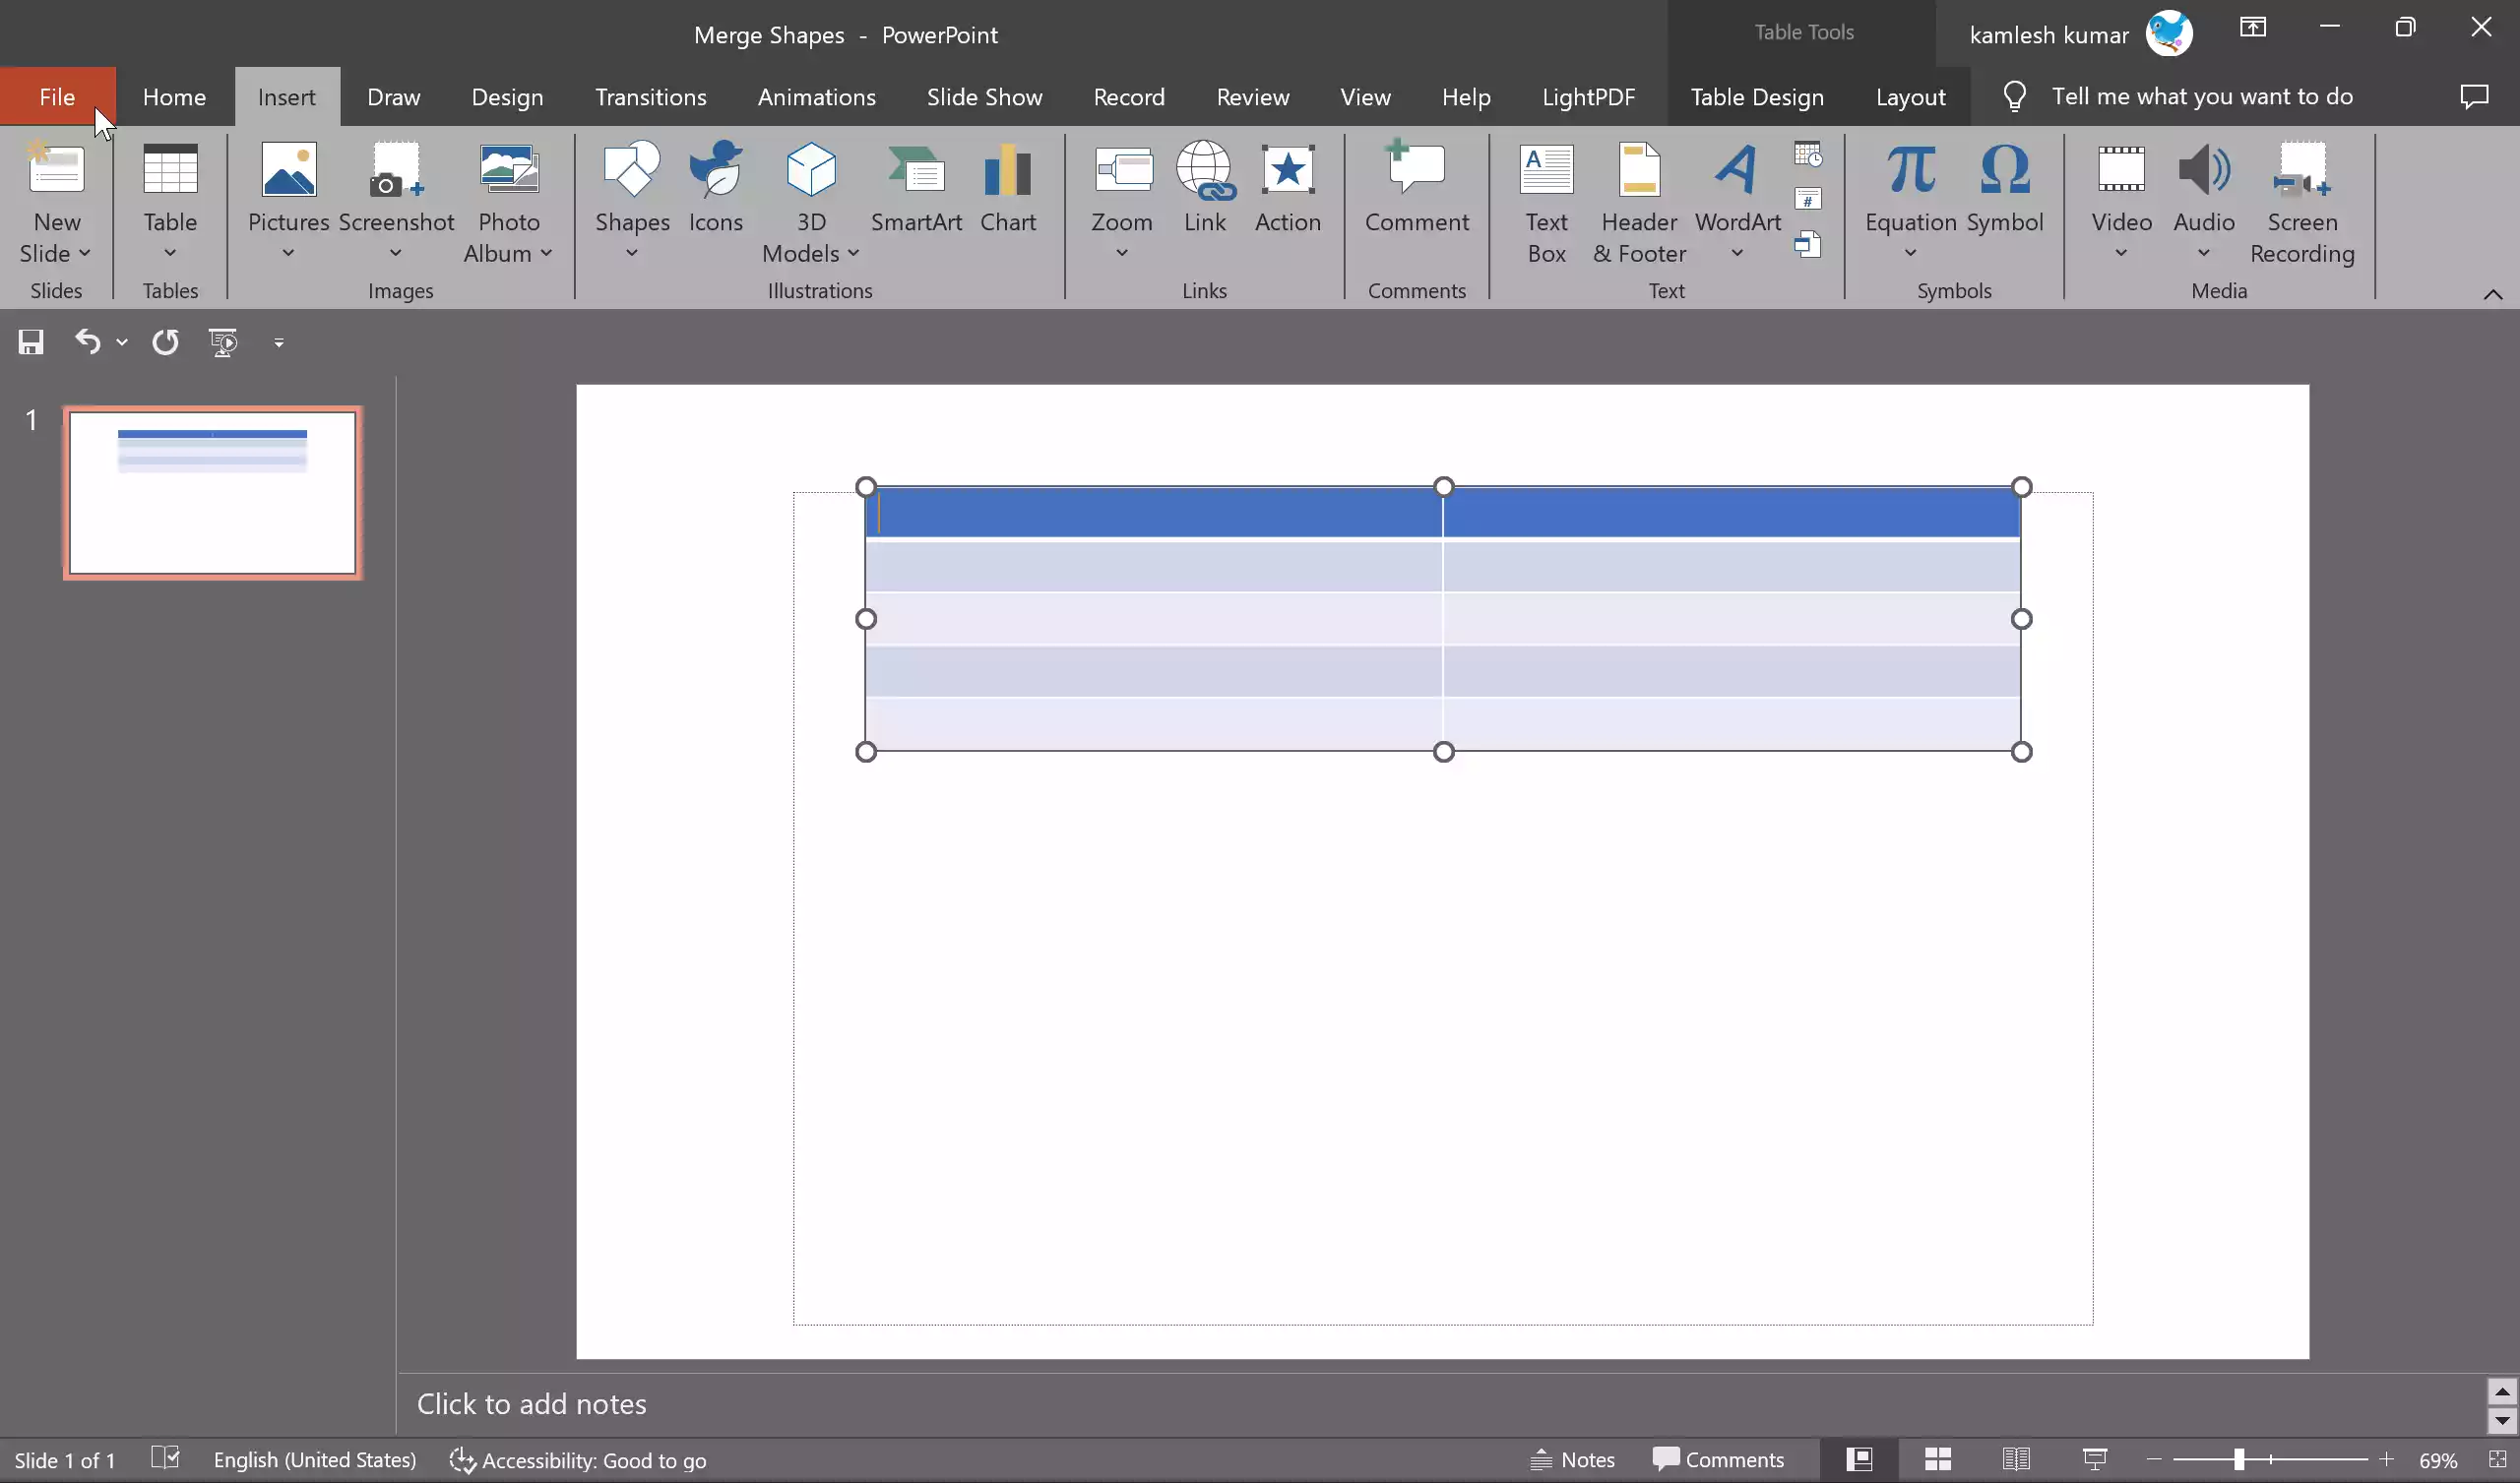
Step 1. Launch Microsoft PowerPoint and either open an existing presentation or start a new one. Create or locate the slide where you want to insert a table with checkboxes.
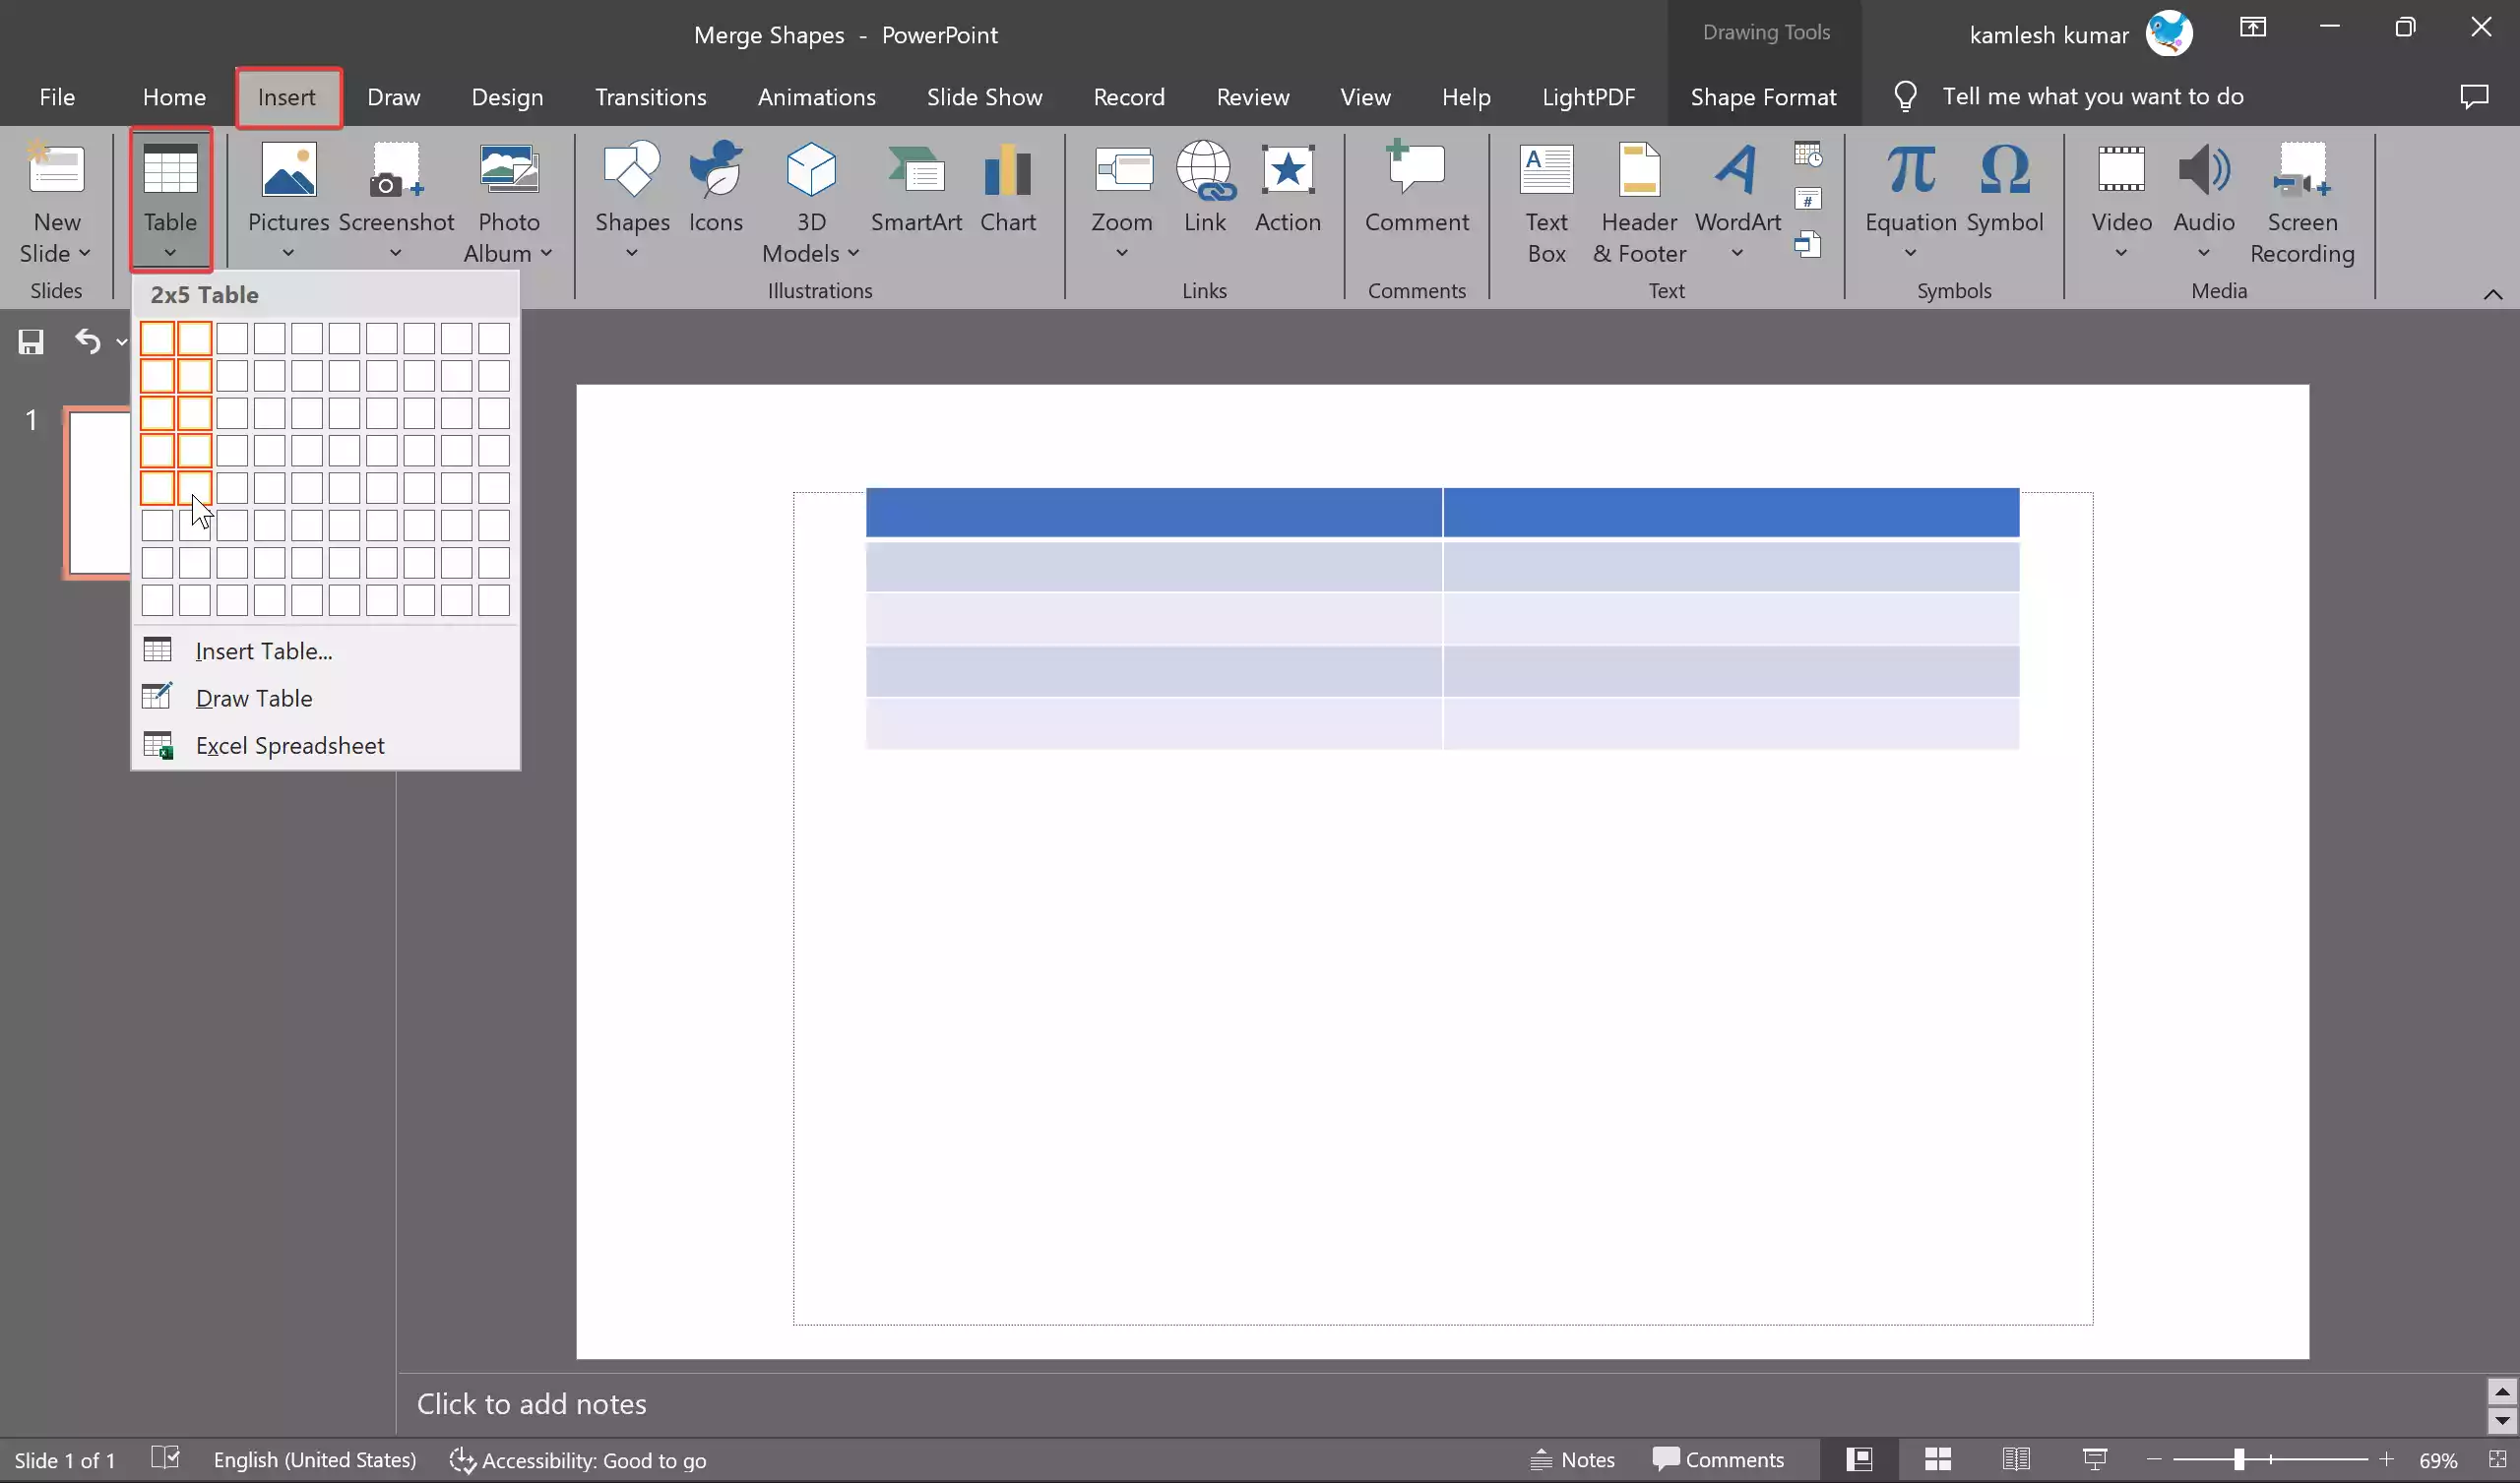
Step 2. To add a table to your slide, go to the Insert tab in the PowerPoint ribbon. Click on the “Table” button and select the number of rows and columns you want in your table. A blank table will appear on your slide.
Step 3. Before inserting checkboxes, you may want to customize the table’s appearance, such as adjusting the row height, column width, and cell borders to suit your needs.
Step 4. To insert checkboxes in your PowerPoint table, click inside the cell where you want to add a checkbox and then navigate to the “Developer” tab in the PowerPoint ribbon.
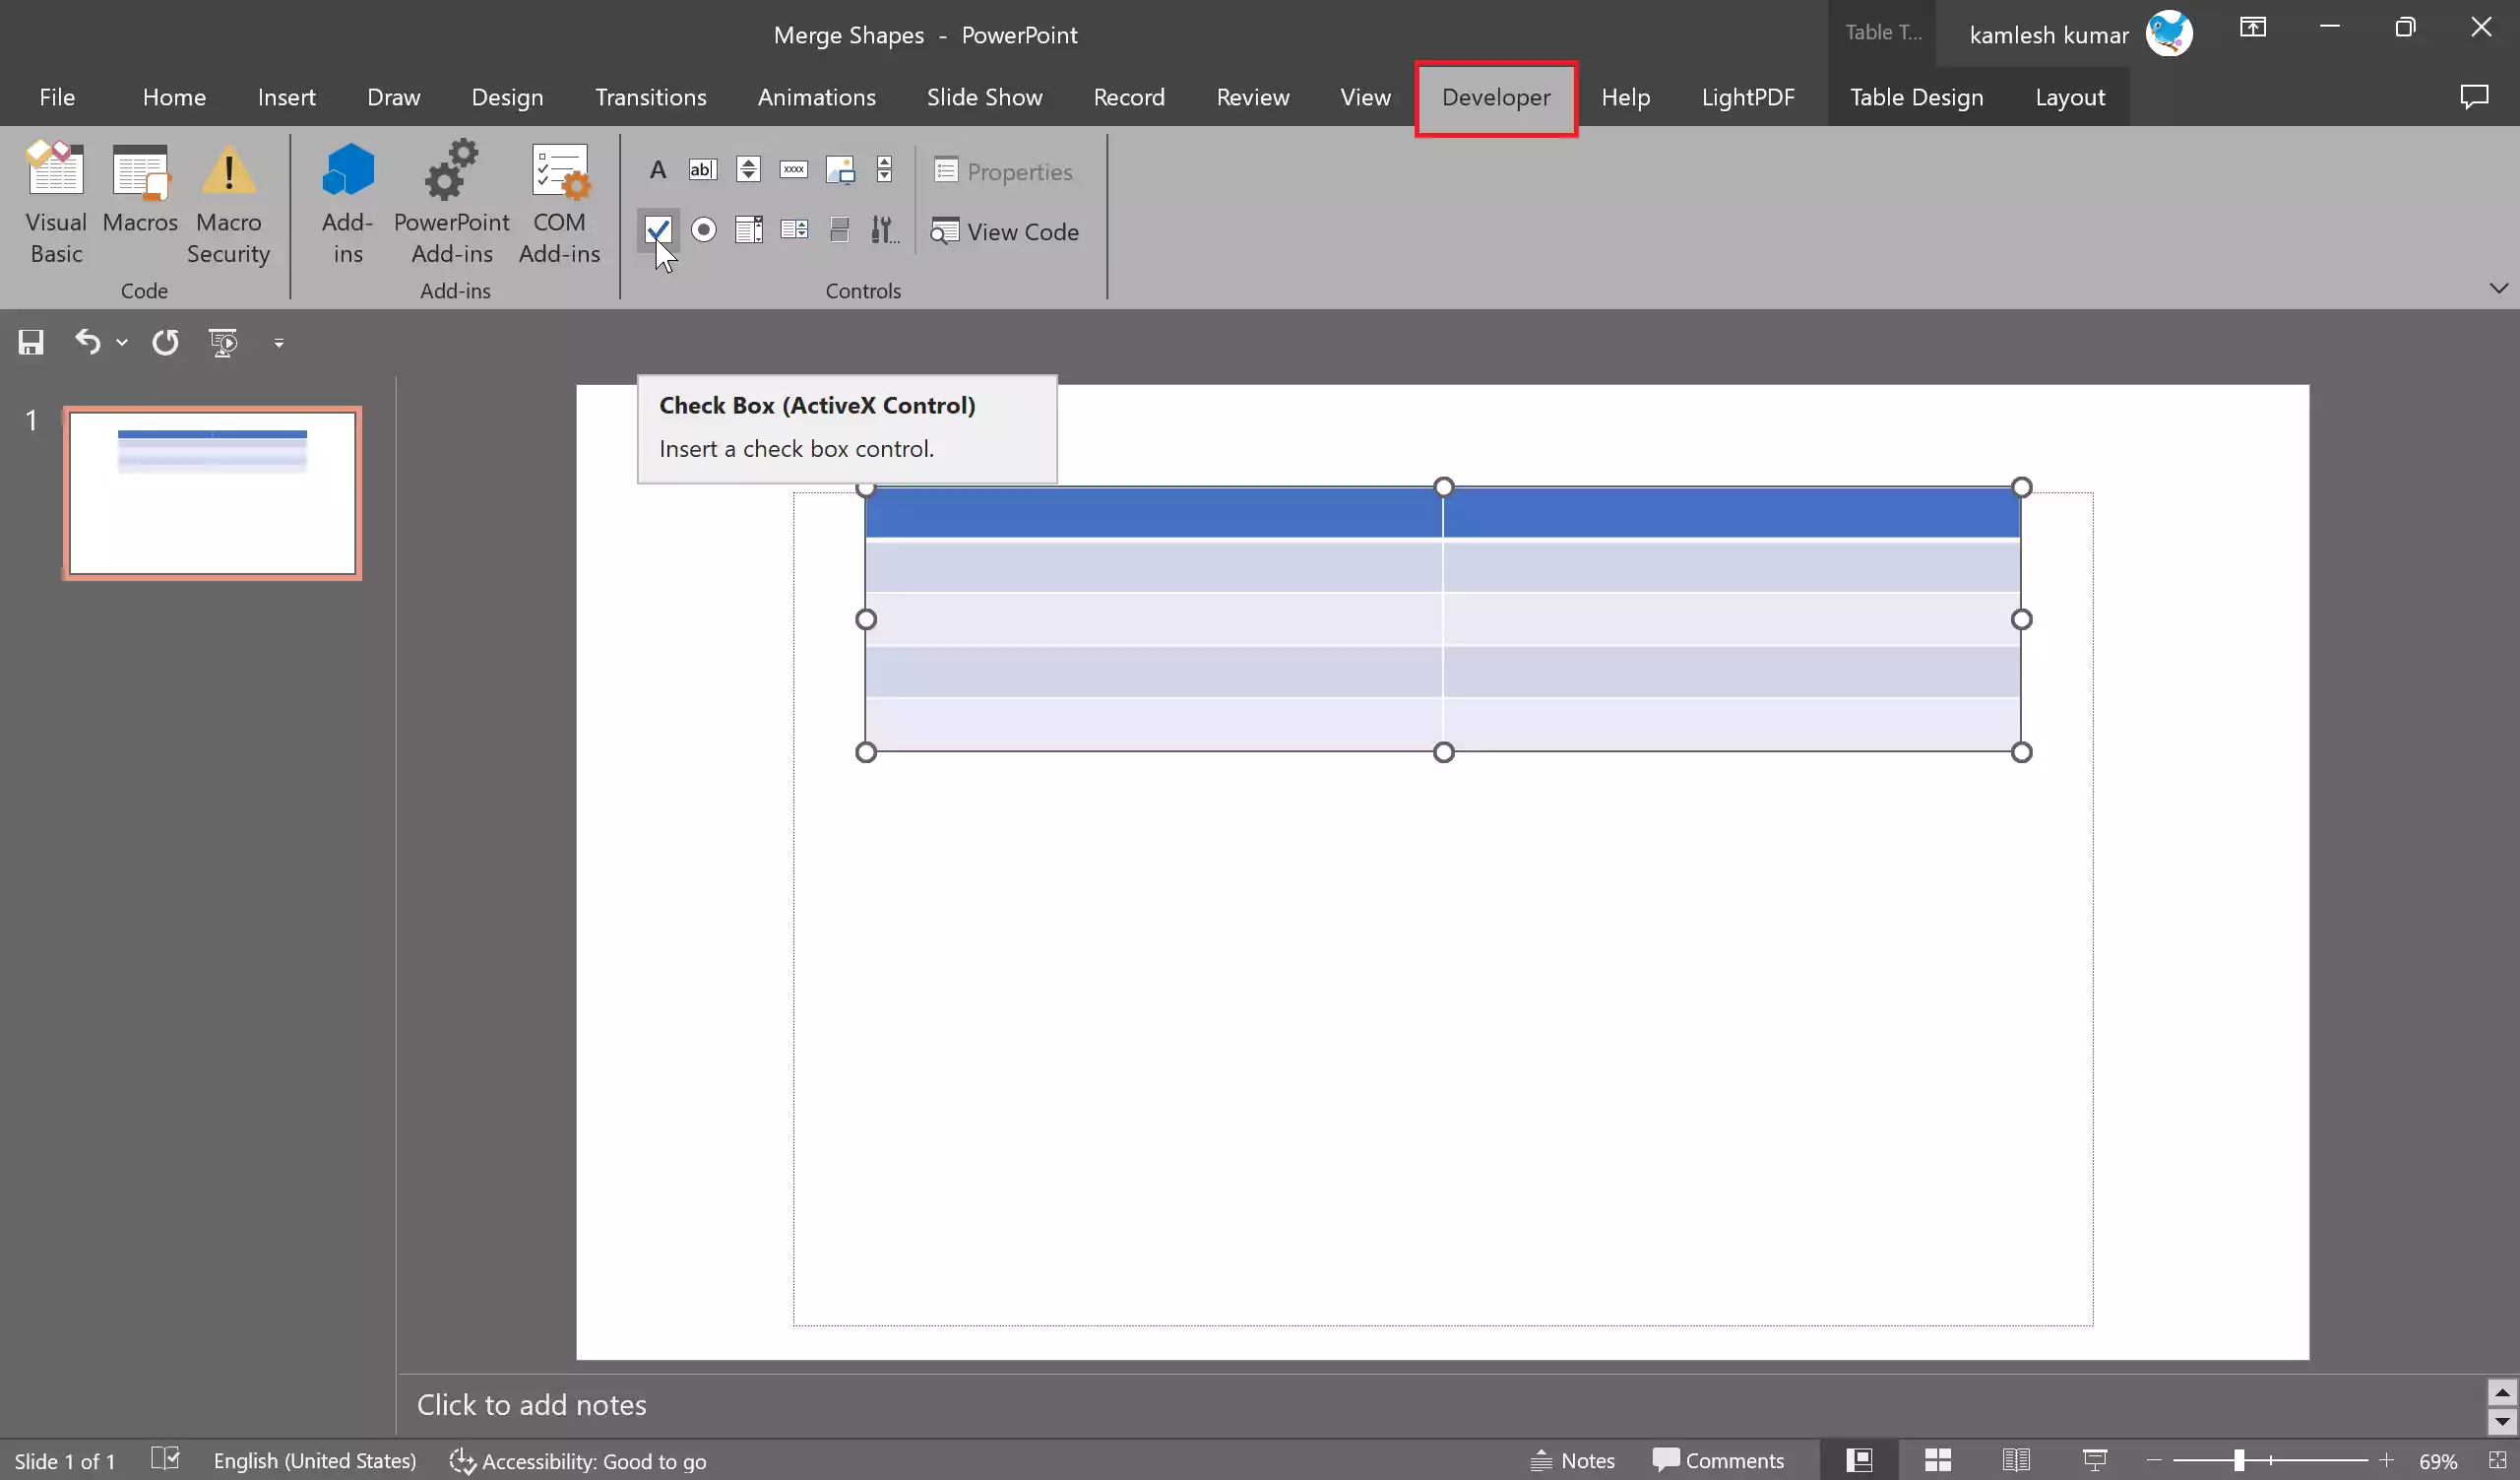
Step 5. Click on the Check Box icon in the Controls group.
Step 6. Drag the checkbox in the cell.

After inserting the checkbox, you can resize it and position it within the table cell as needed. To resize the checkbox, click and drag one of its corners. To move it, click and drag it to the desired location within the cell.
Step 7. If you need to insert multiple checkboxes in the same table column or row, you can duplicate the existing checkbox to save time. To duplicate a checkbox, select it, press Ctrl+C to copy, and Ctrl+V to paste it into another cell.
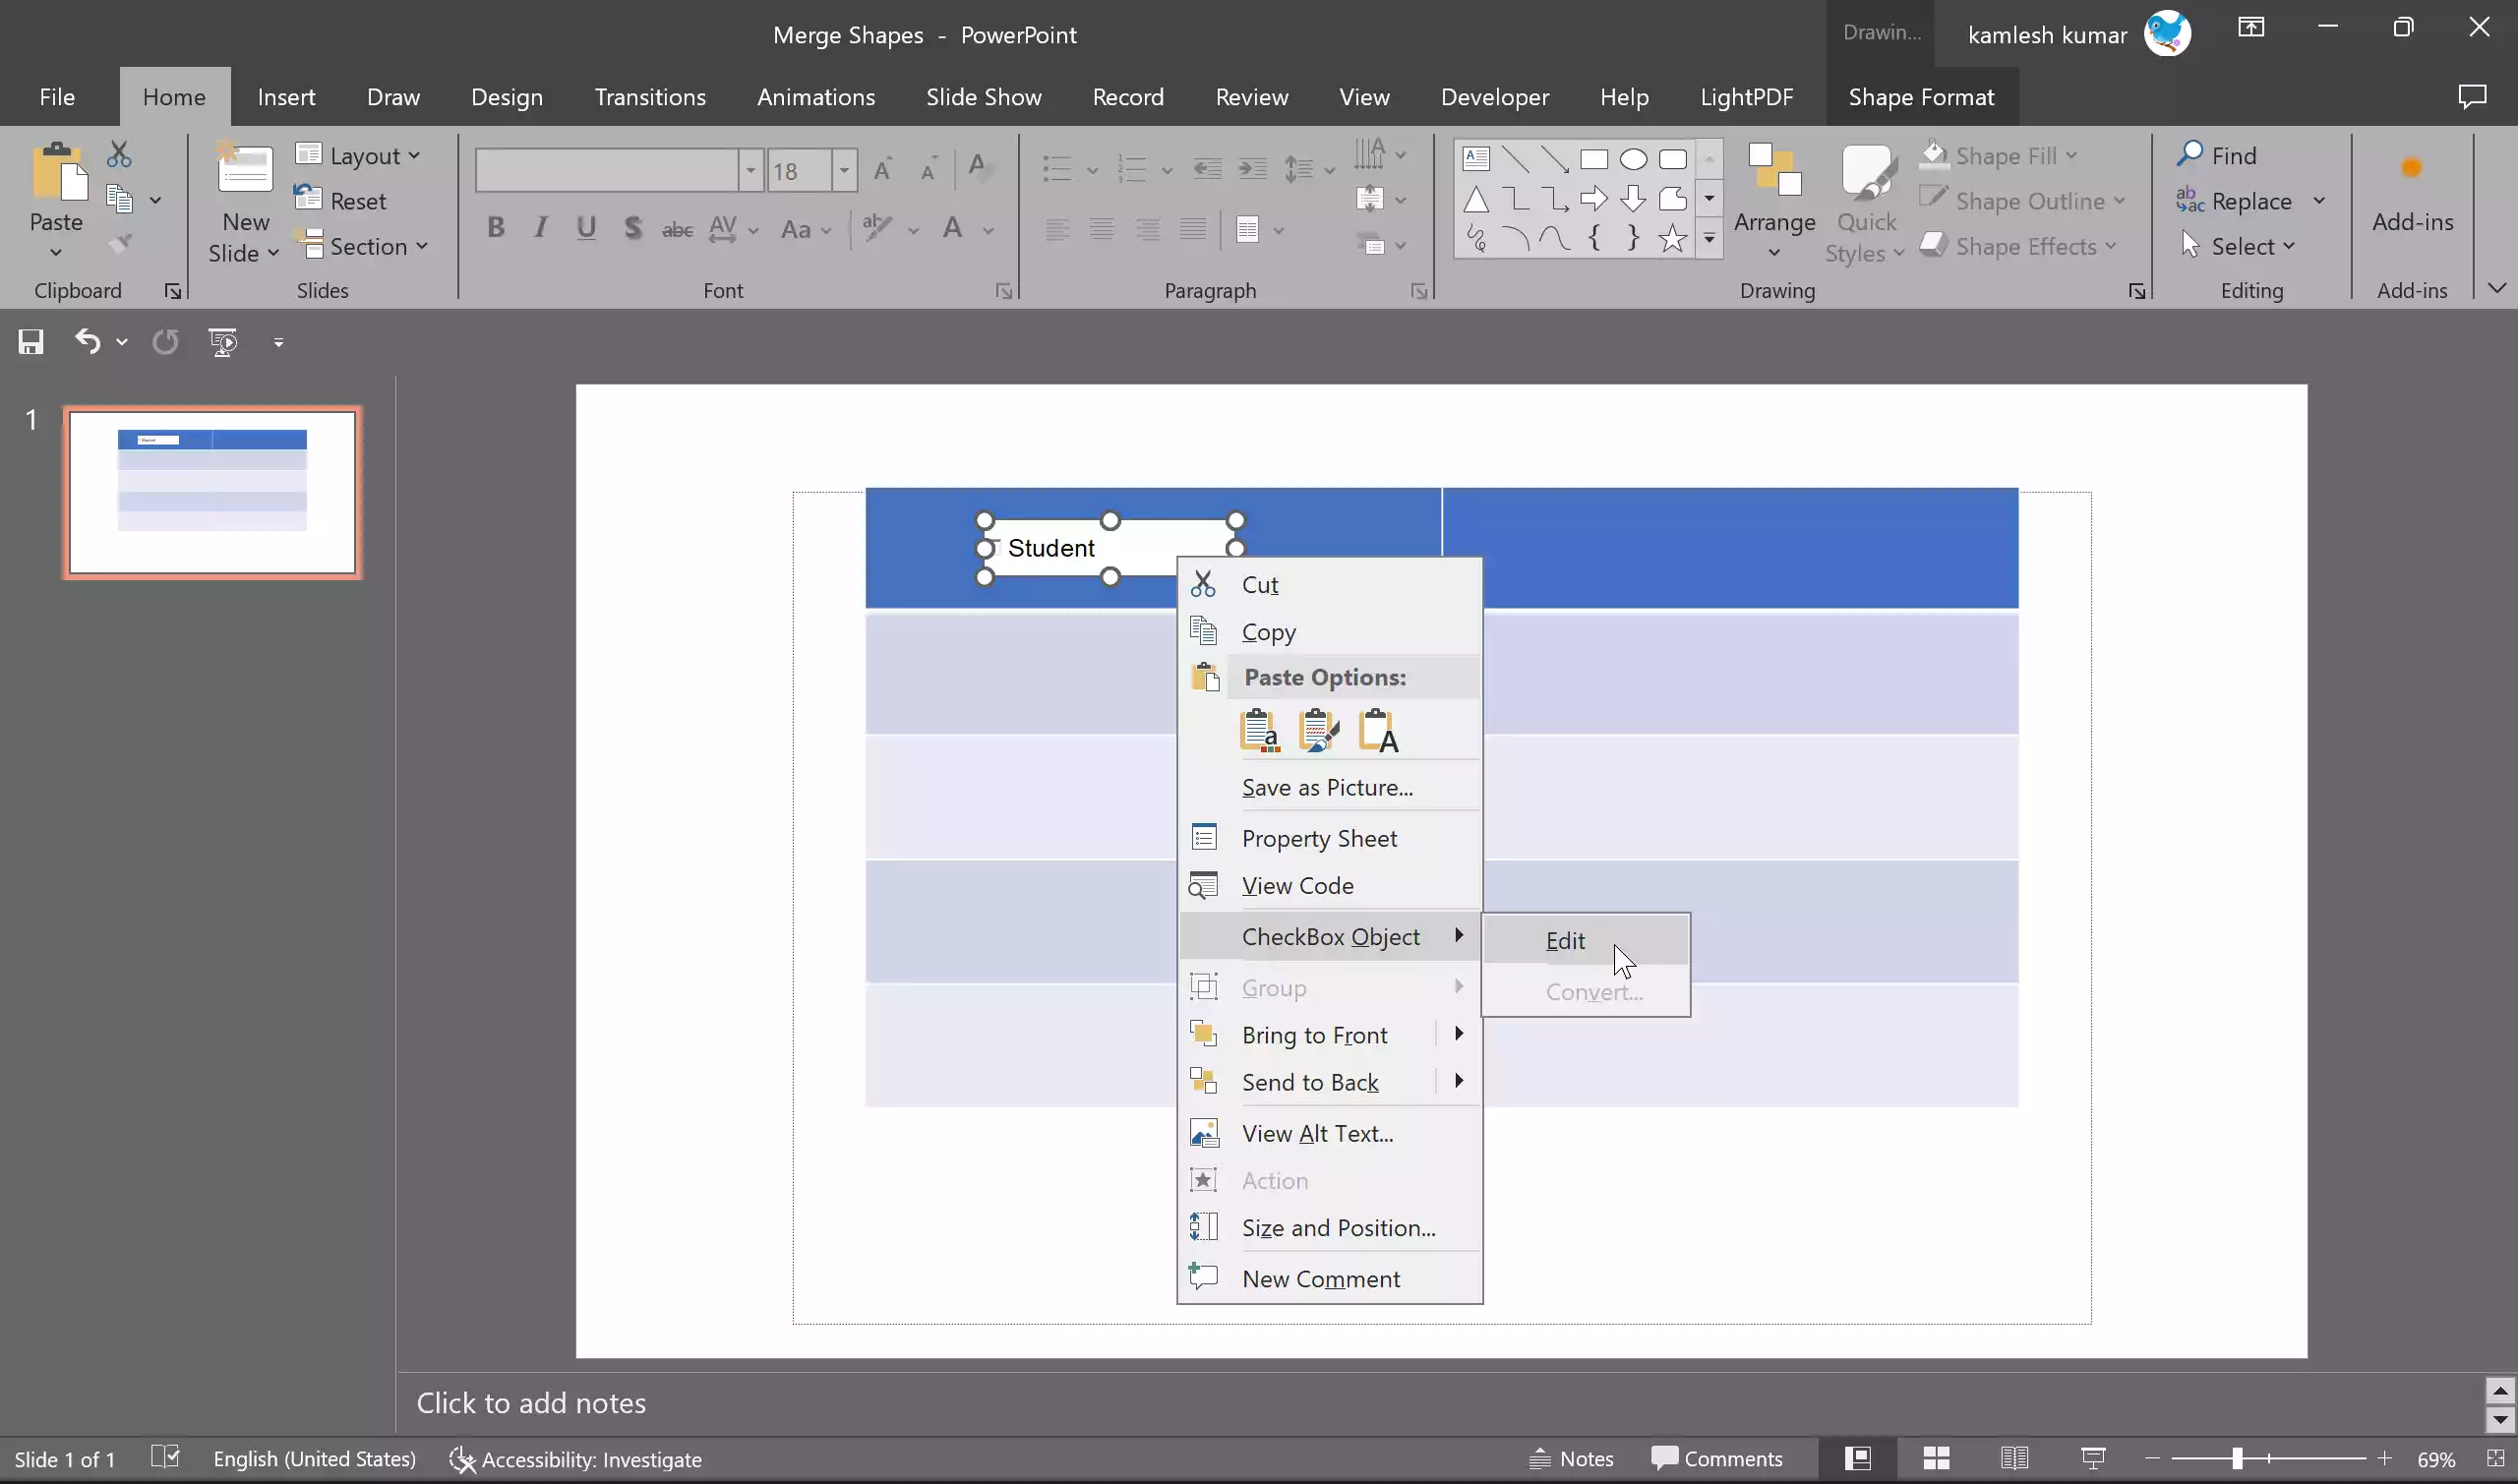
Step 8. To make your checkboxes meaningful, you should label them to indicate what each checkbox represents. You can do this by adding text within the cell next to the checkbox. To do that, right-click the checkbox and select CheckBox Object > Edit.
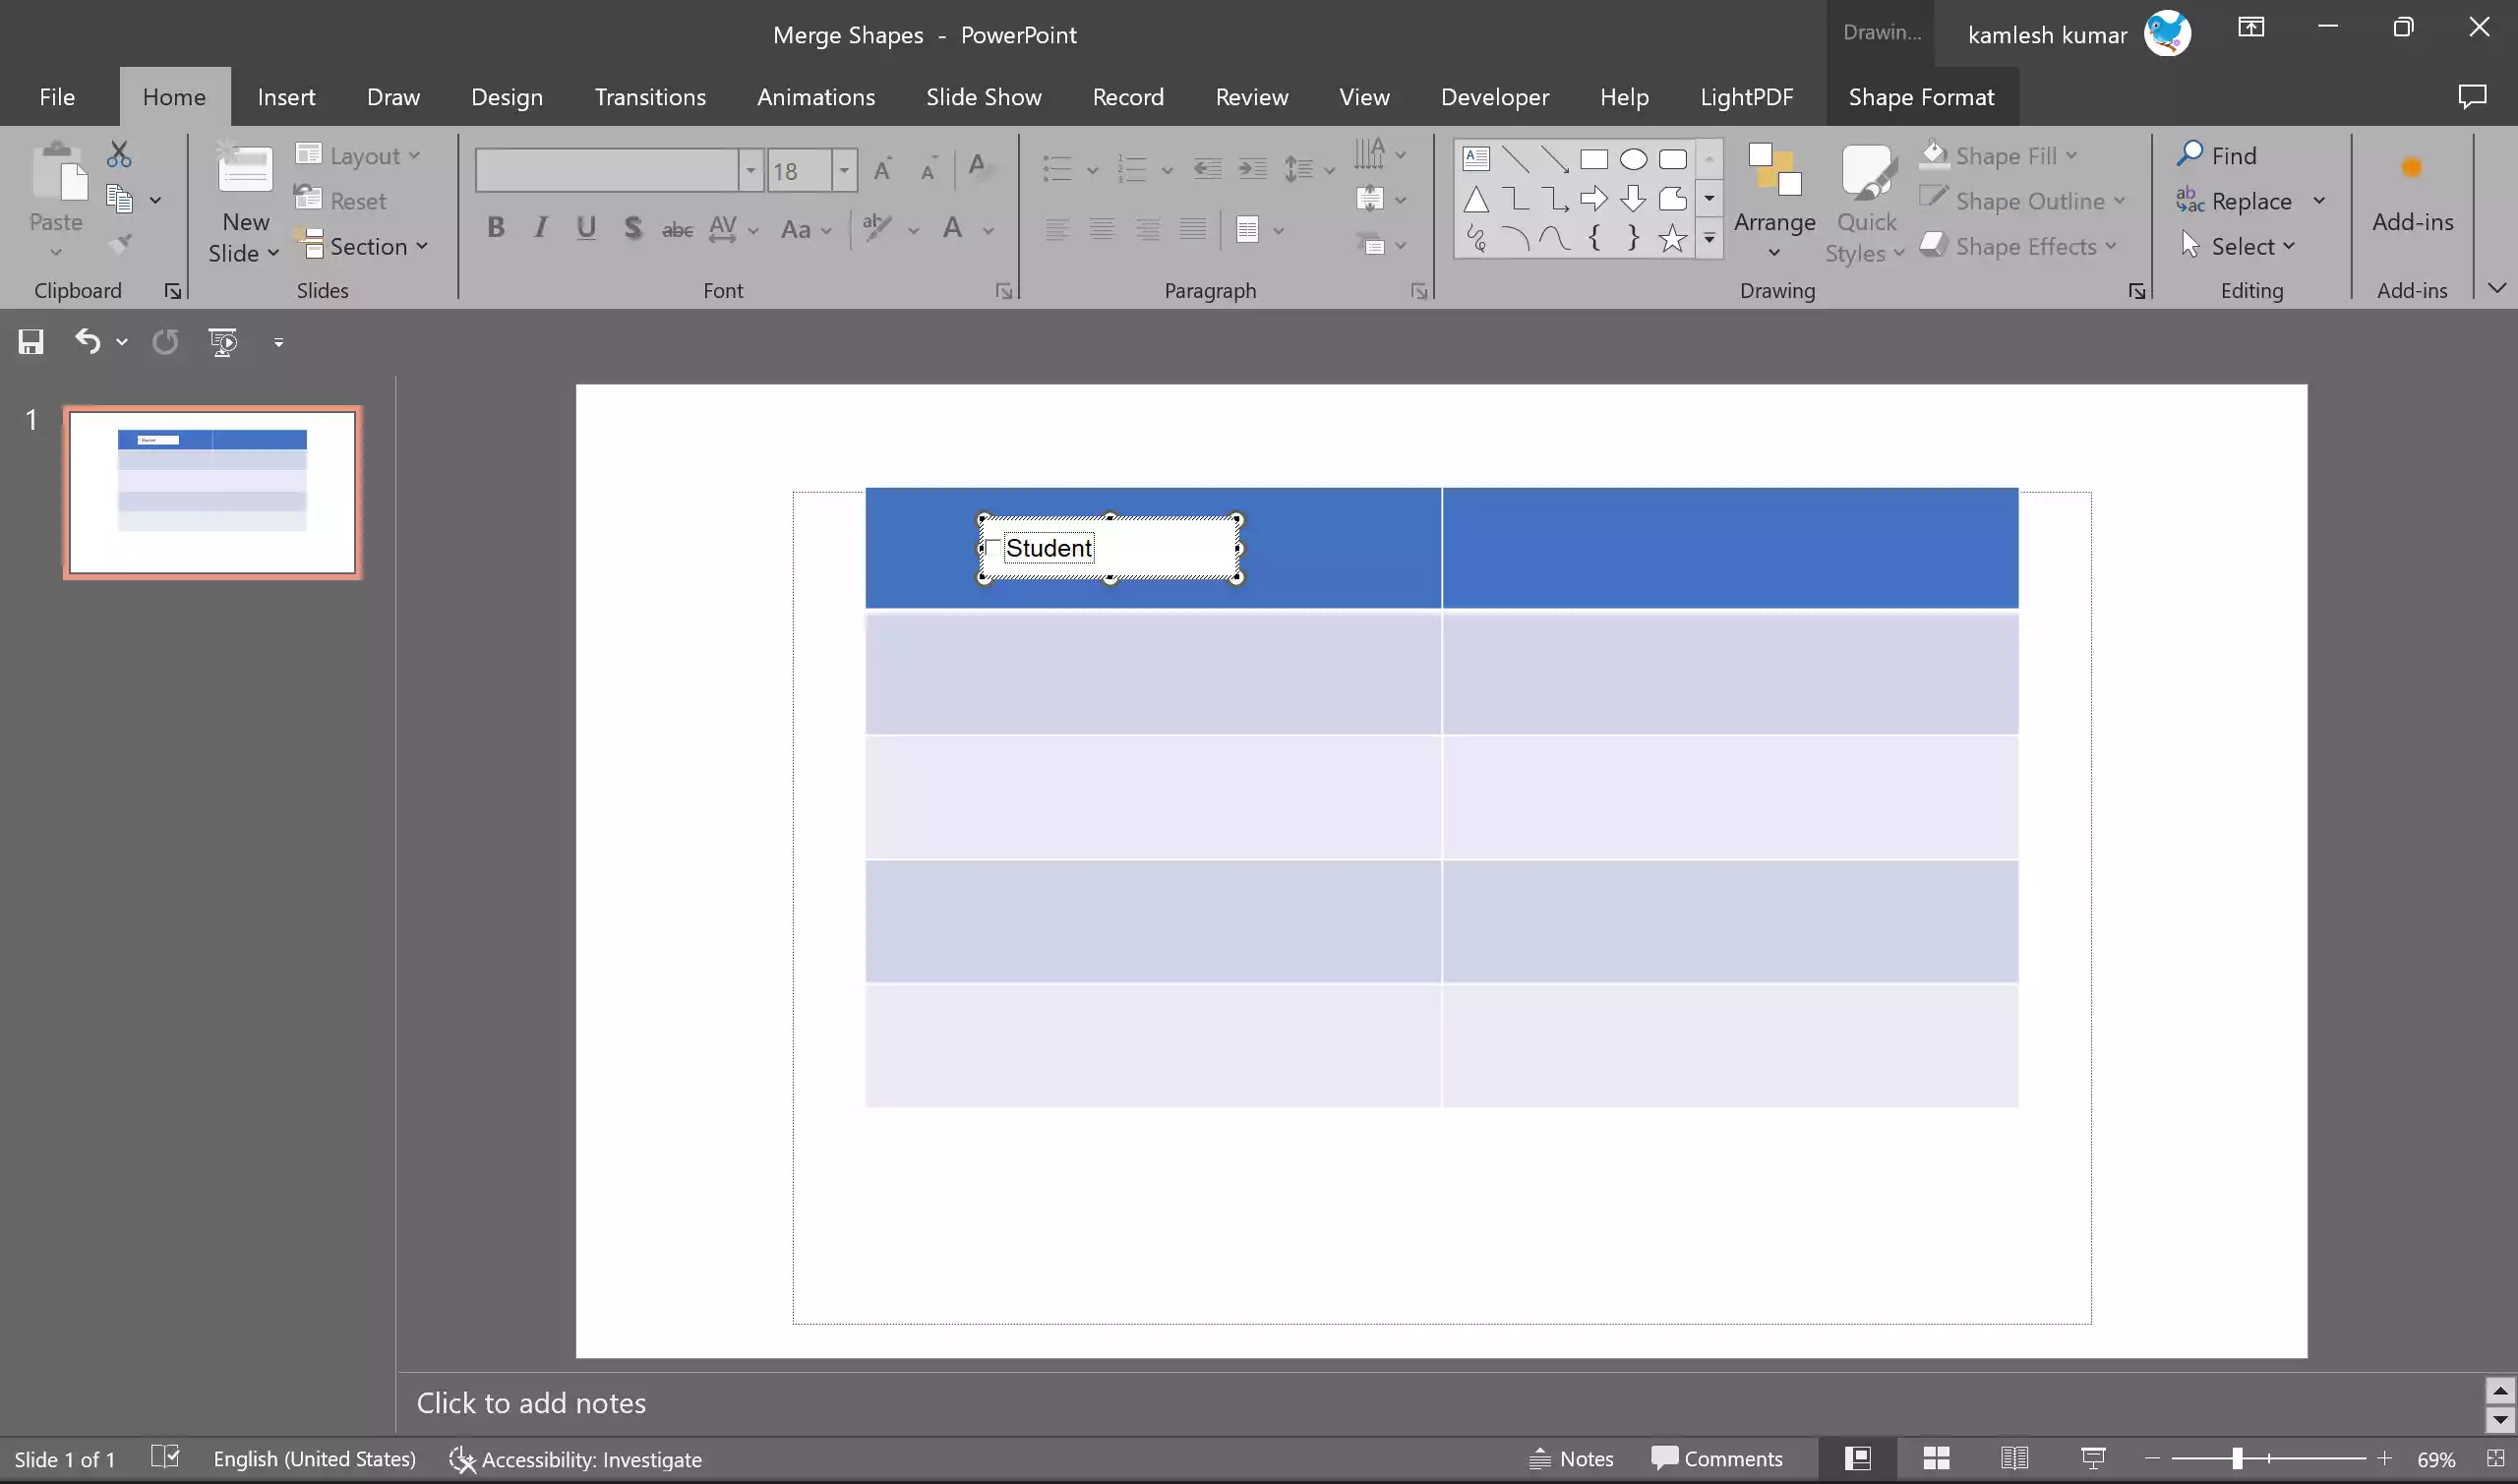
Step 9. Make the necessary changes and click outside the checkbox to save your changes.
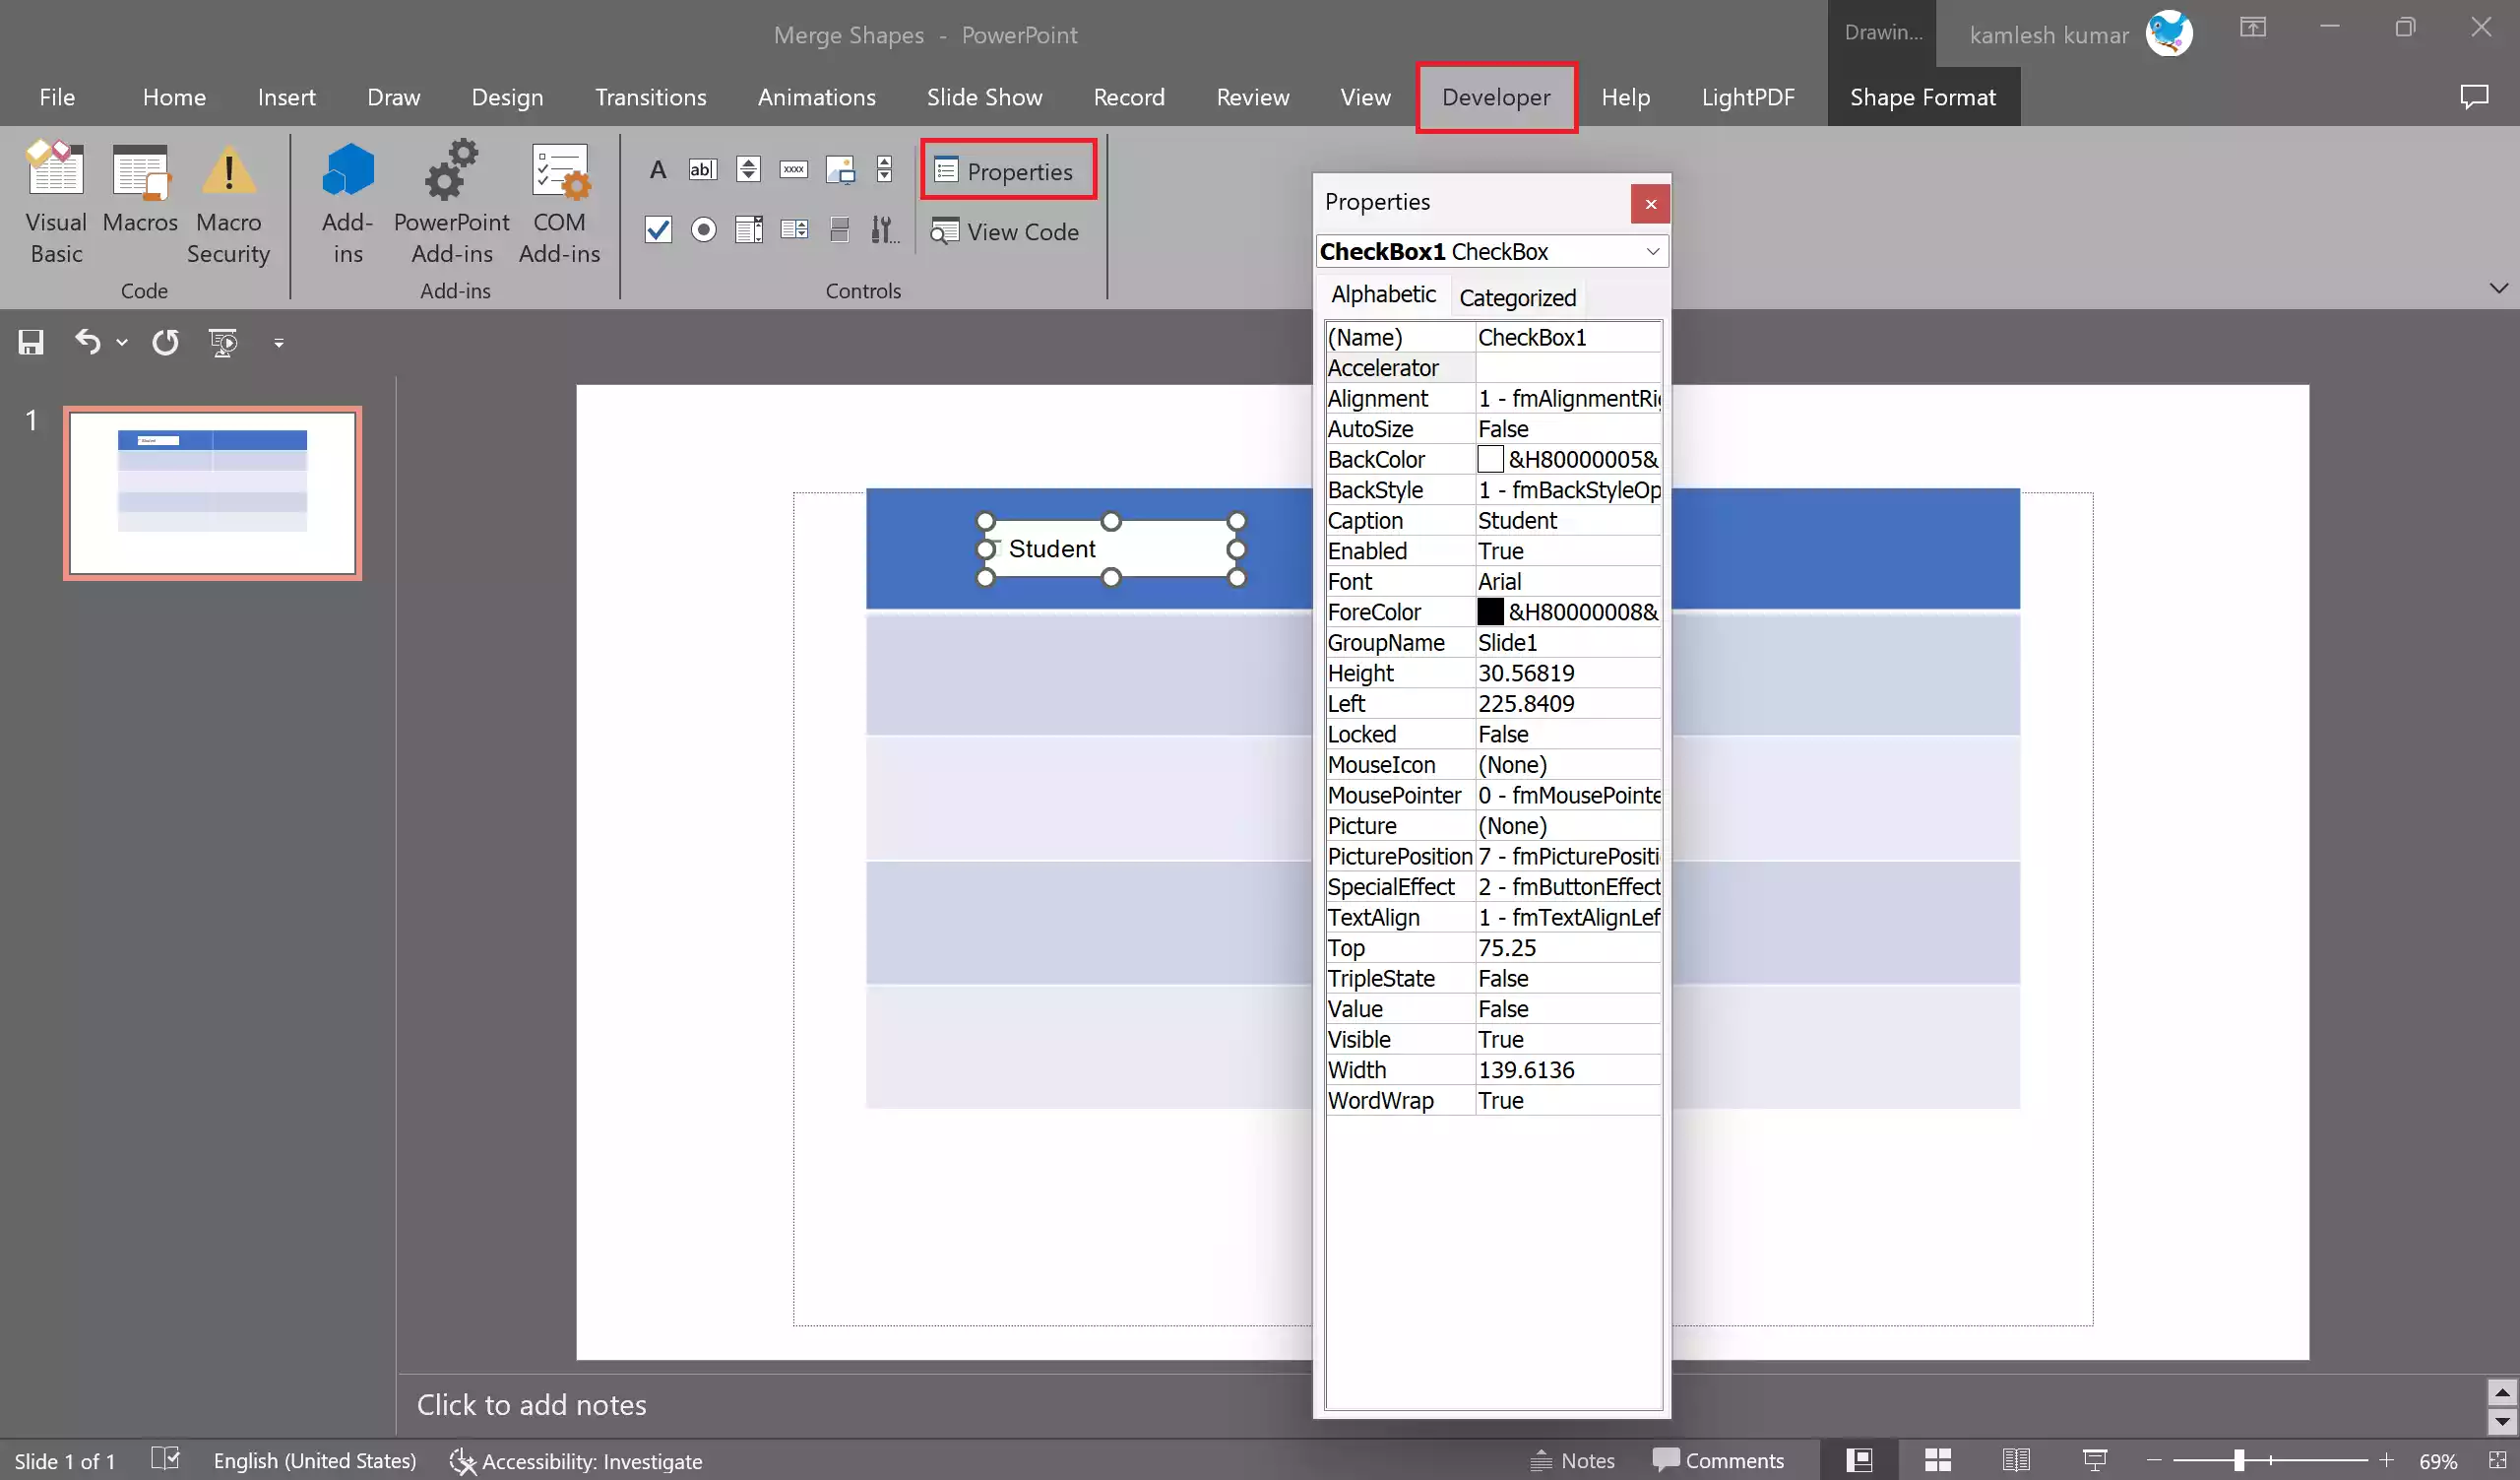
Step 10. PowerPoint allows you to further customize your checkboxes by changing their properties. Select the checkbox and move to the “Developer” tab. Click the Properties button under the Controls group to modify properties such as fill color, line color, and size.
Step 11. Repeat the process for each cell where you want to insert checkboxes in your PowerPoint table.
Step 12. Before your presentation, make sure to test the interactivity of your checkboxes. Run your presentation in Slide Show mode and verify that the checkboxes work as intended, allowing the audience to interact with your content.
Conclusion
In conclusion, adding checkboxes to a PowerPoint table can enhance your presentations by making them more engaging, interactive, and informative. Whether you want to create quizzes, to-do lists, feedback forms, or decision-making tools, checkboxes can help you achieve your presentation goals. By following the steps outlined in this article, you can easily insert checkboxes into your PowerPoint tables and take your presentations to the next level.
