Telnet is considered outdated but still functional and is included in the latest operating system, Windows 11, though it’s disabled by default. Telnet is a network protocol that enables access to a command-line interface on a remote host. However, the more secure SSH protocol has replaced it on most modern systems. Despite Telnet’s lack of security, there may be occasions where it’s necessary to use it, such as testing remote SQL connections and firewall connectivity.
This gearupwindows article will guide you on enabling and disabling Telnet protocol on a Windows 11 computer.
How to Enable Telnet on Windows 11?
Follow these steps to turn on Telnet on Windows 11:-
Step 1. First, open the Control Panel.
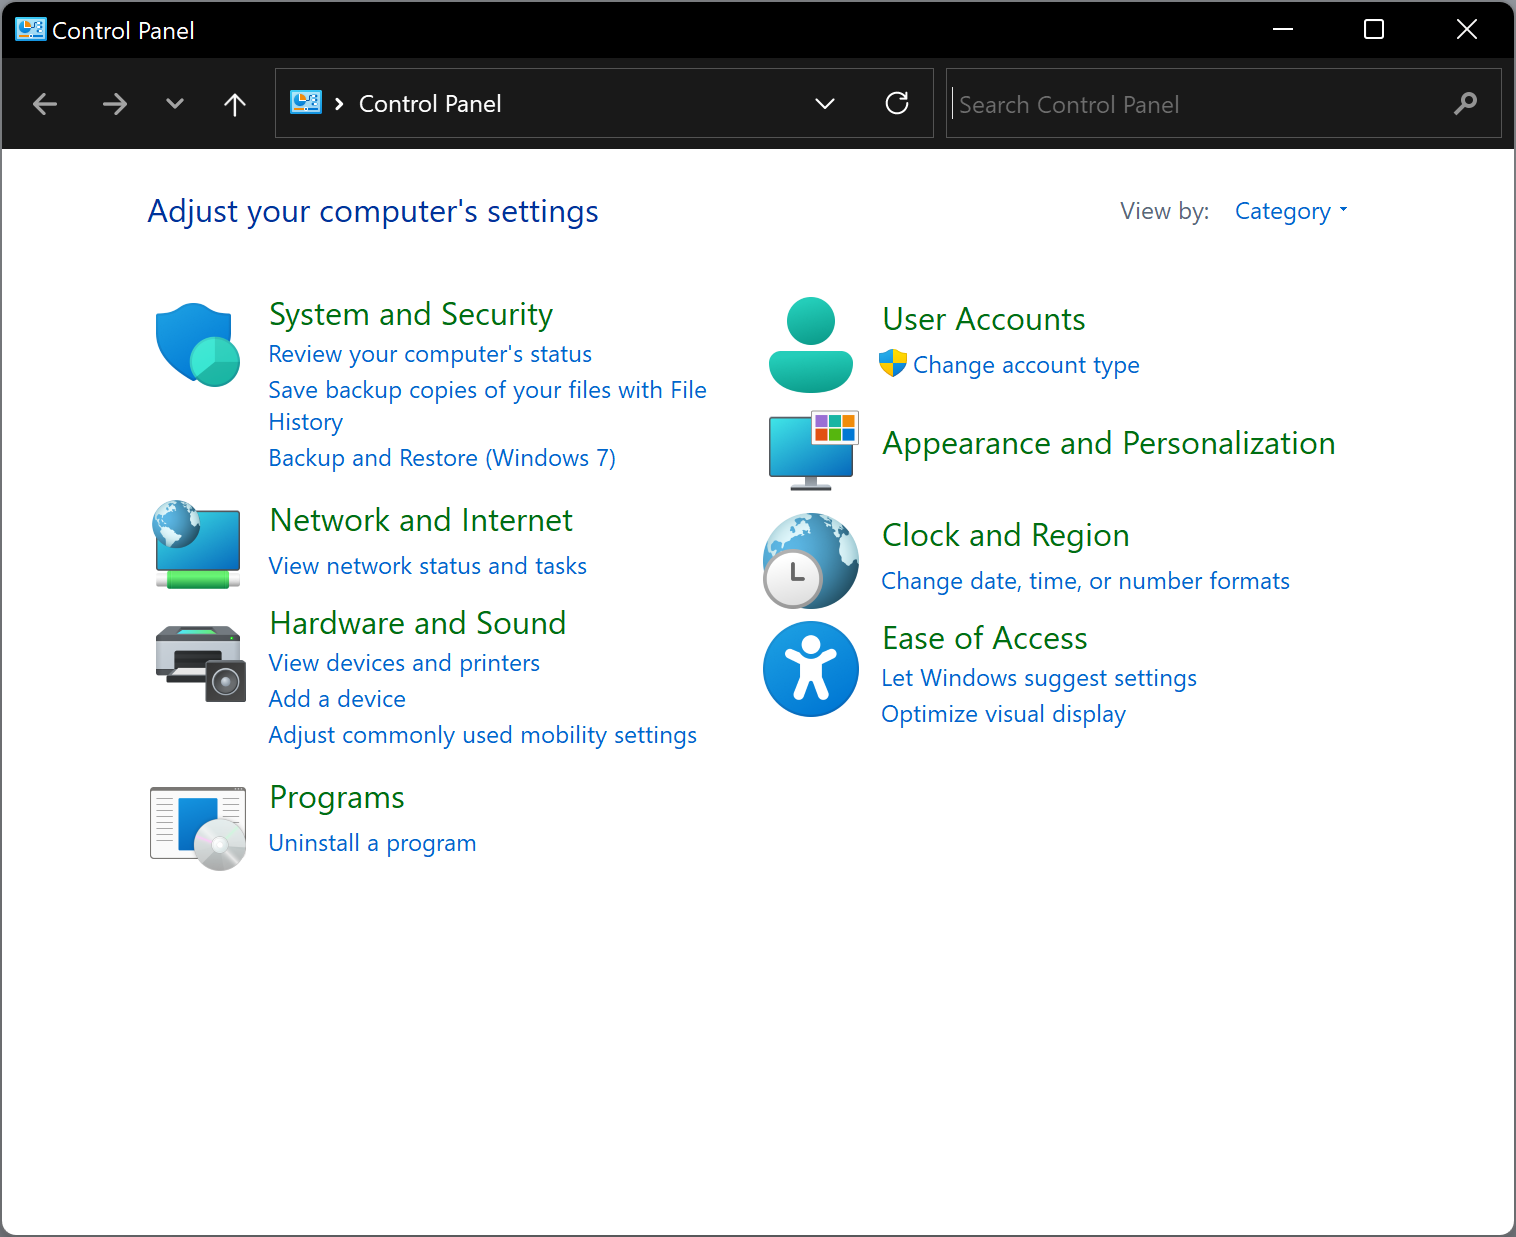
Step 2. Click on Programs when Control Panel opens.
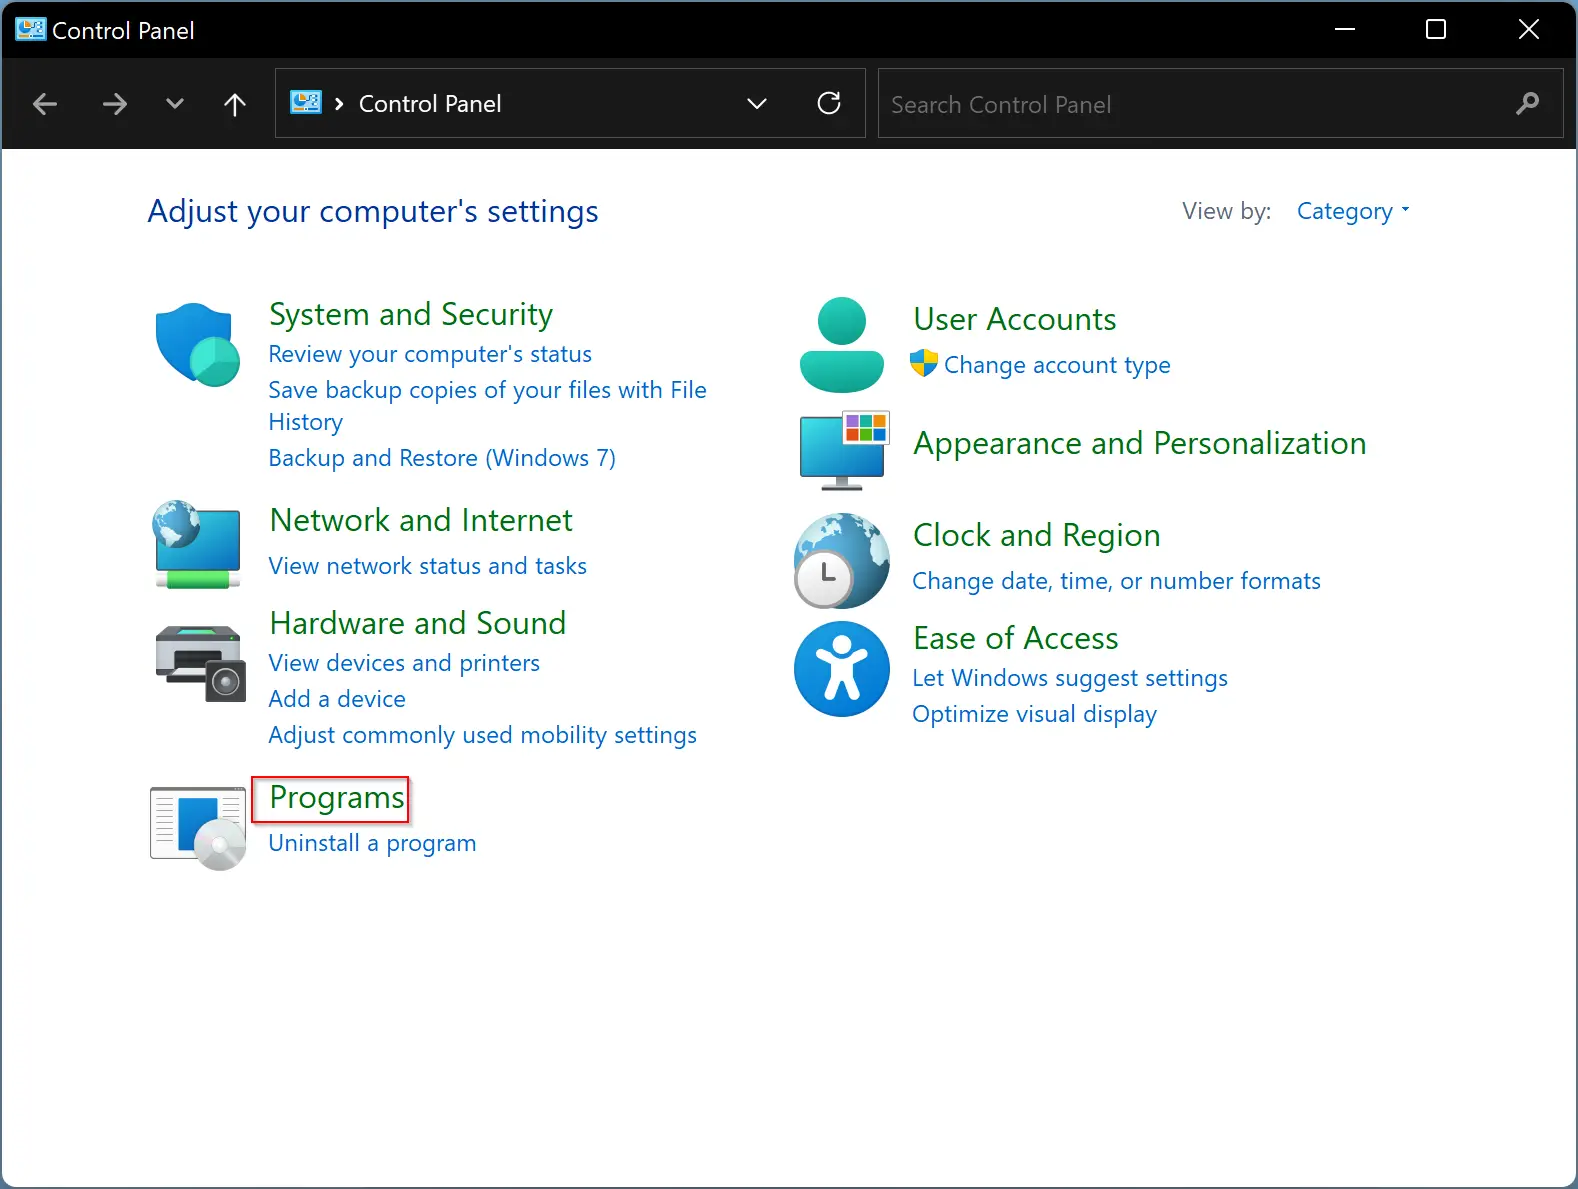
Step 3. In the following window, click the link “Turn Windows features on or off.”
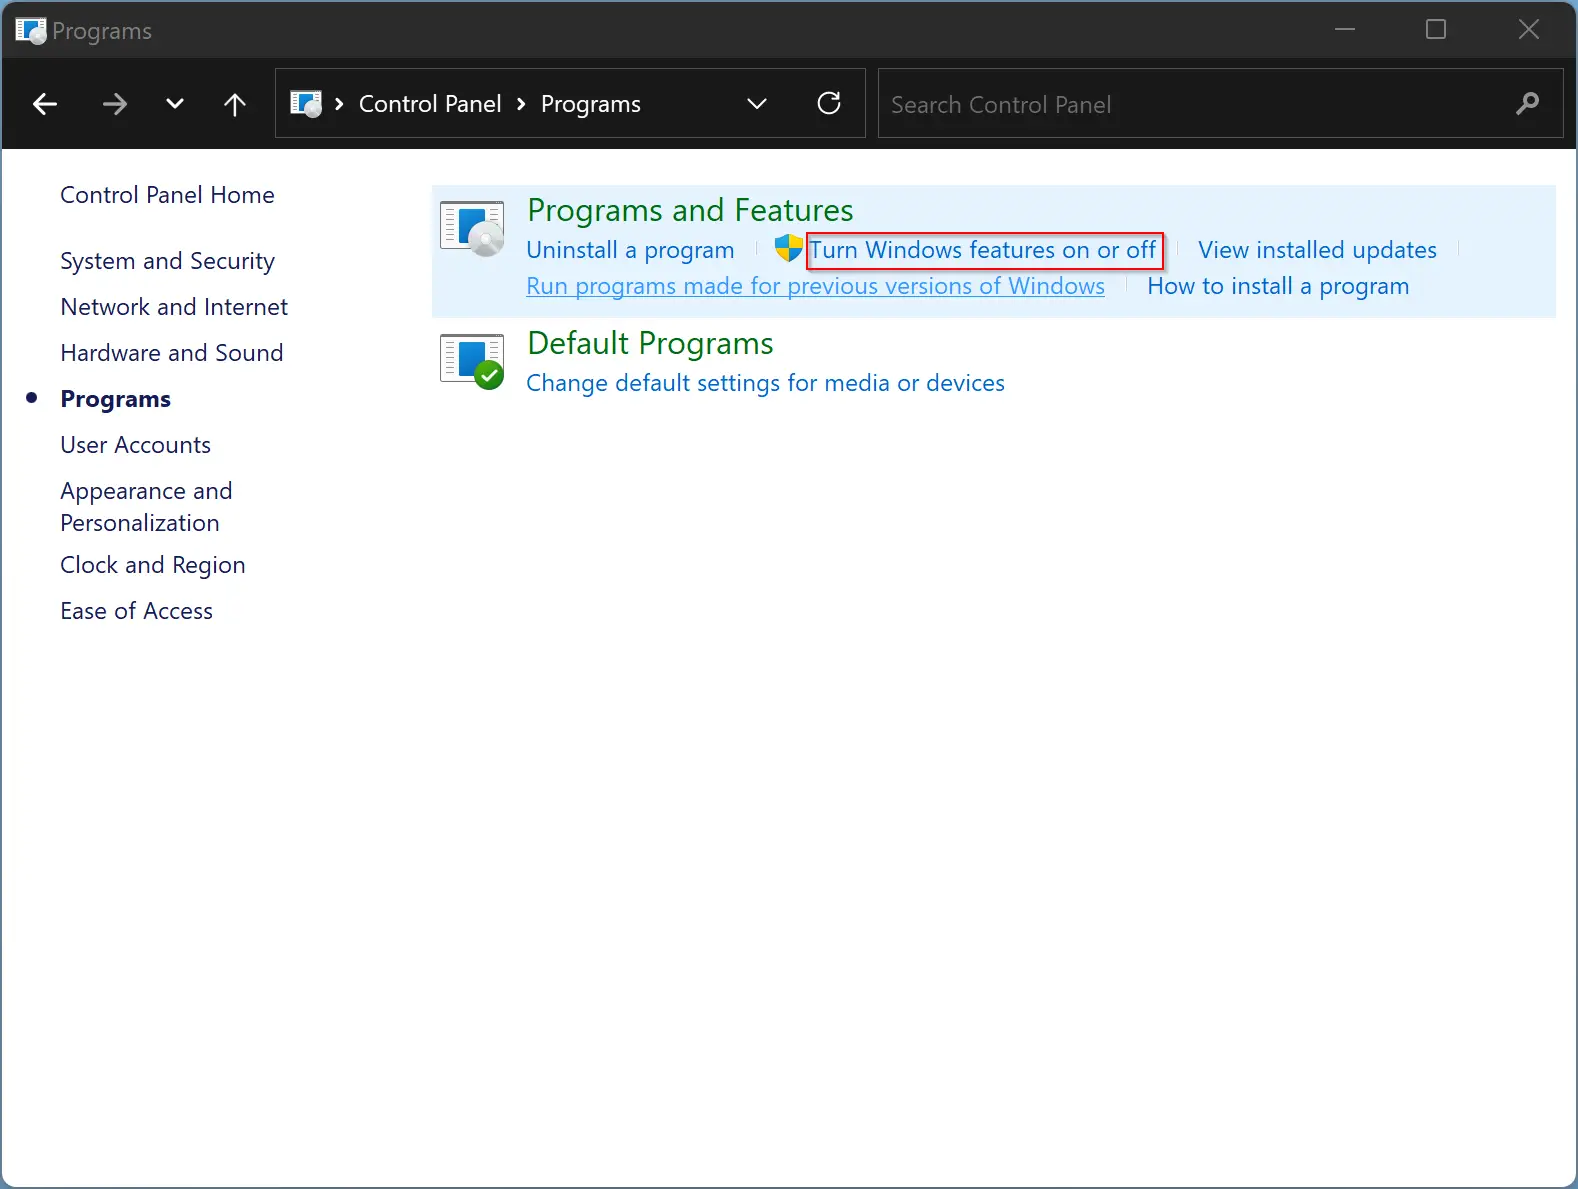
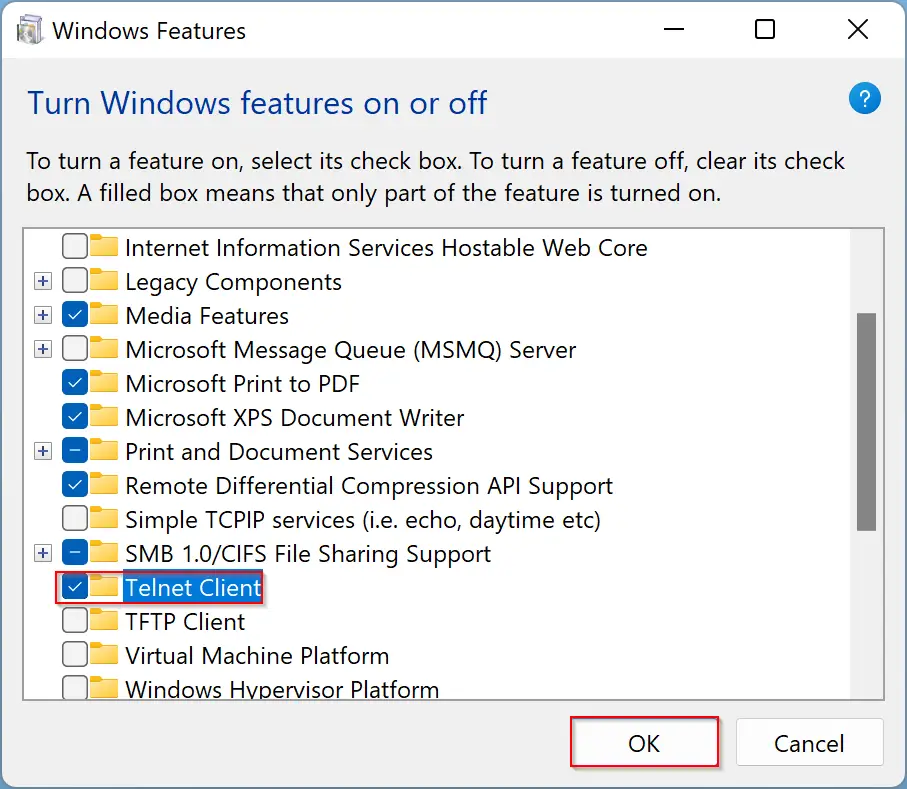
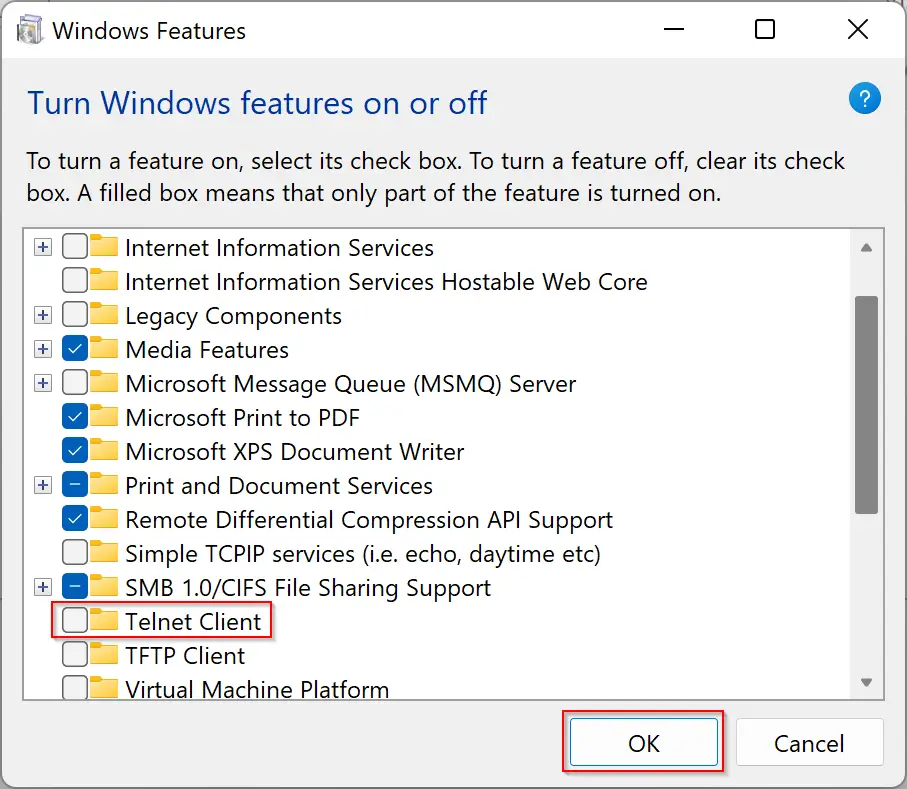
Step 4. On the Windows Features pop-up window, select Telnet Client and then click OK to begin the installation.
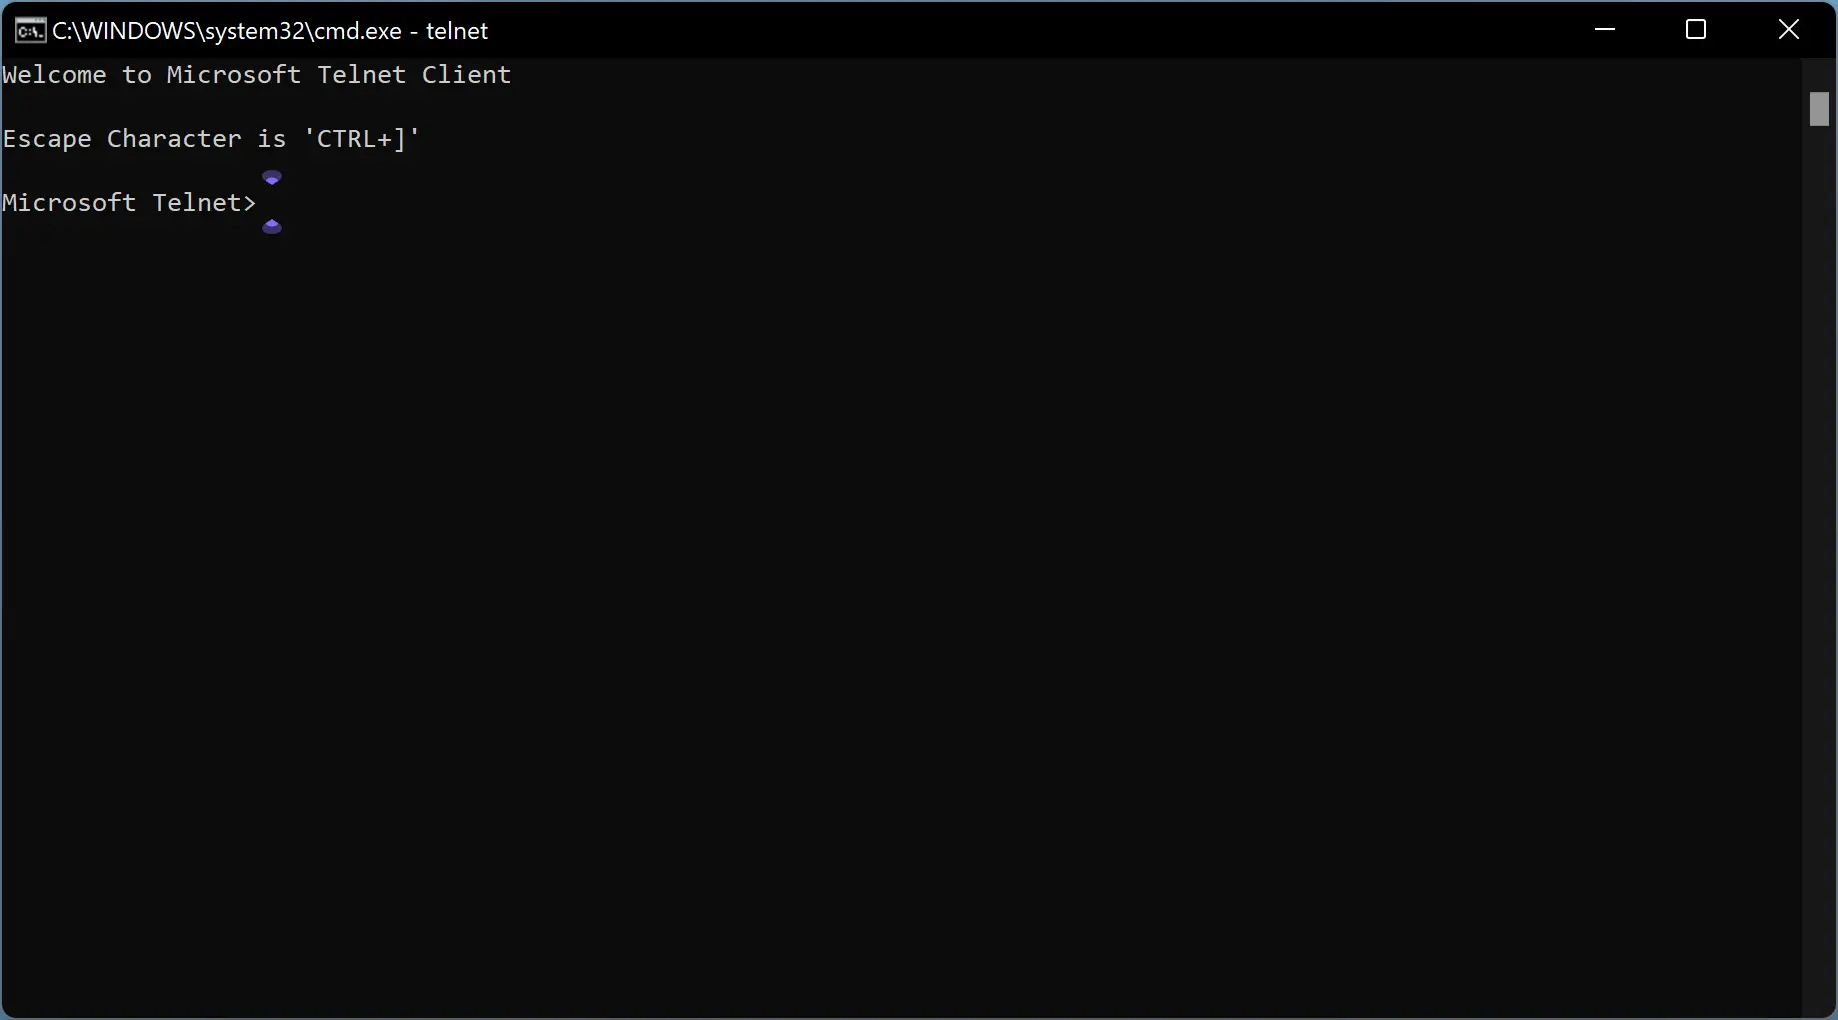
To access the Telnet, open the Command Prompt window, and on the prompt, type Telnet and then press Enter from the keyboard.
How to Install Telnet using Command Prompt?
If you prefer to use Command Prompt to install Telnet on a Windows 11 PC, do the following:-
Step 1. Open Command Prompt with administrator privilege.
Step 2. On the prompt, type the following and hit Enter from the keyboard:-
dism /online /Enable-Feature /FeatureName:TelnetClient

How to Uninstall Telnet on Windows 11?
Follow these steps to uninstall Telnet on Windows 11:-
Step 1. First, open the Control Panel.
Step 2. Click on Programs when Control Panel opens.
Step 3. In the following window, click the link “Turn Windows features on or off.”
Step 4. On the Windows Features pop-up window, deselect Telnet Client and then click OK to begin the uninstallation process.
That’s it. In a few seconds, the Telnet application will leave your PC.
Conclusion
In conclusion, Telnet is an outdated network protocol that has been replaced by more secure options such as SSH. However, it is still included in Windows 11 and may be necessary for certain tasks, such as testing remote connections. This article has provided a guide on how to enable and disable Telnet on a Windows 11 computer using both the Control Panel and Command Prompt. It’s important to note that Telnet’s lack of security makes it vulnerable to attacks, so it’s recommended to use more secure protocols whenever possible.