Joining a Wi-Fi network on Windows 11 is possible using the Quick Settings buttons. But what if a Wi-Fi network is hidden, and you want to connect to that? You can’t simply scan to find and join it. It will not appear on the available networks on your Wi-Fi settings pane. To join a hidden network, you must know the full SSID, and then you need to type it properly before you’re allowed to join it.
For security reasons, network administrators make some networks connection hidden from view. A Wi-Fi network may be hidden in your area, but you can connect to that if you know the credentials. In this gearupwindows article, we will guide you on connecting to hidden Wi-Fi on Windows 11.
How to Join a Hidden Wi-Fi on Windows 11 using Settings?
To connect to a hidden Wi-Fi network on Windows 11, execute the following steps:-
Step 1. Open the Settings app by pressing Windows + I keys from the keyboard.
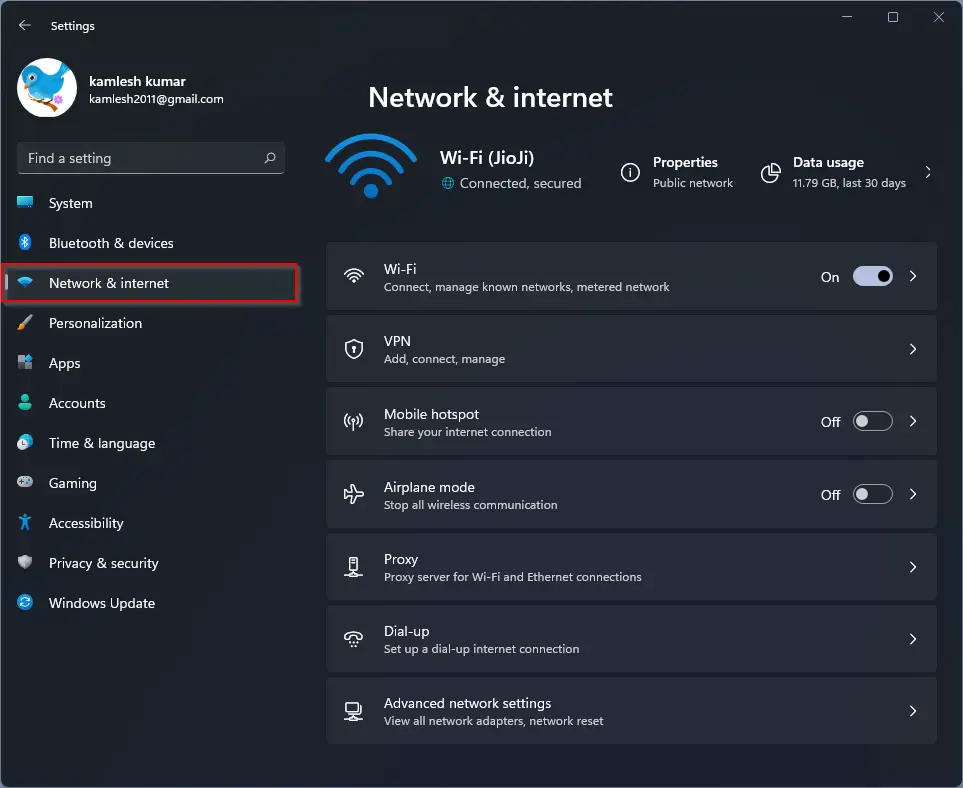
Step 2. When Windows Settings opens, select Network & internet category from the left sidebar.
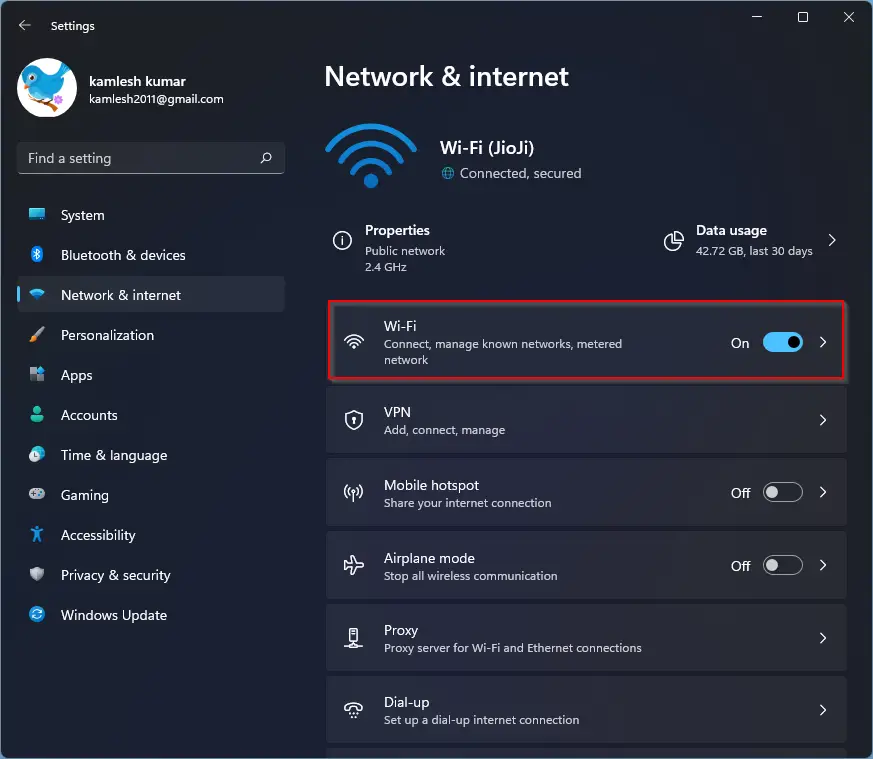
Step 3. On the right side pane, click the Wi-Fi tab.
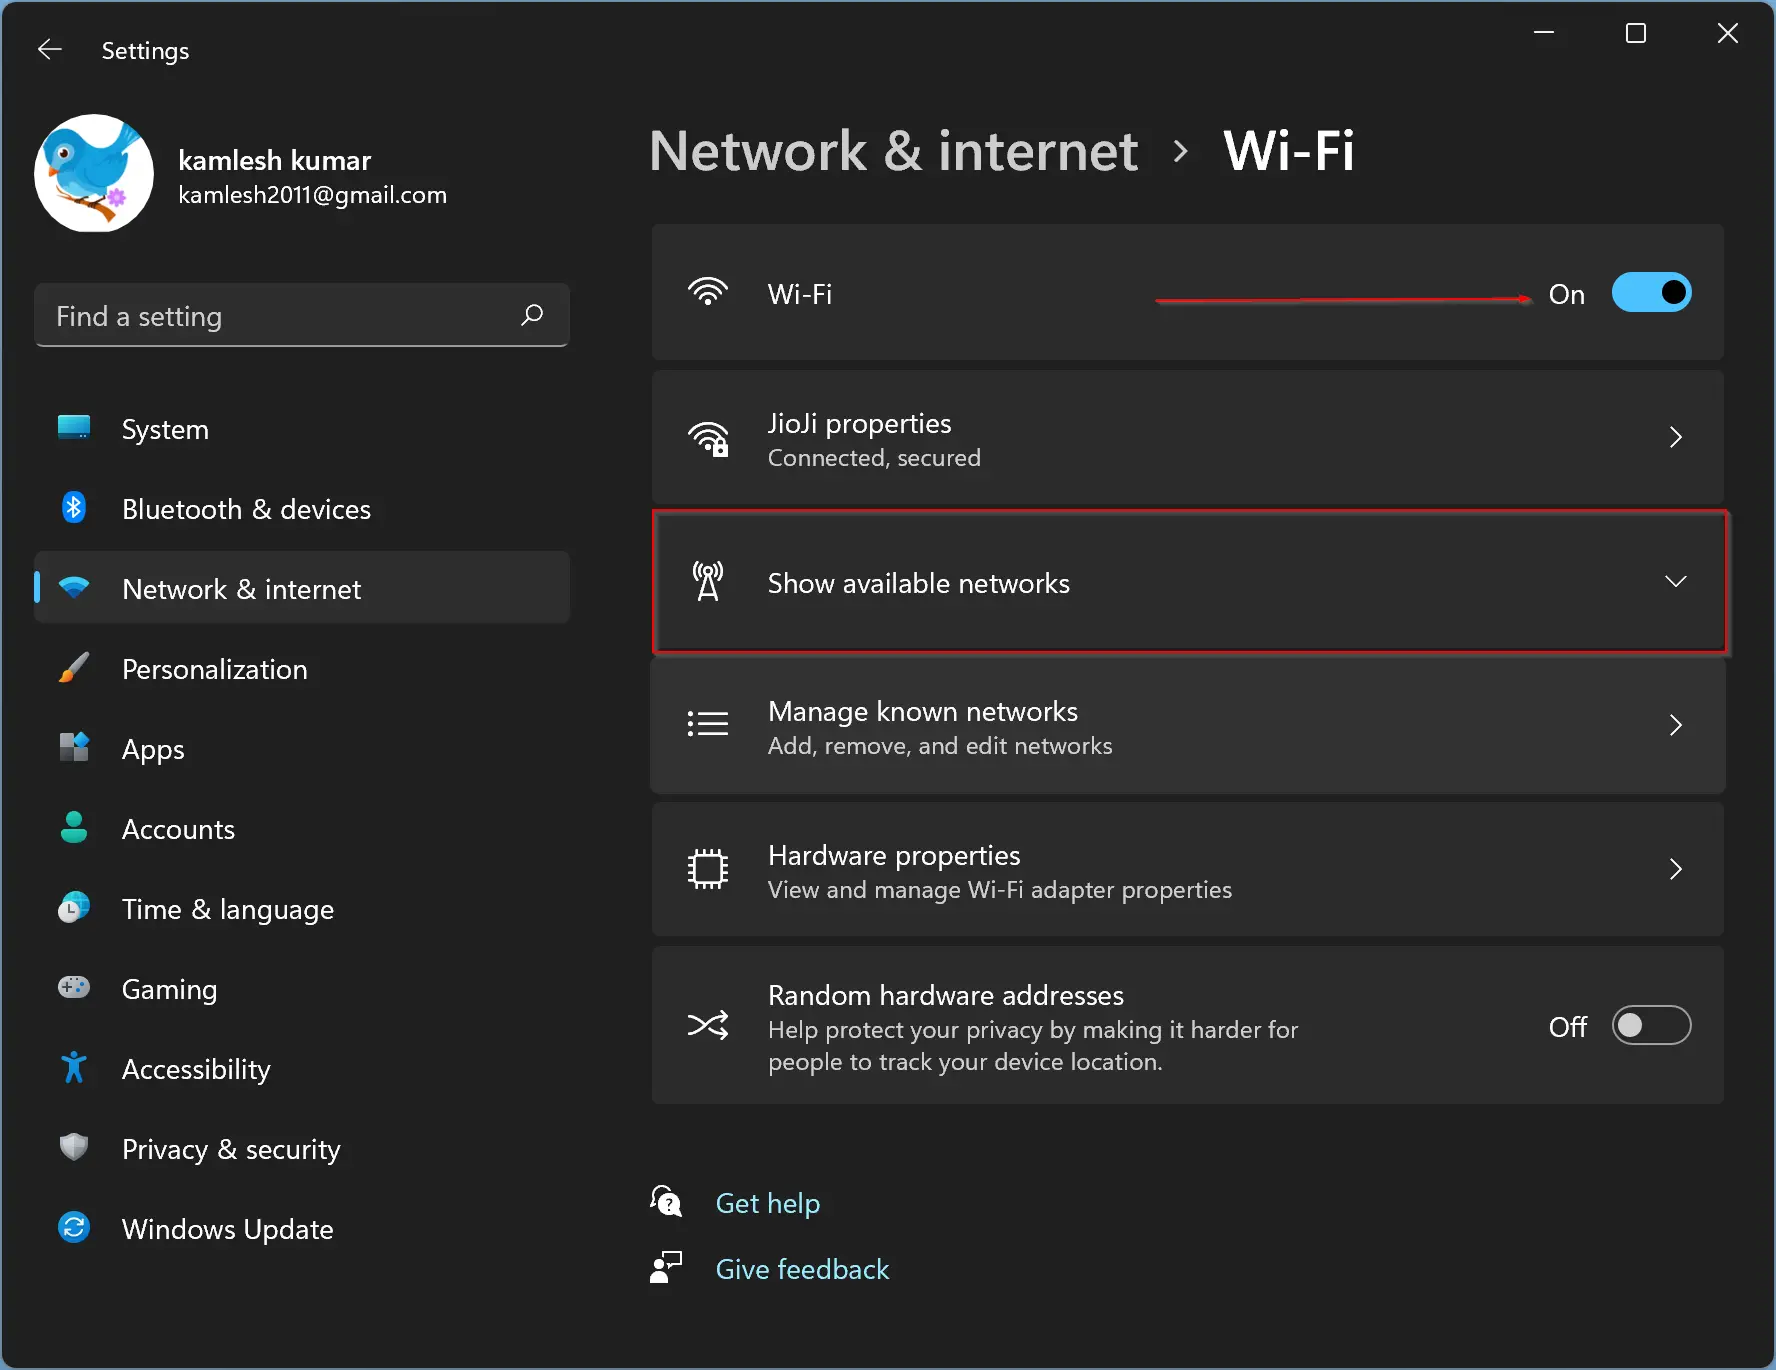
Step 4. Ensure Wi-Fi is turned on and then choose Show available networks from the available options.
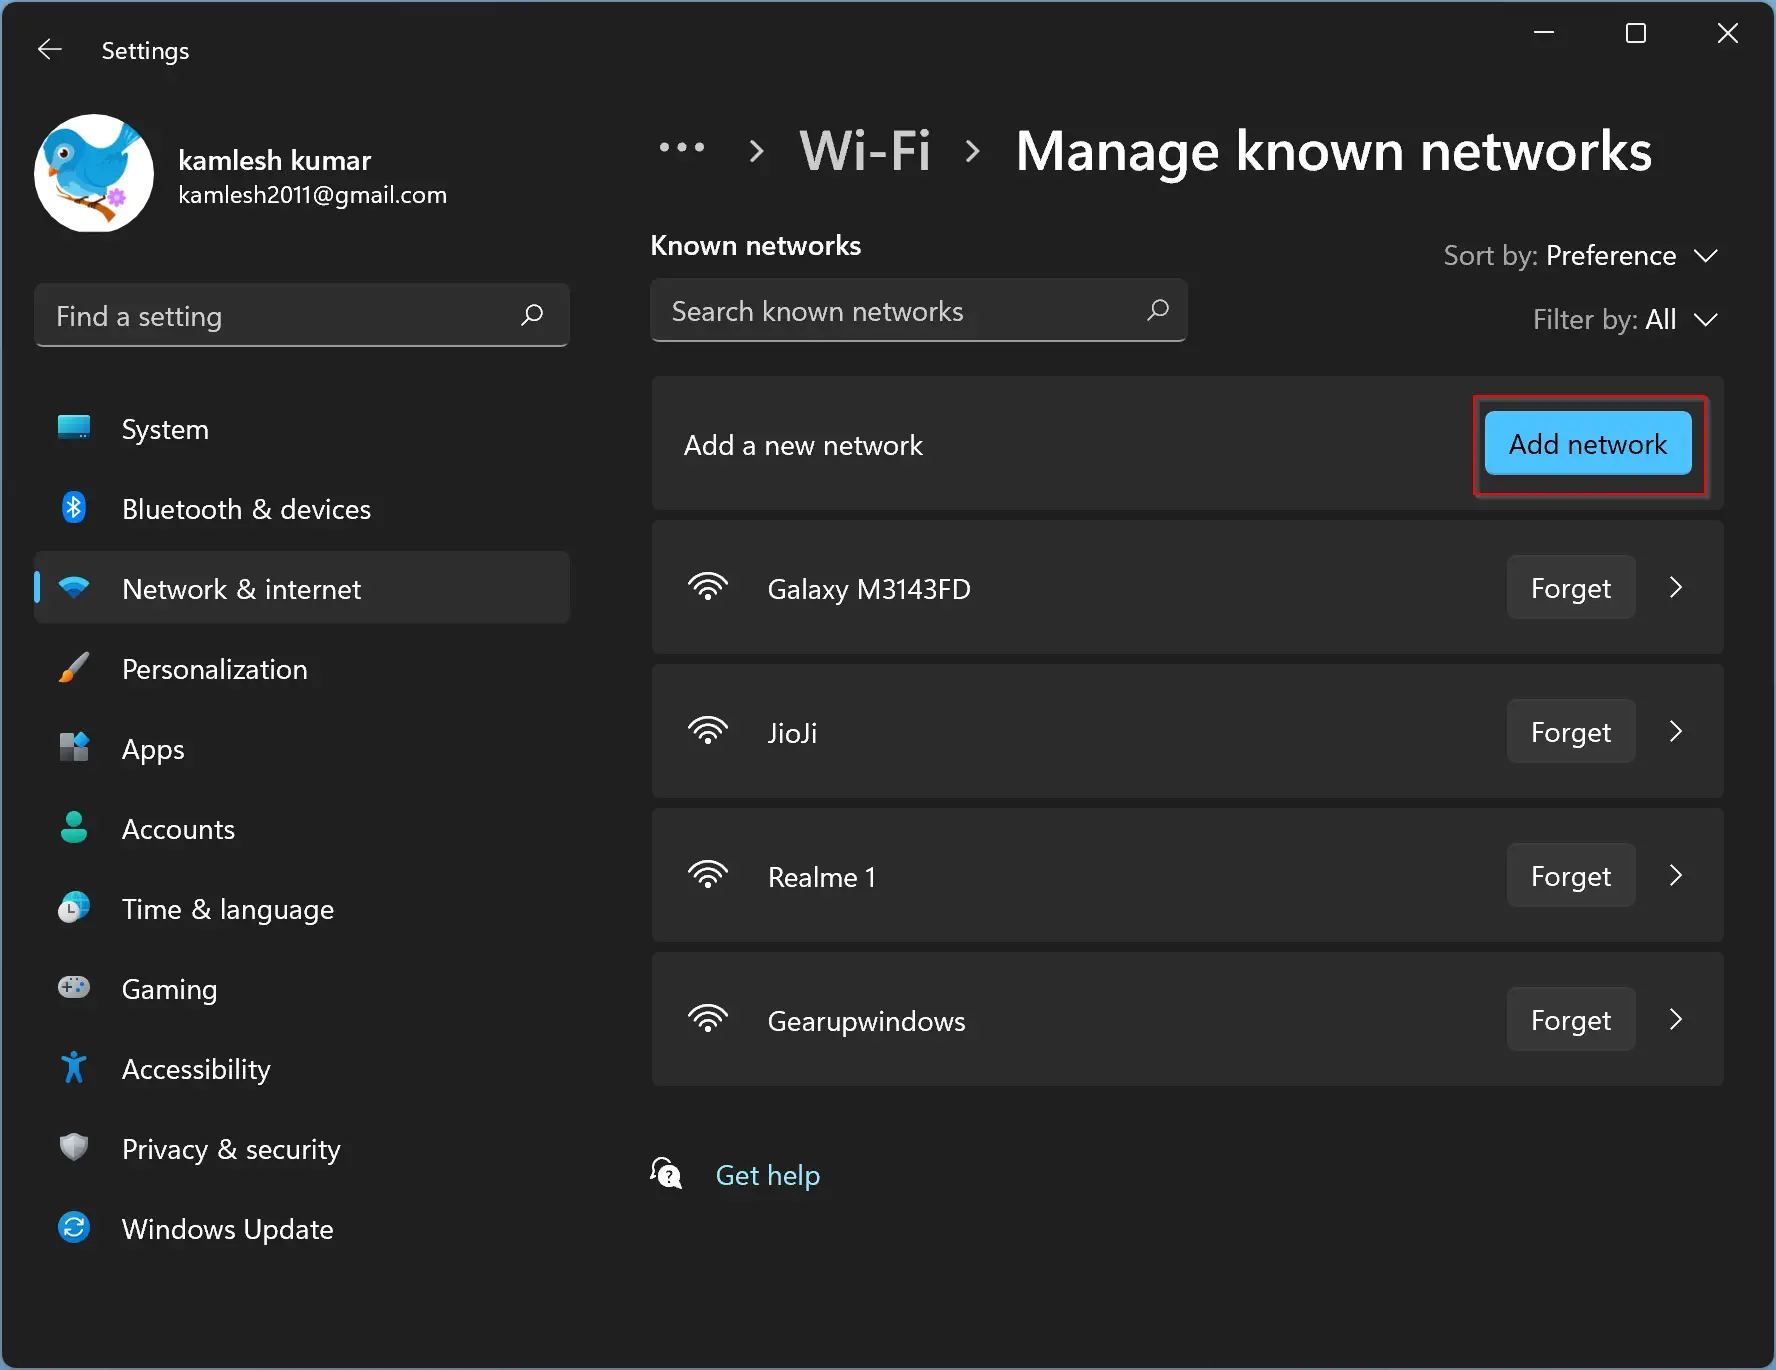
Step 5. On the “Manage known networks” settings pane, click the New network button to bring up the “Add a new network” pop-up window.
Step 6. In the “Add a new network” window, fill in/select the details of the hidden network.
- Network Name: You need to type in the hidden Wi-Fi SSID in this field. The SSID is the name of the Wi-Fi that you need to type exactly.
- Security type: Select the Security type from the drop-down menu. You can contact the network administrator if you’re not sure.
- Security key: Depending upon the connection type, you need to enter the security key/Wi-Fi password that you can get from the network administrator.
Finally, select the corresponding checkboxes “Connect automatically” and “Connect even if this network is not broadcasting.”
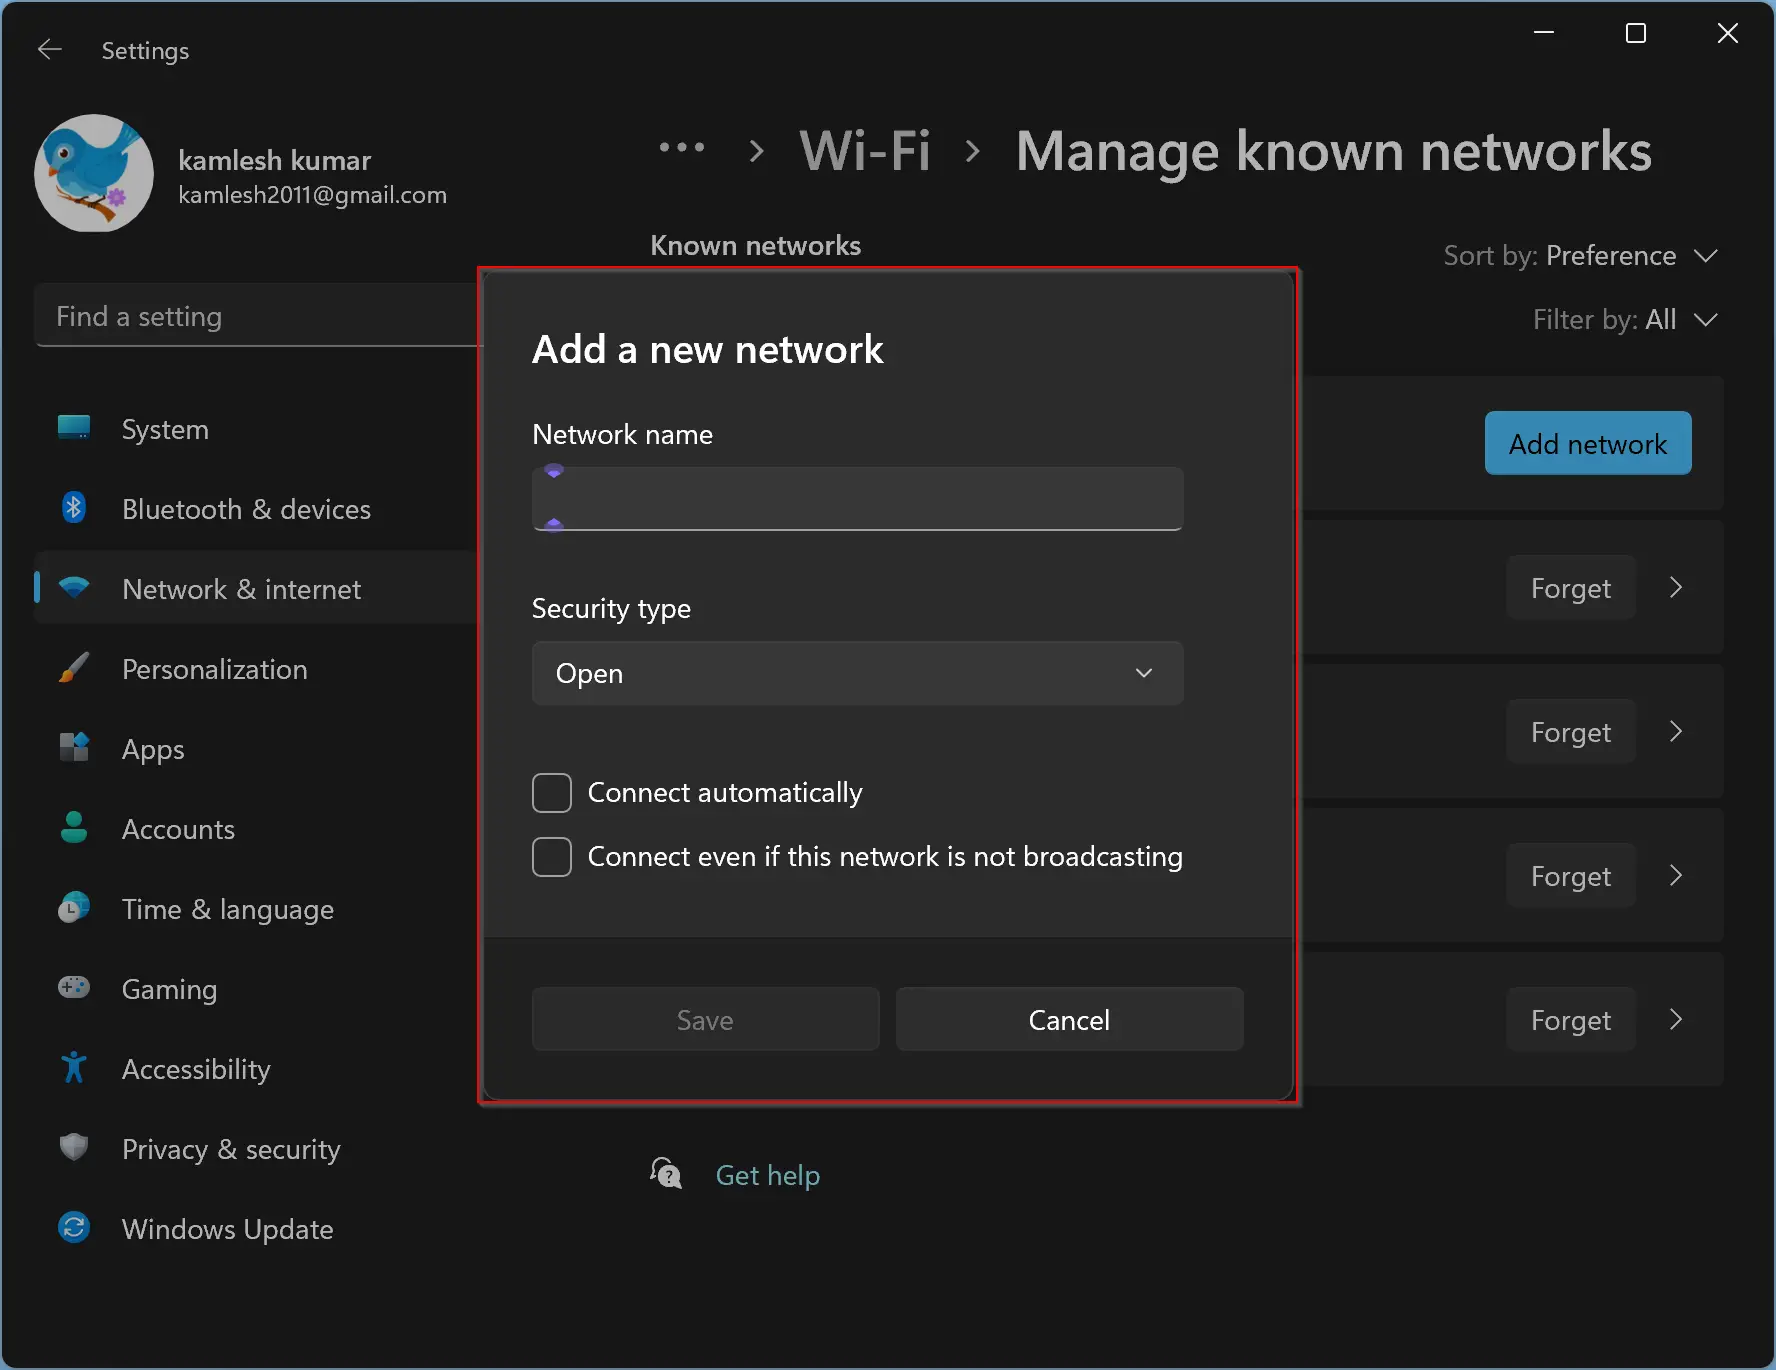
When configuring the hidden network, finally click the Save button to connect to that Wi-Fi network.
How to Connect a Hidden Wi-Fi on Windows 11 through Control Panel?
To connect or join a hidden Wi-Fi network on Windows 11 through Control Panel, do the following:-
Step 1. First, open the Control Panel.
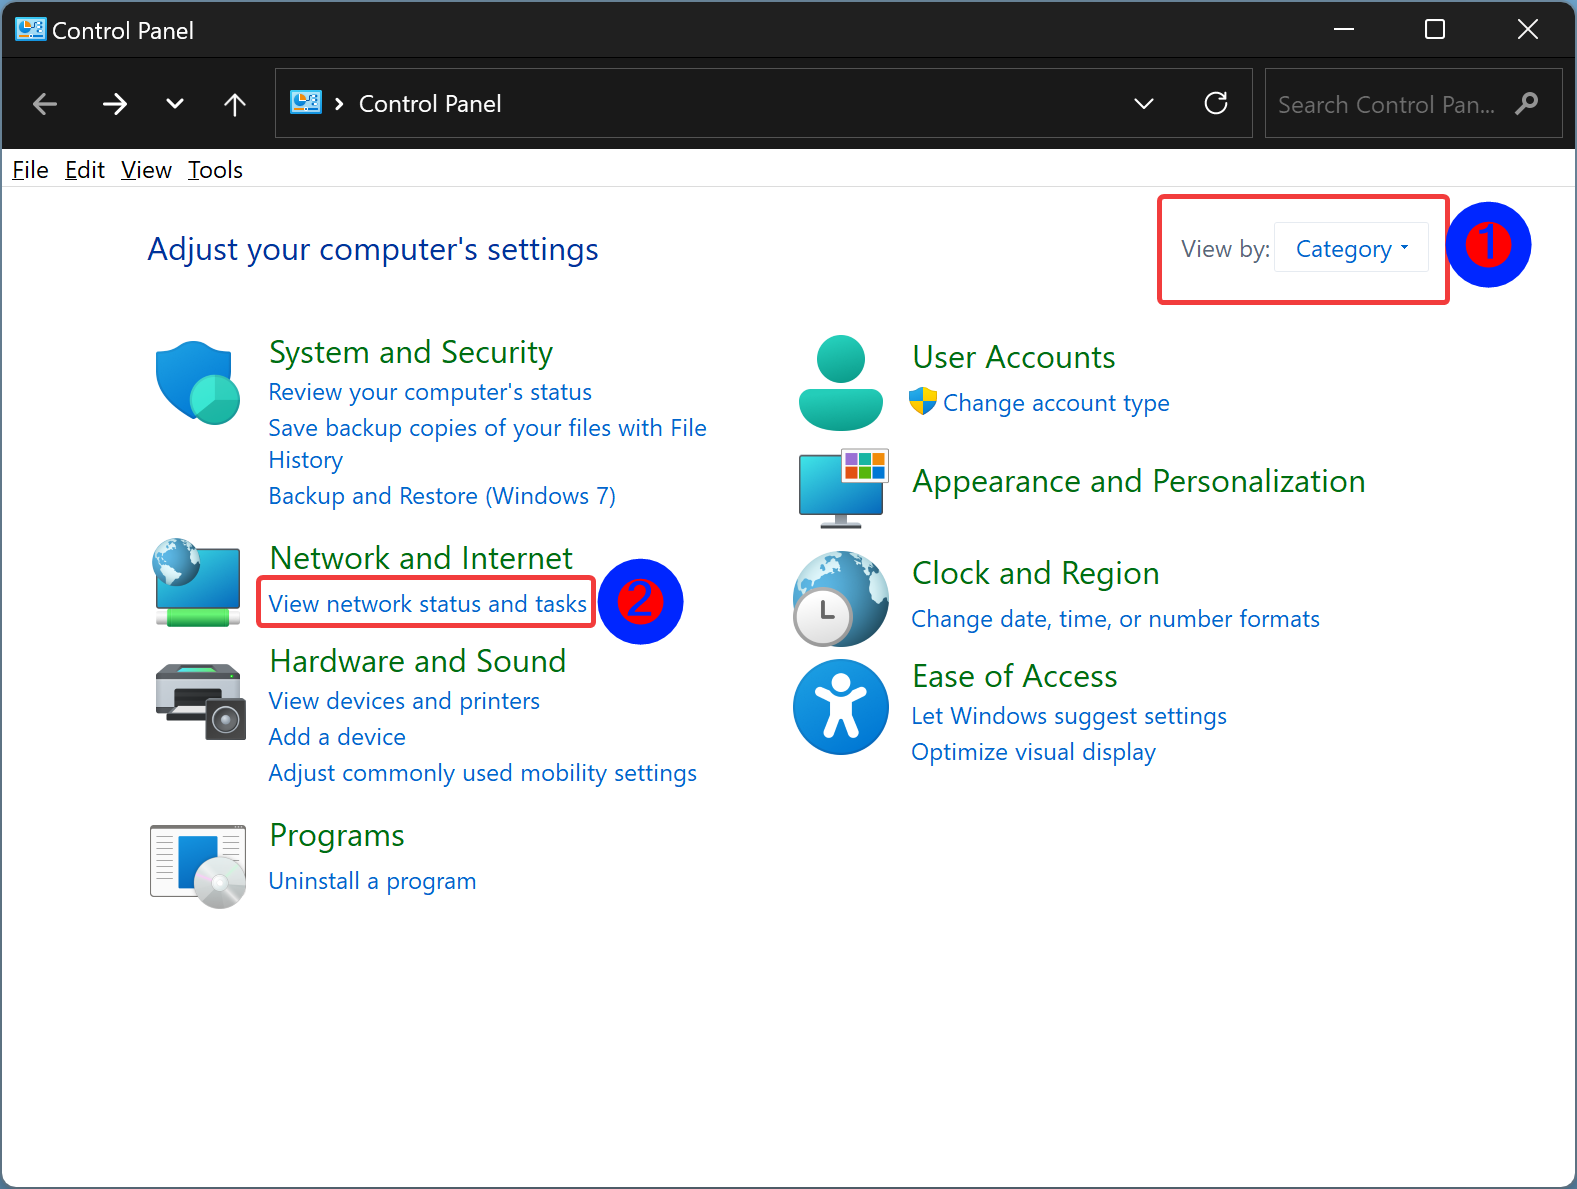
Step 2. When Control Panel appears on your computer, select “View by” to Category. Then click the View network status and tasks link under the “Network and Internet” category.
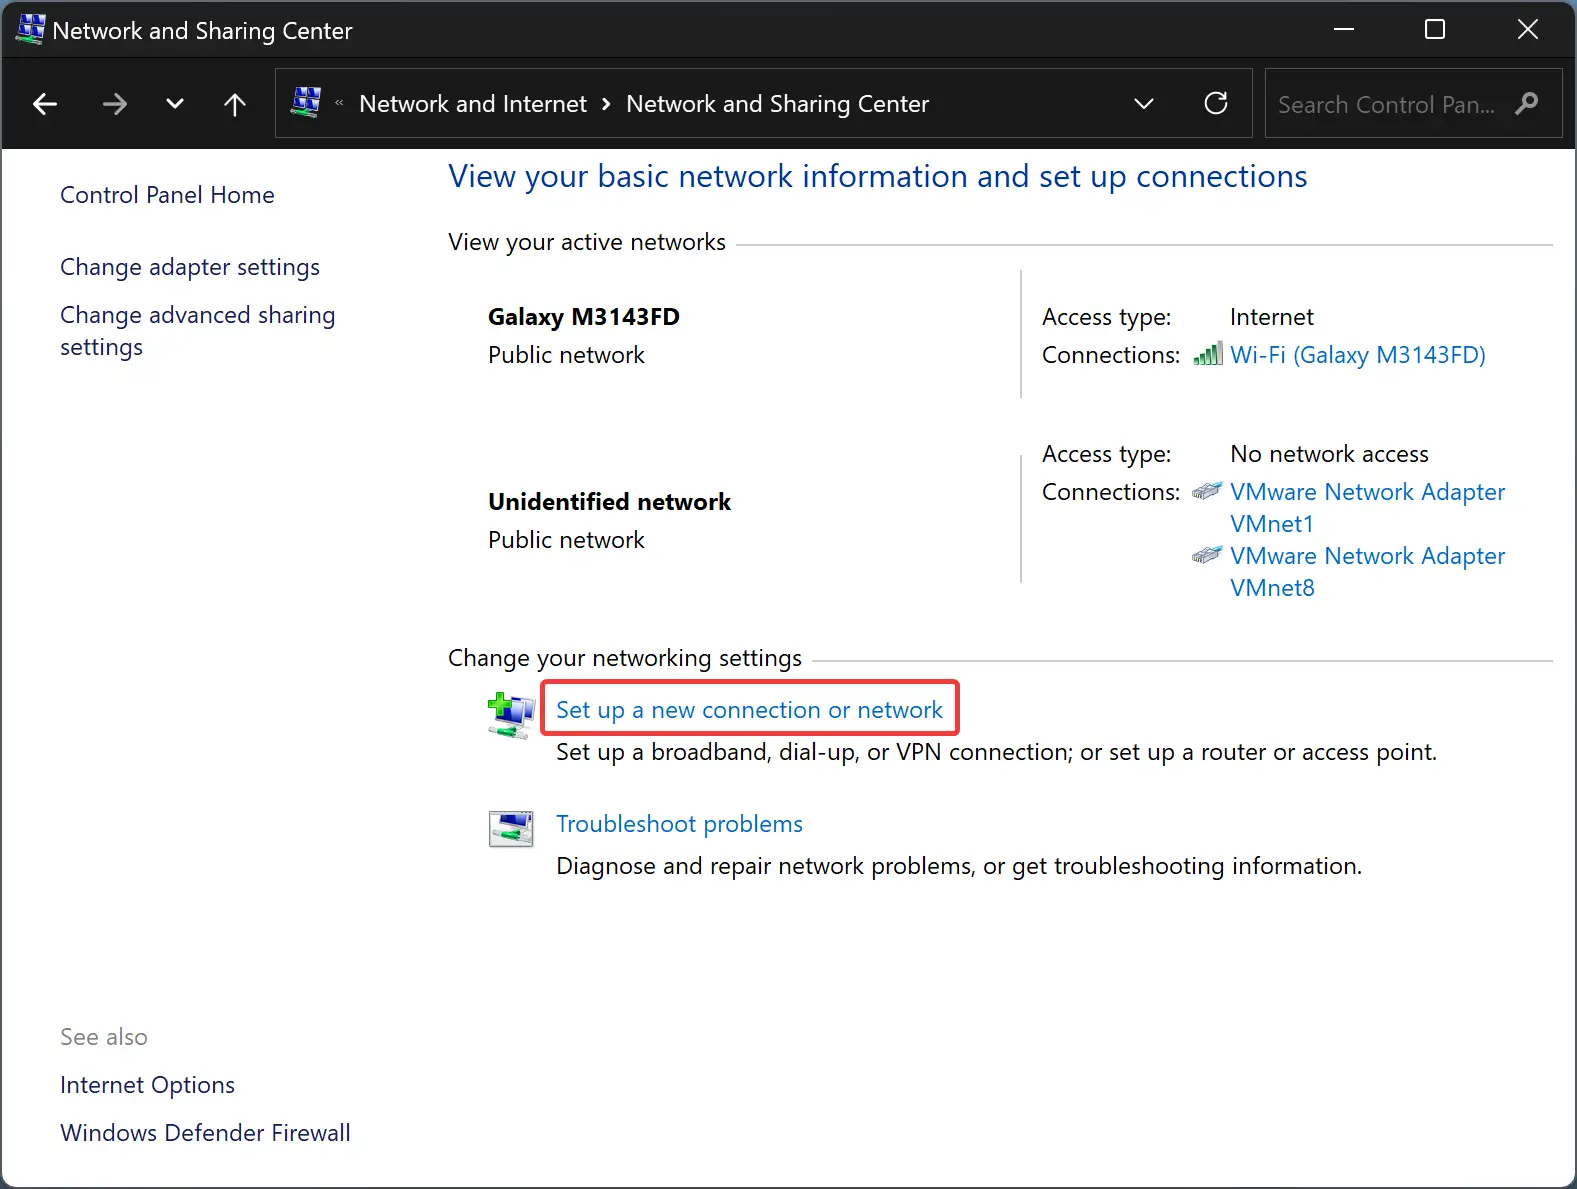
Step 3. After that, click the link Set up a new connection or network in the “Change your networking settings” section.
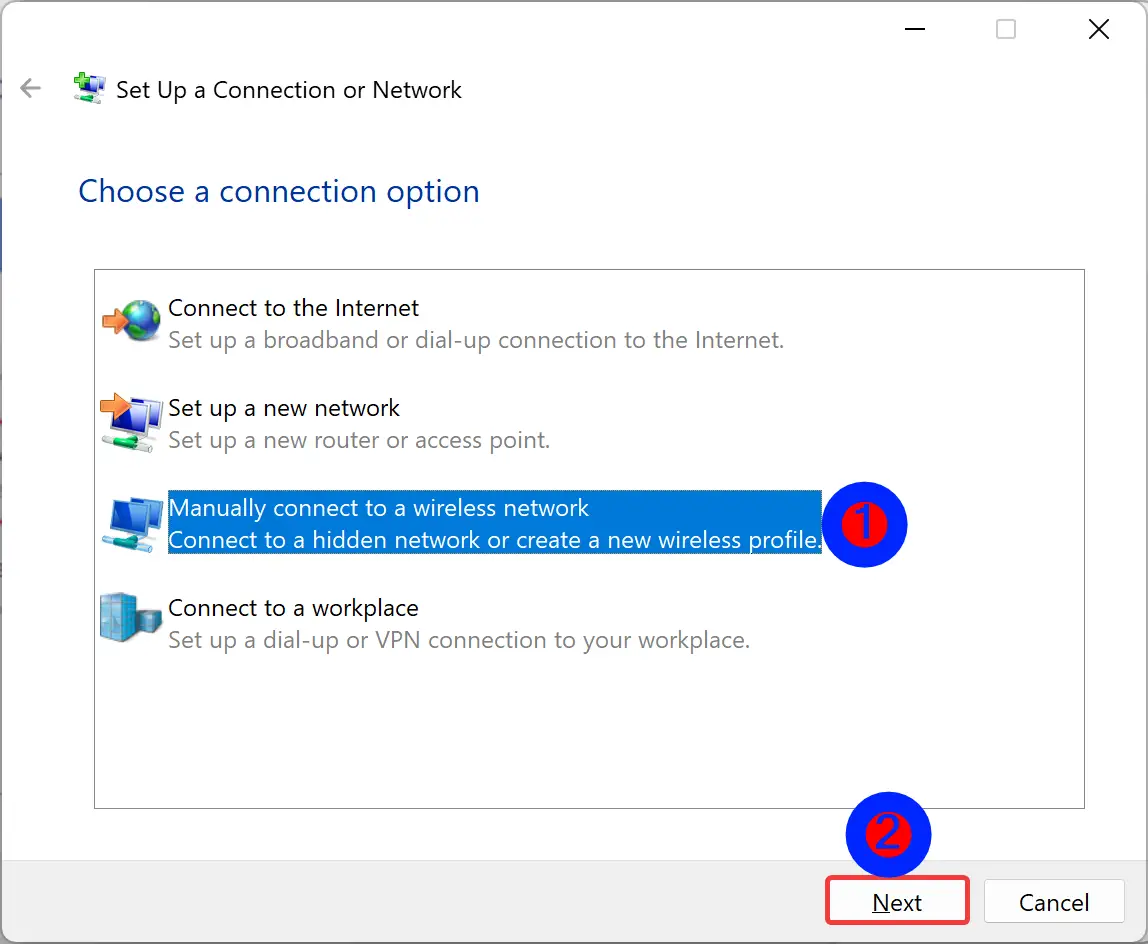
Step 4. Then, choose Manually connect to a wireless network option and click the Next button.
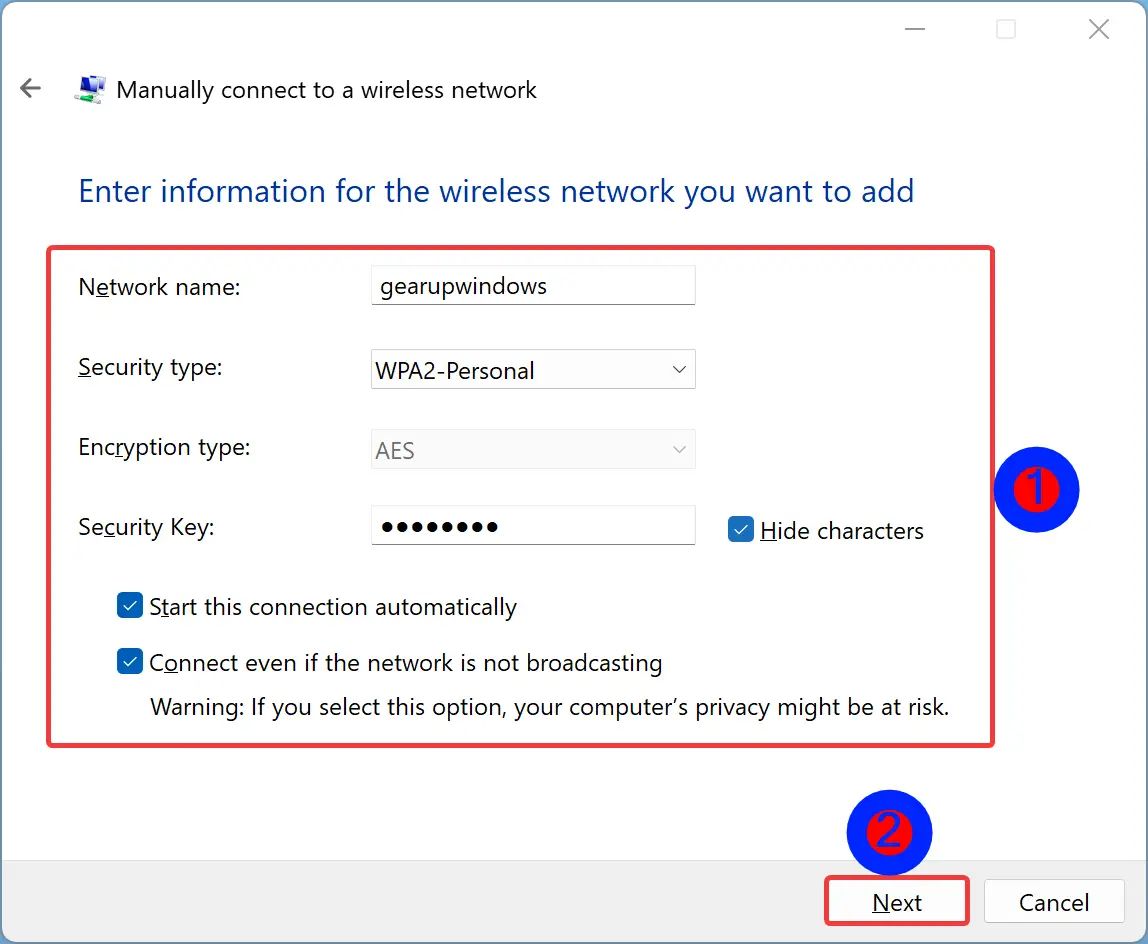
Step 5. In the following screen, enter the security information for your WiFi network in the appropriate fields, such as:-
- Network name in the Network name field.
- In the Security type field, select the type of security used by the hidden wireless network.
- In the Security key field, enter the password of the hidden WiFi network.
- Check the box that says “Start this connection automatically,” if you want your device to connect to this network automatically when in range.
- Check the box that says “Connect even if the network is not broadcasting.” This makes Windows 11 search for the hidden network periodically, even if your device is not in its range.
That’s it.
Conclusion
In conclusion, joining a hidden Wi-Fi network on Windows 11 requires knowing the full SSID of the network and properly typing it along with the security details. It is important to note that some Wi-Fi networks may be hidden for security reasons, but you can still connect to them if you have the credentials. This article has provided two methods to connect to a hidden Wi-Fi network on Windows 11, namely using the Settings app and the Control Panel. By following the steps provided in either of these methods, you can connect to a hidden Wi-Fi network on your Windows 11 computer.