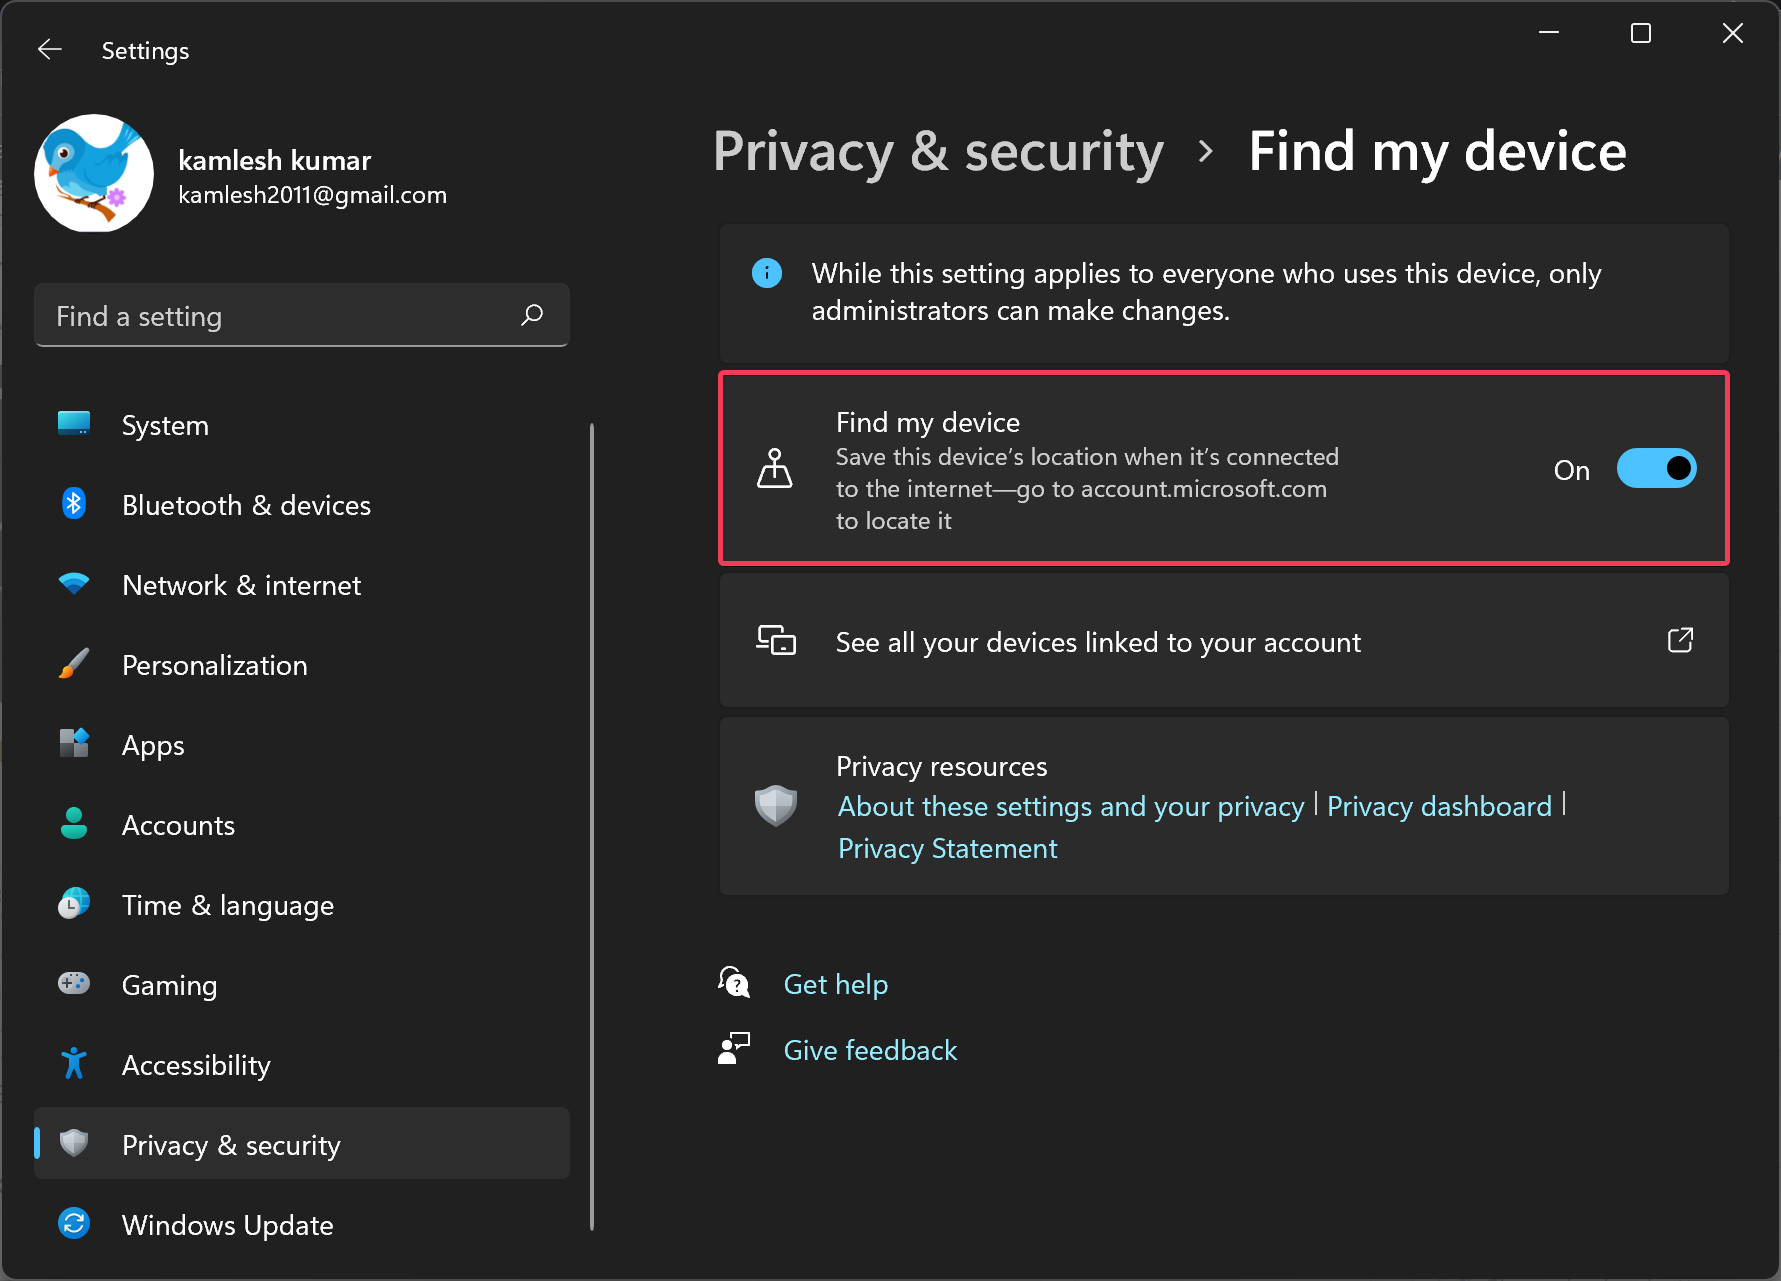
In Windows 11, the “Find My Device” feature is a valuable tool that helps you locate and secure your computer in case it’s lost or stolen. However, there may be situations where you want to lock this feature to prevent others from altering its settings. Whether you want to disable it permanently or simply restrict others from turning it off, this article will guide you through two methods to lock the “Find My Device” option in Windows 11.
How to Lock the Find My Device Option in Windows 11?
Method 1: Lock via Group Policy Editor
The Group Policy Editor is a powerful tool for configuring various settings on Windows systems. Here’s how you can use it to lock the “Find My Device” option:-
Step 1. Access the Local Group Policy Editor.
To do that, press “Windows + R” to open the Run dialog, type “gpedit.msc,” and hit Enter. This will open the Local Group Policy Editor.
Step 2. In the Group Policy Editor, go to the following path from the left sidebar:-
Computer Configuration > Administrative Templates > Windows Components > Find My Device

Step 3. On the right pane, locate and double-click the “Turn On/Off Find My Device” policy.

Step 4. In the policy settings window, you have two options:-
- To disable the Find My Device feature permanently, select the “Disabled” option.
- To prevent others from turning off Find My Device, select the “Enabled” option.
Step 5. After making your selection, click “OK” to save the policy.
Step 6. You can now close the Local Group Policy Editor.
Upon completing these steps, the “Find My Device” setting in the Windows 11 Settings app will be grayed out and locked down based on your chosen configuration.

Method 2: Lock via Registry Editor
The Windows Registry is another method you can use to lock the “Find My Device” option. Here’s how to do it:-
Step 1. Access the Registry Editor.
To do that, press “Windows + R,” type “regedit,” and press Enter to open the Registry Editor.
Step 2. In the Registry Editor, navigate to the following path in the left sidebar:-
HKEY_LOCAL_MACHINE\SOFTWARE\Policies\Microsoft

Step 3. Right-click the “Microsoft” key, hover over “New,” and select “Key.” Name this new key “FindMyDevice” and select it.

Step 4. Right-click the empty space in the right pane, hover over “New,” and select “DWORD (32-bit) Value.” Name this DWORD “AllowFindMyDevice.”

Step 5. Double-click the “AllowFindMyDevice” REG_DWORD to edit it. Set its value data:-
- Set it to “0” if you want to disable the Find My Device feature permanently.
- Set it to “1” if you want to turn on Find My Device and lock the setting.
Step 6. Click “OK” to save the DWORD value.
Step 7. Close the Registry Editor to complete the process.
Conclusion
Locking the “Find My Device” option in Windows 11 is a prudent step to ensure the security and location tracking of your device. By using either the Group Policy Editor or the Registry Editor, you can easily achieve this level of control, whether your goal is to disable the feature permanently or prevent others from altering it. Always exercise caution when making changes to system settings and follow the instructions closely to avoid any issues with your Windows 11 operating system.
