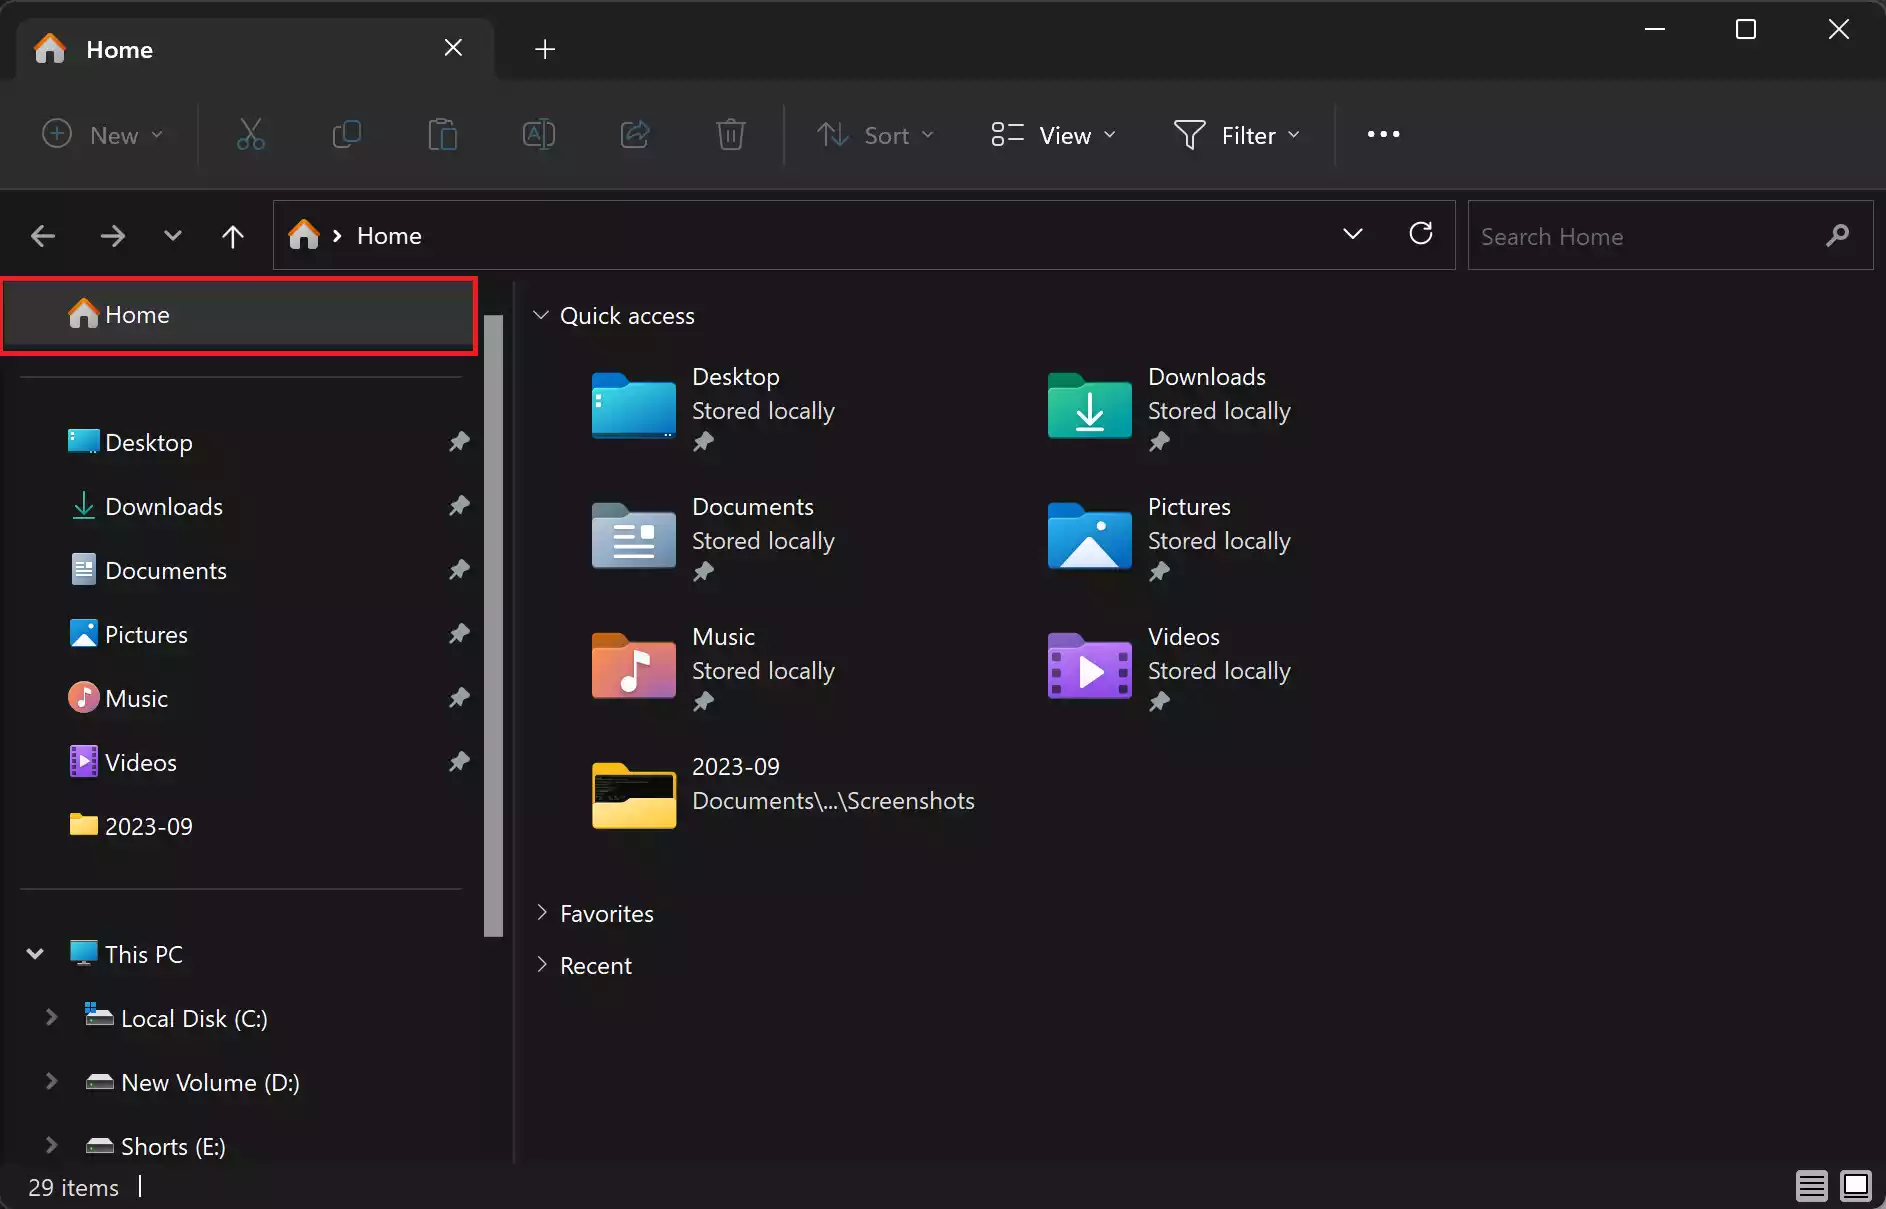
File Explorer is a crucial tool in the Windows operating system, allowing users to navigate their files and folders efficiently. In Windows 11, the default startup location of File Explorer is the “Home” tab, which provides quick access to recent files, frequent pins, and Quick Access. However, not everyone finds this feature useful, and some users prefer to streamline their File Explorer navigation pane. If you’re one of them, this article will guide you through the steps to remove the “Home” icon from File Explorer in Windows 11.
Important Note: Before proceeding, it’s essential to note that this method involves editing the Windows Registry, a sensitive component of the operating system. Incorrect changes to the Registry can lead to system instability or other issues. Ensure that you follow the steps carefully and consider creating a backup or a system restore point before making any modifications.
How to Remove or Hide the “Home” Icon from File Explorer in Windows 11?
To remove or hide the “Home” Icon from File Explorer in Windows 11, use these steps:-
Step 1. Open Registry Editor.
To begin, press the “Windows + R” keys simultaneously. This will open the Run dialog box.
In the Run dialog box, type “regedit” and hit Enter. This action will launch the Windows Registry Editor.
If prompted by User Account Control (UAC), click “Yes” to grant permission to the Registry Editor.
Step 2. In the Registry Editor, you’ll see a tree structure in the left pane. Navigate to the following registry path by manually expanding the folders:-
HKEY_LOCAL_MACHINE\SOFTWARE\Microsoft\Windows\CurrentVersion\Explorer\Desktop\NameSpace_36354489
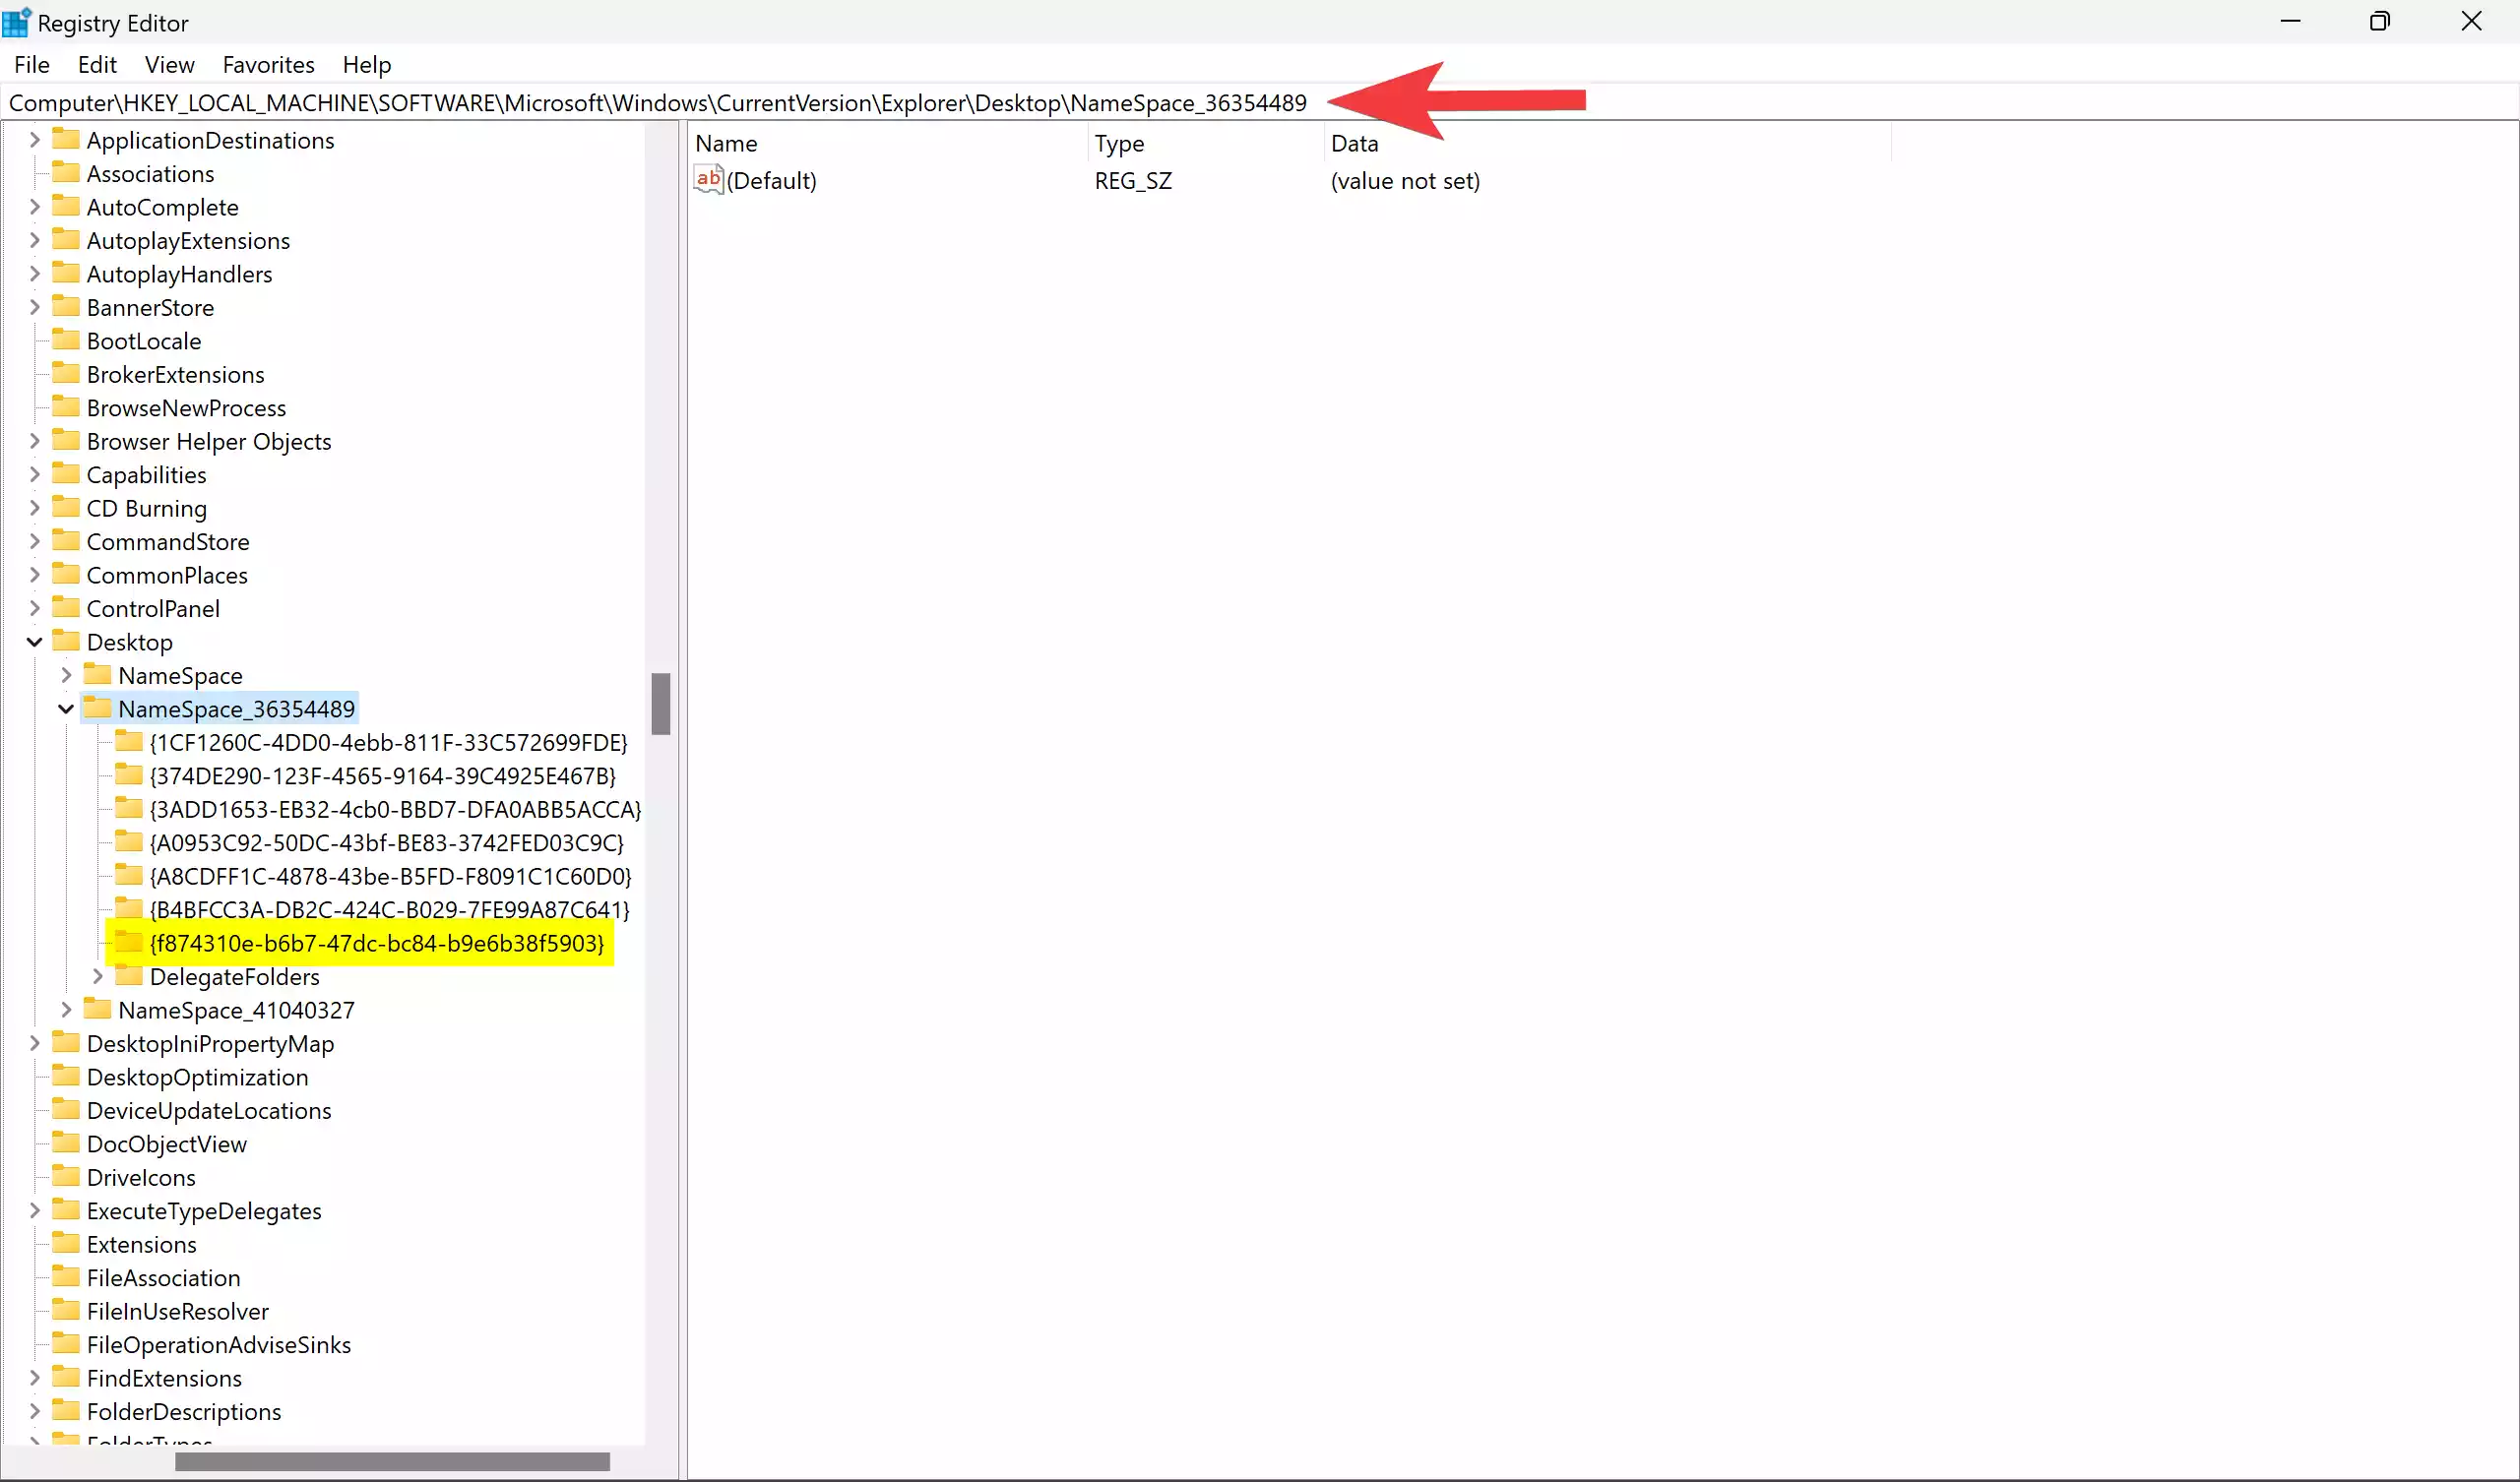
Step 3. In the “NameSpace_36354489” folder, you will find a key named `{f874310e-b6b7-47dc-bc84-b9e6b38f5903}.` This key represents the “Home” icon in File Explorer.
Step 4. Right-click on the `{f874310e-b6b7-47dc-bc84-b9e6b38f5903}` key.

Step 5. From the context menu, select “Rename.”
Step 6. You can rename the key to anything you like or simply append a few characters to the beginning of the key. This step is crucial in case you want to restore the “Home” icon in the future.
Step 6. Once you’ve renamed the key, close the Registry Editor.
Step 7. After completing these steps, the “Home” icon will immediately disappear from the left navigation pane of File Explorer. If not, restart your PC once.
Conclusion
Removing the “Home” icon from File Explorer in Windows 11 is a straightforward process if you’re comfortable working with the Windows Registry. However, it’s essential to exercise caution and follow the steps precisely to avoid any unintended consequences. Remember to create a backup or system restore point before making changes to the Registry to ensure you can revert the modifications if needed. With the “Home” icon removed, you can enjoy a cleaner File Explorer navigation pane tailored to your preferences.