One legacy feature that is available in Windows 10, as well as Windows 11, is Hello PIN. If you want to login into your Windows 11 machine with a secure PIN (Personal Identification Number) instead of a password, this gearupwindows post will help you.
If you don’t want to sign in to your computer with a password, Windows 11 lets you sign in to your PC with a PIN. The PIN is a recommended method by Microsoft that is a fast and secure way to log in to your Windows device. The PIN is a part of Windows Hello security that enables other sign-in options. For your information only, one can use a picture password, PIN, fingerprint sensor, and even facial recognition to sign into Windows 11. If your computer does not allow you to sign in with a fingerprint (the most secure way to login into Windows if your PC equips with a fingerprint sensor) within this sign-in option, you can use Hello PIN to secure login.
The PIN is useless on other devices and only works on the specific device you have created. If you have generated a password to login into a Windows 11 PC using a Microsoft account, it can be stolen and used on any device with the same account. However, if you have generated a PIN, it is specific to the device you have developed. That means you can’t sign in to another computer with the same account using a PIN. This feature of Windows 11 enables you to keep your account secure, even if you connect your computer or laptop to the internet.
How to Setup Windows Hello PIN in Windows 11?
Windows Hello PIN is a unique feature that enables you to sign in to your PC with your PIN (Personal Identification Number). You don’t want to remember a complex password anymore; Microsoft recommends using a PIN to sign in to your PC. To set up and use a PIN, use the following recommended method:-
Step 1. Use the Windows + I shortcut keys to open the Settings app.
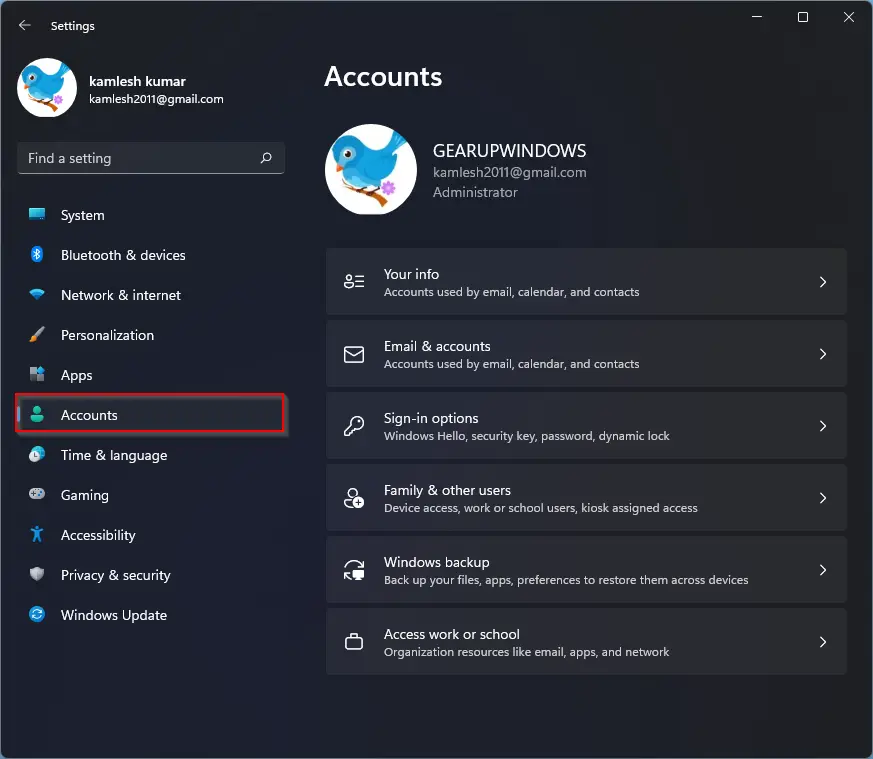
Step 2. When Windows Settings opens, select the Accounts category from the left sidebar.
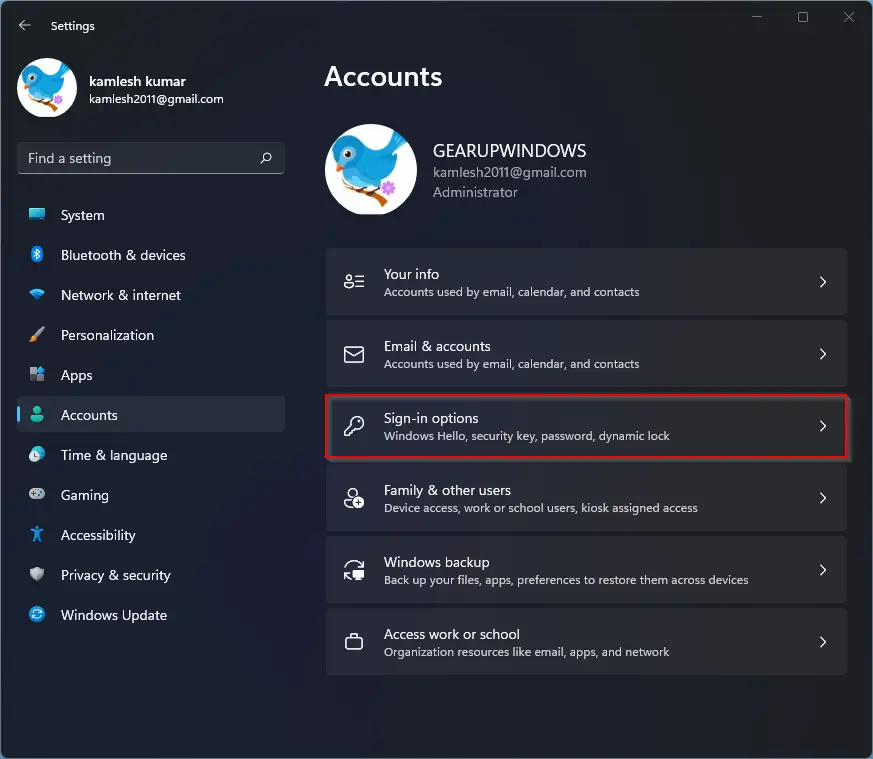
Step 3. In the Accounts settings pane, select Sign-in options on the right pane of your screen.
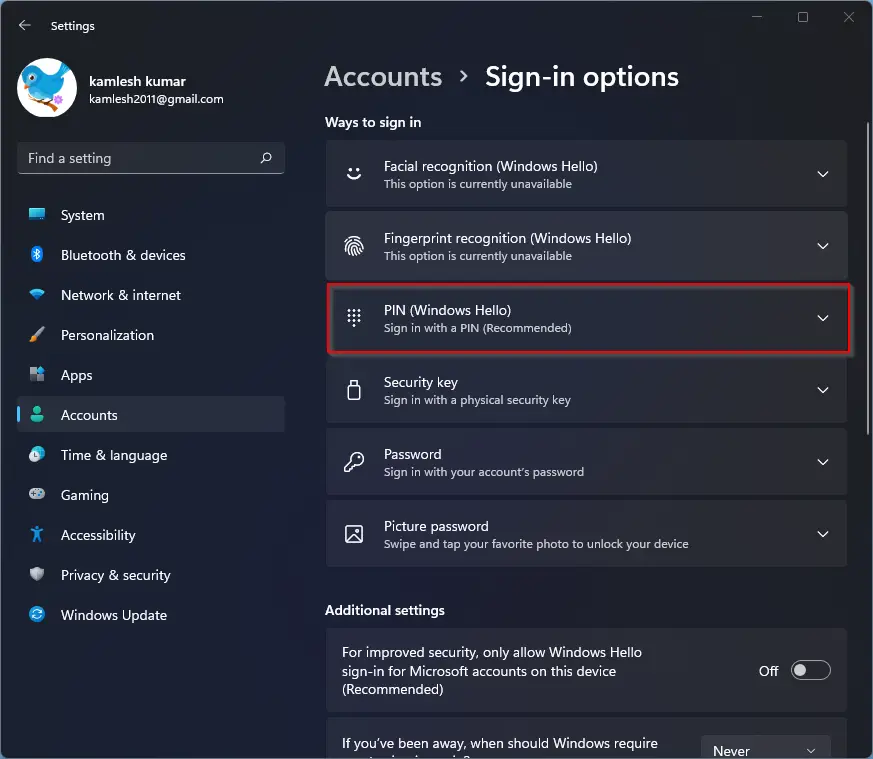
Step 4. Next, on the Sign-in options settings, select the PIN (Windows Hello) header to expand it.
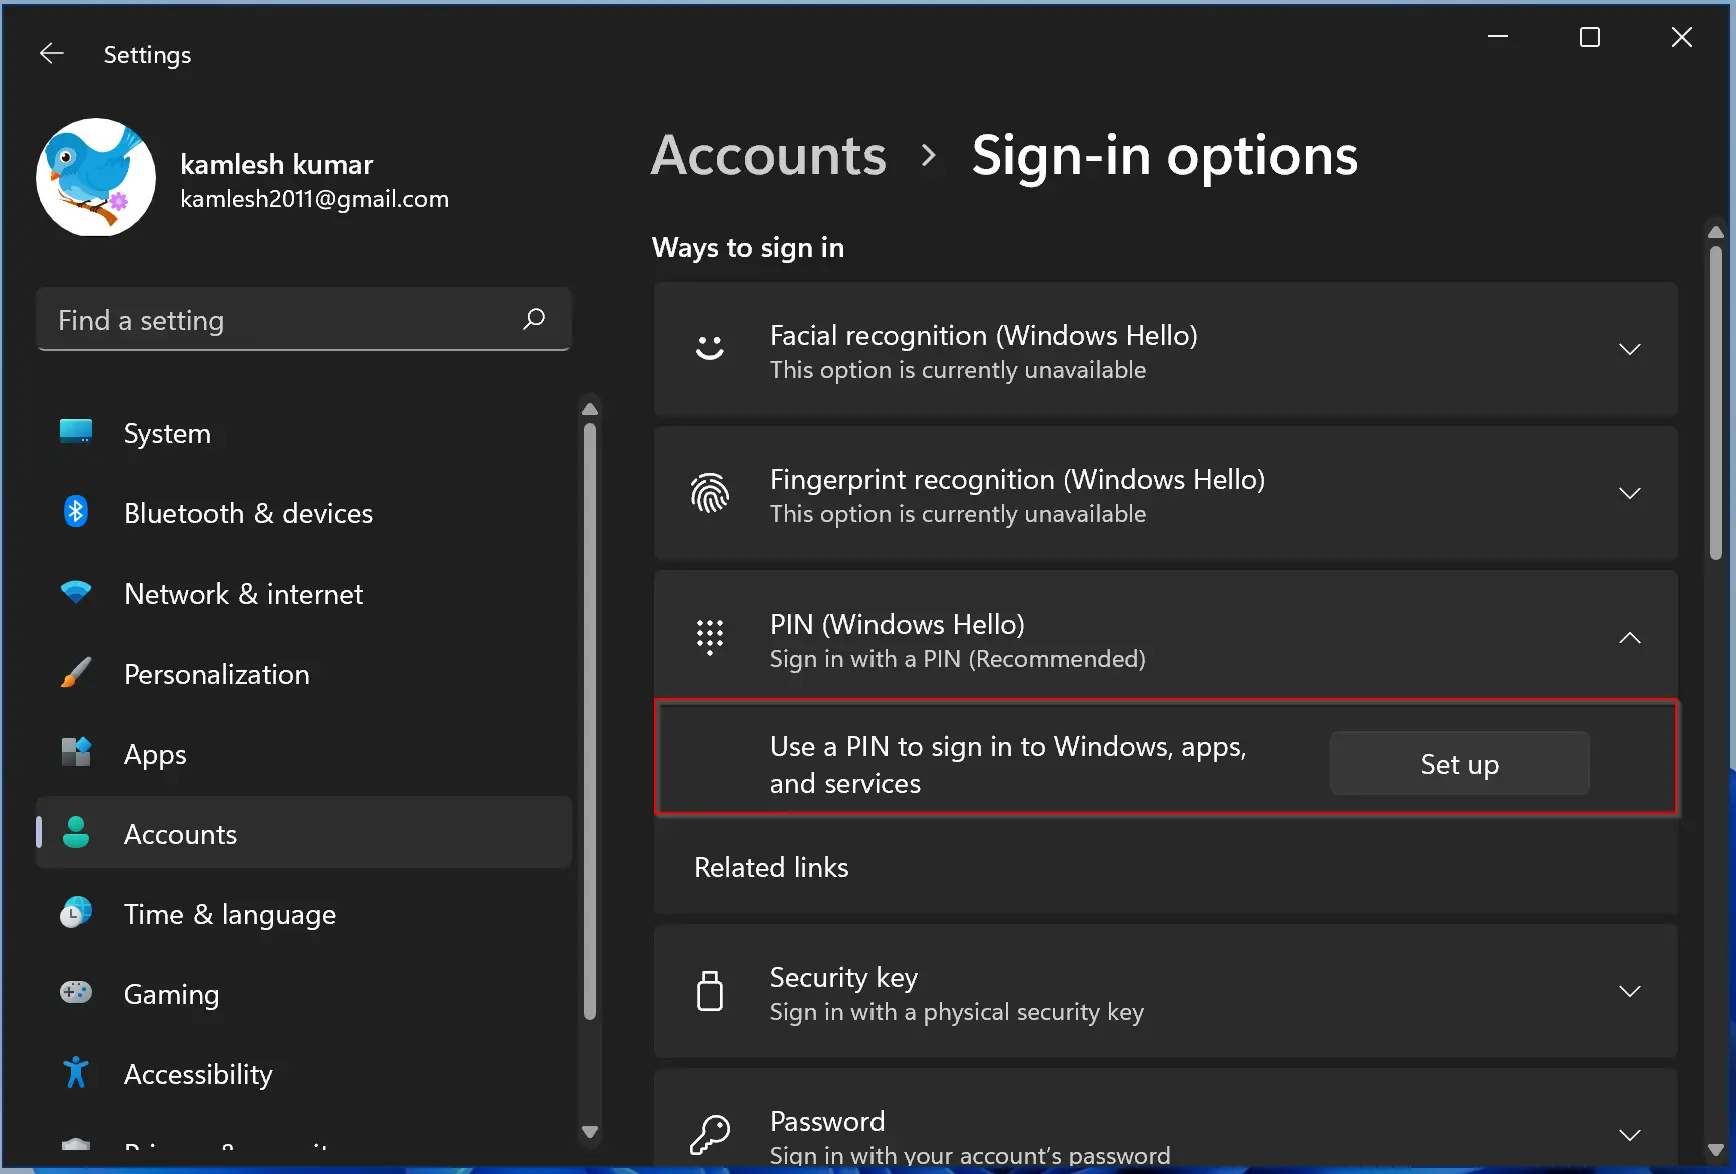
Step 5. When you’re done, click the Set up button beside “Use a PIN to sign in to Windows, apps, and services.”
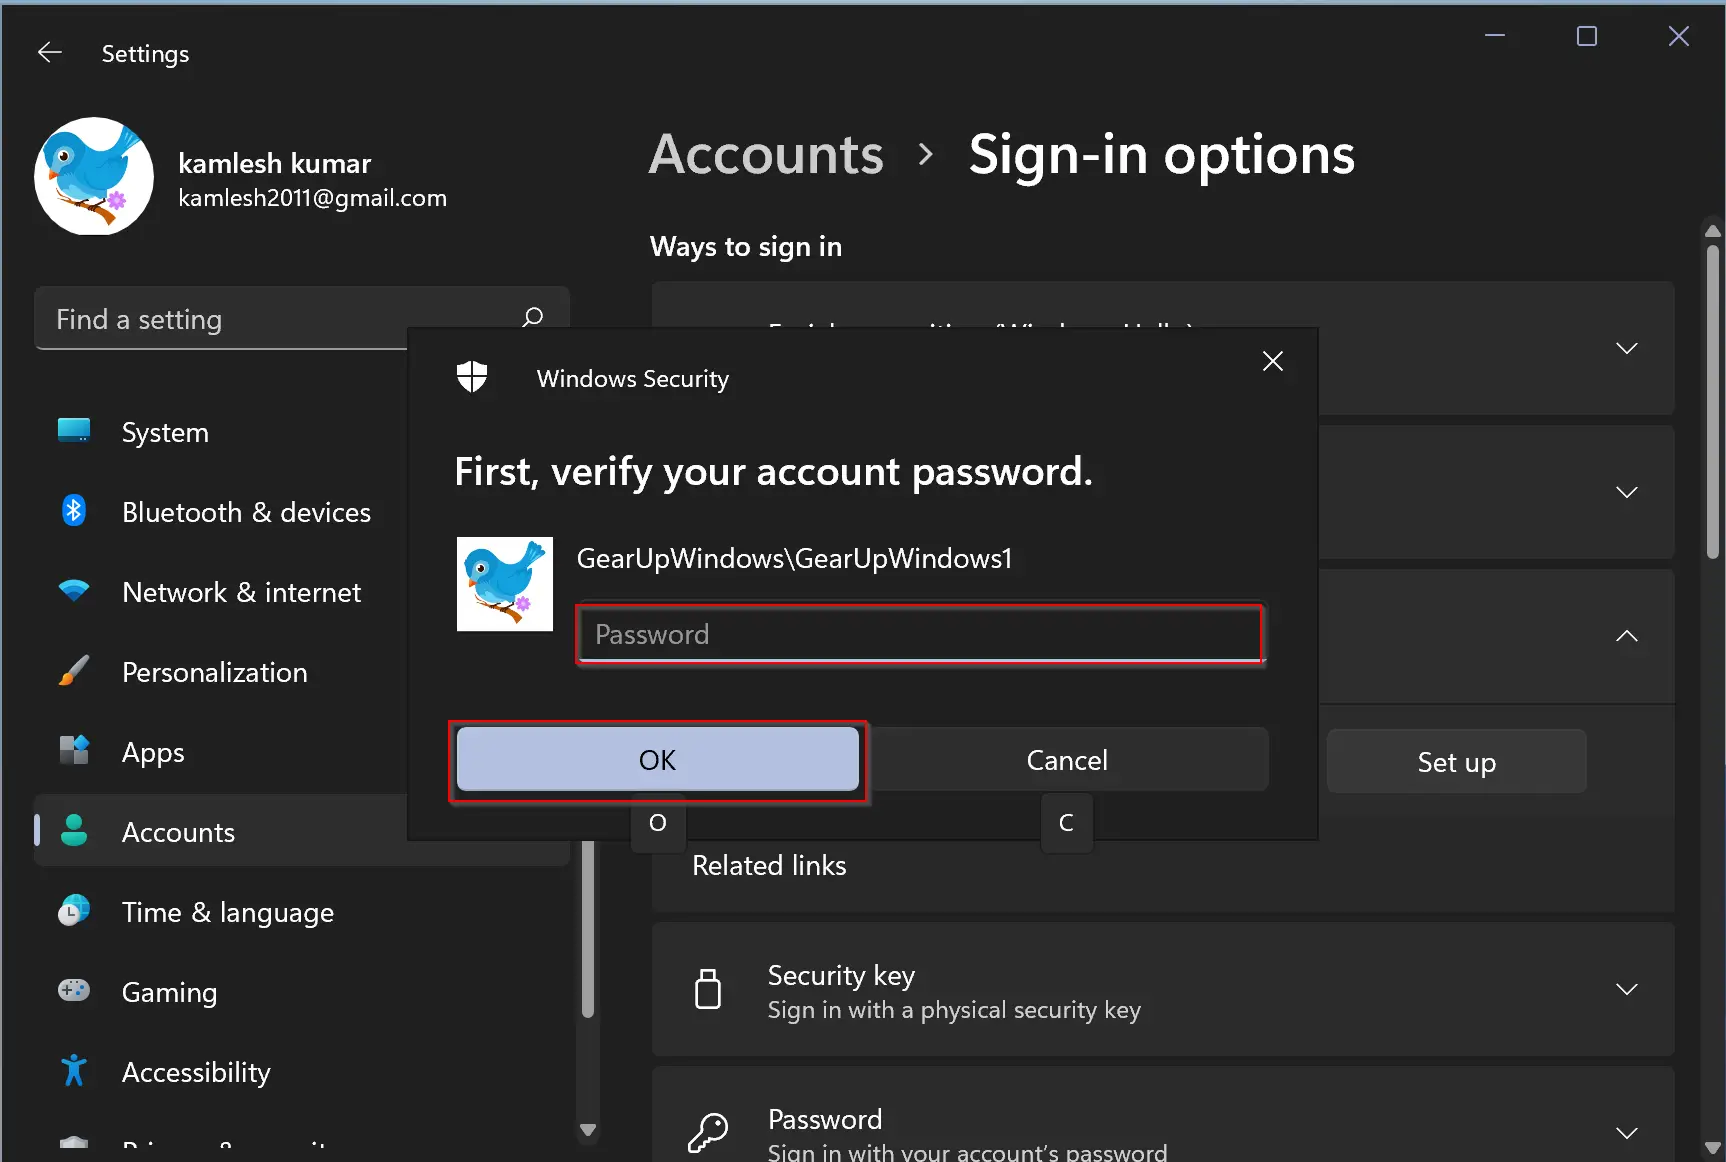
Step 6. In the following window that appears, enter your account password to verify and then click the OK button to proceed with the next steps.
Step 7. In the following screen, enter a PIN and then confirm it by re-entering it. When done, click the OK button.
By default, Windows 11 allows entering the PIN as numbers. If you need, check the checkbox labeled with “Include letters and symbol” to enter the complex PIN so that no one can guess it.
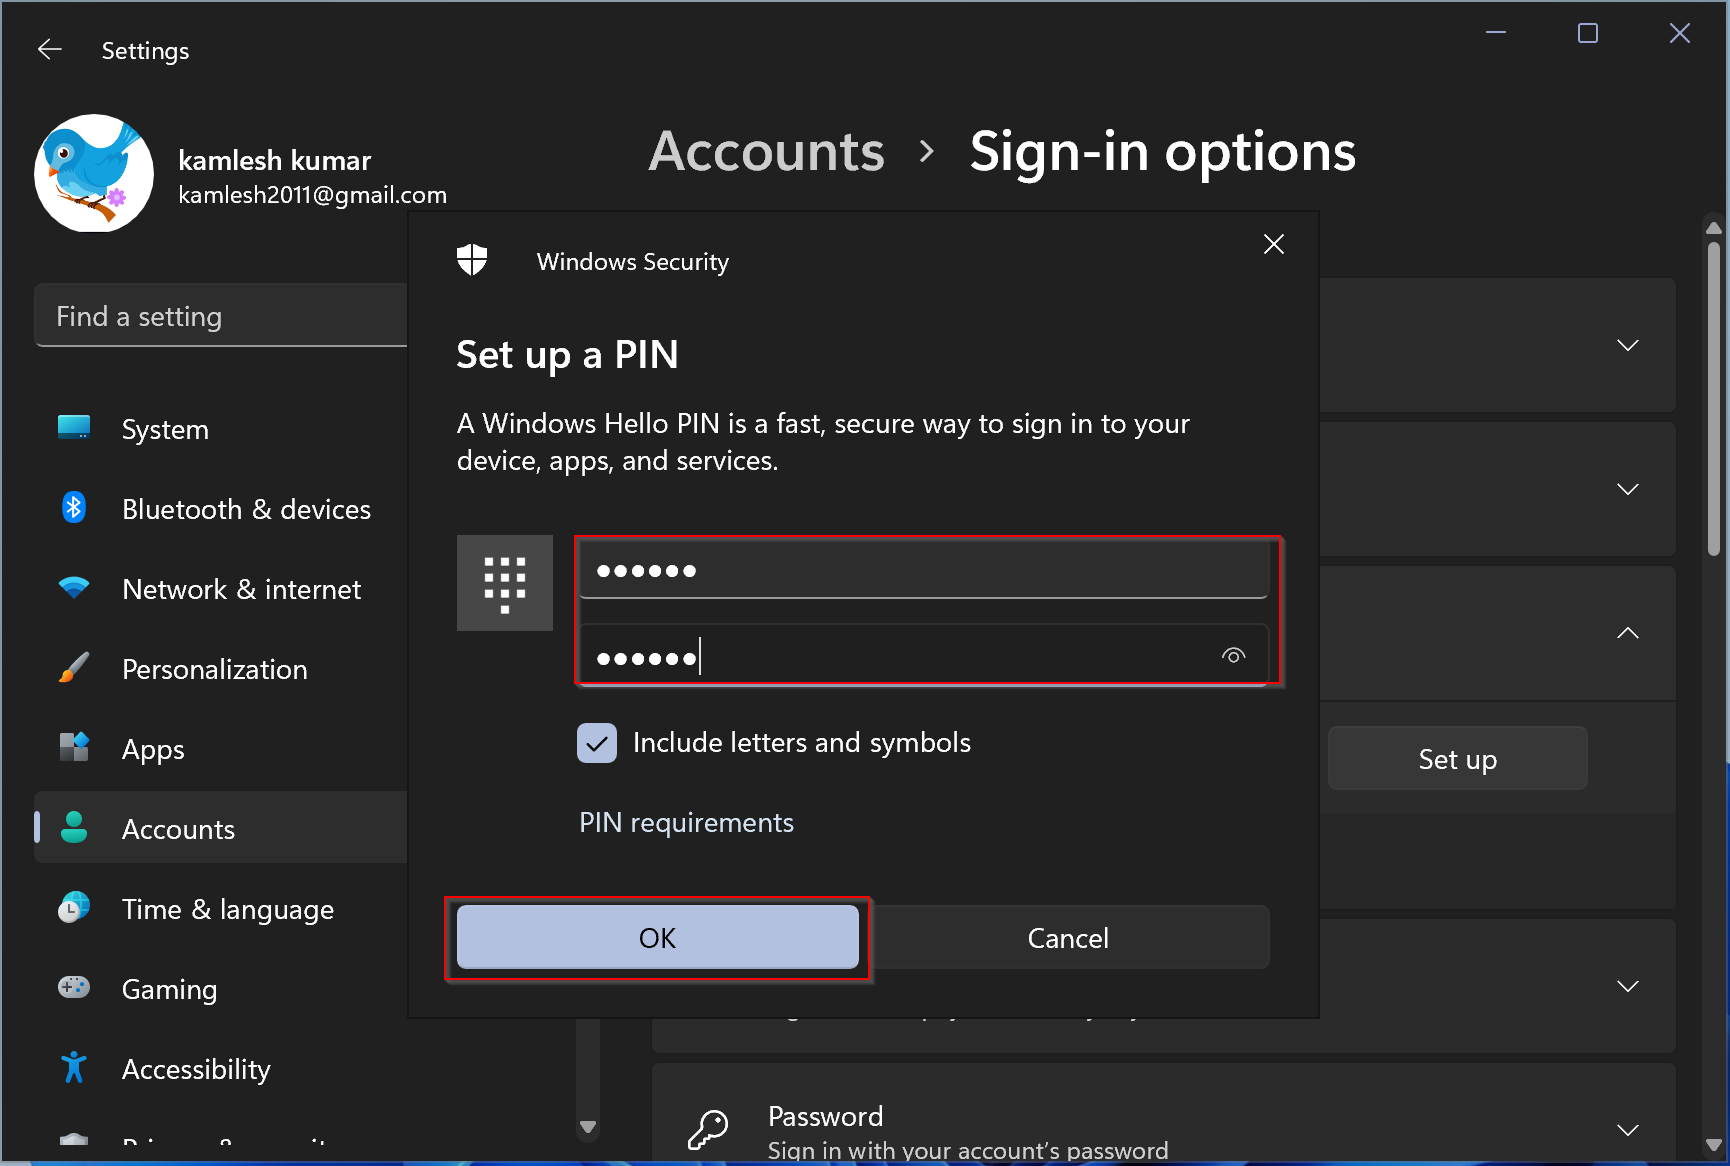
Step 8. After that, click the OK button.
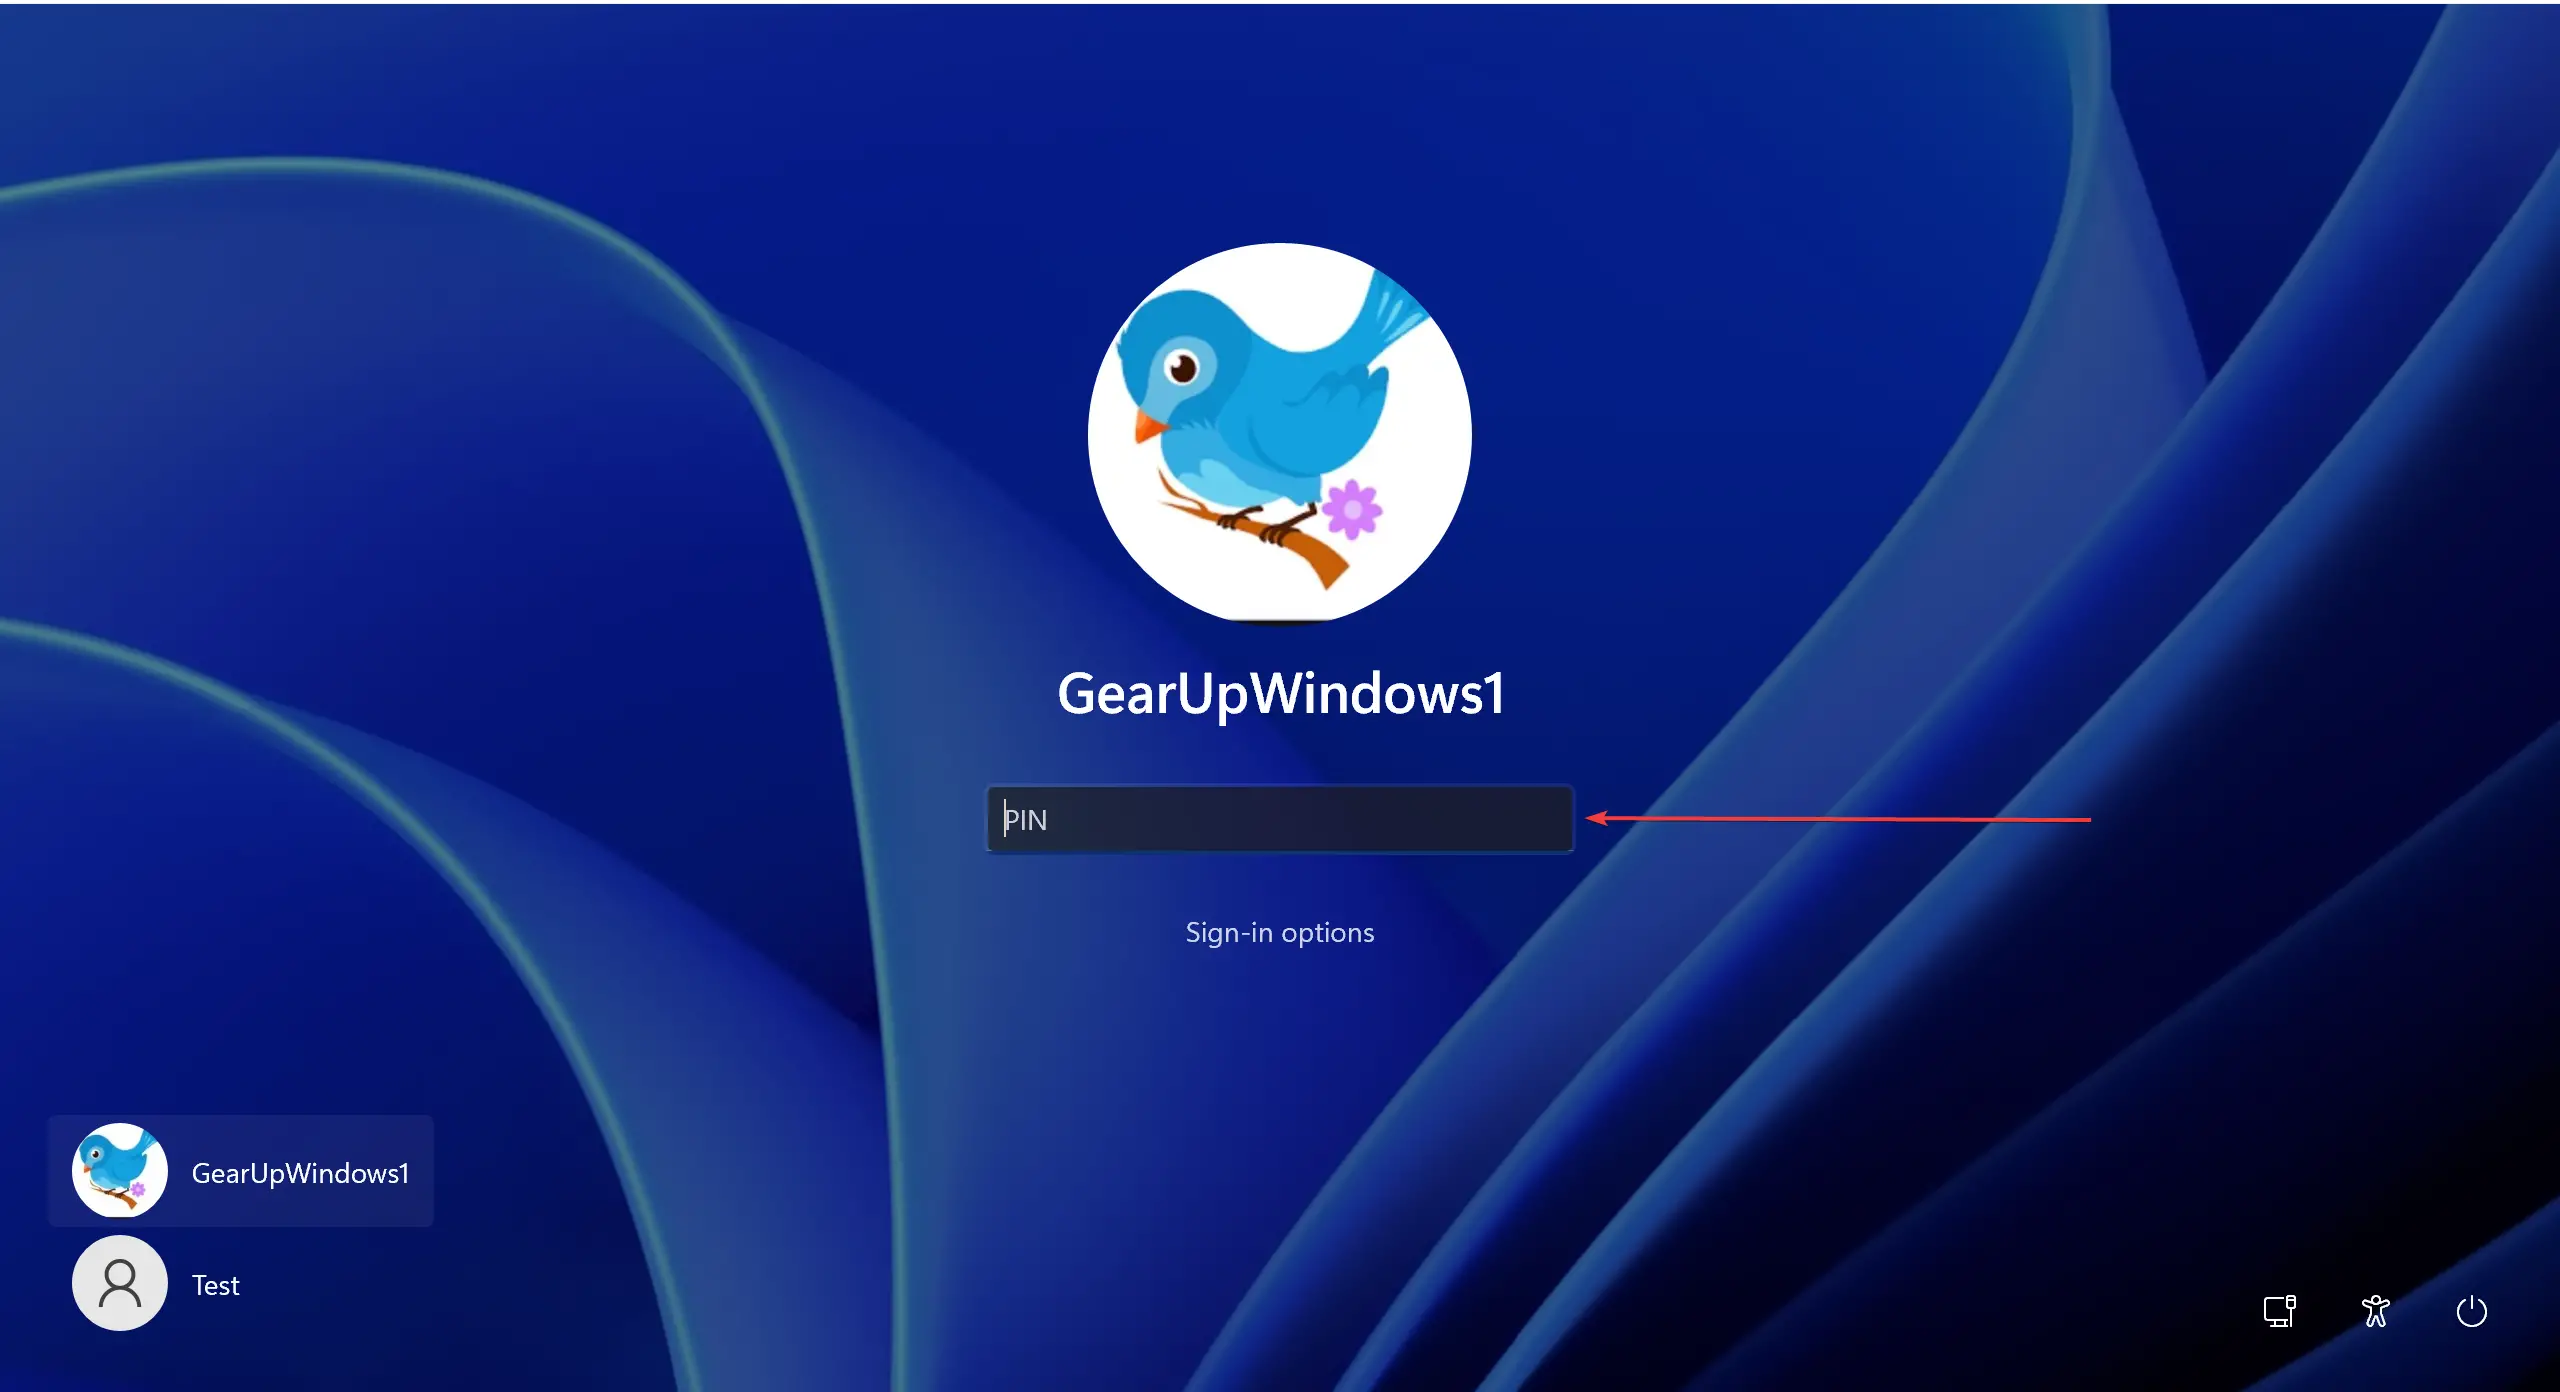
That’s it! The next time you try to sign in to your Windows 11 computer, you need to enter the correct PIN.
How to Change Sign-in PIN in Windows 11?
To change the sign-in PIN in Windows 11, use the following steps:-
Step 1. First, open Windows 11 Settings.
To do that, you can use the Windows + I shortcut keys.
Step 2. When Windows Settings opens, select the Accounts category from the left sidebar.
Step 3. In the Accounts settings pane, click Sign-in options.
Step 4. Next, on the Sign-in options settings, click the PIN (Windows Hello) tile to expand it.
Step 5. Under “PIN (Windows Hello),” you will find two options: “Change your PIN” and “Remove this sign-in option.”
Also Read: Windows Hello PIN Remove Button Greyed out in Windows 11
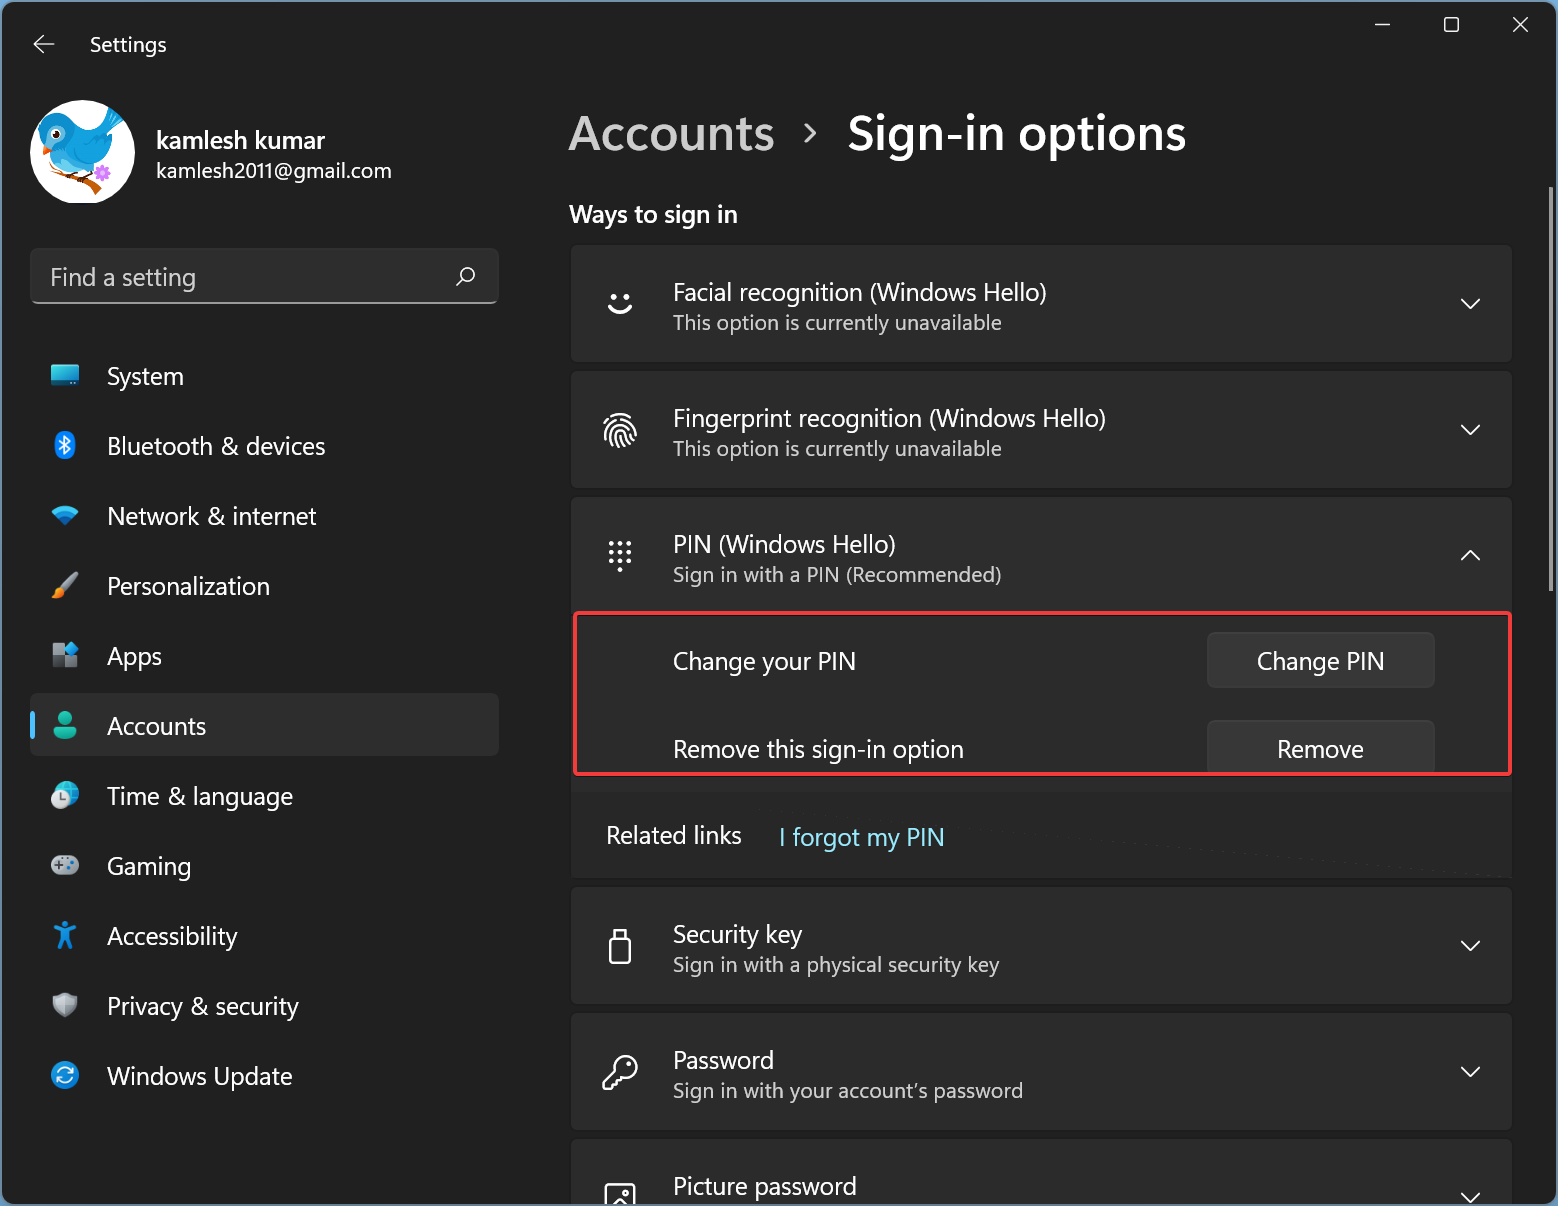
Step 6. To change your current PIN, click the Change PIN button beside the “Change your PIN” option. When a dialog box appears, put your current PIN inside the first text field that says “PIN.” After that, enter your new PIN inside the “New PIN” and “Confirm PIN” fields and click on the OK button to apply the changes.
If you wish to add letters and symbols to your PIN, check the box “Include letters and symbols” before applying for a new PIN.

Using the above steps, you can easily change your PIN.
How to Remove Sign-in PIN in Windows 11?
To remove or delete a sign-in PIN in Windows 11, use the following steps:-
Step 1. First, open Windows 11 Settings.
To do that, you can use the Windows + I shortcut keys.
Step 2. When Windows Settings opens, select the Accounts category from the left sidebar.
Step 3. In the Accounts settings pane, click Sign-in options.
Step 4. Next, on the Sign-in options settings, click the PIN (Windows Hello) tile to expand it.
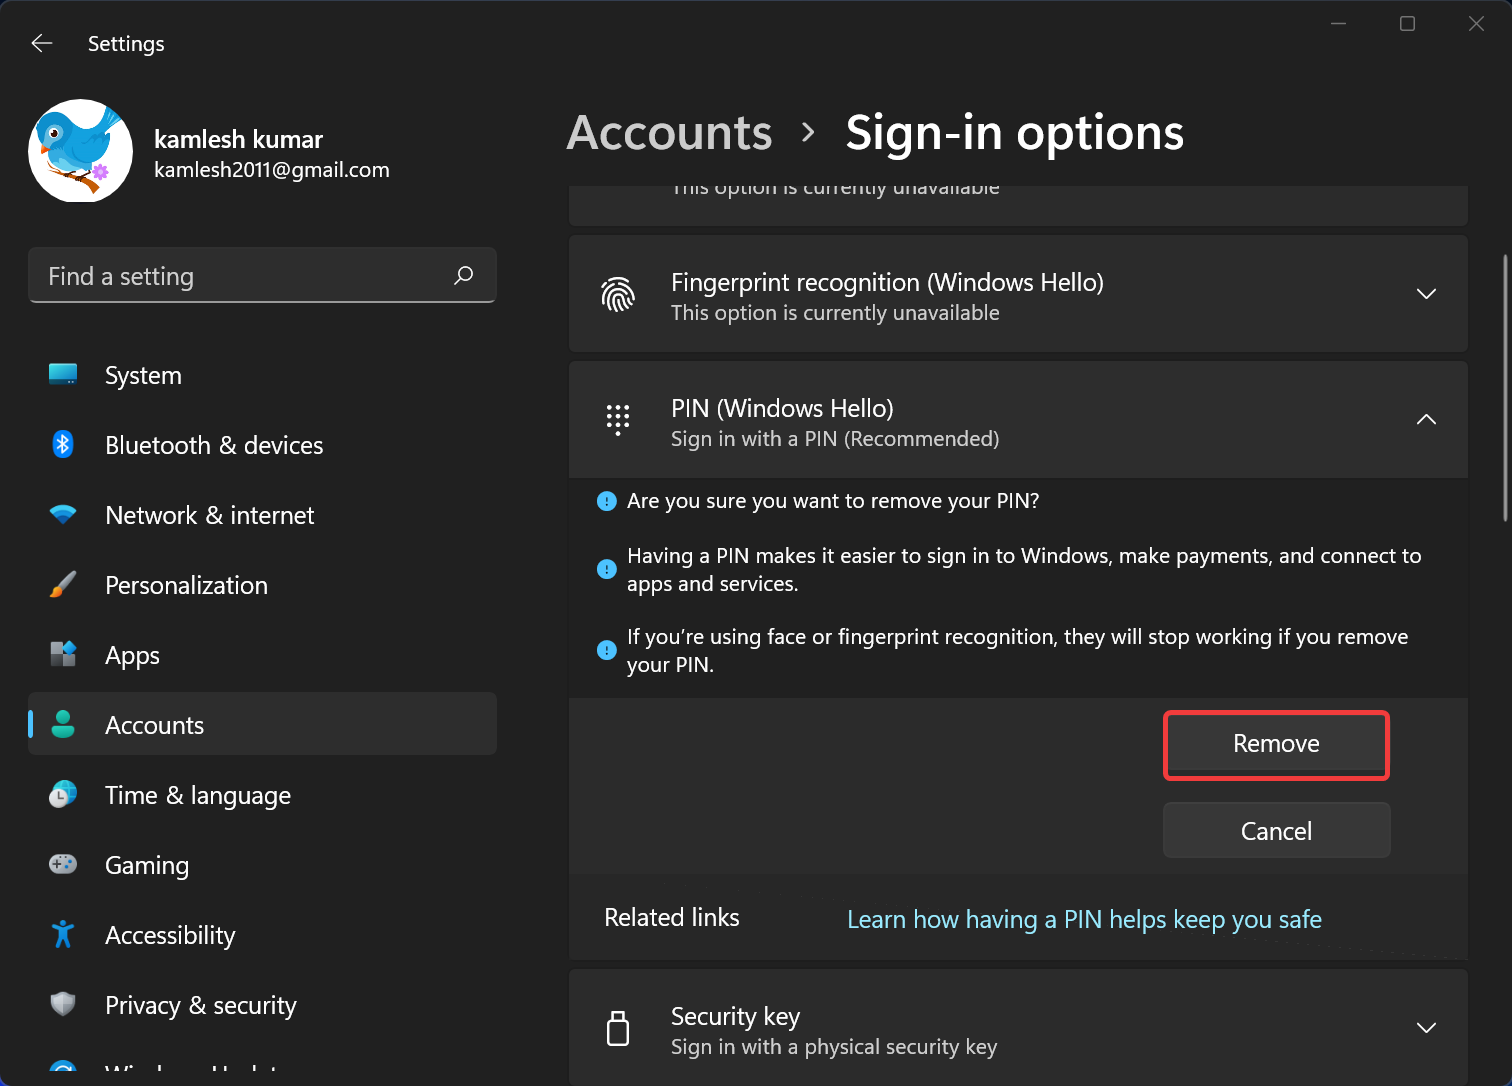
Step 5. Under “PIN (Windows Hello),” you will find two options: “Change your PIN” and “Remove this sign-in option.”
Step 6. To remove the PIN from your user account, click the Remove button beside the “Remove this sign-in option.” When you see a warning to confirm the action, click on the Remove button.
Step 7. To remove your PIN, you need to verify your identity by entering your account password. Put your account password inside the Password field and click on the OK button to continue.
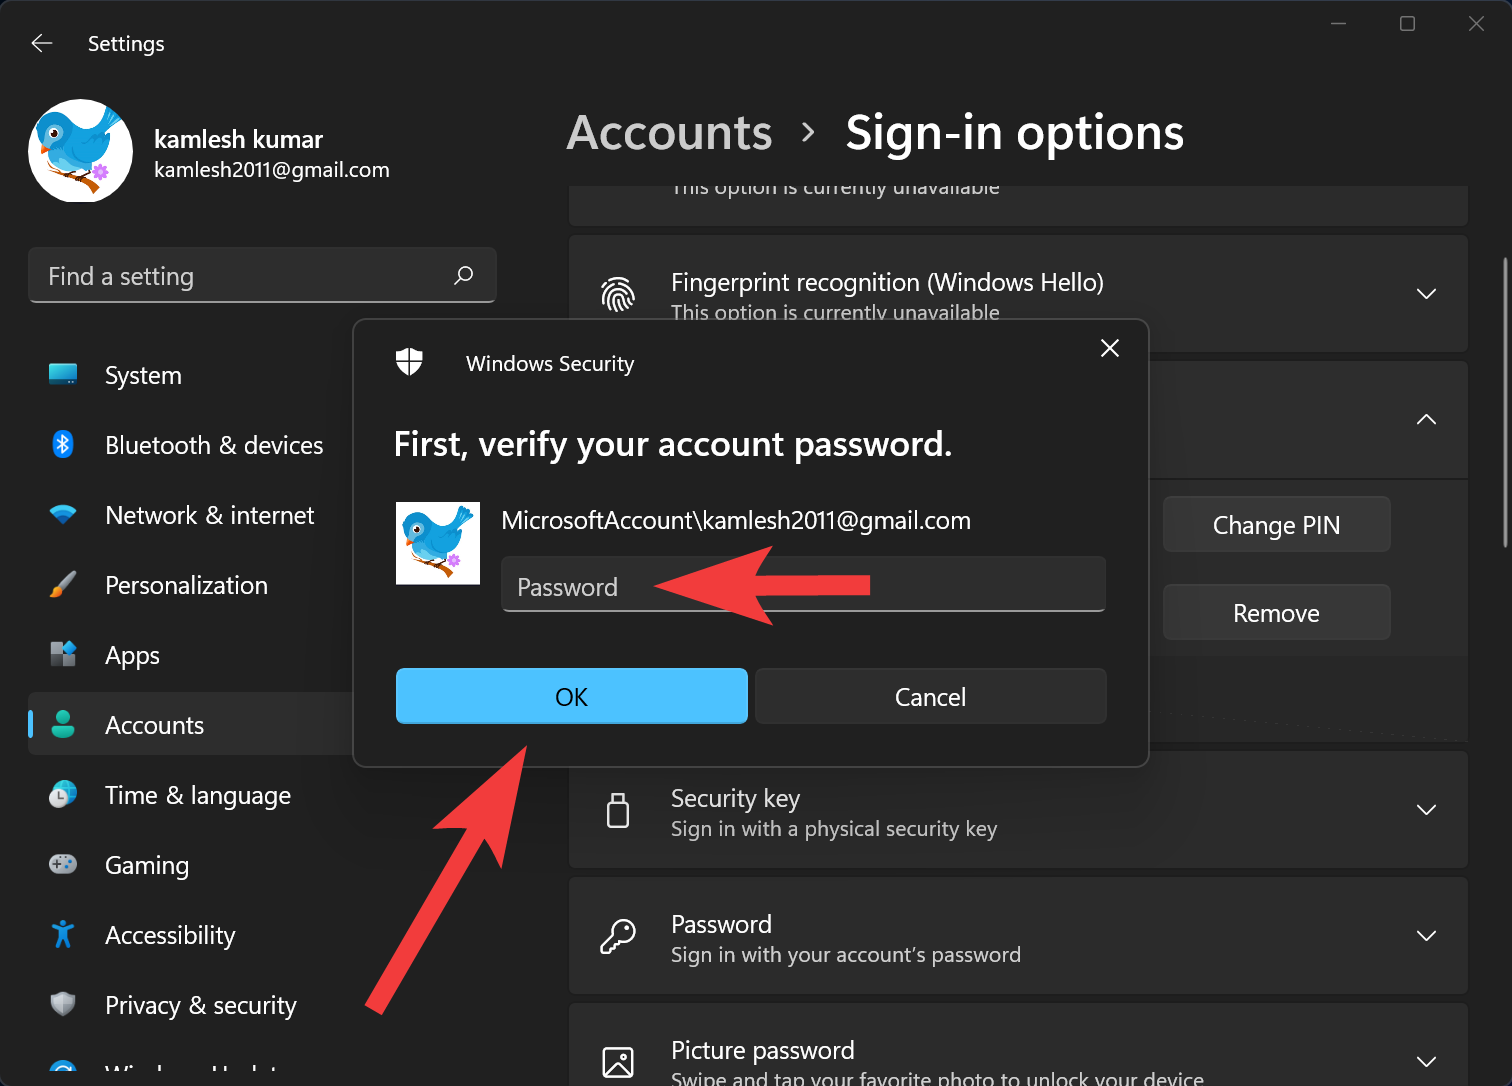
Once you complete the above steps, the PIN will be removed from your Windows 11 PC.
Conclusion
In conclusion, Windows Hello PIN is a secure and fast way to log in to your Windows 11 PC. It is recommended by Microsoft as a better alternative to using a complex password. Setting up a PIN is straightforward and can be done by following the steps outlined in this post. Additionally, Windows 11 allows you to change or remove the PIN as needed. The PIN is specific to the device you create it on, making it more secure than a password, which can be used on any device with the same account. By using Windows Hello PIN, you can keep your Windows 11 PC secure and make your log-in experience more convenient.