In the world of computing, data security and integrity are of paramount importance. There may be situations where you want to ensure that a particular disk or partition on your Windows 11 or Windows 10 computer remains unaltered and is only accessible for reading, not writing. This can be useful to protect critical data, prevent accidental deletions, or safeguard against malware attacks. Fortunately, Windows provides built-in tools and methods to make a disk or partition read-only. In this article, we will guide you through the steps to achieve this level of protection.
How to Make Disk Read-Only in Windows 11/10?
DiskPart is a powerful command-line utility that allows you to manage disks, partitions, and volumes on your Windows computer. Here’s how you can make a disk read-only using DiskPart:-
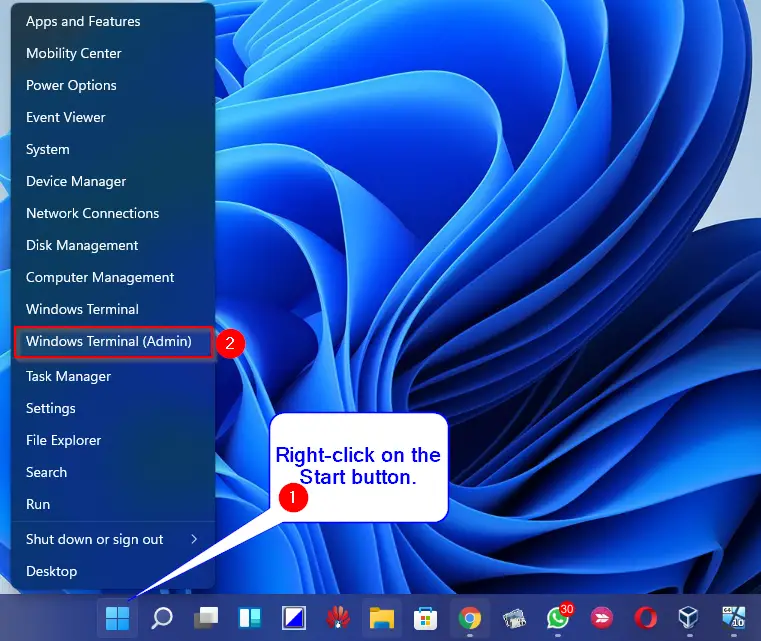
Step 1. Press “Windows + X” and choose “Terminal (Admin)” from the context menu. Alternatively, right-click on the Start button and select “Terminal (Admin).” This will open the Terminal app with elevated rights on your computer.
Step 2. Type “diskpart” and press Enter to launch the DiskPart utility.
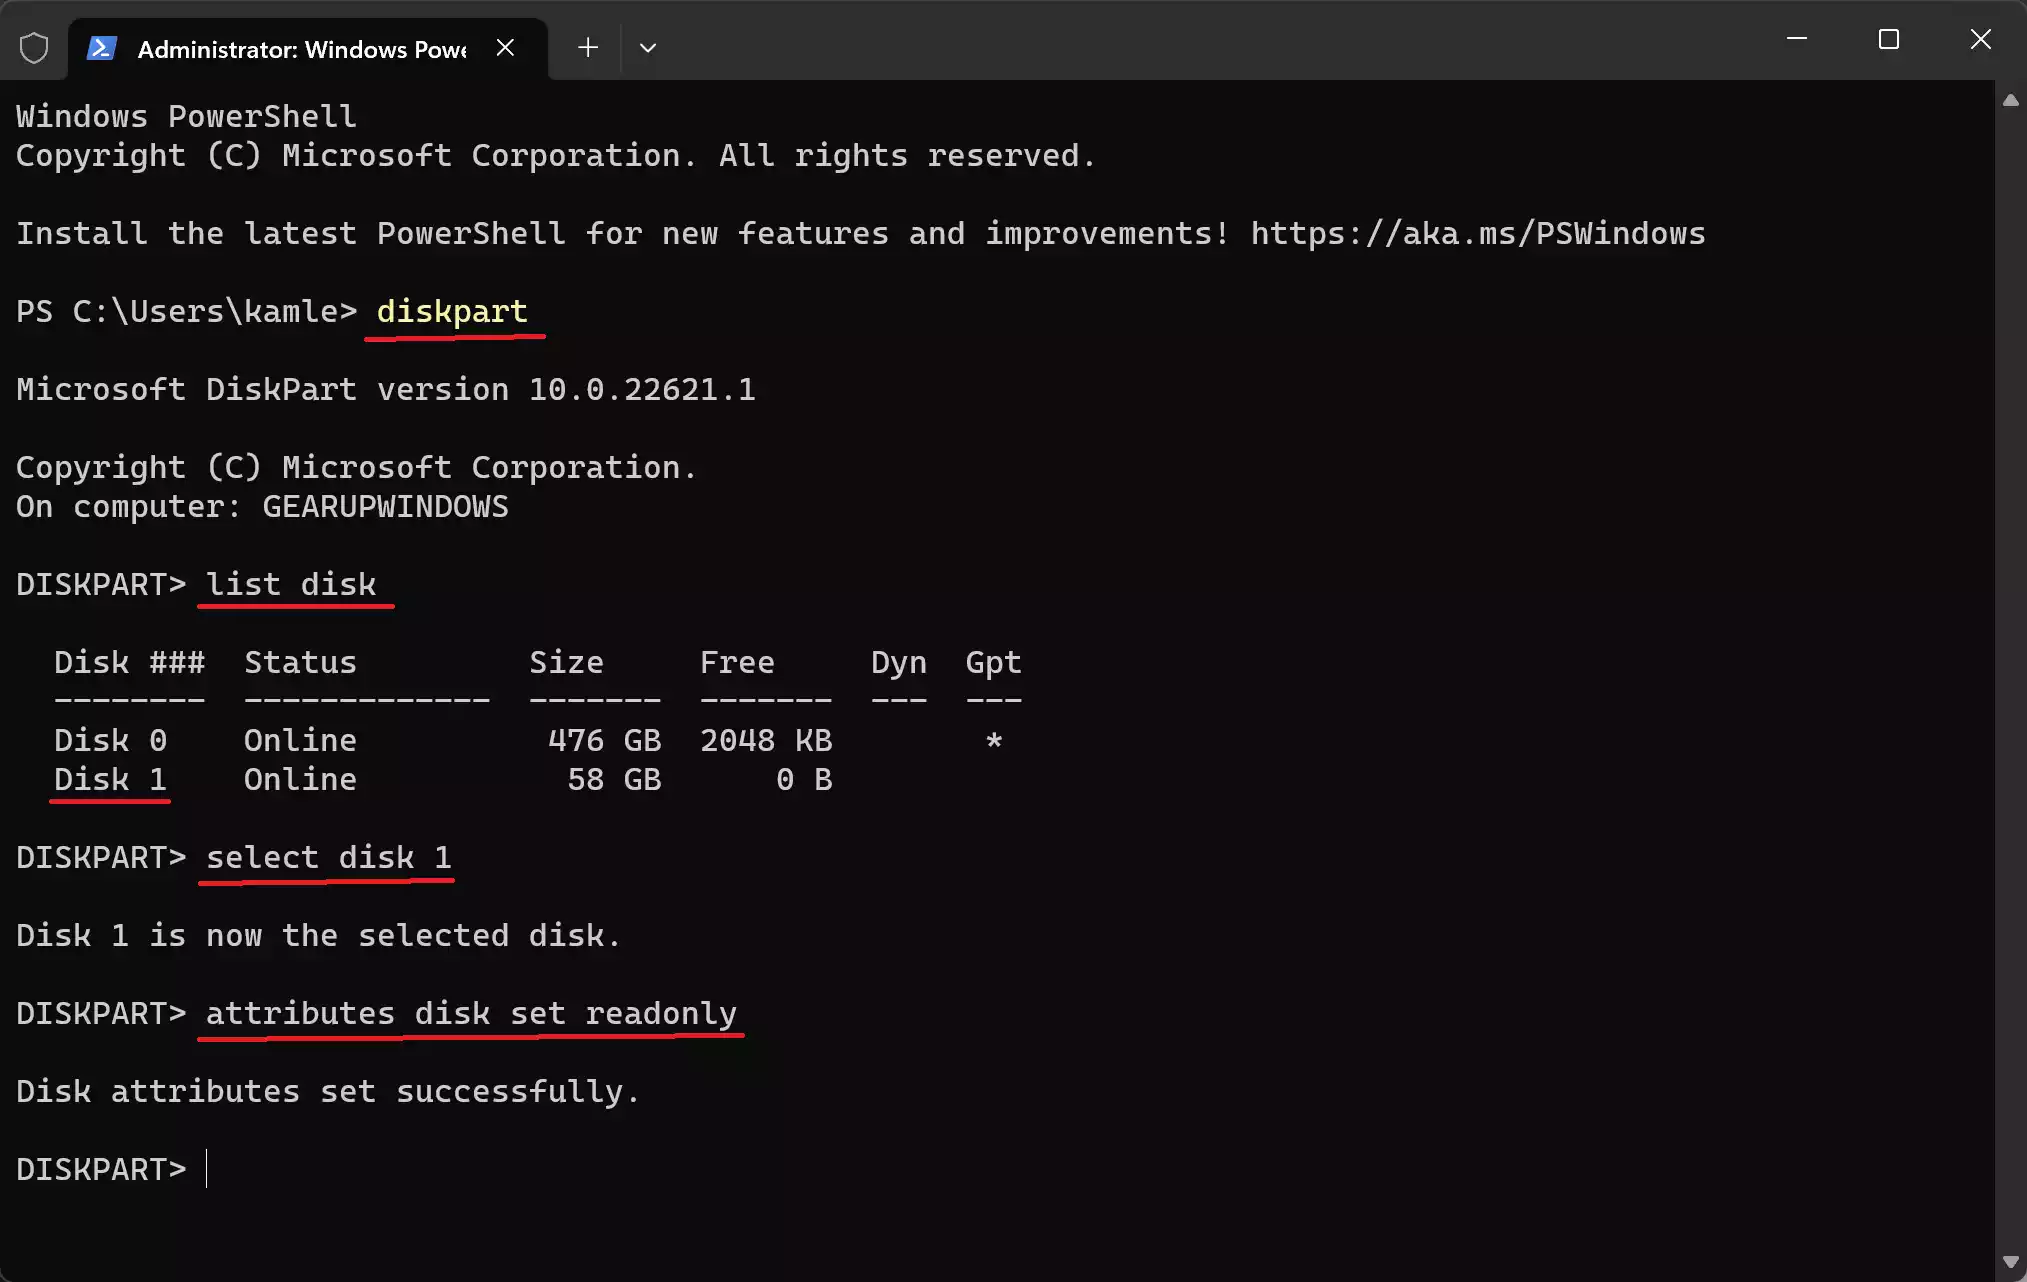
Step 3. Type “list disk” and press Enter to see a list of available disks. Then, type “select disk X” (replace X with the disk number you want to make read-only) and press Enter.
Step 4. Type “attributes disk set readonly” and press Enter to set the disk as read-only.
This will make the selected disk read-only, preventing any write operations on it.
To undo disk read-only, repeat the above steps, and in step 4, type “attributes disk clear readonly” and press Enter. This will make the selected disk read-write, allowing you to write operations on it.
How to Make Partition or Volume Read-Only in Windows 11/10?
DiskPart is a powerful command-line utility that allows you to manage disks, partitions, and volumes on your Windows computer. Here’s how you can make a partition read-only using DiskPart:-
Step 1. Press “Windows + X” and choose “Terminal (Admin)” from the context menu. Alternatively, right-click on the Start button and select “Terminal (Admin).” This will open the Terminal app with elevated rights on your computer.
Step 2. Type “diskpart” and press Enter to launch the DiskPart utility.
Step 3. Type “list volume” and hit Enter to find the specific partition on your PC you want to set read-only.
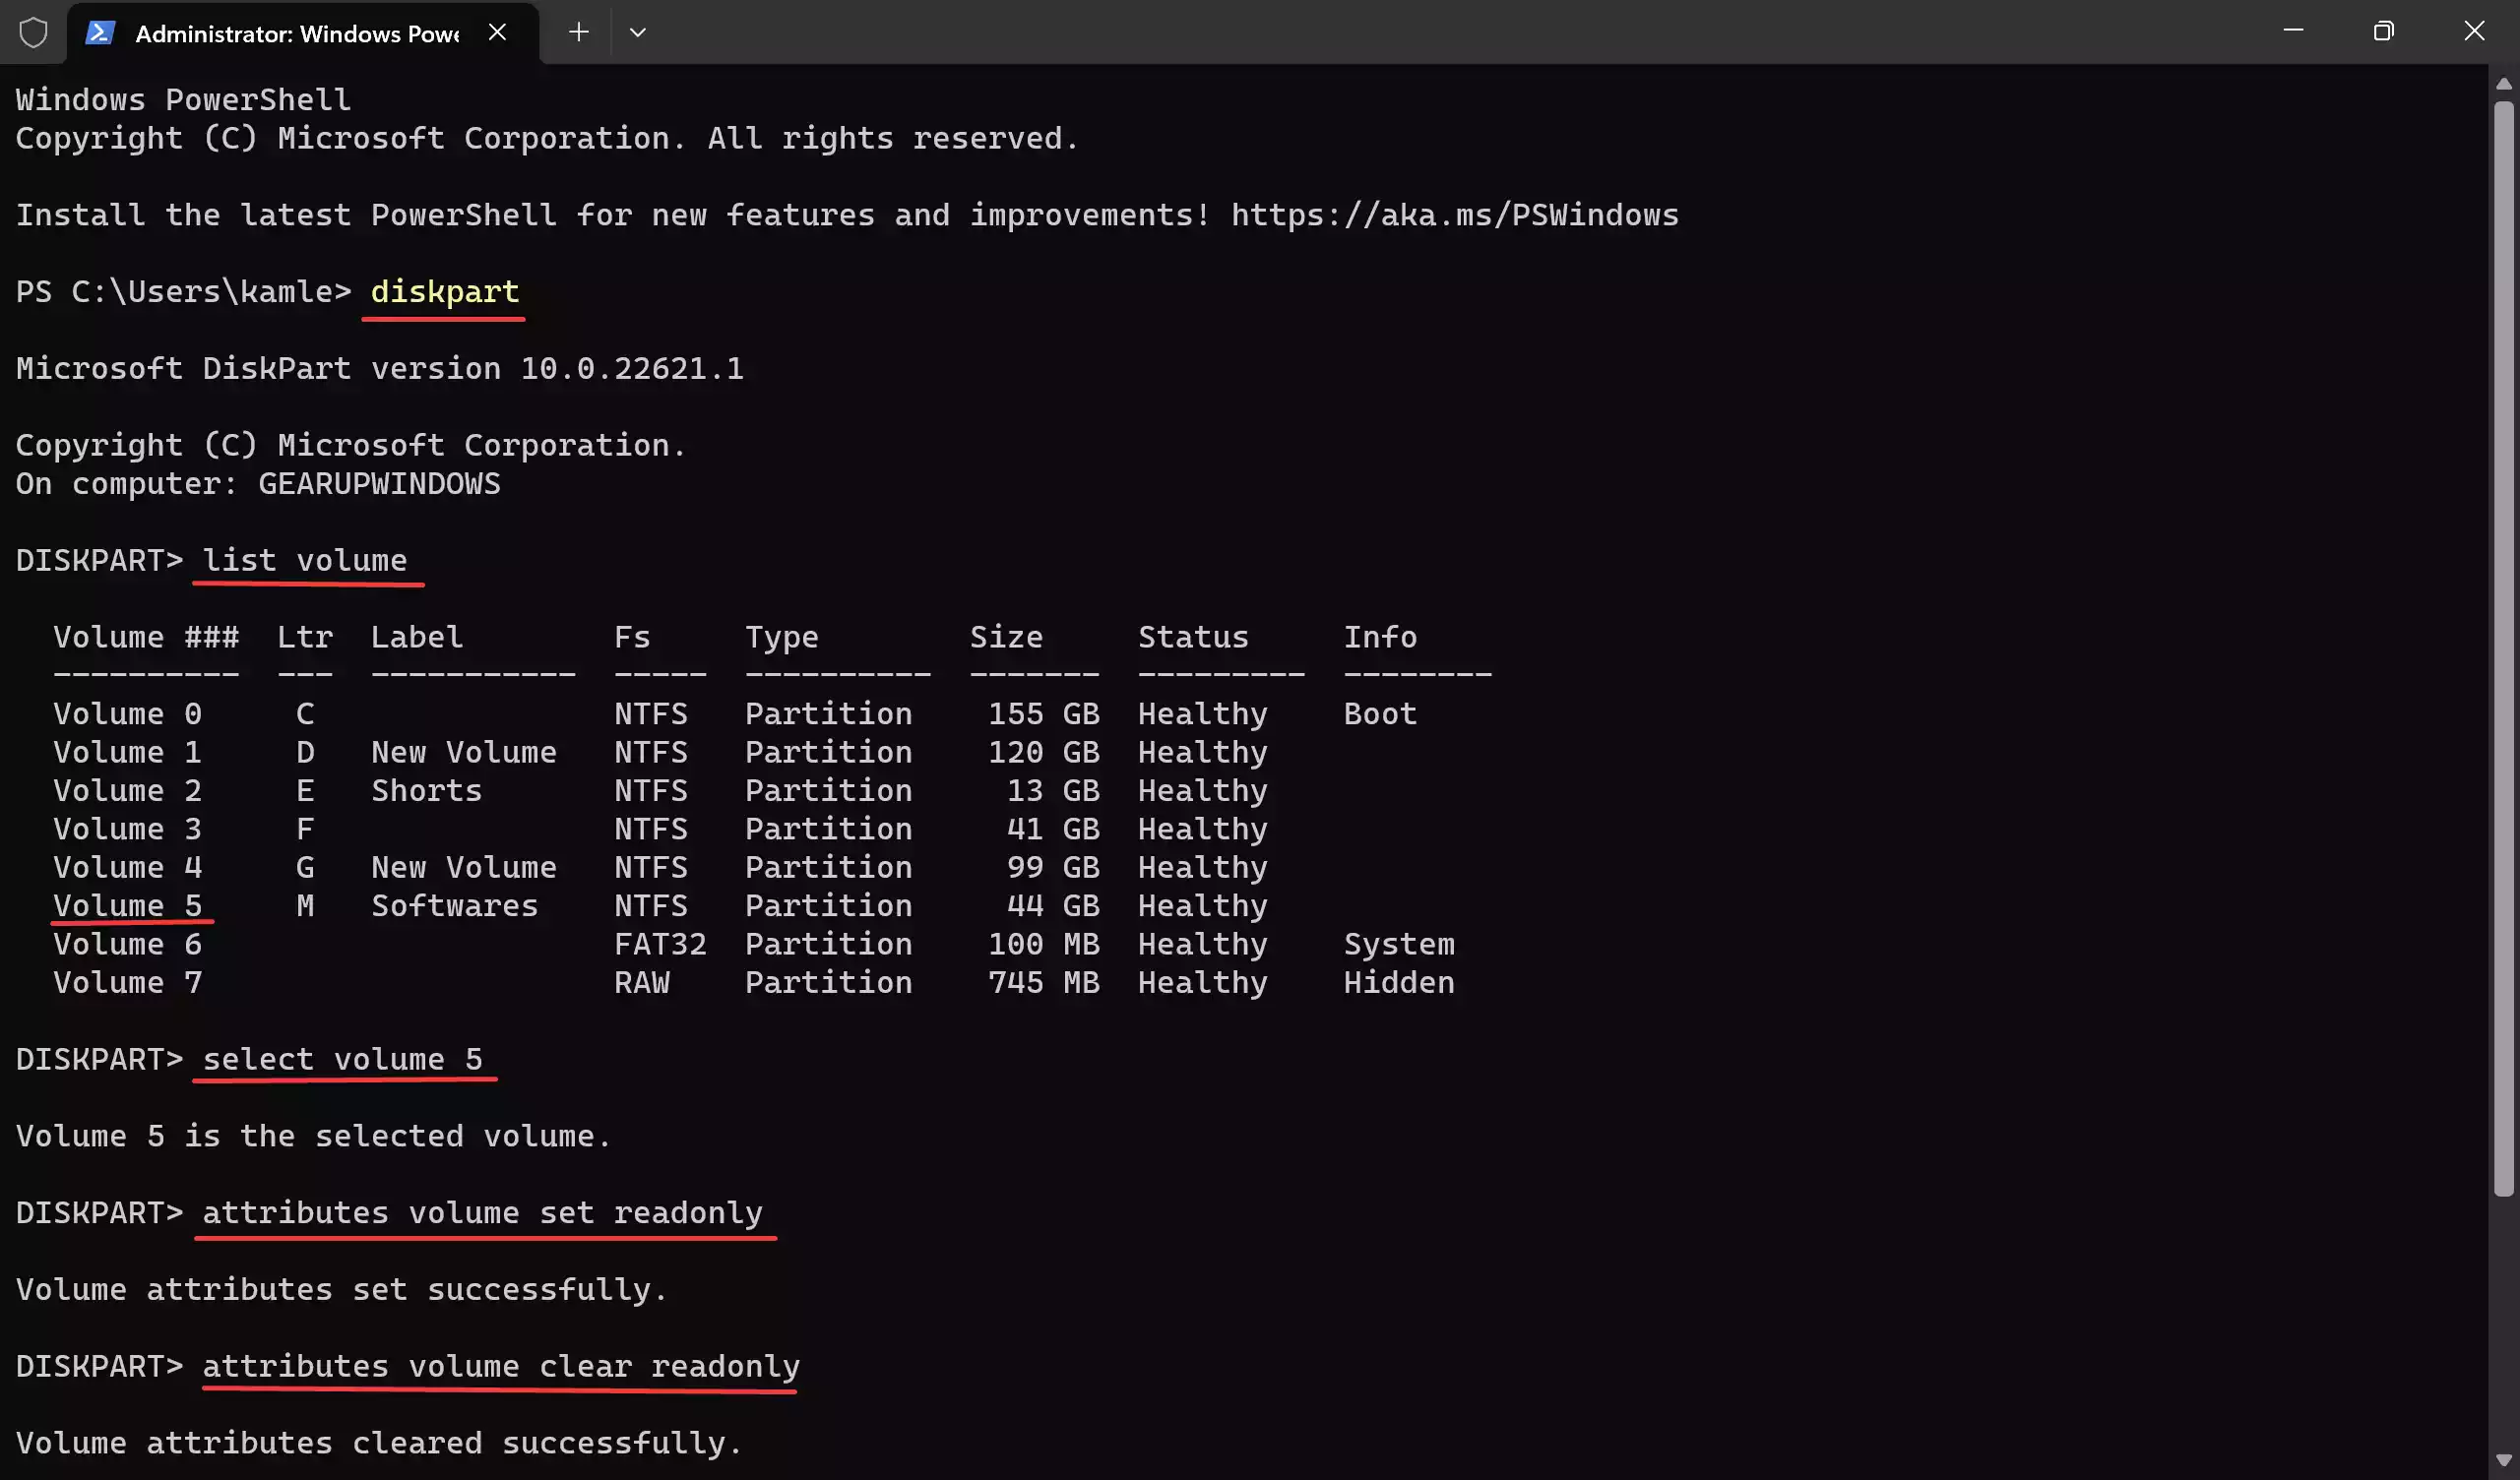
Step 4. To choose the required volume/partition, type the following command and press Enter:-
select volume X
Note: In the above command, replace “X” with the volume number you want to make read-only.
Step 5. Now, to make the selected volume read-only, type the following command and press Enter:-
attributes volume set readonly
The selected volume/partition will now be read-only.
To make the volume or partition, read-write, repeat the above steps, and in step 5 above, use the following command and press Enter:-
attributes volume clear readonly
Conclusion
Ensuring the security and integrity of your data is a paramount concern in the world of computing. Windows 11 and Windows 10 offer built-in tools, like DiskPart, to make your disks and partitions read-only, safeguarding your critical information from accidental alterations and malicious attacks. By following the steps outlined in this guide, you can easily implement this protective measure. Remember that it’s equally essential to know how to revert to read-write access when necessary, and this guide provides the steps for that as well.
Also Read: How to hide a drive or partition from File Explorer on Windows 11/10/8/7?
