Microsoft Office suite, comprising Excel, Word, and PowerPoint, is a staple in both professional and personal settings for managing data, creating documents, and designing presentations. While most users are well-versed in the basic functionalities of these applications, there are hidden features that can significantly enhance your productivity. One such feature is the ability to pin documents, which allows you to access your most important files with ease.
In this article, we will delve into the step-by-step process of pinning a document in Excel, Word, and PowerPoint, whether you’re using a computer or mobile device.
How to Pin Documents on a Windows Computer?
Pinning from Recent Documents
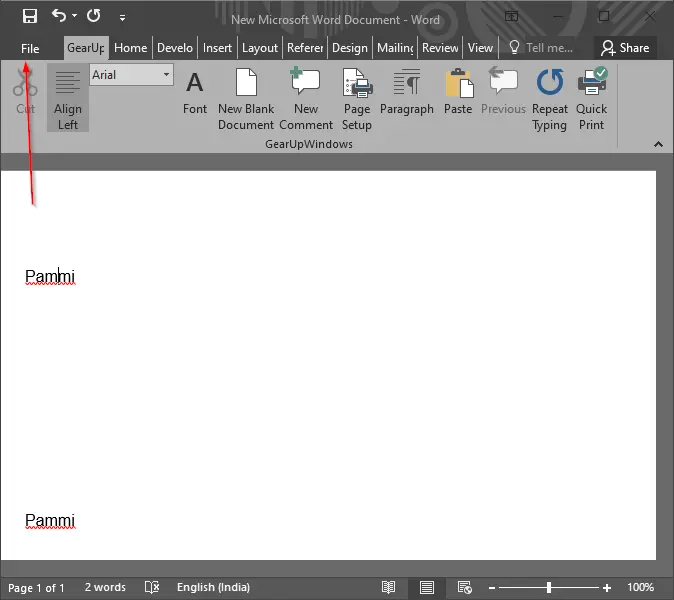
Step 1. Open the Excel, Word, or PowerPoint application on your computer.
Step 2. Click on the “File” tab located in the top left corner of the window.
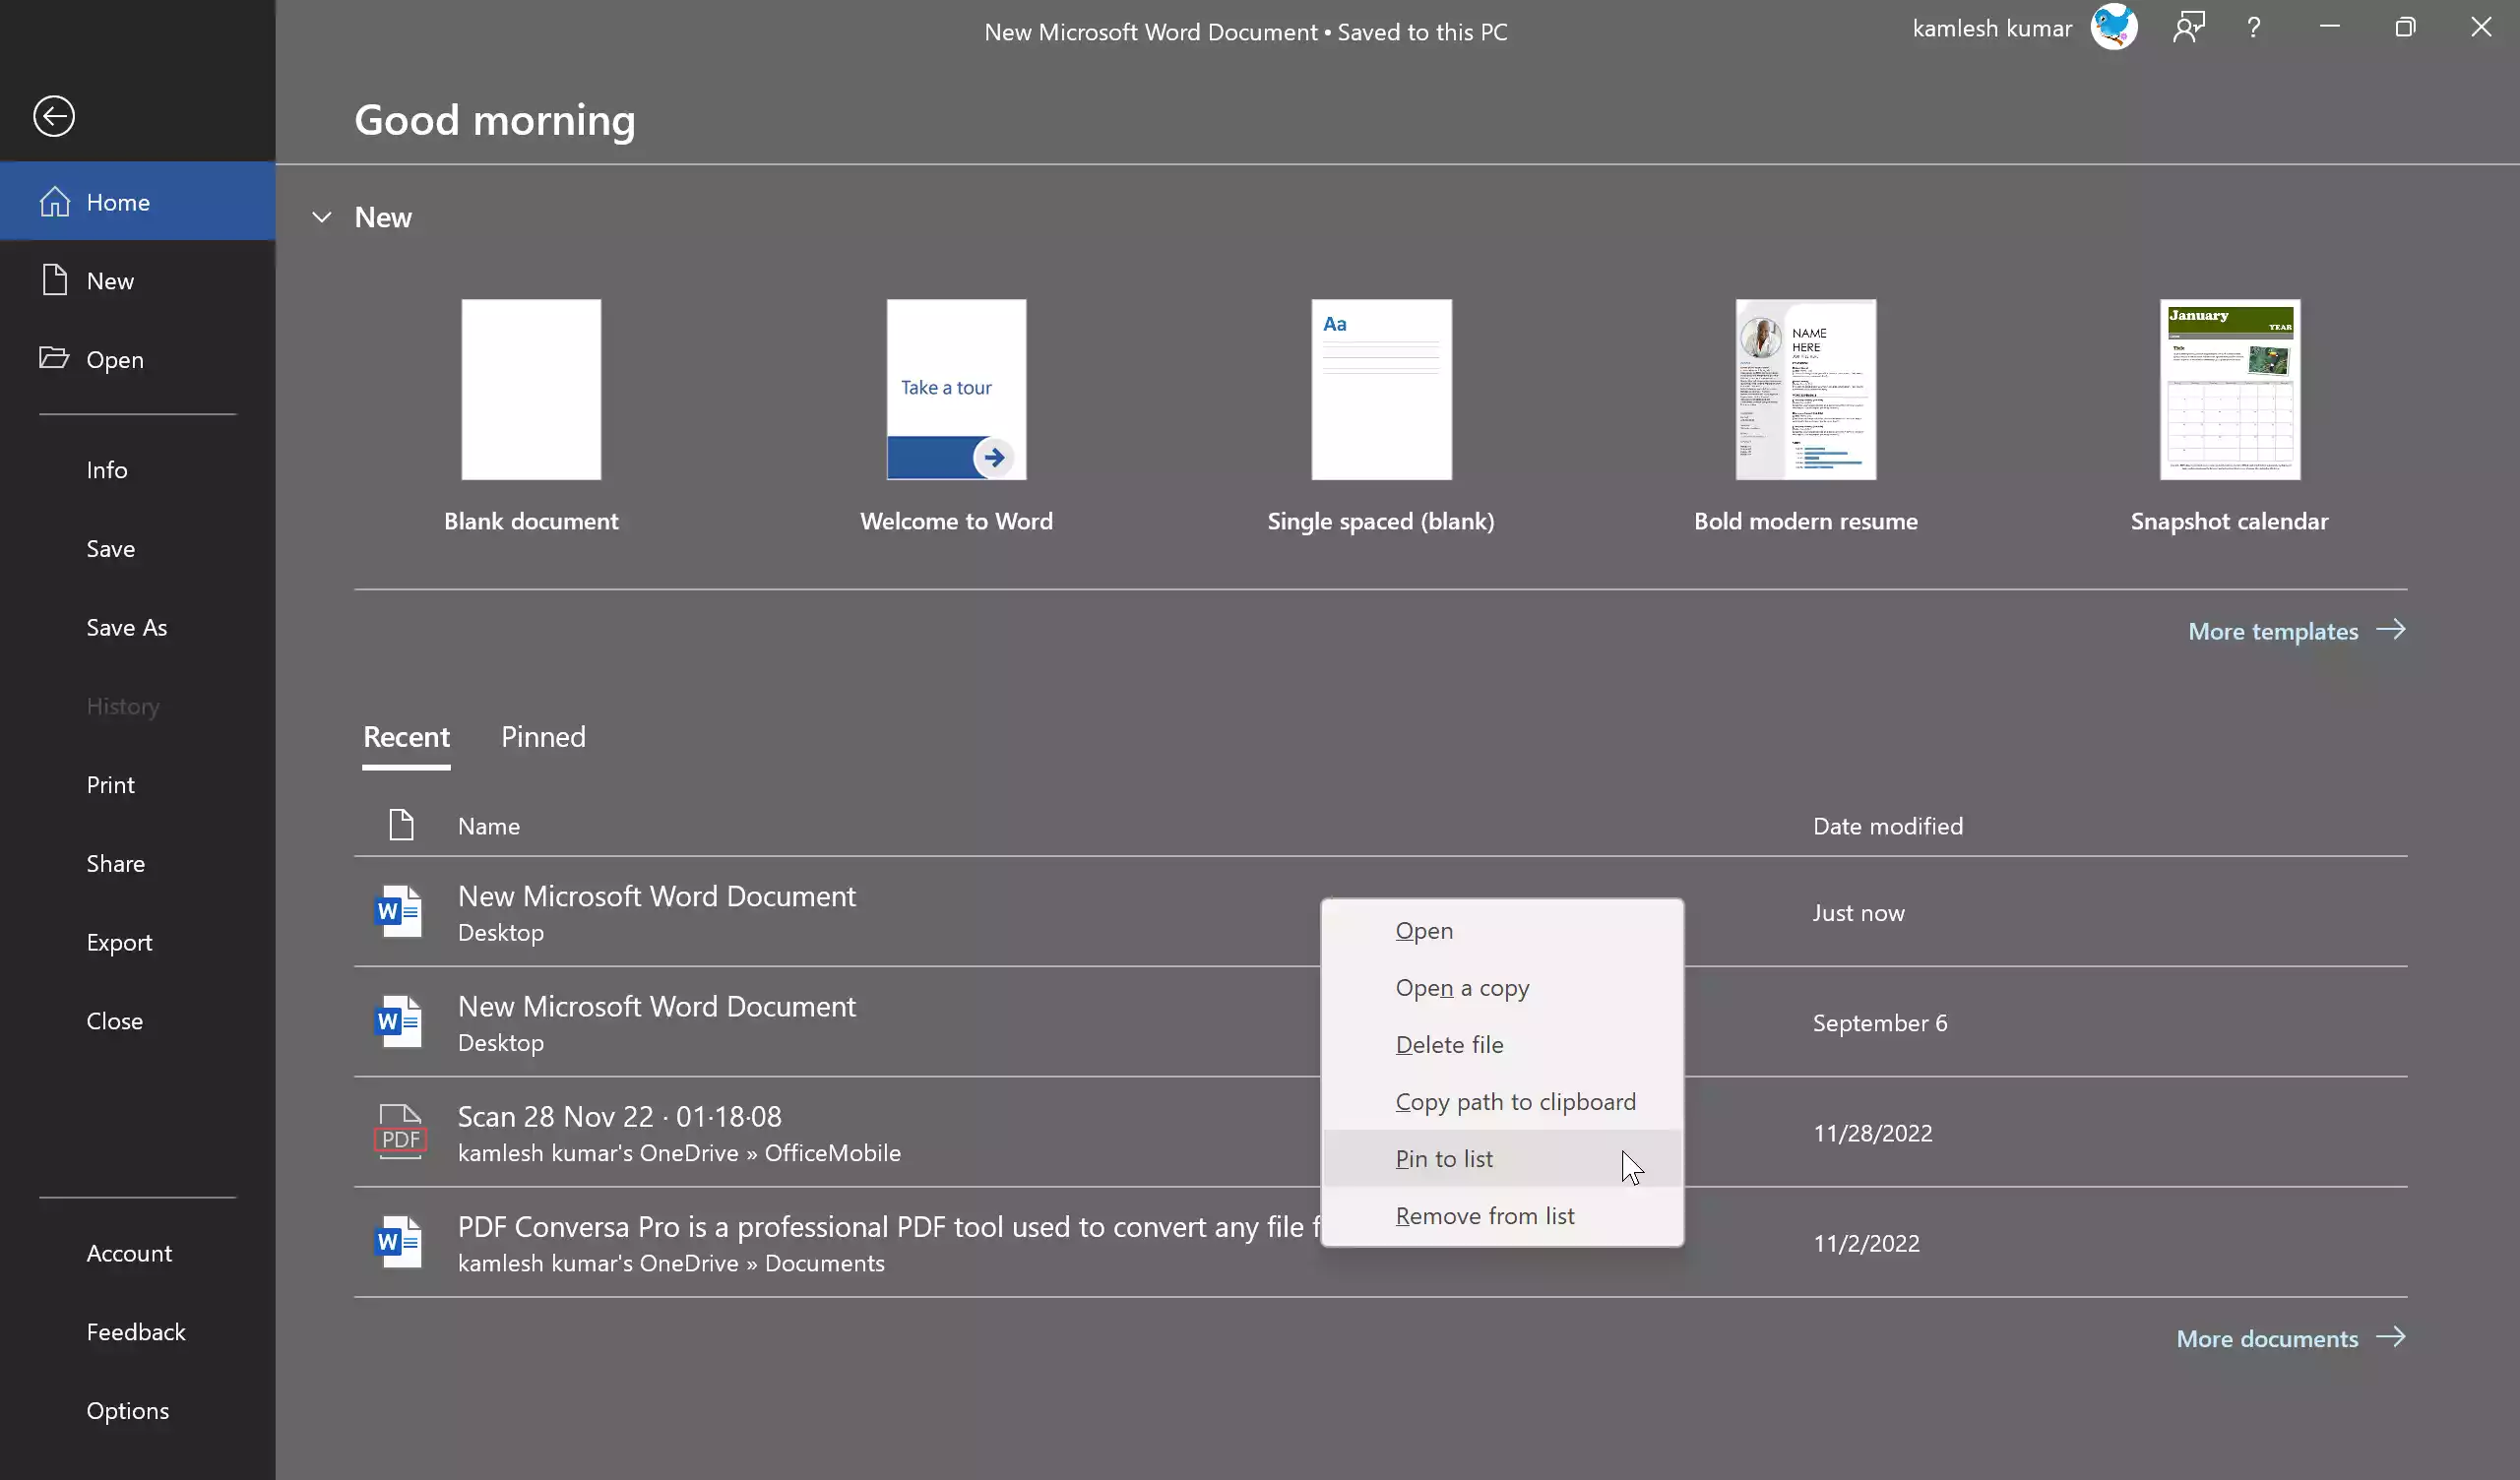
Step 3. You will find a section labeled “Recent” on the left-hand side of the screen, which displays a list of your recently opened documents.

Step 4. Hover your mouse over the document you want to pin.
Step 5. Click on the small Pin icon that appears next to the document’s name. Alternatively, you can right-click on the file and select “Pin to list.”
Pinning to the Taskbar
To pin a document to the taskbar for even quicker access, first ensure that the Excel, Word, or PowerPoint app is already pinned to your taskbar. If it’s not, follow these steps:-
Step 1. Press the Windows key (Win) + S to open the search bar.
Step 2. Type “Word/Excel/PowerPoint” (choose the appropriate one) and click on the app icon when it appears in the search results.
Step 3. Right-click on the app icon on the taskbar and select “Pin to taskbar.”

Step 4. Now, open the file you want to pin in the respective Office application (Word, Excel, or PowerPoint). This action will add the file to the Recent list.
Step 5. To keep it on the taskbar for quick access, right-click on the app icon.

Step 6. In the context menu that appears, you will see the recently opened file; right-click on the file and select “Pin to this list.”
How to Pin Documents on Mobile Phones or Tablets?
The process of pinning documents in Excel, Word, and PowerPoint on mobile or tablet devices is relatively straightforward:-
Pinning to the Top of the List
Step 1. Open the Excel, Word, or PowerPoint app on your mobile or tablet.
Step 2. Navigate to the “File” tab or equivalent.
Step 3. Access the “Recent” section, which displays your recently opened documents.
Step 4. Find the document you want to pin and tap on it.
Step 5. In the options menu (usually represented by three dots), select “Pin” to keep the document at the top of your recent documents list.
Pinning to Your Home Screen (Mobile Only)
Step 1. On mobile devices, you can take advantage of the “Add to Home Screen” feature for quick access to specific documents.
Step 2. Navigate to “File” > “Open” > “Recent” within the Excel, Word, or PowerPoint app.
Step 3. Find the document you want to pin, tap on it, and then tap on the three dots for more options.
Step 4. Choose “Add to Home Screen” from the available options. This will create a shortcut to the document on your mobile device’s home screen for easy access.
Conclusion
Pinning documents in Excel, Word, and PowerPoint is a handy feature that can streamline your workflow, whether you’re using a computer or a mobile device. By following the step-by-step instructions outlined in this guide, you can ensure that your most important files are always at your fingertips, saving you time and effort when working with these powerful Office applications. So, take advantage of this hidden gem and make your document management more efficient today.