By default, Windows 11/10 displays the name of the devices according to the manufacturer naming convention. Sometimes it’s hard to tell which device this is, based on its name. So it is a better practice to rename them according to your convenience. You can provide each device with a unique and descriptive name that will help distinguish it from others.
If you have connected several audio devices to your Windows 11/10 PC and want to name them to recognize them quickly, this gearupwindows post will guide you. When you put unique names for your sound devices, it will help you to choose the correct device next time.
How to Change Audio Device Name on Windows 11?
To provide a unique name for your audio devices on a Windows 11 computer, do the following:-
Step 1. First, open the Settings app by pressing Windows + I keys from the keyboard.

Step 2. When Windows Settings opens, select the System category from the left sidebar.
Step 3. After that, move to the right sidebar and click the Sound tab.
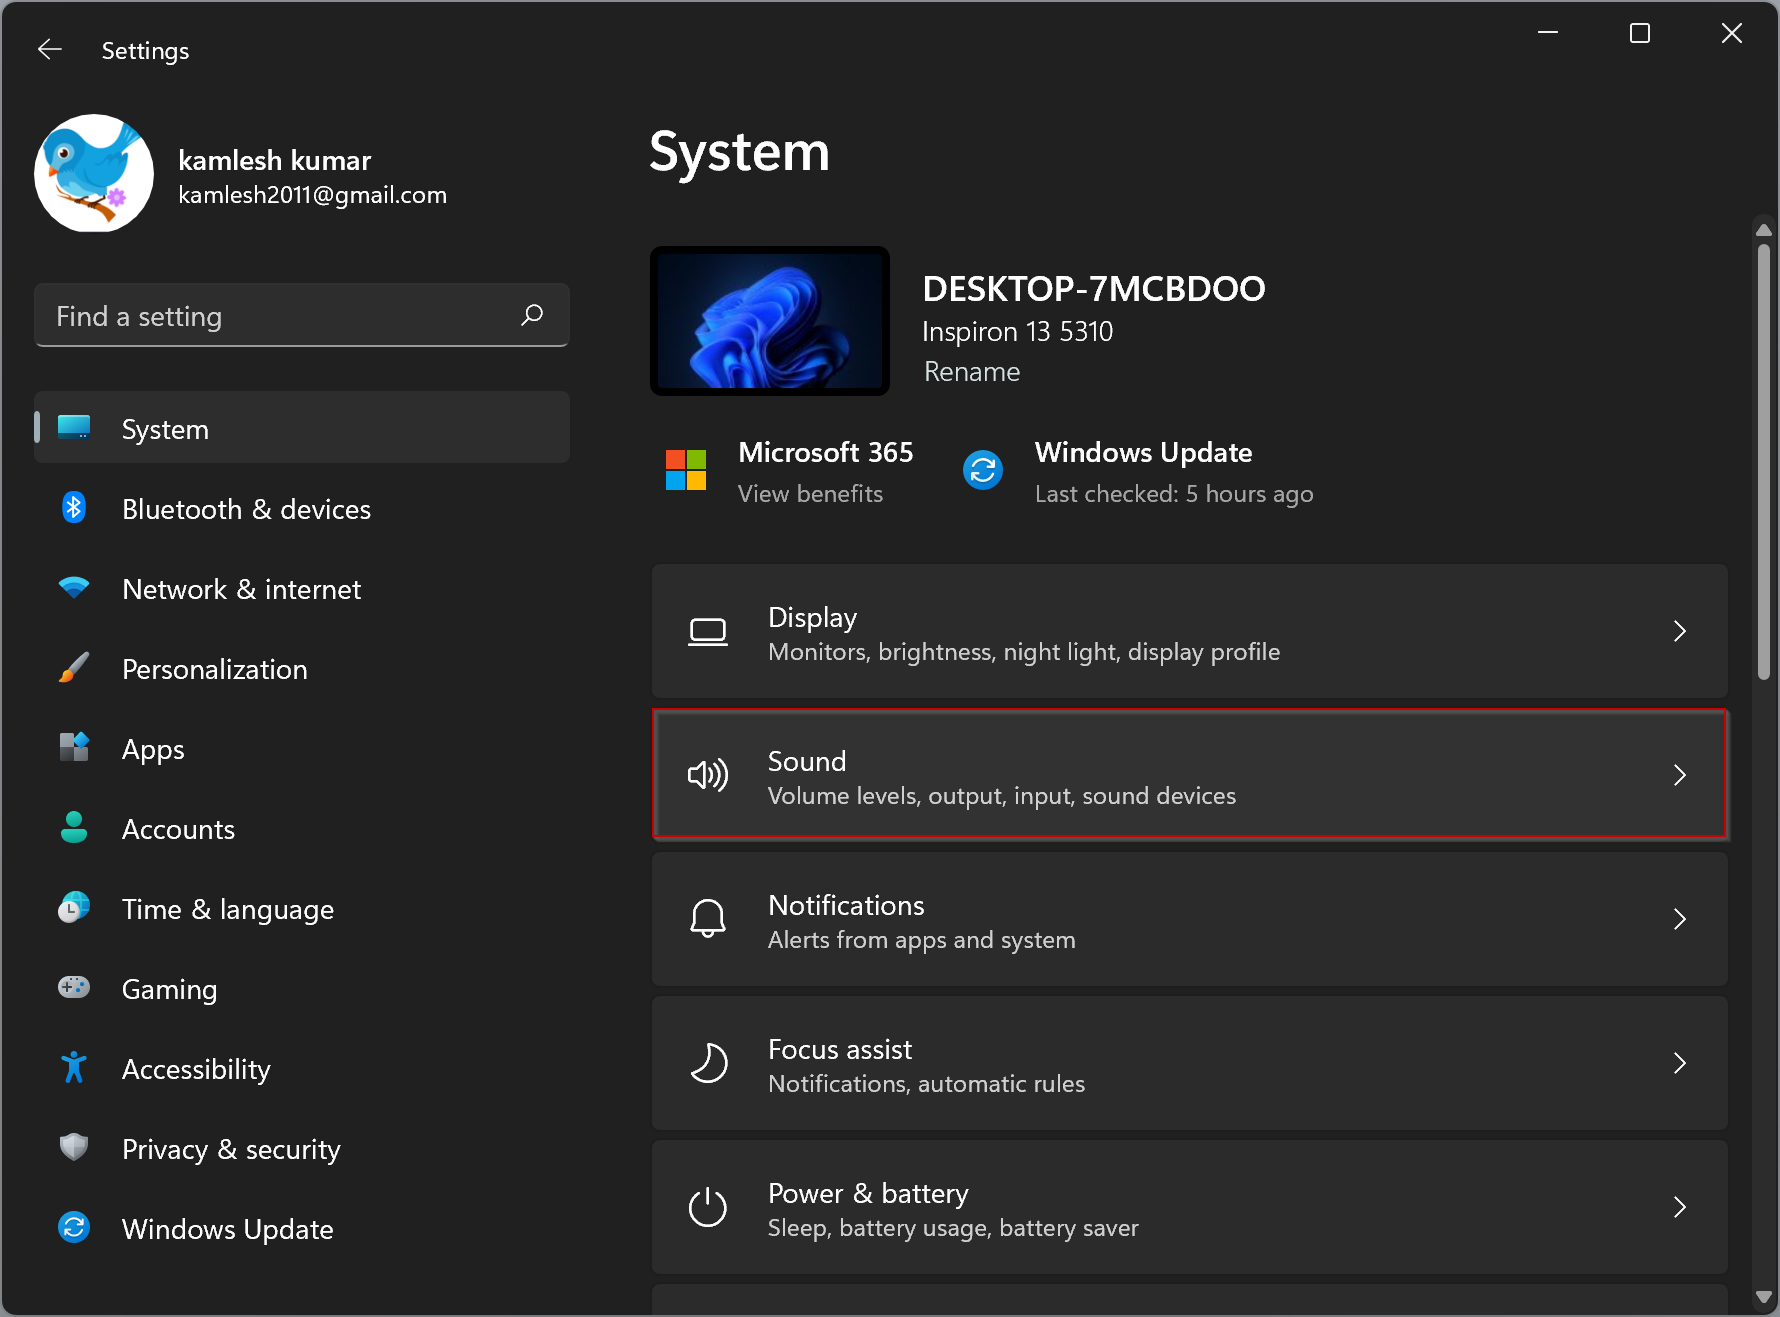
Step 4. When you’re at the Sound settings page, under the “Output” section, select the sound or audio device you would like to rename. All audio devices connected to your computer (including Bluetooth speakers and headphones) will appear under the “Output” section.

While you’re on the Sound page, you can also do the same for Input devices. Using a similar method, you can rename the devices under the “Input” section.

Step 5. Select the audio device that you want to rename.
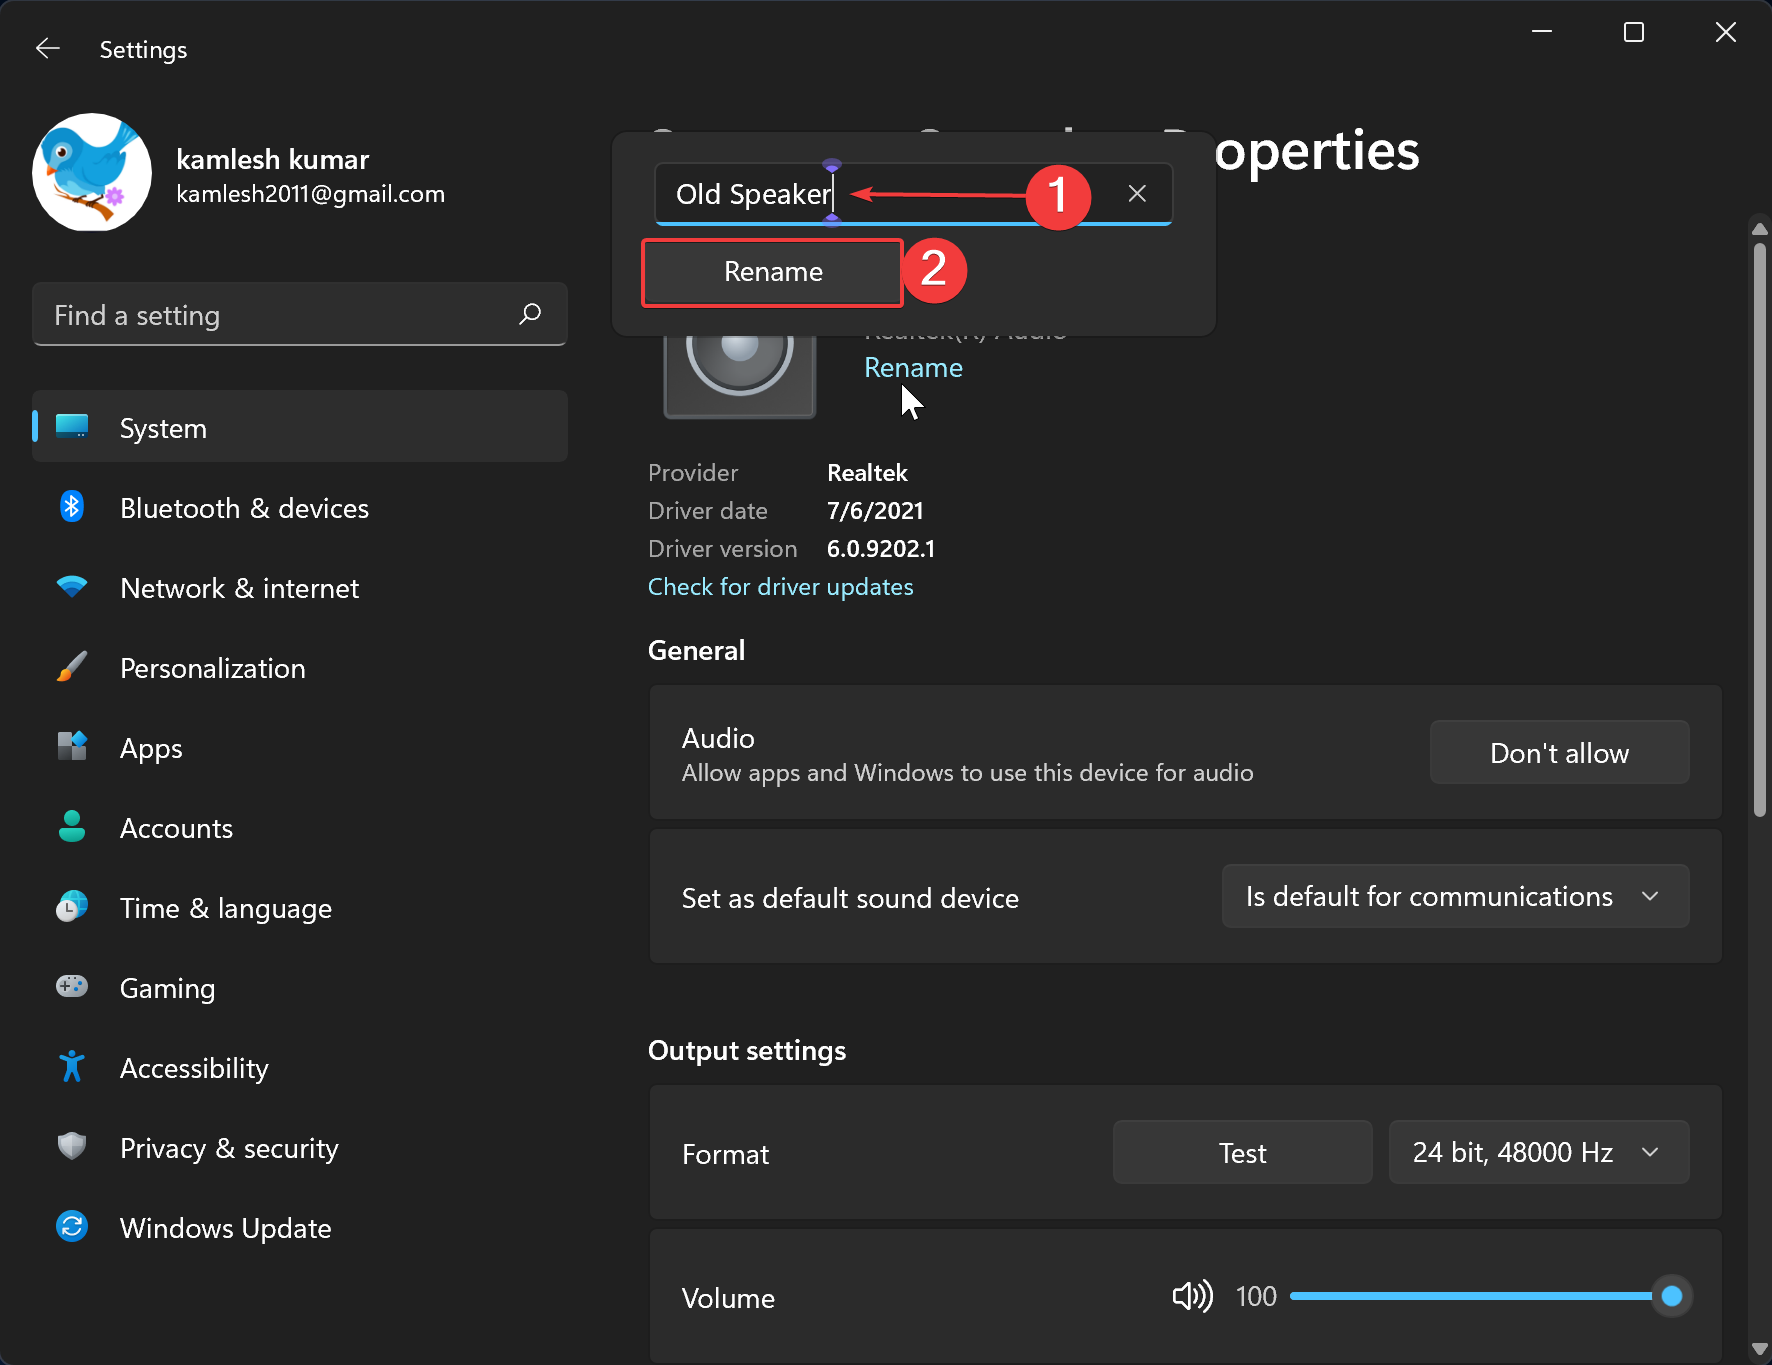
Step 6. Then under the device name, click the Rename link.

Step 7. After that, type a unique name for the device, then click the Rename button to save.
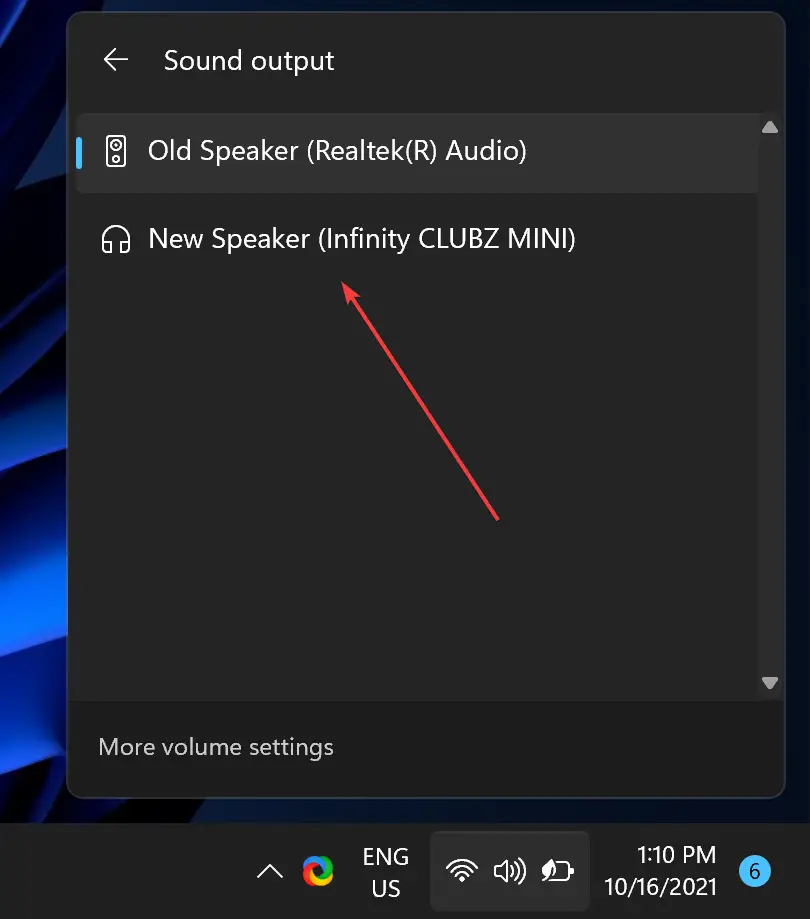
You need to repeat the above steps for all audio or sound devices. The next time you want to use the output device, you can quickly find them by their names.
How to Rename Audio Device on Windows 10?
To change the name or rename Audio Device on your Windows 10 PC, do the following:-
Step 1. First, open the Settings app.
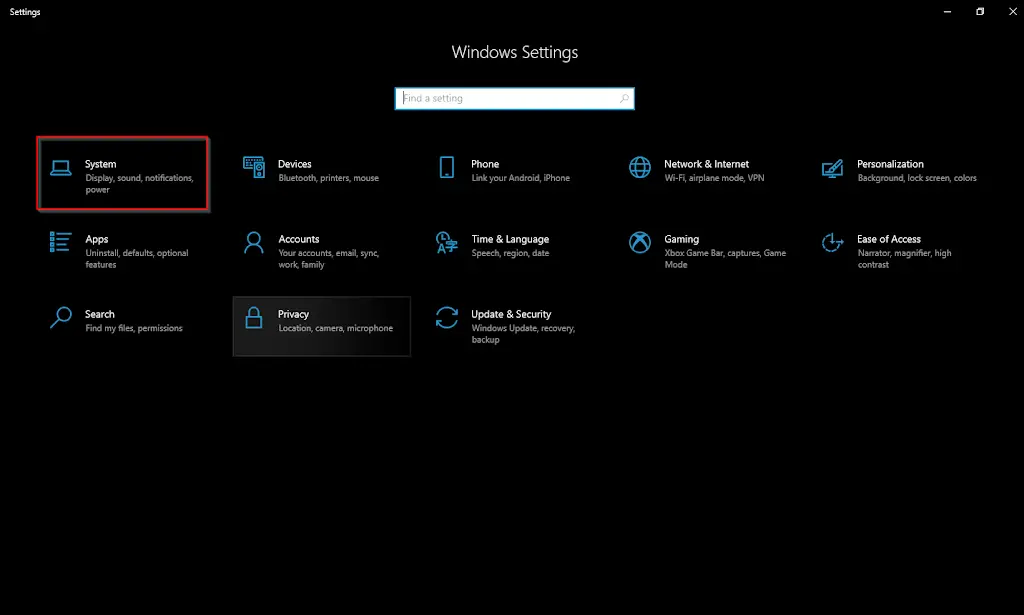
Step 2. Then hit the System category.
Step 3. After that, select the Sound tab under “System.”

Step 4. Under the “Output” section, under the right side pane, from the “Choose your output device” drop-down menu, select the speaker you want to rename.
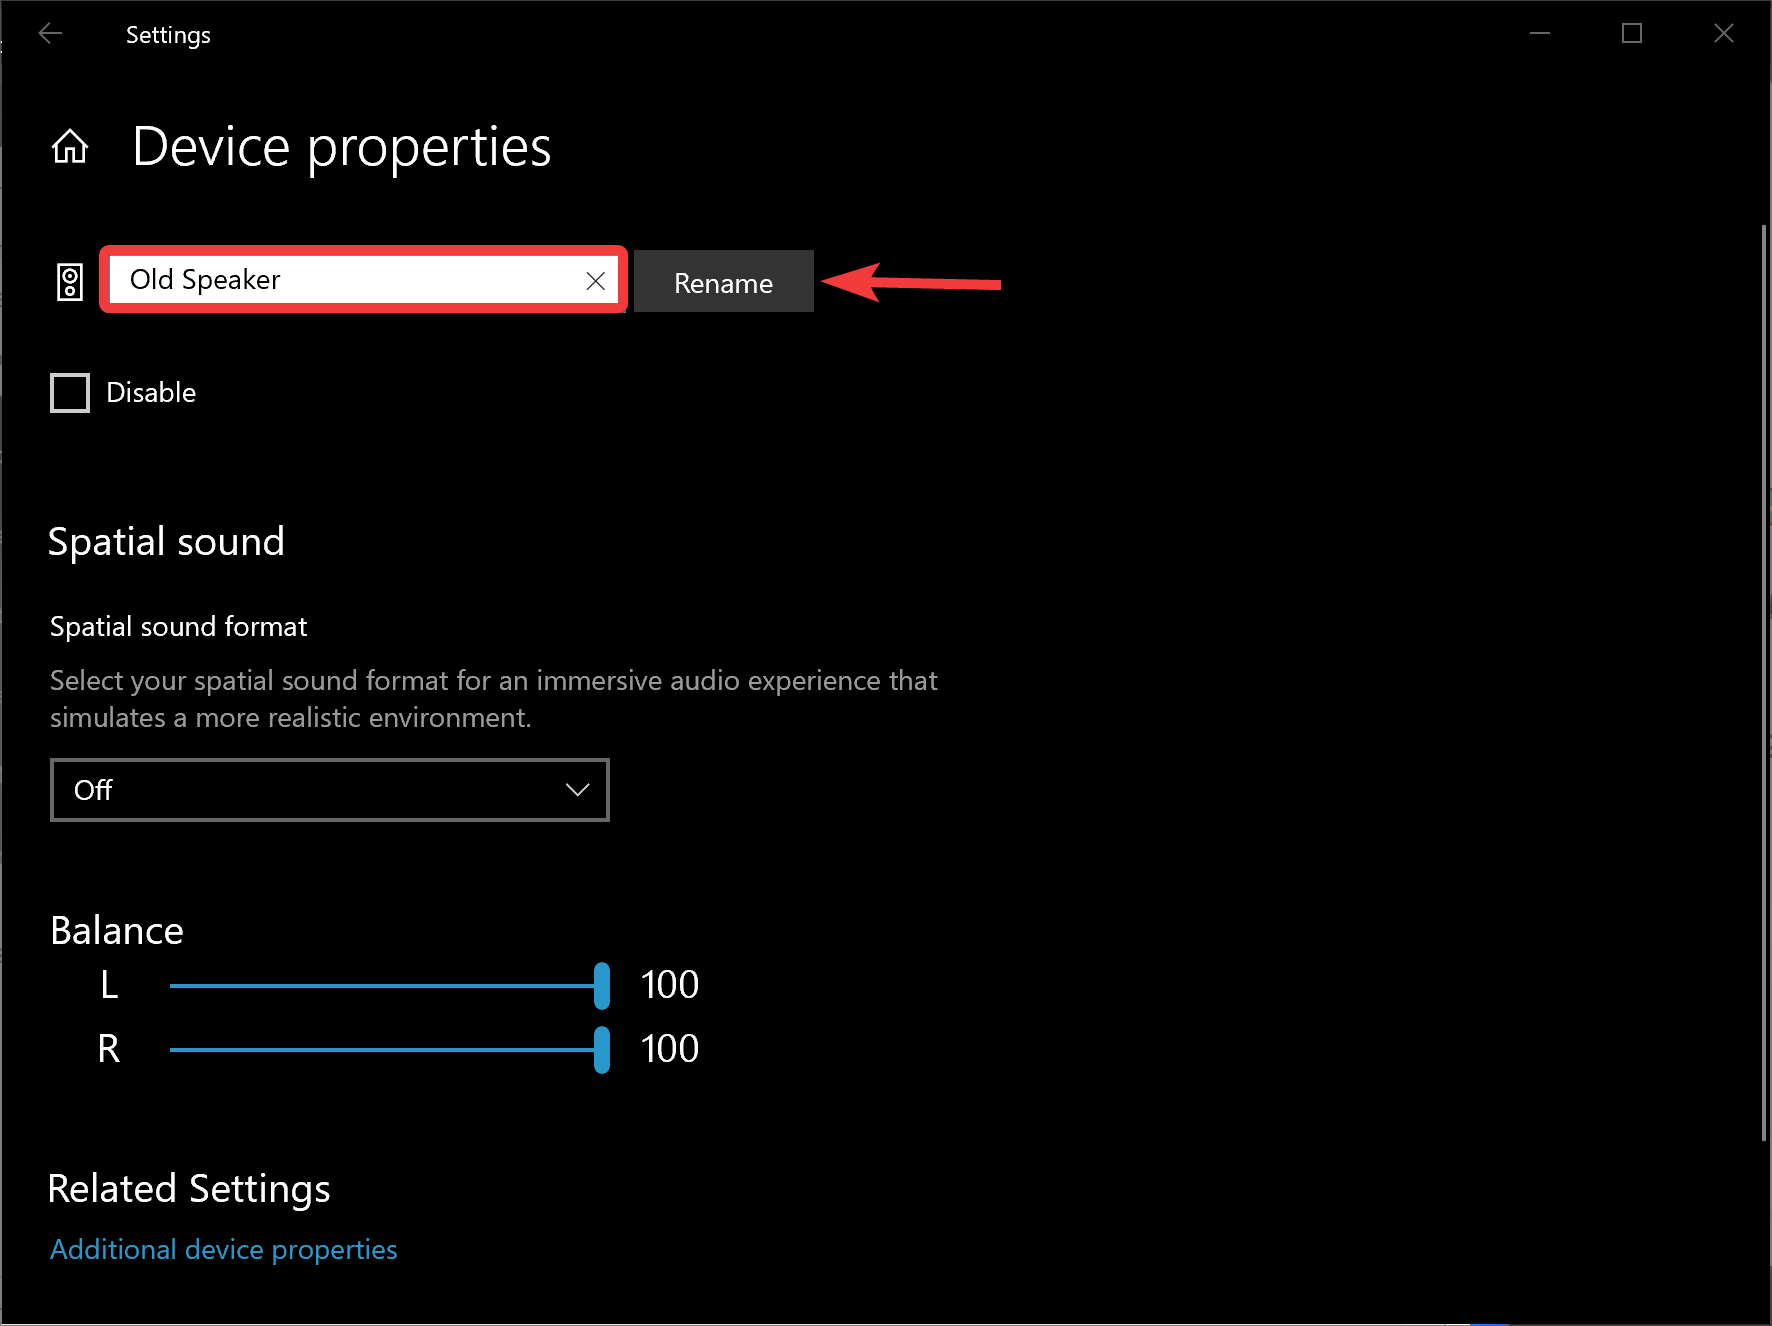
Step 5. After that, click the link Device properties.
Step 6. Type a new name for your audio device and click on the Rename button on the next page.
That’s it. You need to repeat the steps above for all devices you want to rename.
How to Rename an Audio Device with Control Panel?
This method is applicable to both Windows 11 and 10. To rename a Sound device using Control Panel, do the following:-
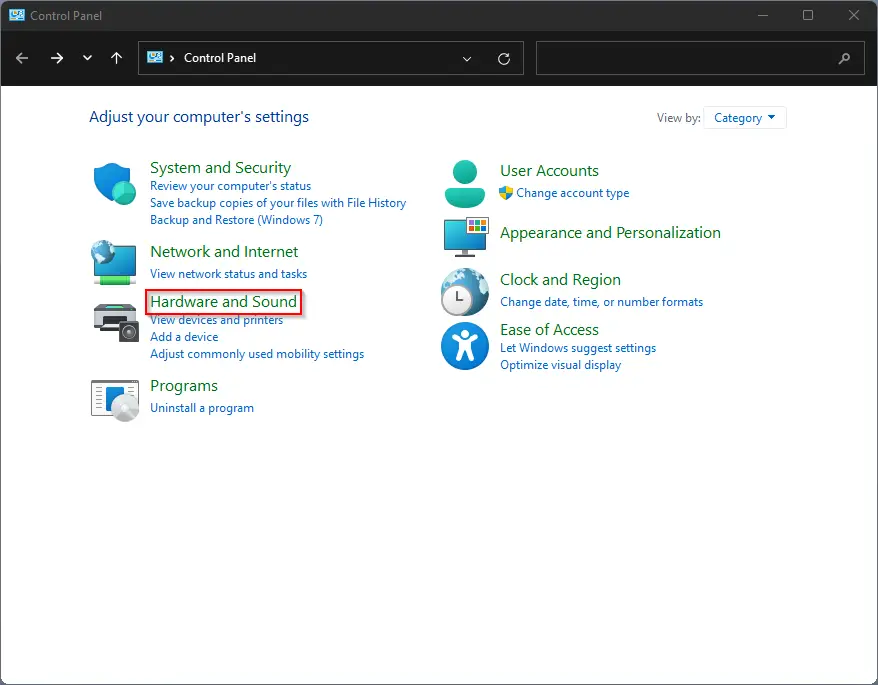
Step 1. First, open the Control Panel.
Step 2. Then, select Hardware and Sound.
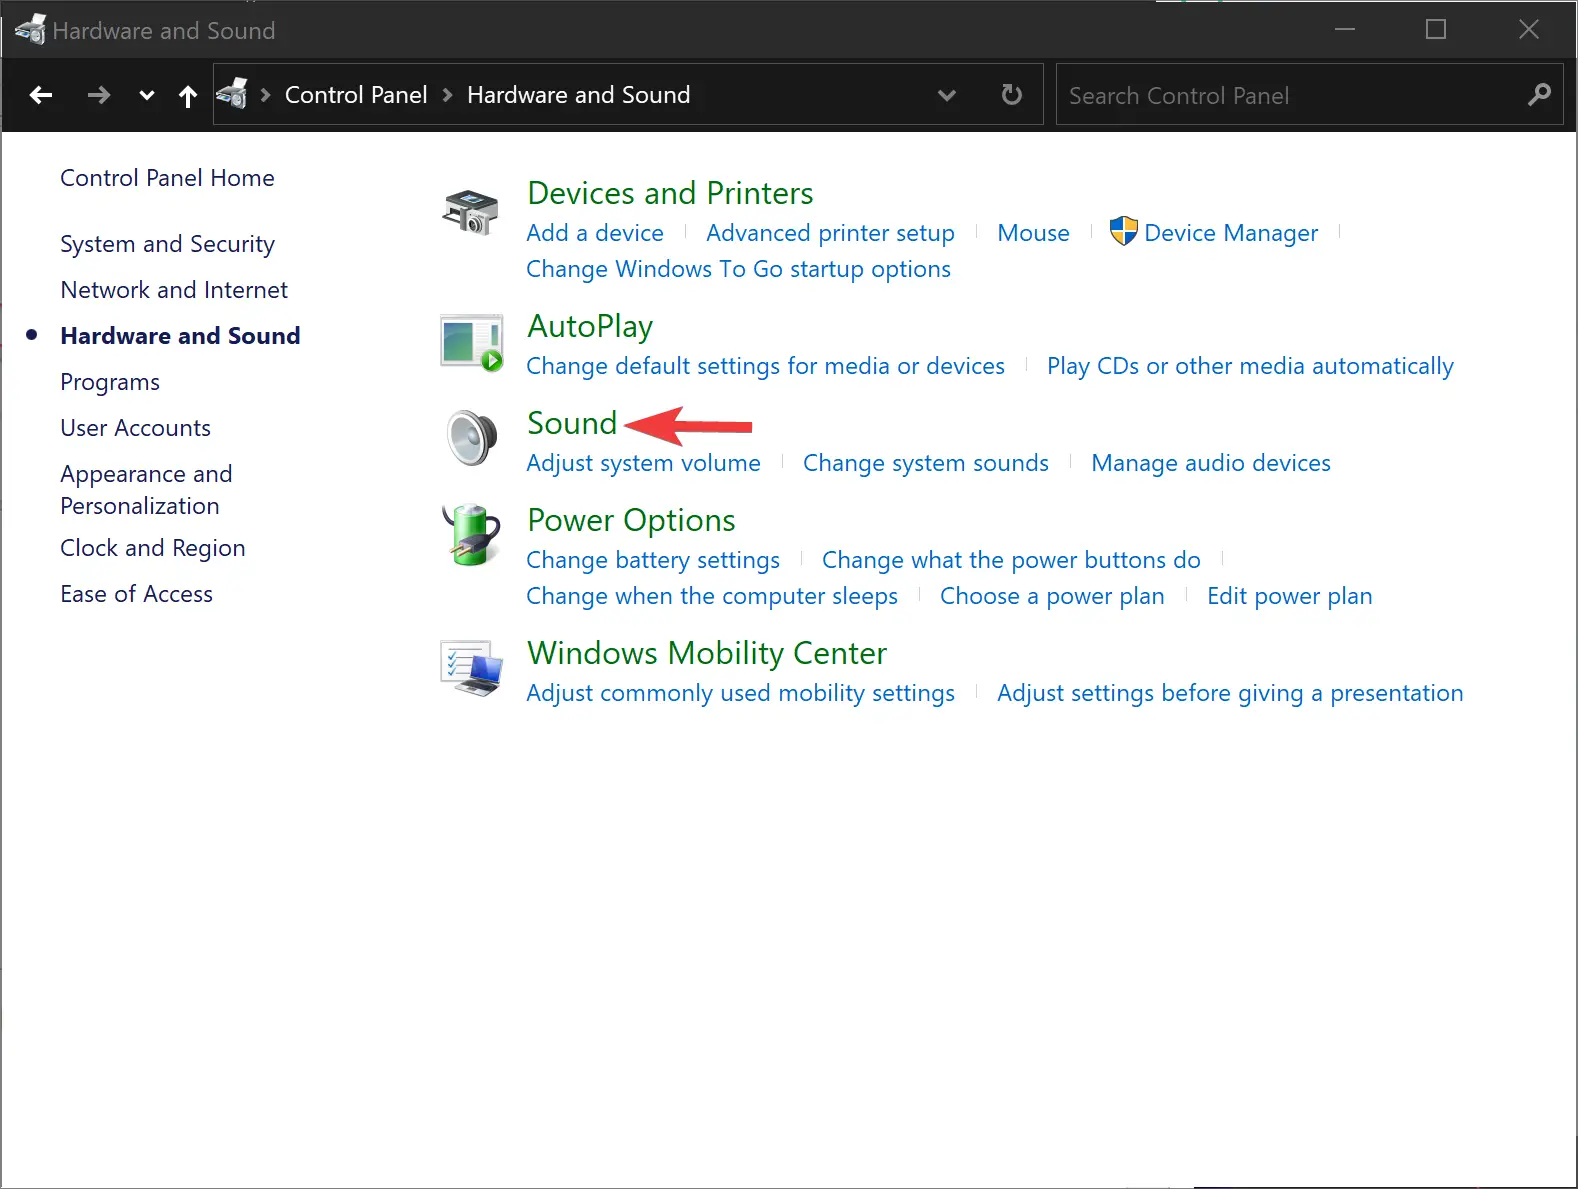
Step 3. Next, click on the Sound option.
Step 4. When you complete the above steps, a Sound window will open. To rename a sound device, switch to the Playback tab and select the device in the list.

Step 5. After that, click on the Properties button.

Step 6. Switch to the General tab in the following dialog. Type a new name for your device and click Apply, and then the OK button.

Conclusion
In conclusion, giving unique and descriptive names to your audio devices is a simple yet effective way to make it easier to identify them. With just a few clicks, you can rename your audio devices on Windows 11 and 10 using either the Settings app or Control Panel. This can help you avoid confusion when switching between different audio devices and ensure that you always select the right one. By following the step-by-step instructions outlined in this article, you can easily rename your audio devices on your Windows PC and make your audio experience more personalized and hassle-free.
