Windows 11, the latest iteration of Microsoft’s operating system, comes with various features designed to enhance user experience and streamline system processes. One such feature is Reserved Storage, a portion of your storage space dedicated to storing temporary files for essential system processes like Windows Update. This ensures a seamless update experience without the hindrance of low disk space issues. In this gearupwindows article, we will explore two methods to view the Reserved Storage size on your Windows 11 computer.
How to View Reserved Storage Size in Windows 11?
Method 1: View Reserved Storage Size from Settings App
Step 1. Navigate to the Settings app on your Windows 11 computer. You can do this by clicking on the Start menu and selecting “Settings.”
![]()
Step 2. In the Settings window, click on “System” from the left-hand menu. Next, select “Storage” on the right pane.
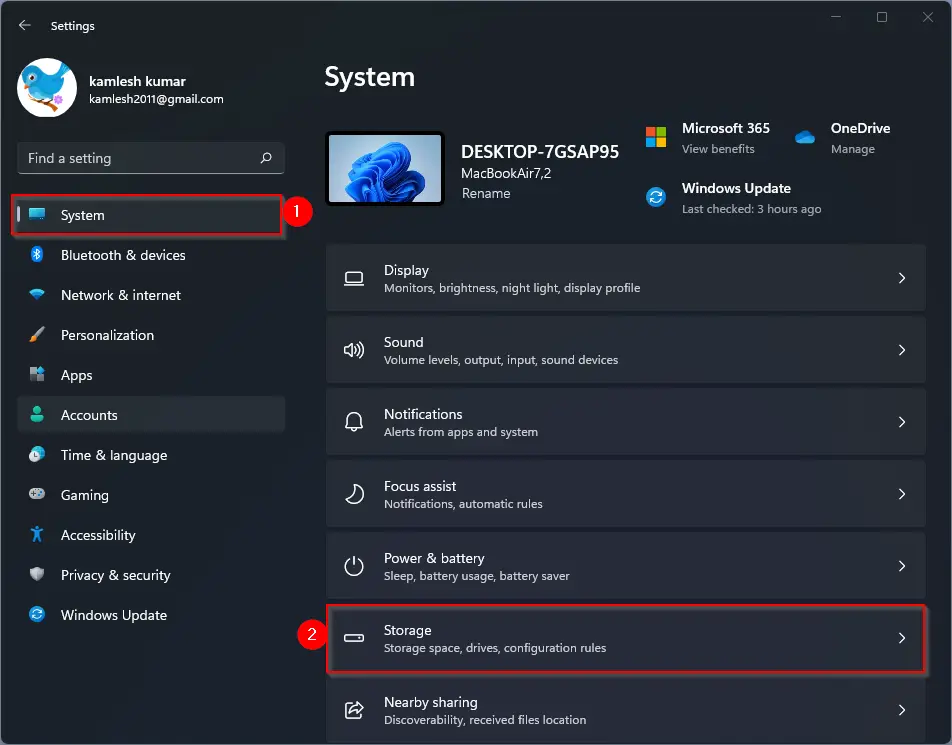
Step 3. Click on the “Show more categories” link to reveal additional options.

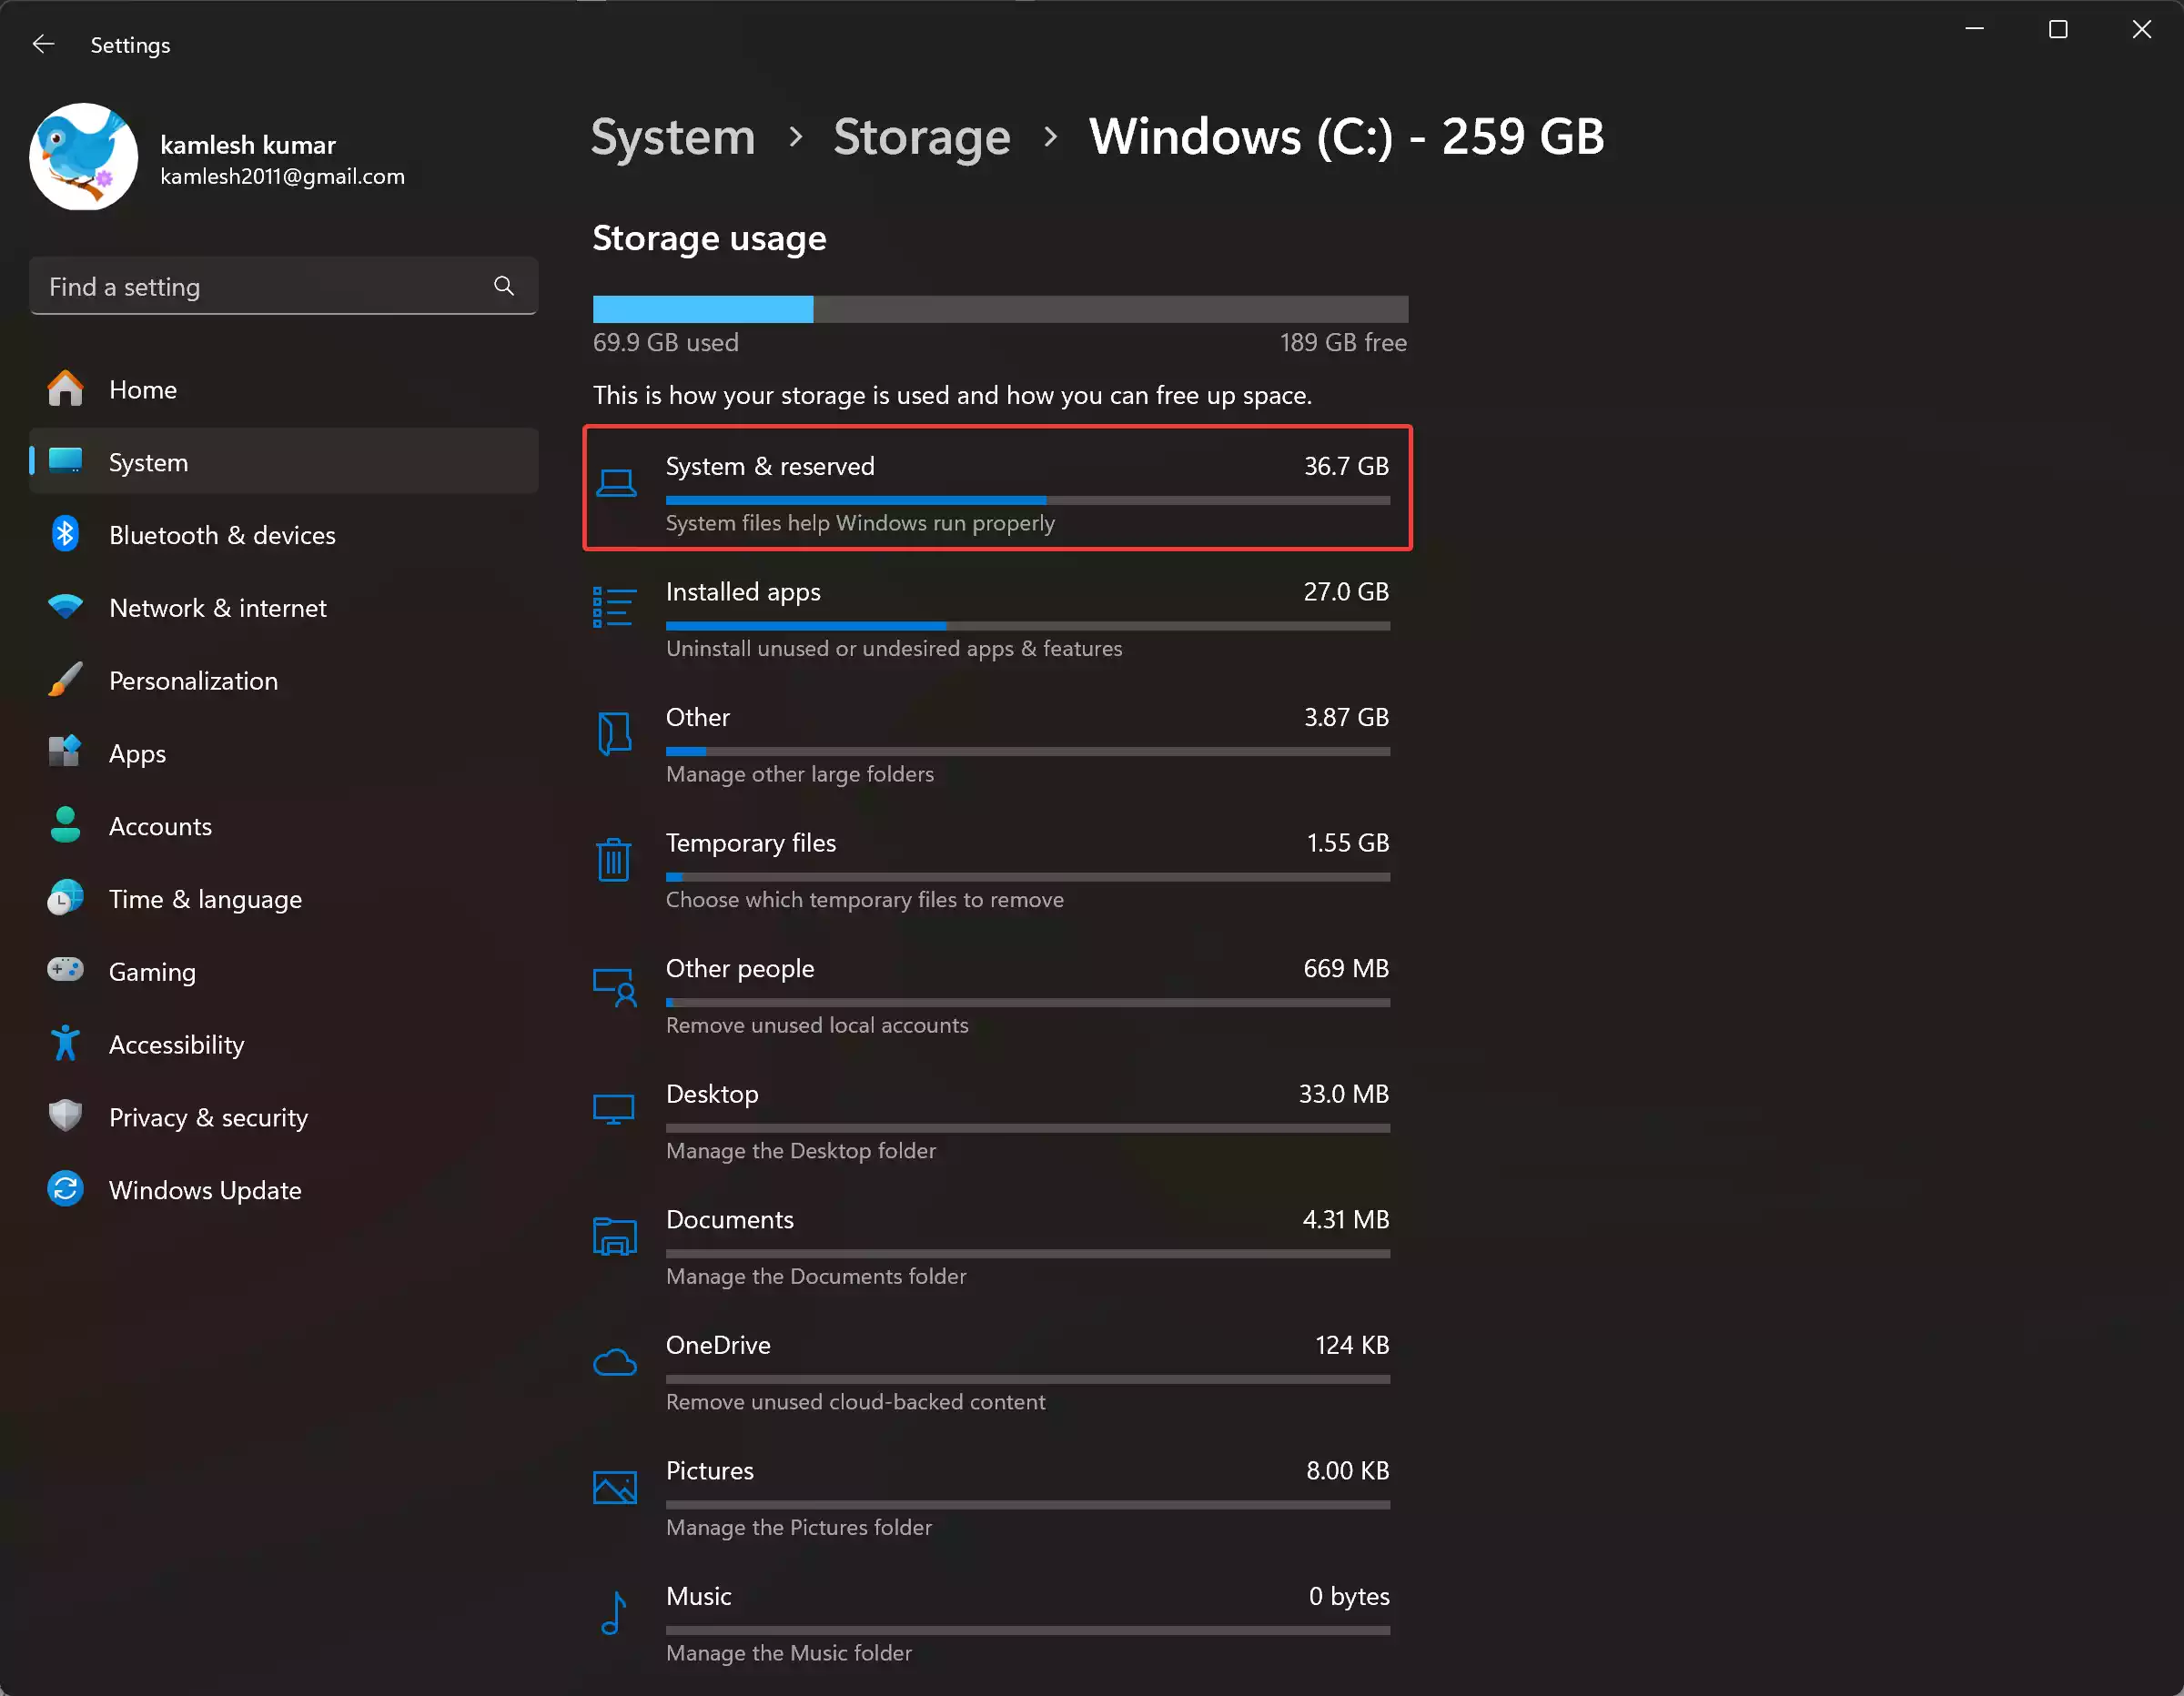
Step 4. Under the expanded categories, click on “System & reserved.” Here, you will find information about various system-related storage allocations.
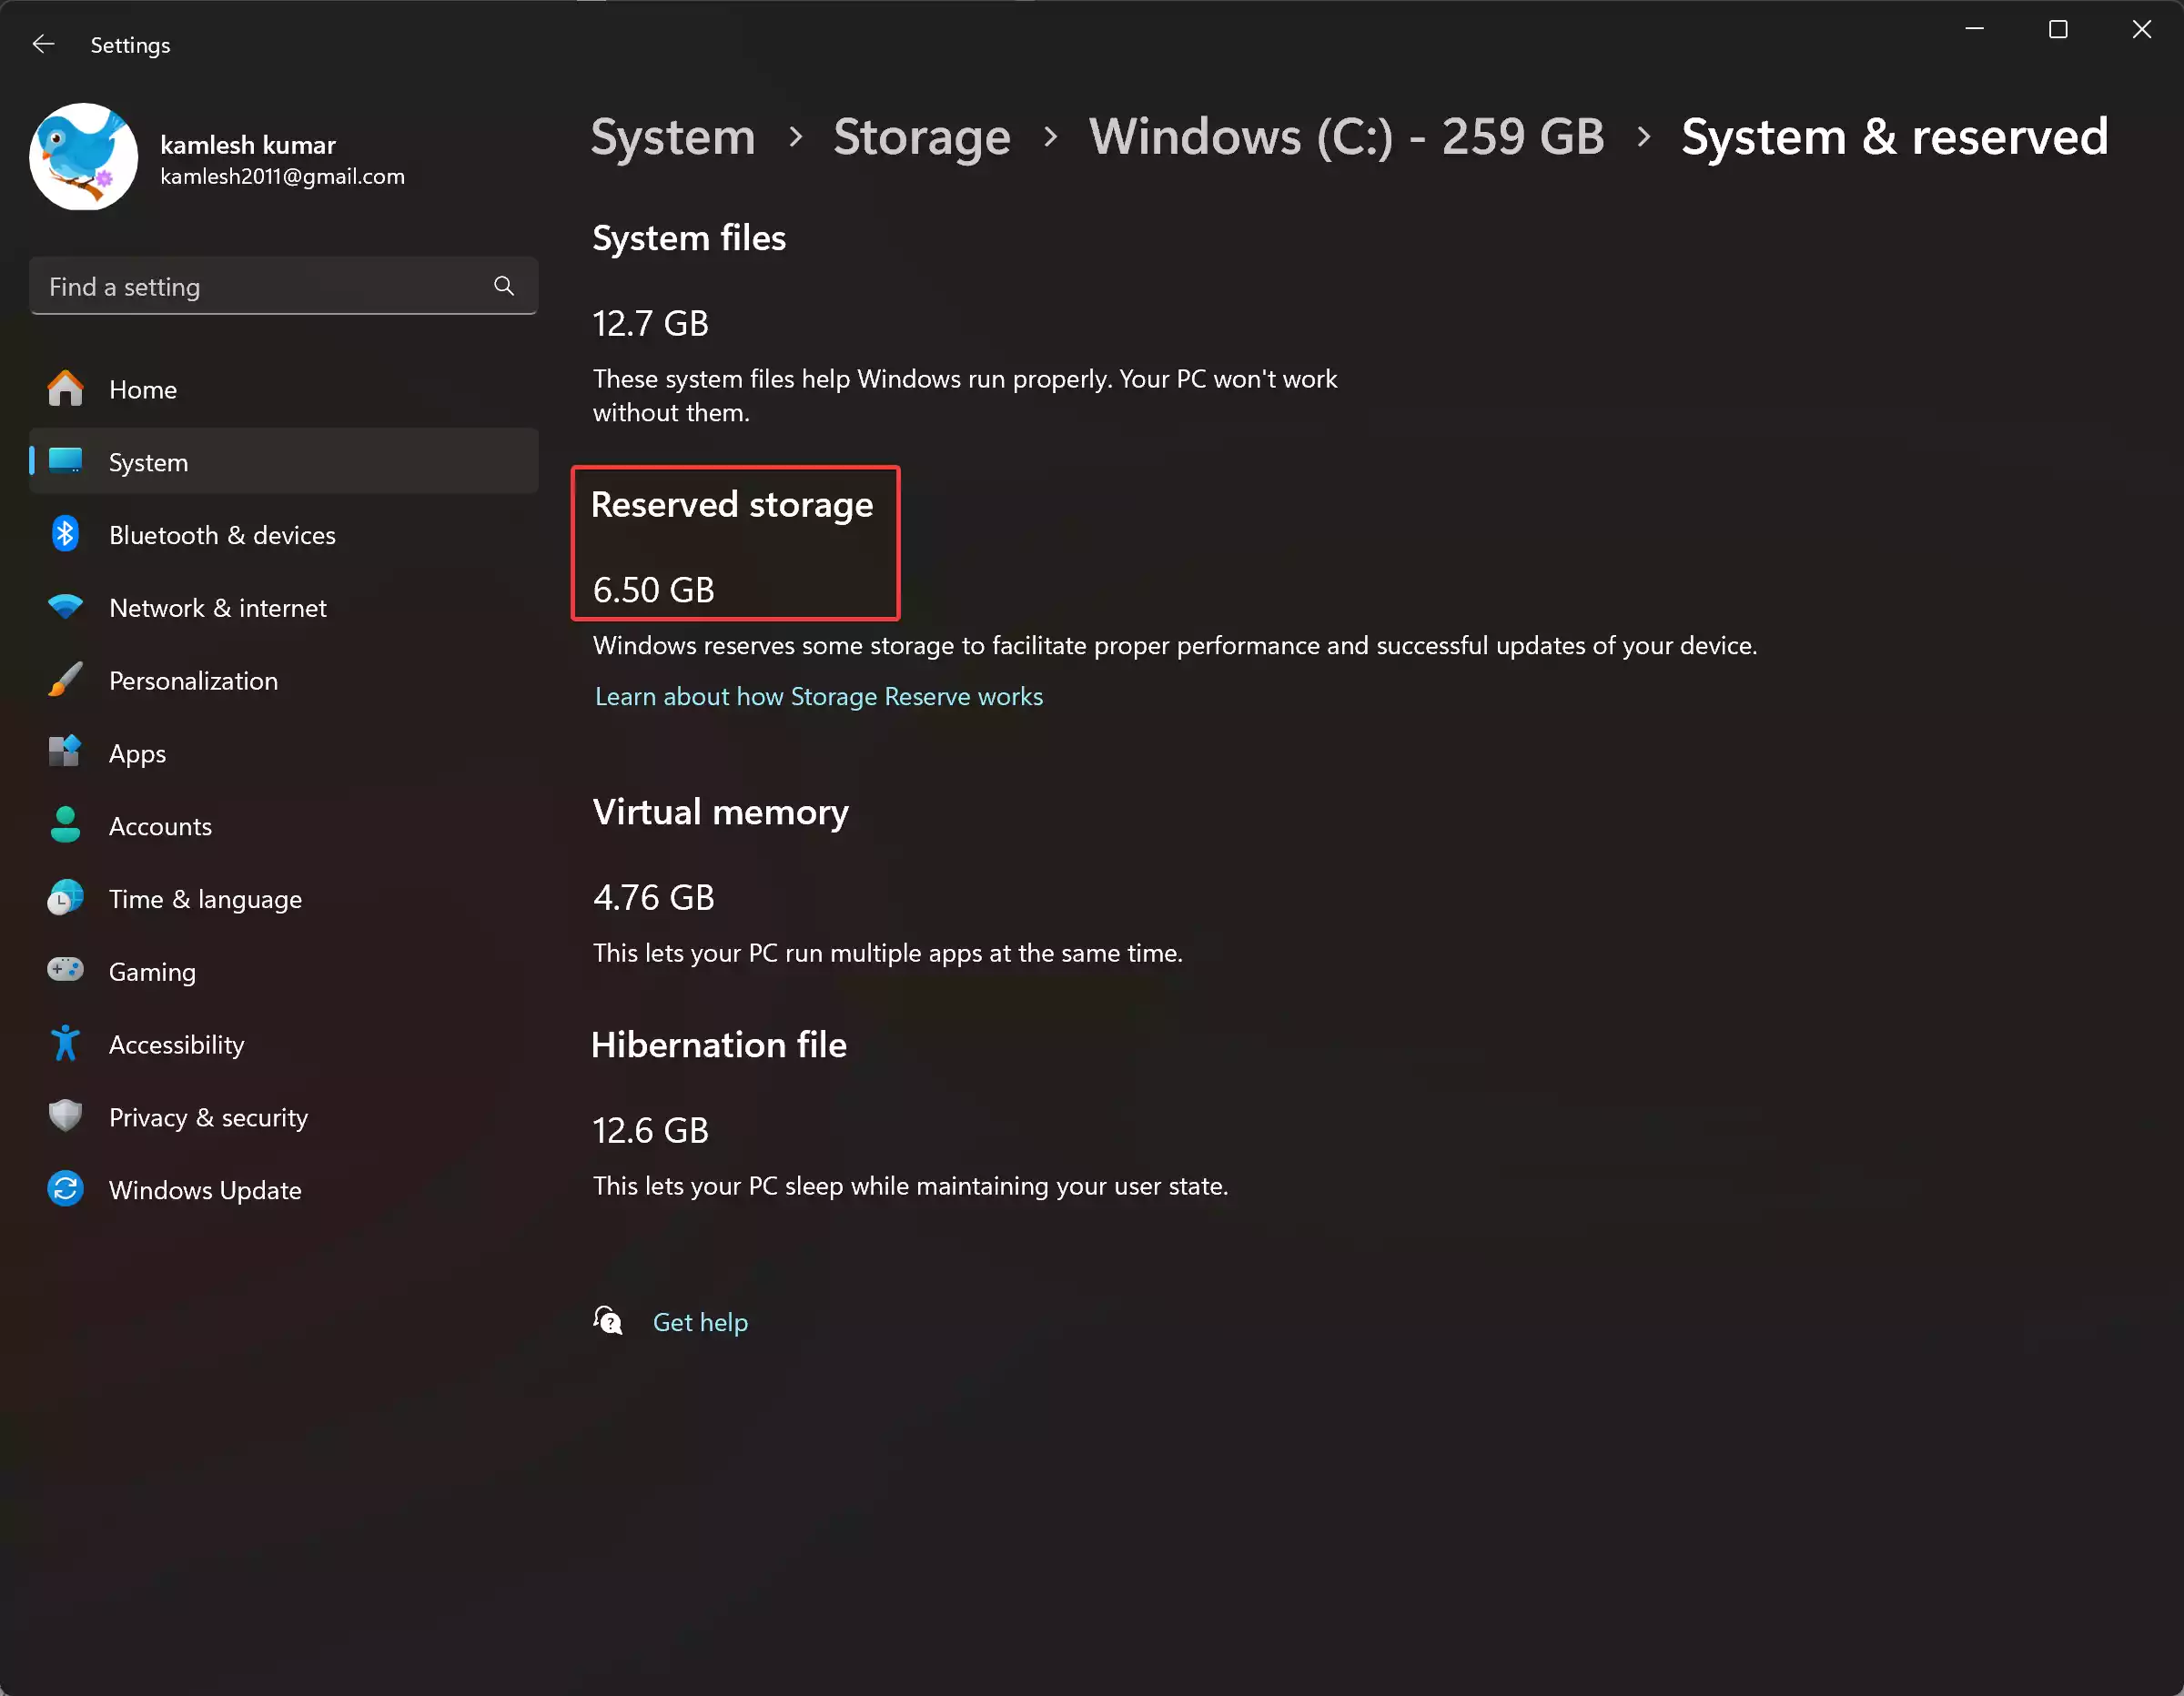
Step 5. Look for the “Reserved storage” section. This will display the amount of storage that Windows has reserved to ensure proper system performance and successful updates.
Method 2: View Reserved Storage Size from Windows Terminal
https://www.youtube.com/watch?v=TVVMEDoNf4c
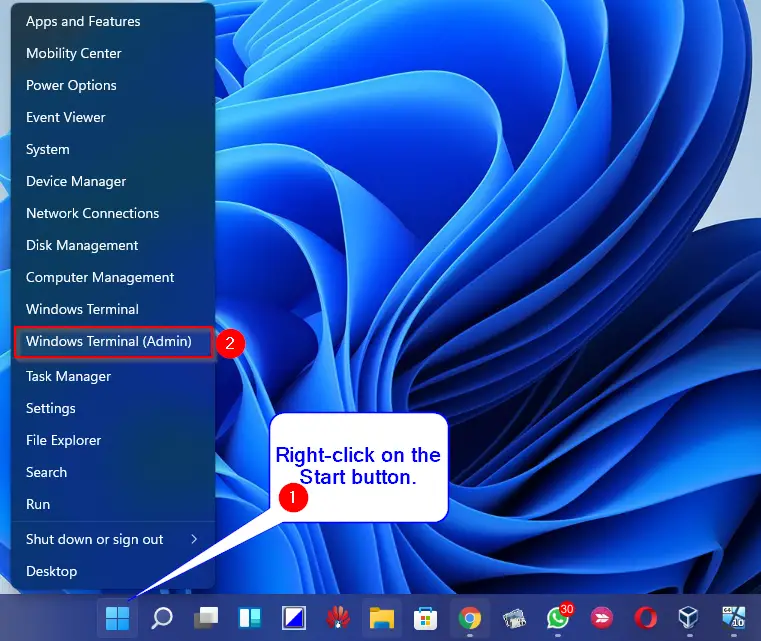
Step 1. Open Windows Terminal as Administrator.
For that, right-click on the Windows icon on the Taskbar and select “Terminal (Admin)” to ensure you have the necessary privileges.
Step 2. In the Windows Terminal, type the following command and press Enter on your keyword to execute the command:-
fsutil storagereserve query C:
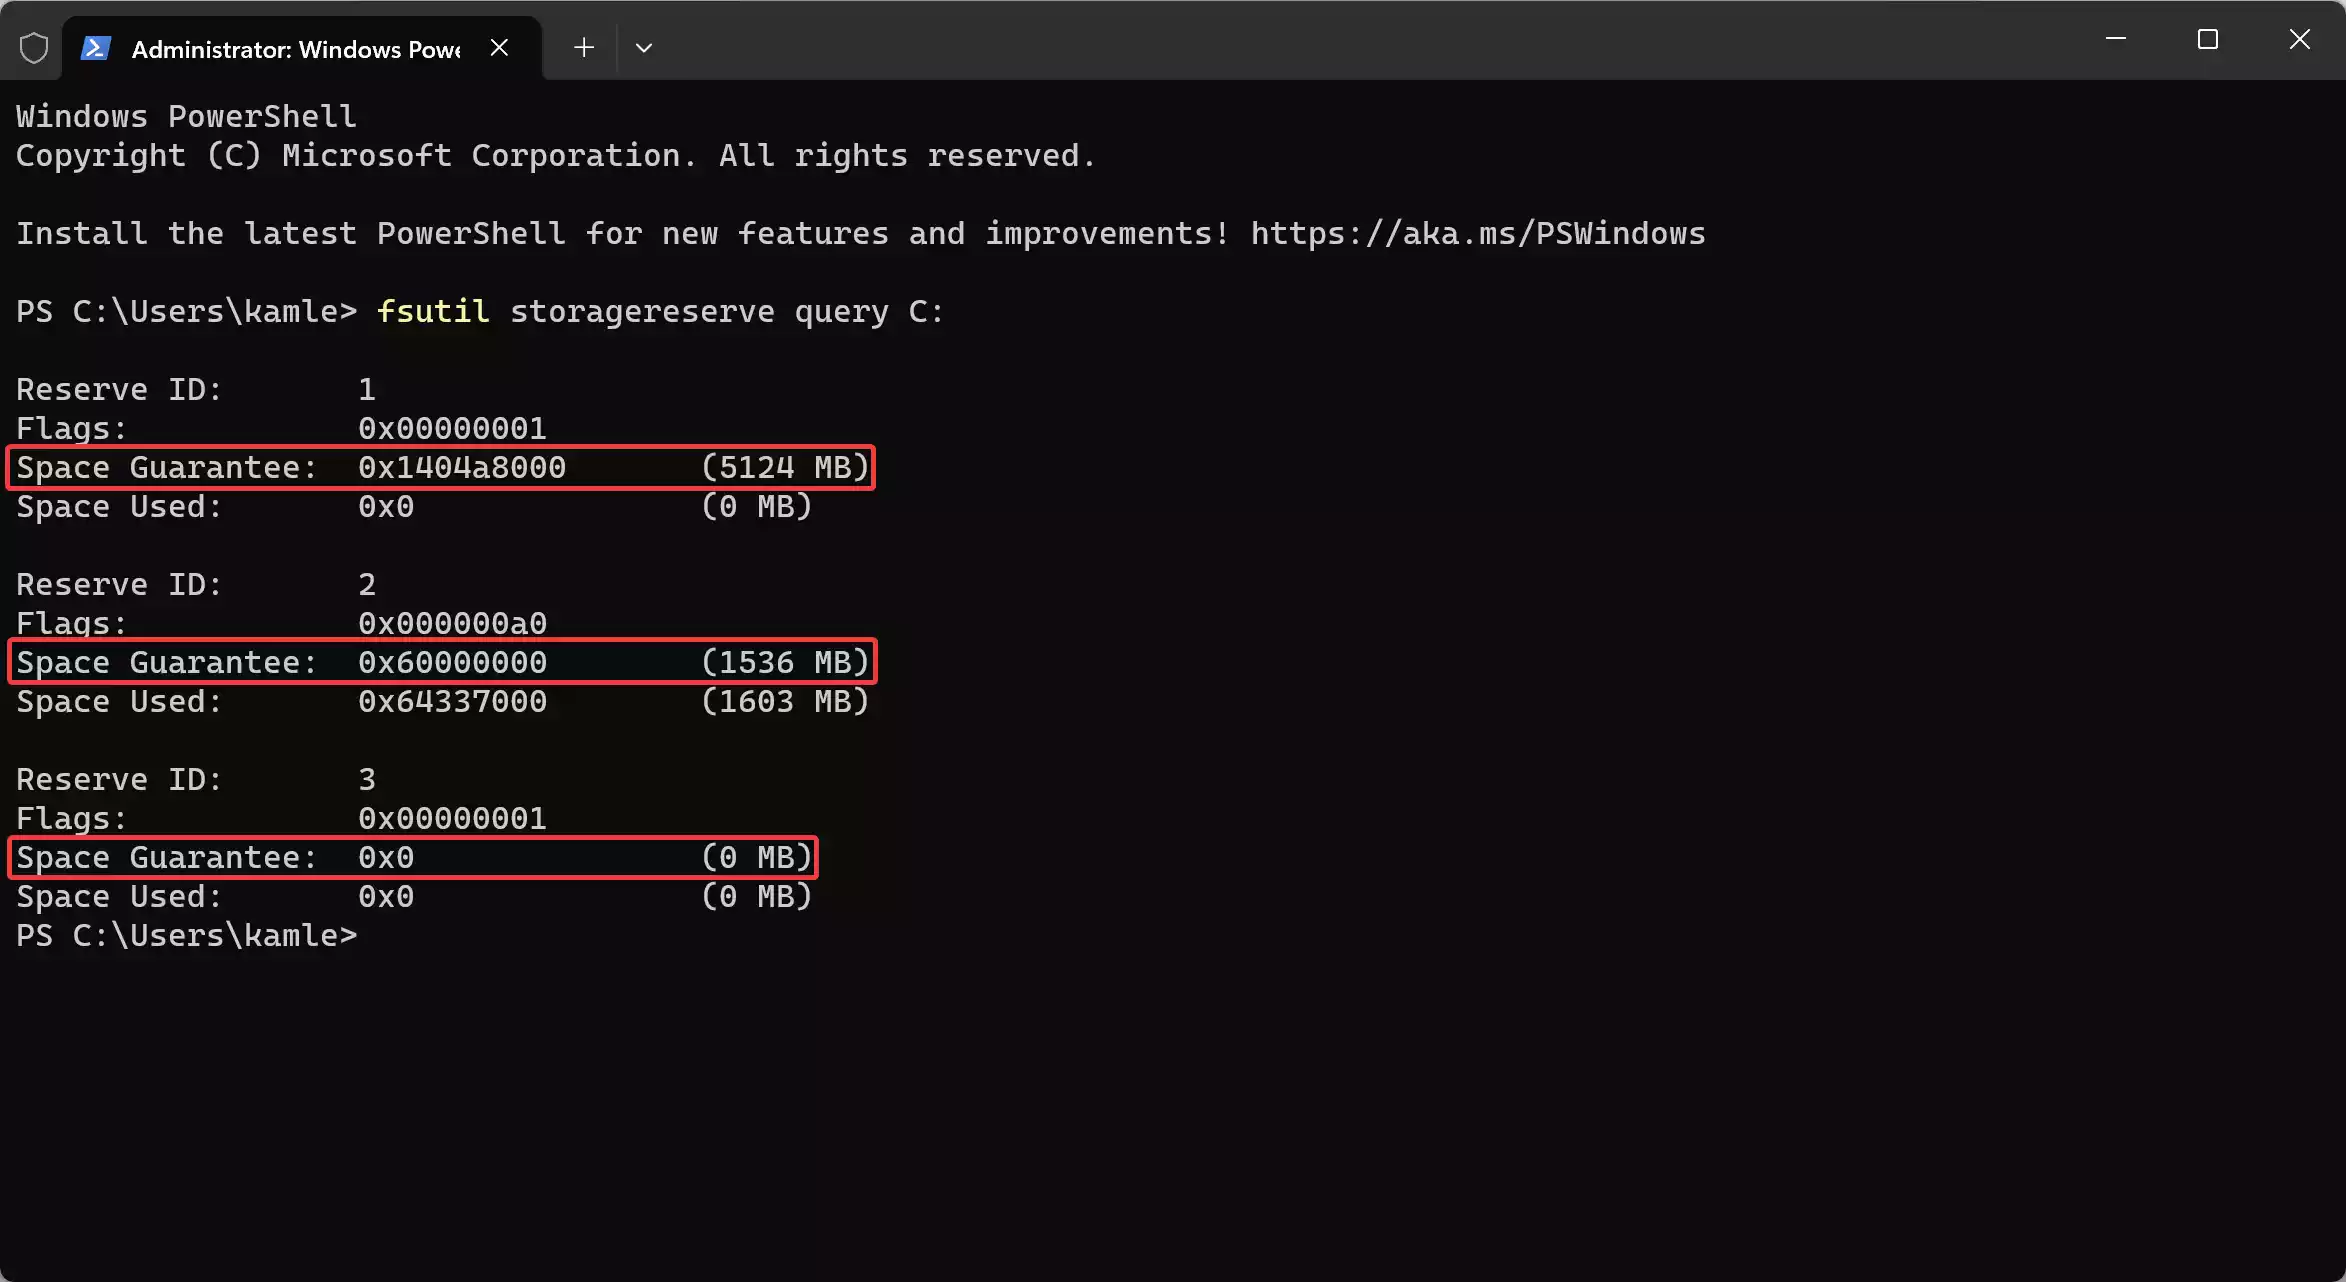
Step 3. Review the Details: The command will provide detailed information about each reserved space. Take note of the “Space Guarantee” values. By adding these values together, you can determine the total disk space allocated for Reserved Storage.
Total Reserved Storage = Space Guarantee 1 + Space Guarantee 2 + ... + Space Guarantee n
If Reserved Storage is disabled, all the “Space Guarantee” values should be zero.
Conclusion
Understanding and monitoring the Reserved Storage size in Windows 11 is crucial for maintaining optimal system performance and ensuring hassle-free updates. Whether you prefer the user-friendly interface of the Settings app or the detailed insights provided by the Windows Terminal, these methods empower you to stay in control of your system’s storage allocation. Take advantage of these tools to navigate the digital landscape seamlessly with Windows 11.
You might also be interested in how to turn on or off Reserved Storage in Windows 11 or 10.