On-Screen Keyboard has been a part of the Windows operating system since Windows Vista, and it continues to Windows 10. Windows 10 ships with a dedicated touch keyboard; still, most users don’t need to use the on-screen keyboard. However, for some reason, if your physical keyboard is not working, you would like to use the on-screen keyboard on Windows 10.
In this gearupwindows post, we will guide you with different easy ways through which you can launch the on-screen keyboard in Windows 10. These are the following:-
- Using Keyboard Shortcut
- From Start menu
- Through the Run command box
- Via Command Prompt
- Using Windows PowerShell
- From Settings app
- Via Control Panel
How to open On-Screen Keyboard in Windows 10 using Keyboard Shortcut?
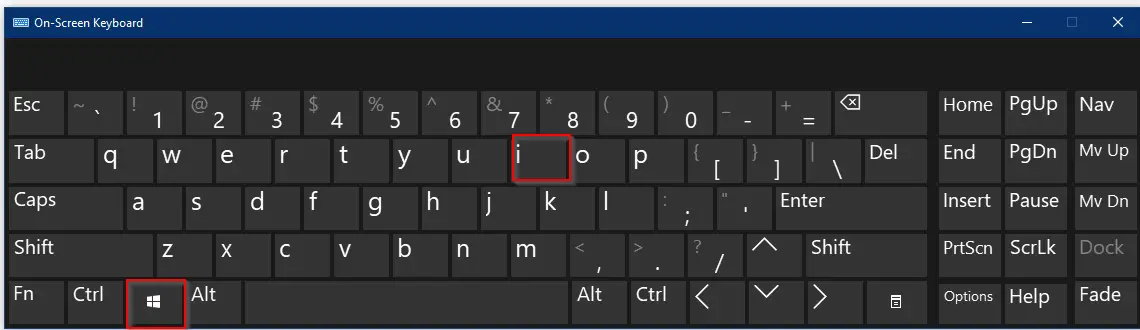
Perhaps this is the easiest way to open the On-Screen Keyboard in Windows 10 if you prefer to use keyboard shortcuts. Just press the Windows logo + Ctrl + O keys from the keyboard to launch the On-Screen Keyboard.
How to open the On-Screen Keyboard from the Start menu in Windows 10?
Follow these steps to open the On-Screen Keyboard from the Start menu in Windows 10:-
Step 1. Click the Start button and type On-Screen Keyboard.
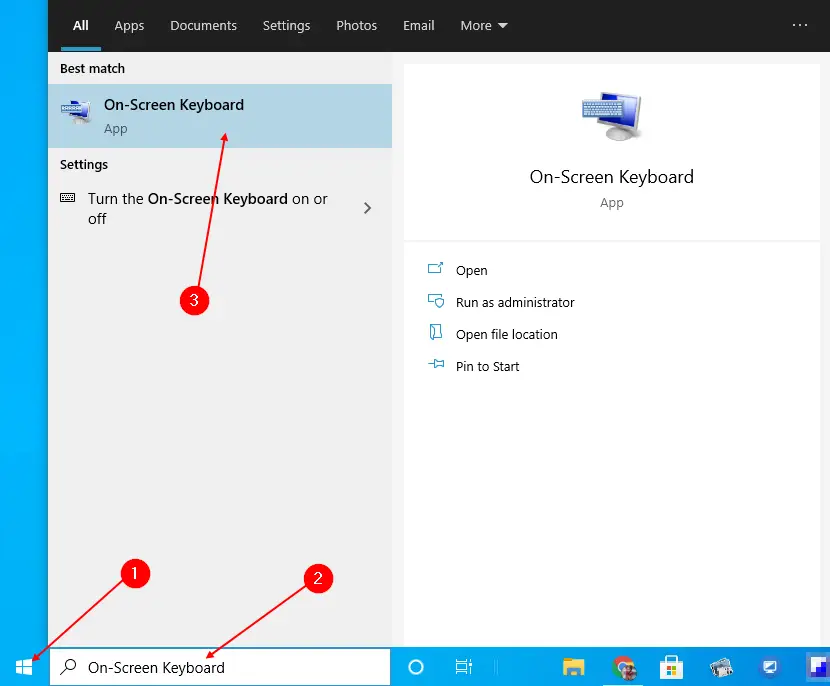
Step 2. In the available top results, click on the On-Screen Keyboard to open it.
How to open the On-Screen Keyboard using the Run command box?
Follow these steps to open the On-Screen Keyboard using the Run command box:-
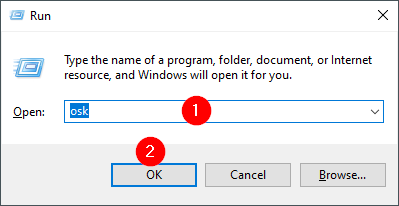
Step 1. Simultaneously press the Windows logo + R keys to open the Run command box.
Step 2. In the Run box, type the following and hit the Enter button from the keyboard to open the On-Screen Keyboard:-
osk
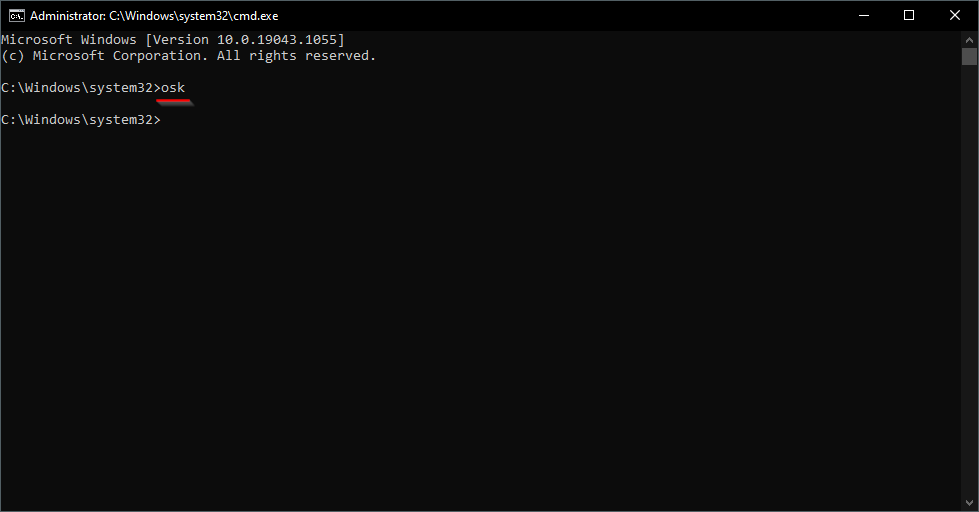
How to access the On-Screen Keyboard via Command Prompt?
Follow these steps to access the On-Screen Keyboard via Command Prompt:-
Step 1. Open the Command Prompt.
Step 2. On the prompt, type the following and hit Enter from the keyboard to access the Command Prompt:-
osk
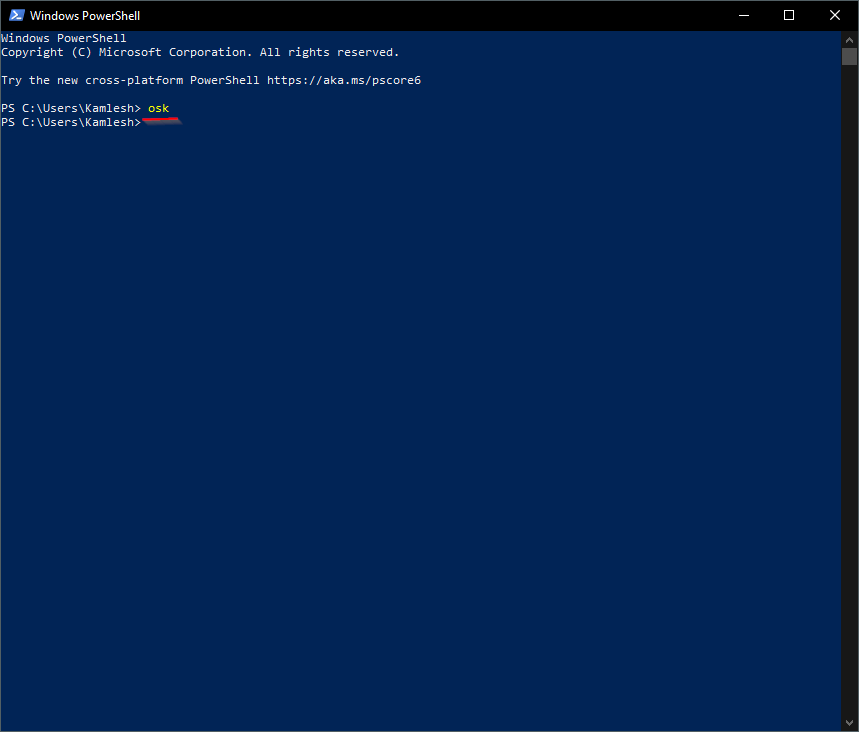
How to launch the On-Screen Keyboard through Windows PowerShell?
Follow these steps to launch the On-Screen Keyboard through Windows PowerShell:-
Step 1. Open the Windows PowerShell.
Step 2. In the Windows PowerShell prompt, type osk and hit Enter from the keyboard to launch the On-Screen Keyboard.
How to start the On-Screen Keyboard through the Settings app?
Follow these steps to start the On-Screen Keyboard through the Settings app:-
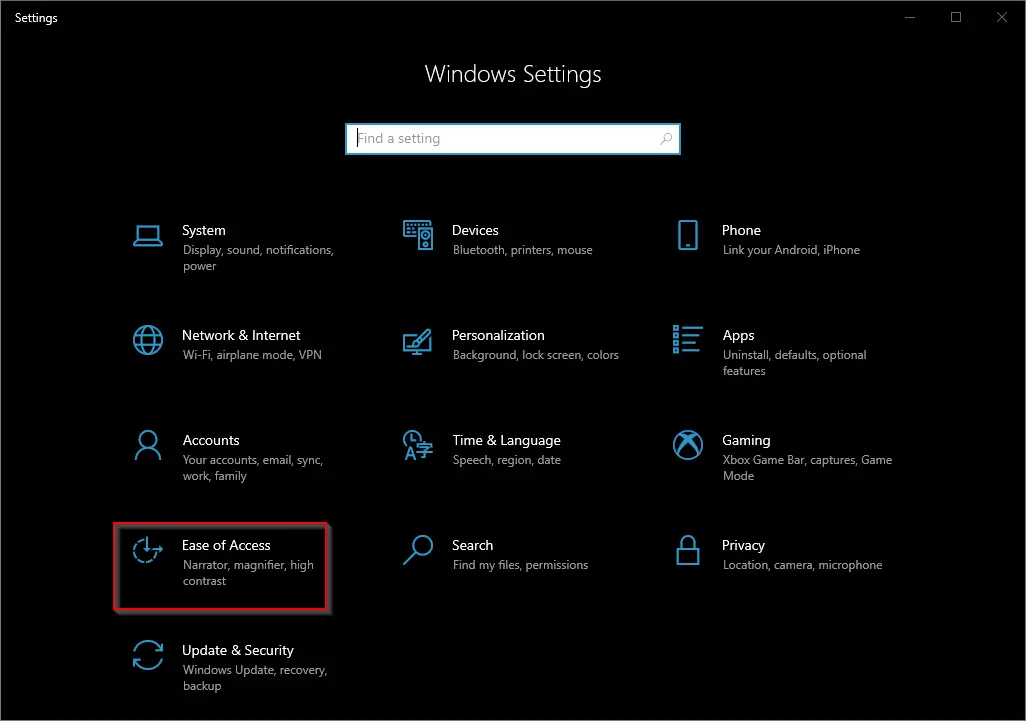
Step 1. Open the Settings app by pressing the Windows logo + I keys simultaneously.
Step 2. Click the Ease of Access category.
Step 3. Scroll down in the left side pane and click on the Keyboard. Then, on the right side pane, turn the toggle On next to “Use the On-screen keyboard.”
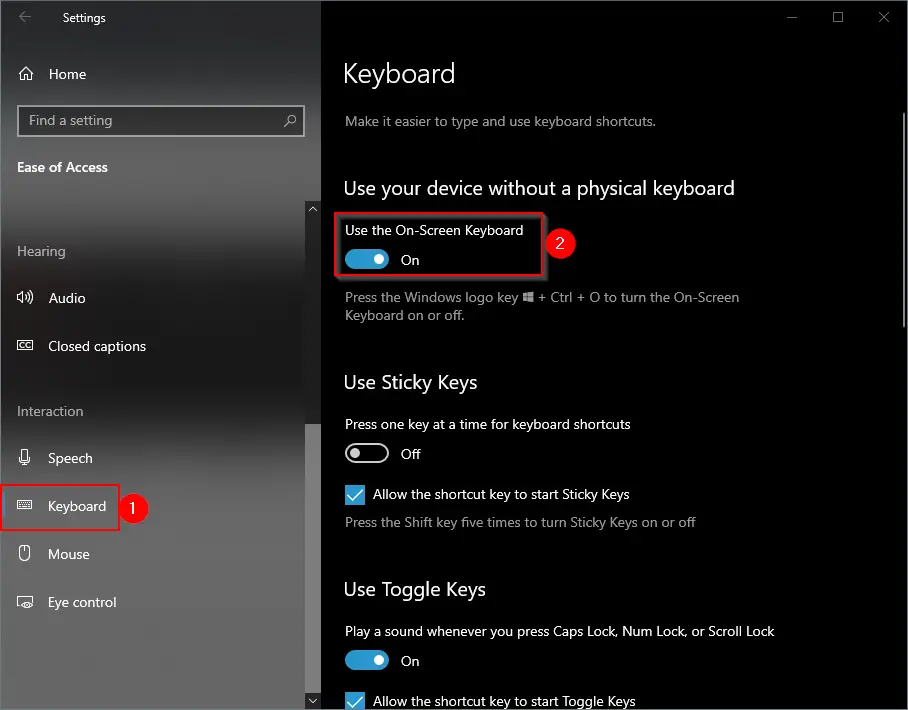
Step 4. After completing the above steps, a keyboard icon will appear on the taskbar’s right side. Clicking on the keyboard icon, you can open the “On-screen keyboard.”
![]()
How to open the On-Screen Keyboard using Control Panel?
Follow these steps to open the On-Screen Keyboard using Control Panel:-
Step 1. Open Control Panel.
Step 2. In the search box of the Control Panel, type the keyboard.
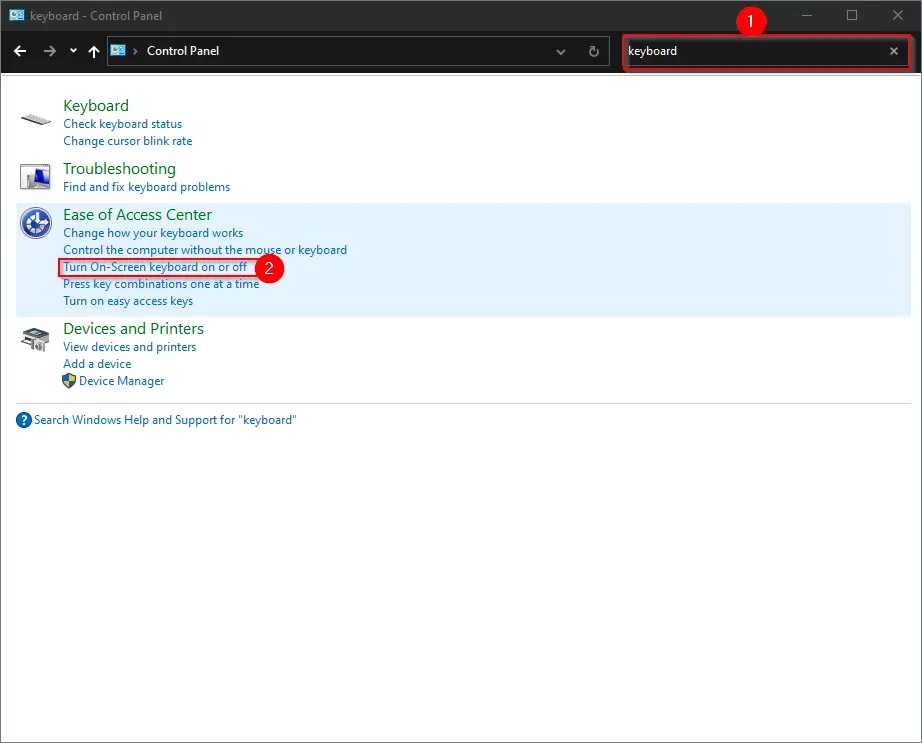
Step 3. Click the link Turn On-Screen keyboard on or off.
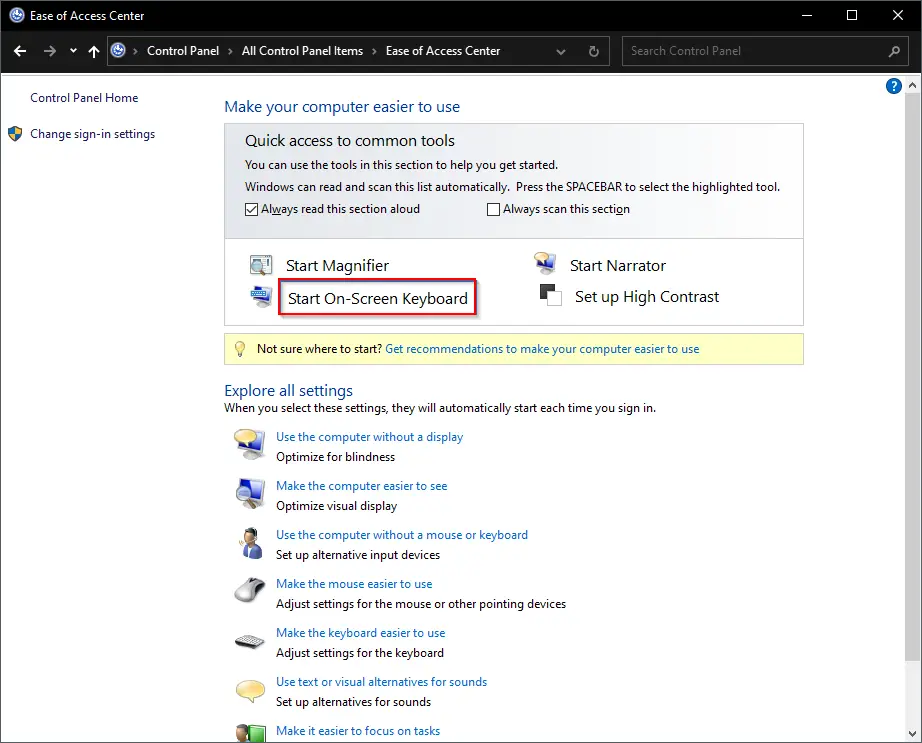
Step 4. In the window that appears, click on the On-Screen Keyboard to open it.
Conclusion
In conclusion, the On-Screen Keyboard is a helpful feature that can come in handy when your physical keyboard is not working, or you prefer using a touch keyboard. Windows 10 offers different easy ways to launch the On-Screen Keyboard, including keyboard shortcuts, Start menu, Run command box, Command Prompt, Windows PowerShell, Settings app, and Control Panel. By following the steps outlined in this guide, you can easily access and use the On-Screen Keyboard on Windows 10.