Windows automatically occupy a drive letter for every hard disk partition, like C, D, E, etc. If you want to modify or rename a drive letter, you may want to try one of the simple procedures covered in this post. This post will walk you through the procedure to change drive letters in Windows 10/11.
In an earlier post, we mentioned a freeware tool Sordum Drive Letter Changer. Drive Letter Changer is a free utility that lets you change a drive letter or even assign a drive letter on the hard disk partition. It is compatible with Windows 11, 10, 8.1, 8, 7, Vista, and XP (both x86 and x64).
Change Drive Letter on Windows 10/11
Apart from the freeware tool, there are at least two ways to change or rename a drive letter in Windows 10. You can change the Drive Letter using one of the following methods:-
- Command Prompt
- Disk Management
Using Command Prompt
Every Windows ships with an inbuilt Command Prompt; hence this method is applicable for all Windows versions, including Windows Vista, 7, 8, 10, and 11.
To change a drive letter using CMD or Command Prompt window, do the following:-
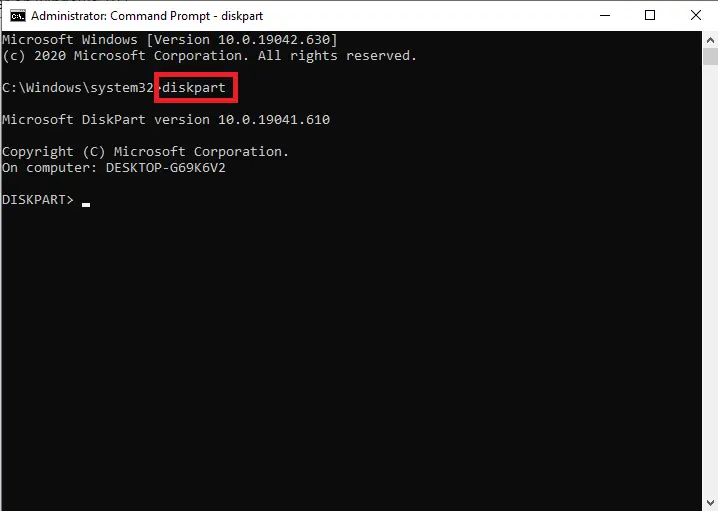
Step 1. Launch or run Command Prompt as an administrator (To launch the Command Prompt with administrator privilege, type cmd on the Start button, right-click on the available result Command Prompt, and select Run as administrator).

Step 2. On the command prompt window, type diskpart and hit Enter key from the keyboard.
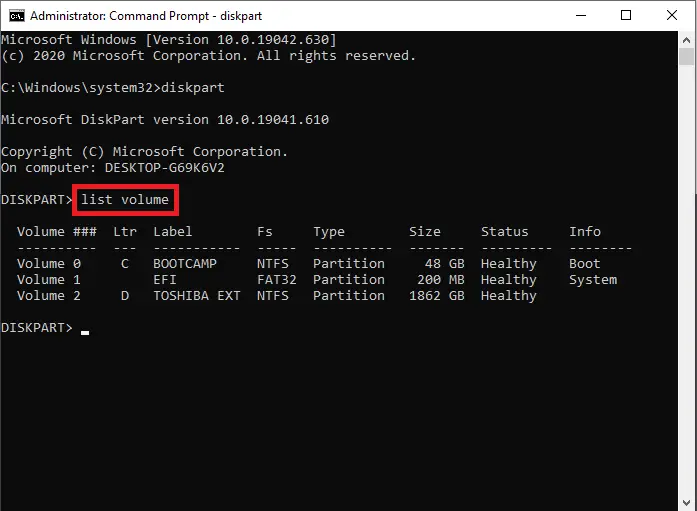
Step 3. On the DISKPART prompt, type the following command to show all hard drives, including their volume numbers and letters:-
list volume
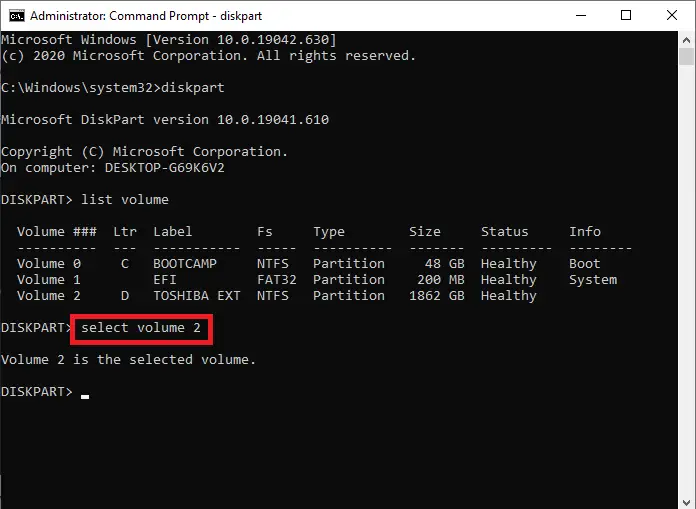
Step 4. To select any volume, run the following command:-
select volume 2
In my example, we are selecting Volume 2. If you want to change the volume letter of another partition, then change No 2 accordingly.
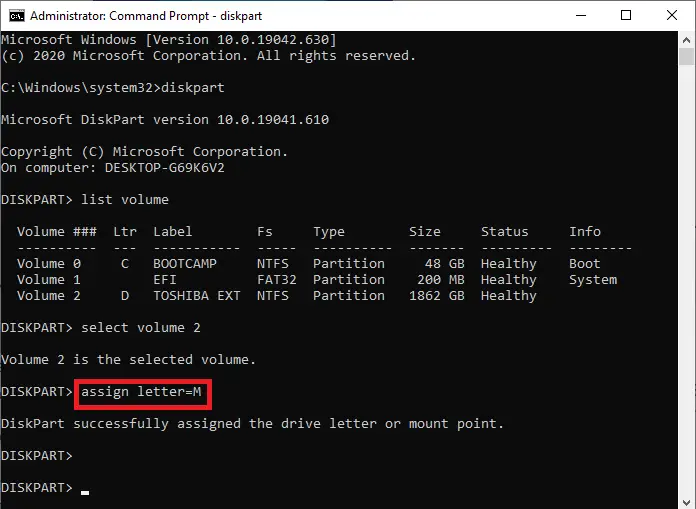
Step 5. To change the drive letter, execute the following command:-
assign letter=M
Here we are assigning the letter M to volume 2; you can change the drive letter accordingly as per your choice.
Using Disk Management
To assign or change the Drive letter on Windows 11/10 PC, do the following:-
Step 1. Click on the Start button and type diskmgmt.
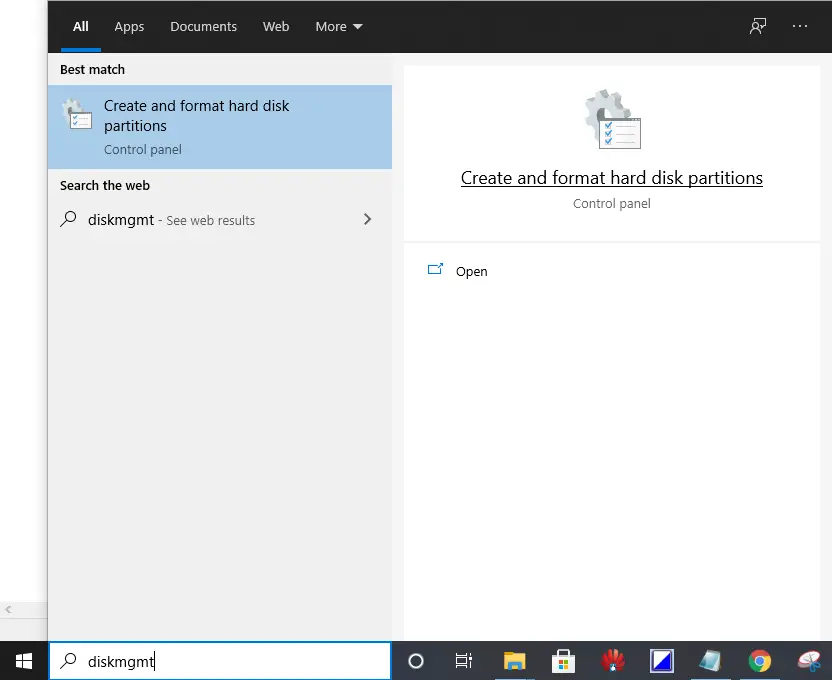
Step 2. From the available results, click on “Create and format hard disk partitions” to launch the disk management inbuilt tool.
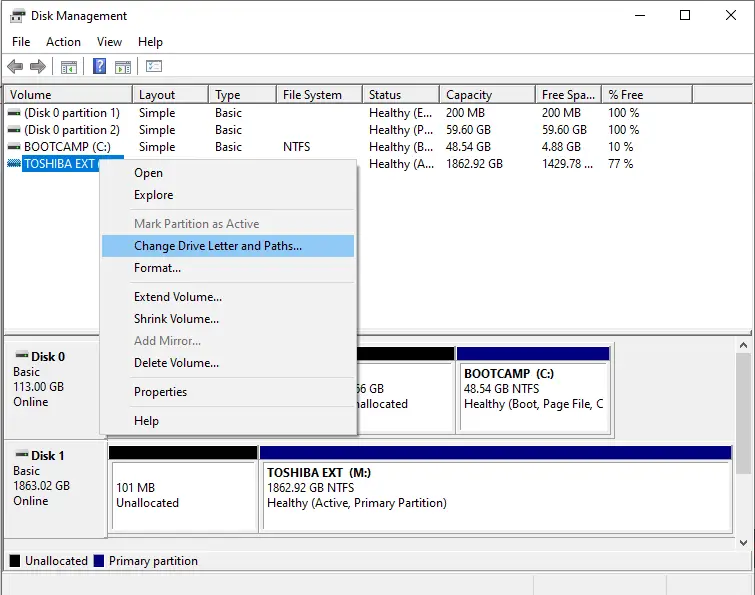
The Disk Management window will list all volumes or drives, volume type, capacity, free space, etc.
Step 3. Right-click on a volume and select the “Change Drive Letters and Paths” option.
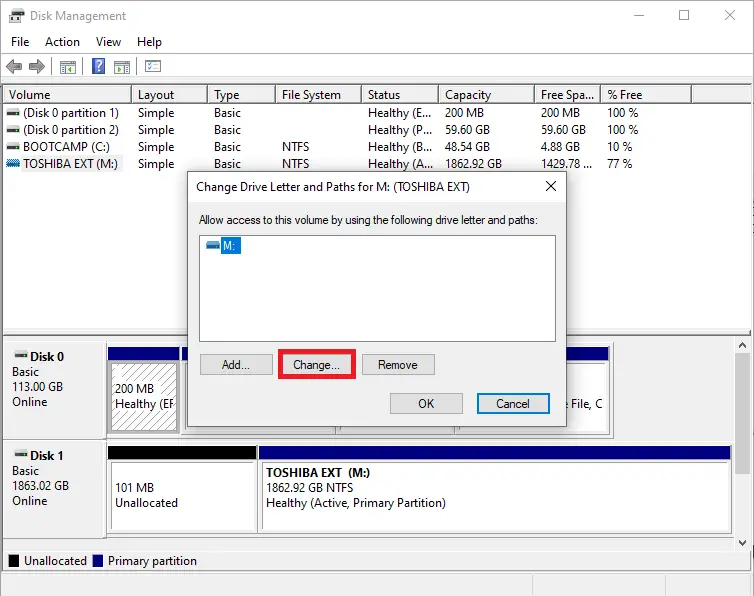
Step 4. Click on the Change button and assign a free Letter. If you want to hide a drive, then simply click on the Remove button.
Step 5. From the following window, you can assign a new drive letter for your existing partition.
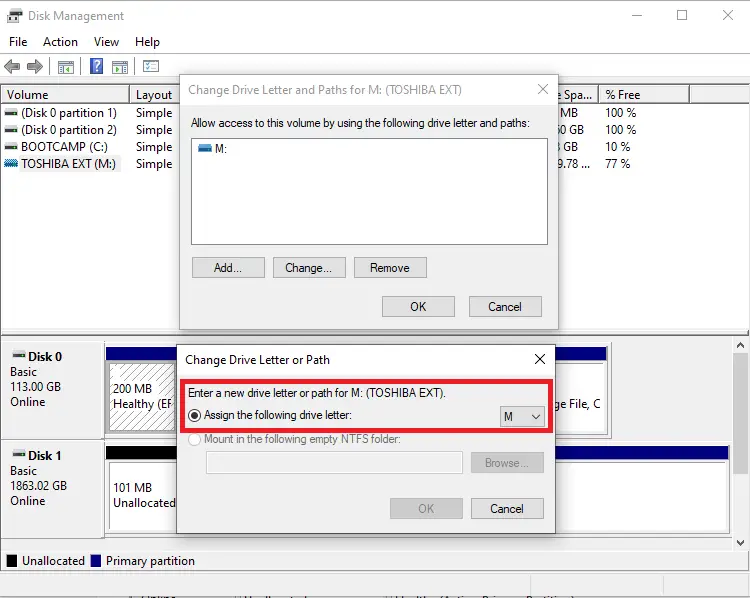
Once you complete the above steps, you should change the drive letter of your existing partition in Windows 11/10/8/7.
That’s all!!!
Conclusion
In conclusion, changing or modifying a drive letter on a Windows 10/11 computer can be necessary in some cases, such as when a particular drive letter conflicts with another drive or when you want to rename a drive letter for easier identification. This post has covered two simple ways to change drive letters on Windows 10/11, using either the Command Prompt or Disk Management tools. Additionally, it has mentioned a freeware tool, Sordum Drive Letter Changer, which offers an easy-to-use interface to assign or change drive letters on any Windows version. By following the steps provided in this post, you can change or rename a drive letter quickly and efficiently.