If you are using Windows 10 and connecting to the internet through WiFi, you might have configured many Wi-Fi Network profiles on your PC. If you want to remove, delete, or forget any WiFi network profile you have stored on your PC, it is possible with built-in options in Windows 10, which means there is no need to download a freeware tool. To delete or forget the WiFi network profile from Windows 10 PC, you can opt for any of the four options:-
- PowerShell
- Command Prompt
- Settings app
- System Tray icon
In this post, we will discuss at least four ways through which you can delete or forget a pre-configured WiFi network profile from Windows 10. These are the following:-
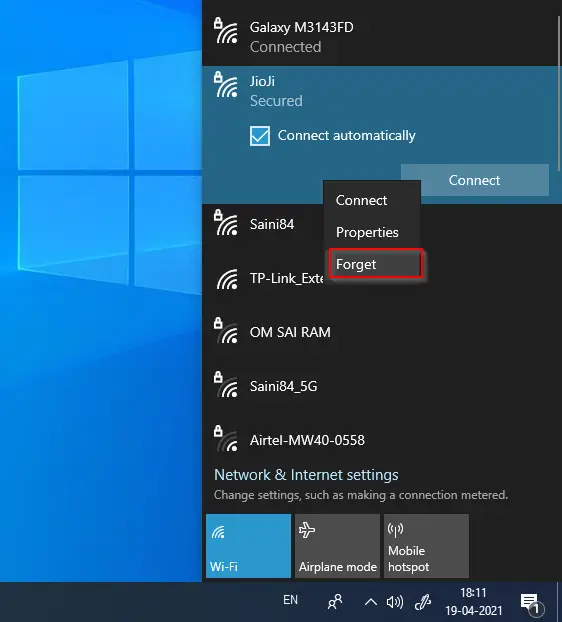
- Eliminate or forget the WiFi network profile from the system tray of Windows 10
- Delete or remove WiFi network profiles using Windows Settings app
- Remove or forget the WiFi network profile using Command Prompt and Windows Registry
- Delete or remove the WiFi network profile using Windows PowerShell
How to Delete or Forget the WiFi Network Profile from the System Tray of Windows 10?
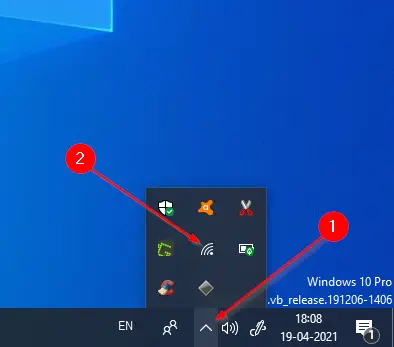
To delete or forget the WiFi network profile using the system tray, perform the following steps:-
Step 1. Click on the system tray on Windows 10 and then click on the WiFi icon.

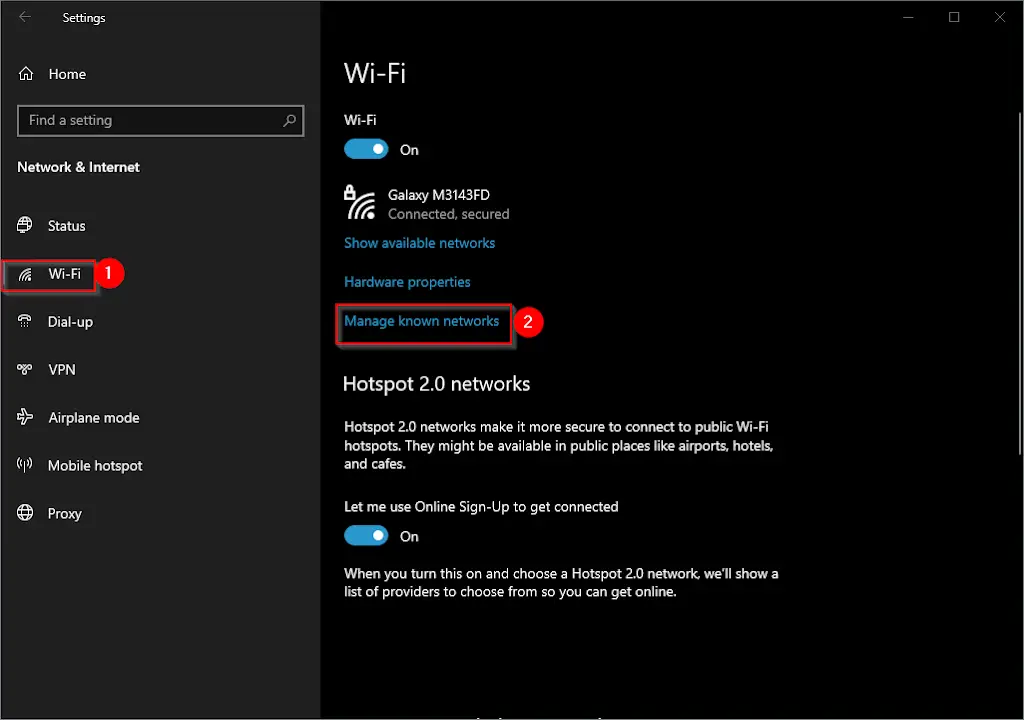
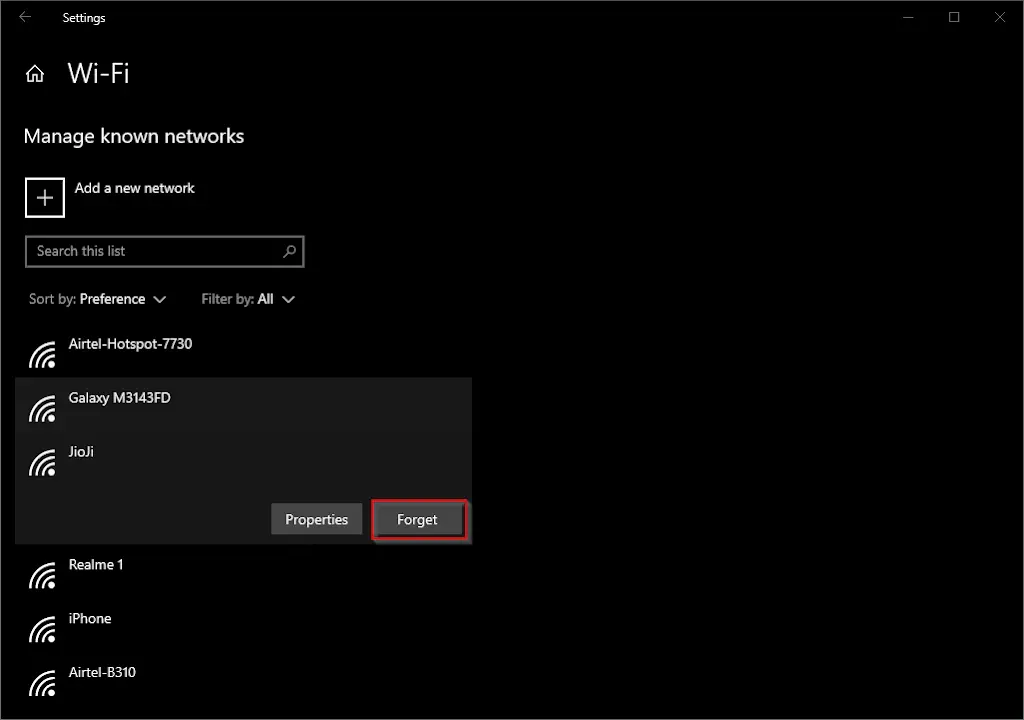
How to Delete or Remove WiFi Network Profiles using Windows Settings app?
To remove or delete a WiFi network profile using Windows Settings app, perform the following steps:-
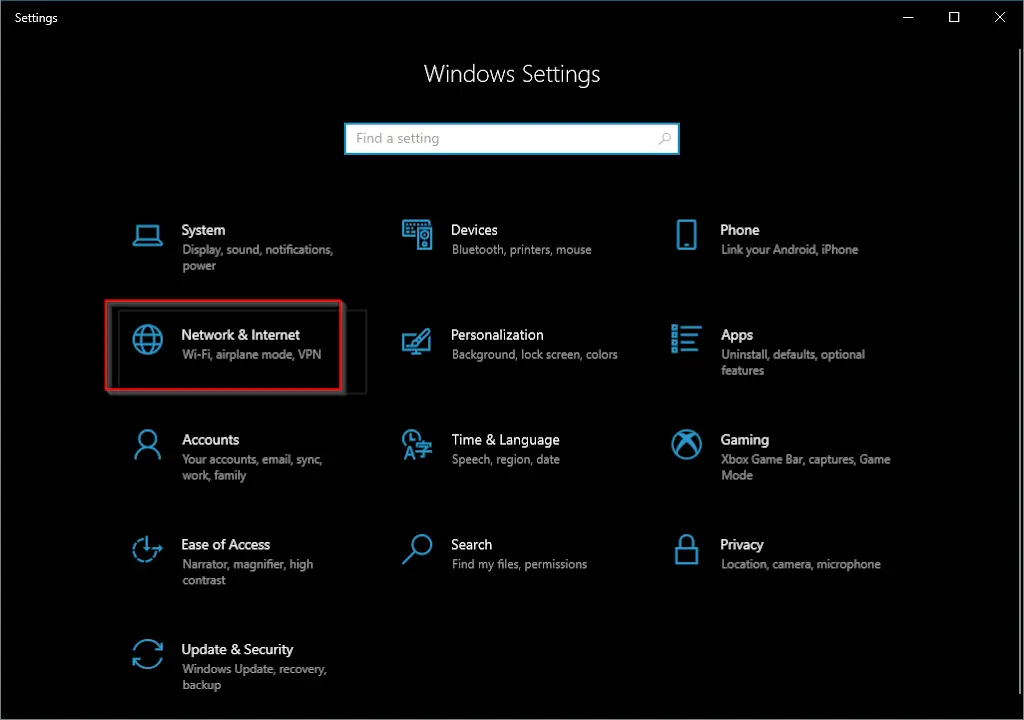
Step 1. Open the Settings app by pressing the Windows key + I simultaneously or any other method.
Step 2. In the Settings window that opens, click on the Network & Internet category.
How to Remove or Forget the WiFi Network Profile using Command Prompt and Windows Registry?
Command prompt is another method to remove or forget the Wi-Fi network profile in Windows 10. If you prefer to use Command Prompt, perform the following steps:-
Step 1. Open an elevated Command Prompt.
To open the Command Prompt as an administrator, press the Windows Logo + R keys to open the “Run” box. Type cmd and then press Ctrl + Shift + Enter from the keyboard simultaneously to run the command prompt as an administrator.
Step 2. In the administrator Command Prompt, type the following and hit Enter from the keyboard:-
netsh wlan show profiles
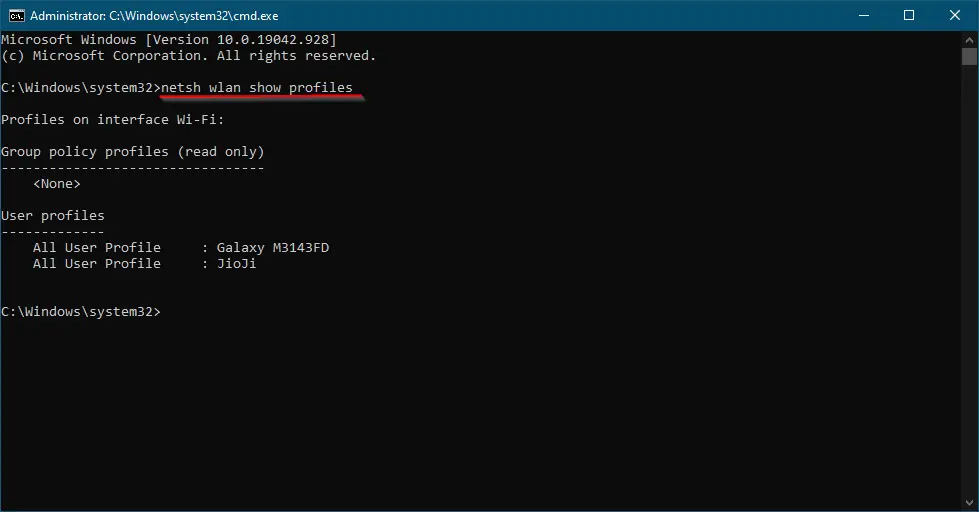
The above command will list the network profiles connected to your PC at least once in the past.
To remove all the WiFi network profiles at once, you can use the following command:-
netsh wlan delete profile name=*
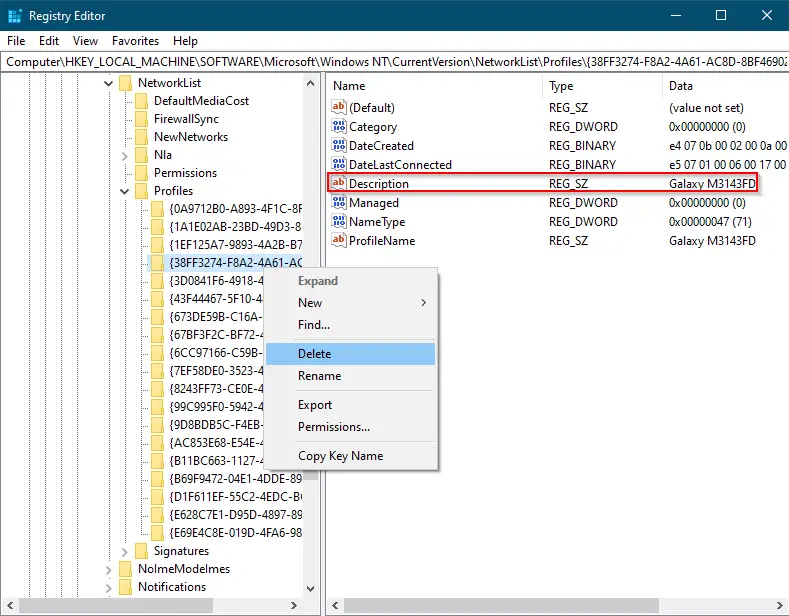
Step 3. If you want to delete any network profile (for my example, we have two network profiles: Galaxy M3143FD and JioJi), execute the following command:-
netsh wlan delete profile name="Galaxy M3143FD"
In the above command, replace “Galaxy M3143FD” with your network profile which you want to delete.
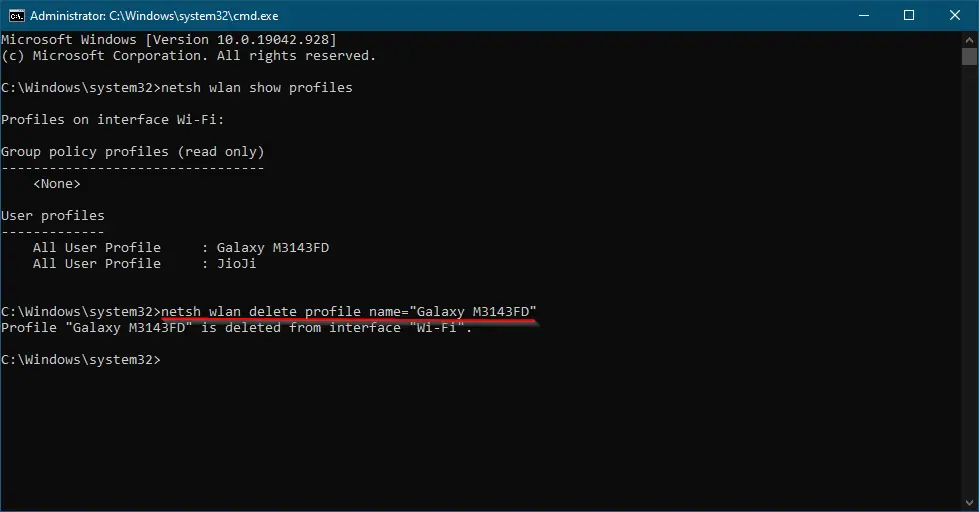
Once you execute the above command, you will receive a notification message that the profile is deleted from the interface “Wi-Fi.”
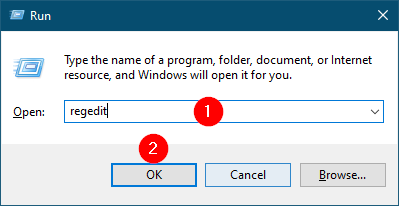
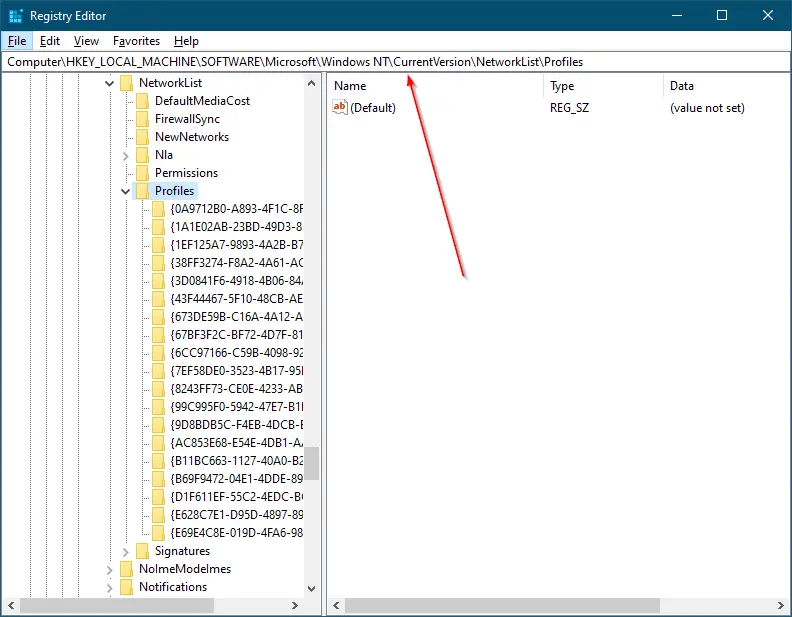
Step 4. To altogether remove it from your Windows, you now have to clean the registry. Now, press the Windows + R keys simultaneously to open the Run dialog box. In the Run box, type regedit and press Enter from the keyboard to open the Registry Editor window.

Step 5. In the Registry Editor window that opens, navigate, or browse for the following key from the left side pane:-
HKEY_LOCAL_MACHINE\SOFTWARE\Microsoft\Windows NT\CurrentVersion\NetworkList\Profiles
How to Delete or Remove the WiFi Network Profile using Windows PowerShell?
Like Command Prompt, you can also use Windows PowerShell to delete a WiFi network profile from your Windows 10 computer or notebook. Windows PowerShell also uses the same commands to find and delete network profiles.
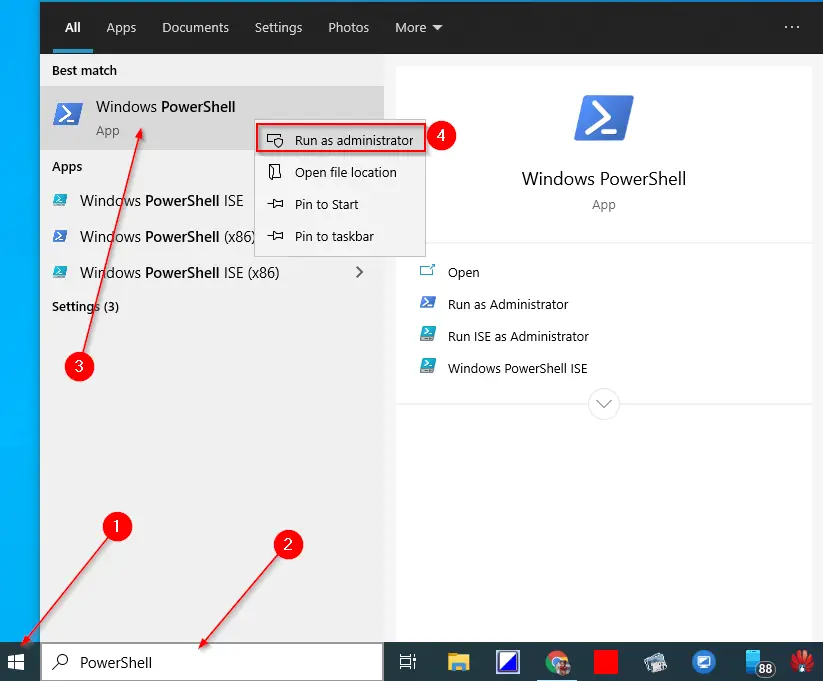
Step 1. Open Windows PowerShell with administrator privilege.
Step 2. In the Administrator Windows PowerShell, type the following and hit Enter from the keyboard:-
netsh wlan show profiles
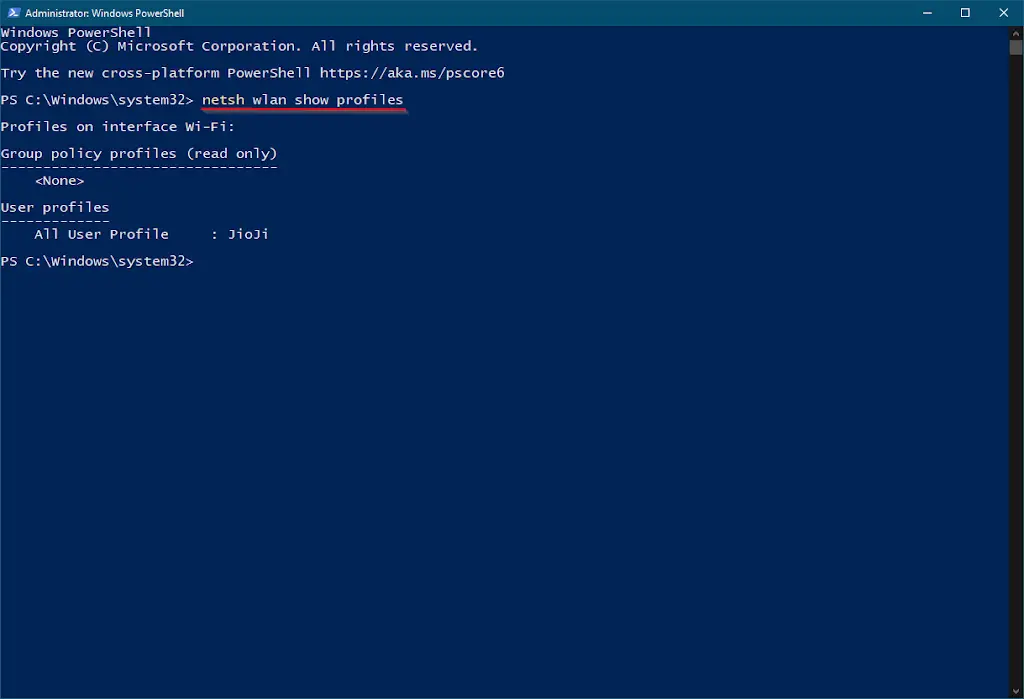
The above command will list all the WiFi network profiles of your Windows PC.
Step 3. Note down the network profile which you want to delete from your Windows PC, and issue the following command:-
netsh wlan delete profile name="JioJi"
Note: Replace JioJio with your network profile name, which you want to delete.
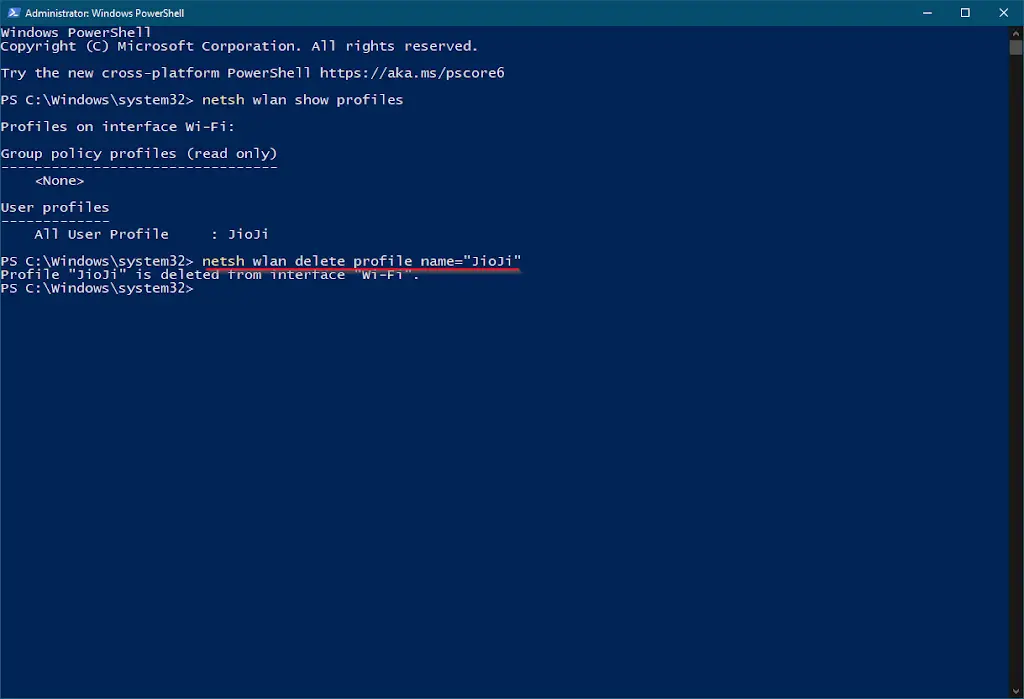
Once you complete the above step, the selected Wi-Fi network profile is deleted from your Windows 10 PC.
Conclusion
In conclusion, Windows 10 offers multiple options to remove or forget any WiFi network profile stored on your PC. These built-in options eliminate the need for downloading any freeware tools. You can use the system tray, Windows Settings app, Command Prompt, or Windows PowerShell to delete or forget any WiFi network profile. Removing or forgetting the network profile from the system tray is the simplest method. In contrast, the use of Command Prompt or Windows PowerShell provides advanced options to delete multiple profiles simultaneously or delete them through the Windows Registry. However, you need to exercise caution while performing advanced options as an incorrect deletion of network profiles from the registry can cause system instability or even failure. Therefore, it is recommended to create a system restore point or backup of the registry before modifying it.
You might also be interested in blocking or hiding a neighbor’s Wi-Fi Network from Appearing on Windows 10.