In Windows 11 or 10, when you have one window open for an app, you can see a thumbnail preview of that window by hovering over the mouse cursor on its icon on the taskbar. However, if multiple instances are opened for an app, you will see numerous thumbnail previews of that window when you hover the mouse cursor over its icon on the taskbar. That means, for a single opened window, you will see a single preview, and for multiple opened windows for a single app, you will see multiple previews. Each opened window creates its preview in Windows 11 and 10.
However, when the number of open windows reaches the threshold, the taskbar starts showing open windows in a list instead of thumbnails.
The taskbar thumbnail threshold limit varies depending on the screen resolution and DPI scaling. Based on screen resolution and DPI, the following are the default taskbar thumbnail threshold limits for Windows 11 and 10:-
- 800×600 = 8 open windows
- 1024×768 = 10 open windows
- 1920×1080 = 16 open windows
In this gearupwindows article, we will guide you on changing the default number of open windows to show thumbnails in Windows 11/10. Apart from that, you will also learn to turn on the list in the Windows 11 or 10 taskbars instead of a thumbnail.
How to Always Show List instead of Thumbnails in Windows 11 or 10 Taskbar?
If you always want to see a list instead of thumbnails in the Windows 11 or 10 taskbar, use these steps:-
Step 1. Open Registry Editor.
Step 2. Then, navigate to the following key in the left sidebar of Registry Editor:-
HKEY_CURRENT_USER\SOFTWARE\Microsoft\Windows\CurrentVersion\Explorer\Taskband
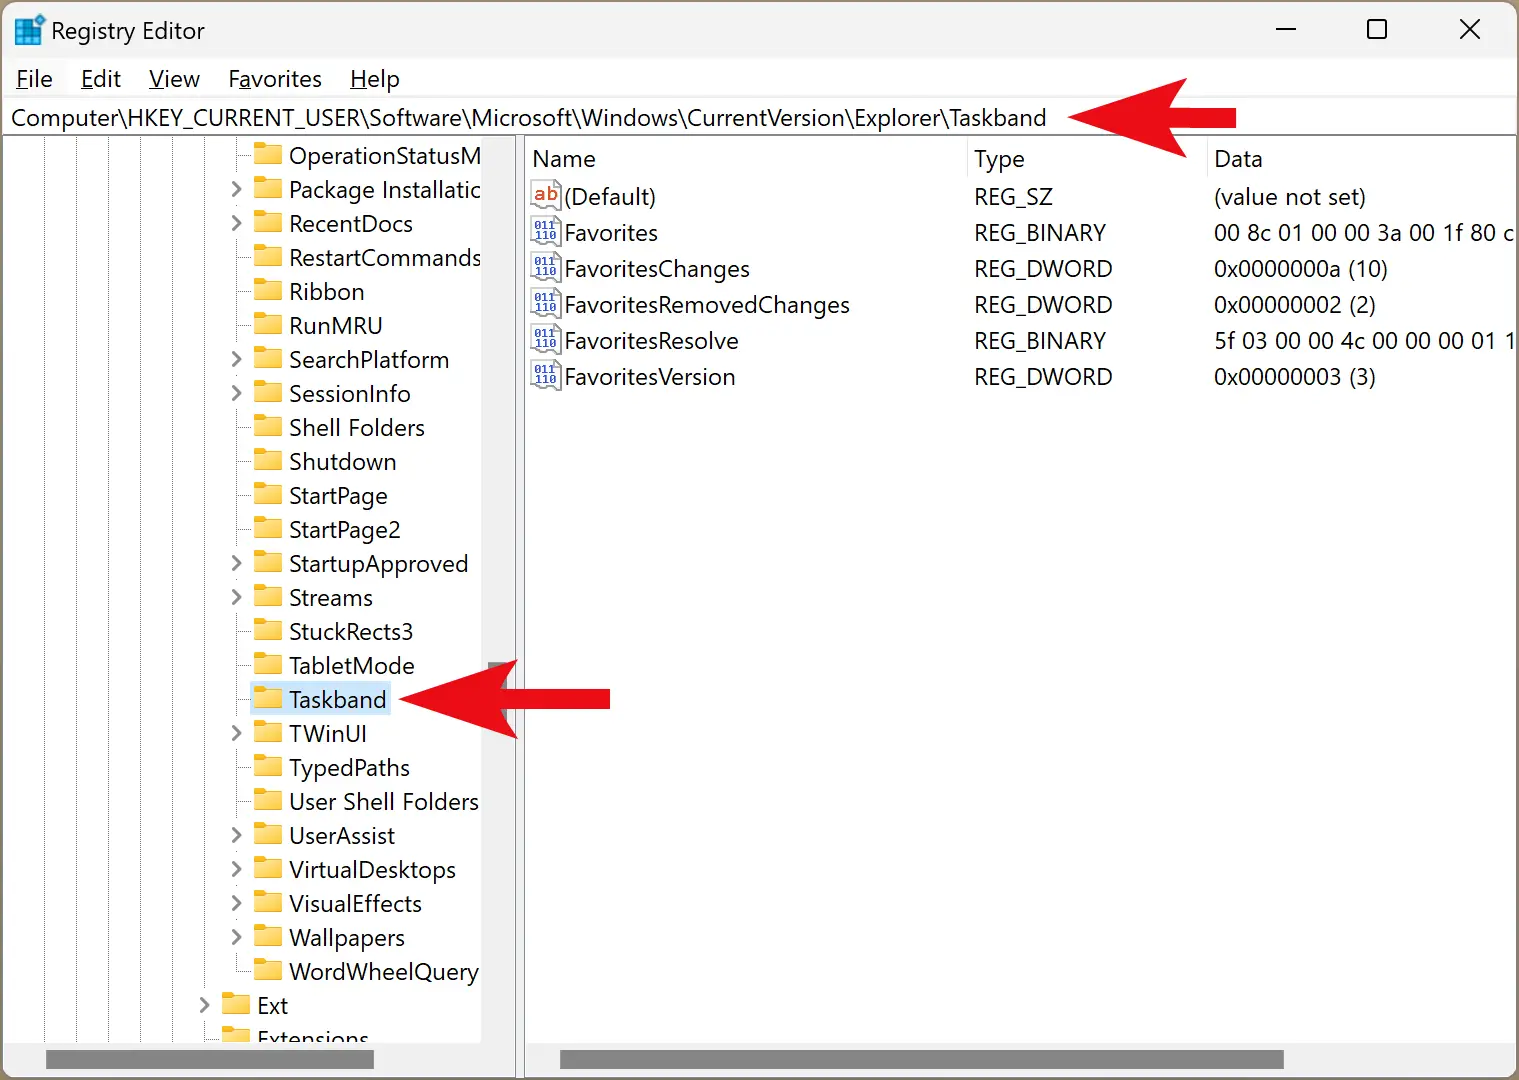
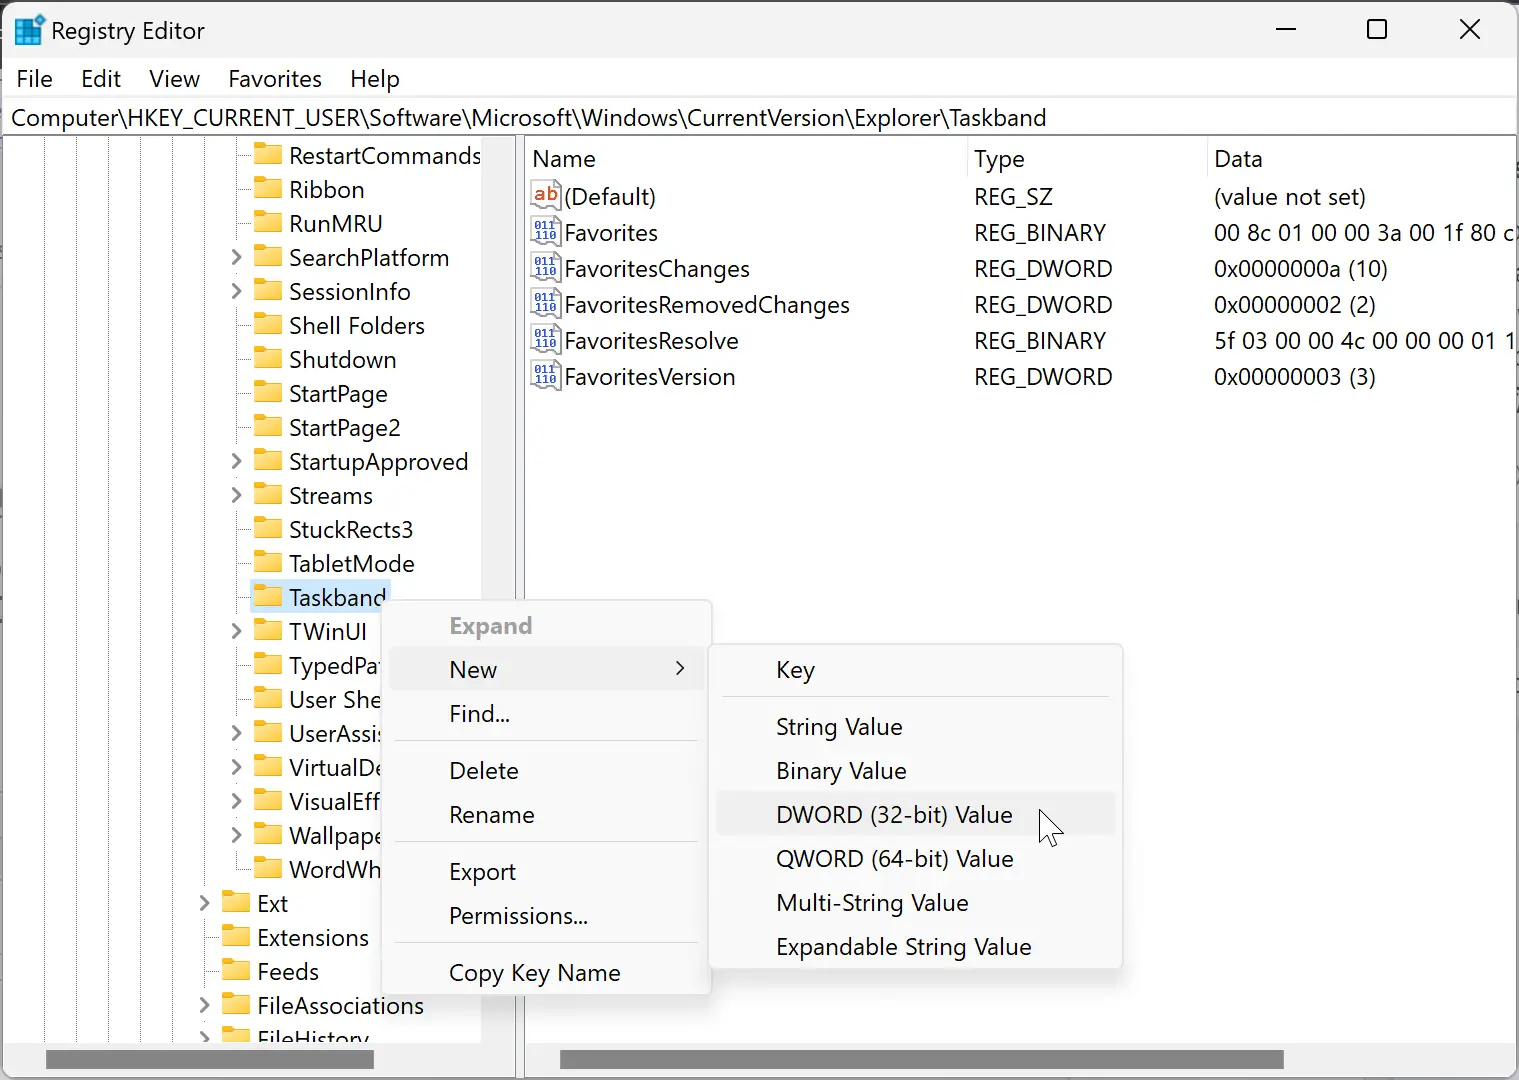
Step 3. Now, right-click on the Taskband key and select New > DWORD (32-bit) Value.
Step 4. Name the newly created REG_DWORD as NumThumbnails.
Step 5. After that, double-click on the NumThumbnails REG_DWORD and set its “Value data” to 0.
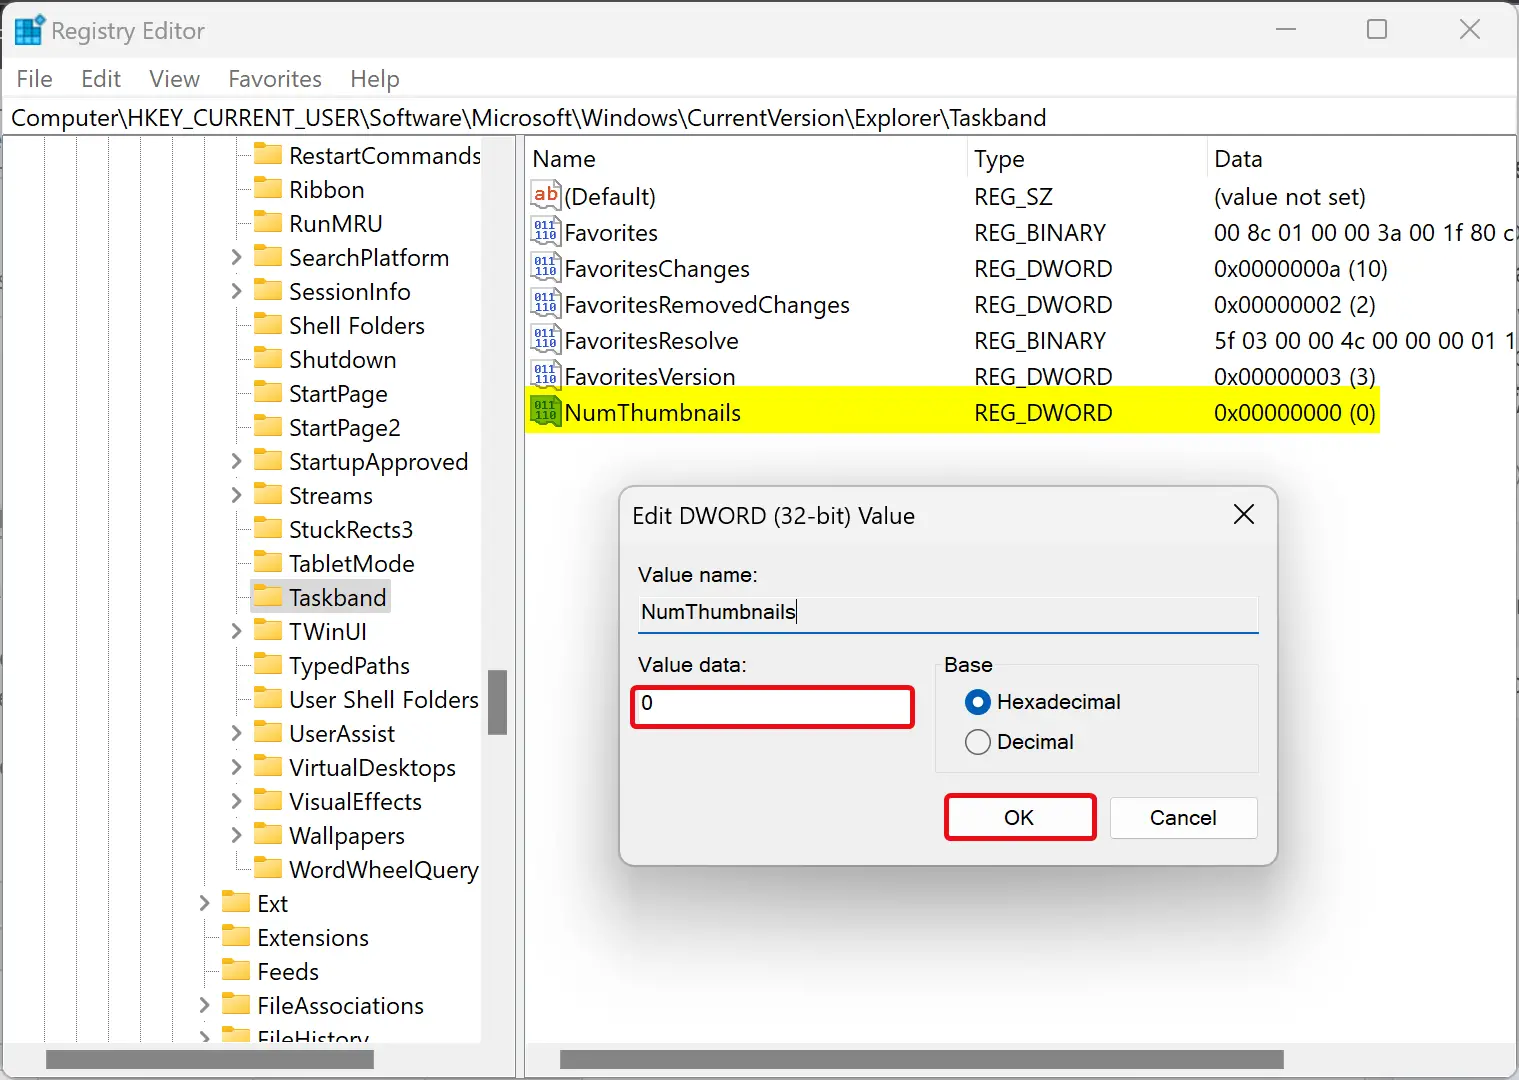
Step 6. Click OK.
Step 7. At last, reboot your computer or restart File Explorer to apply the changes.
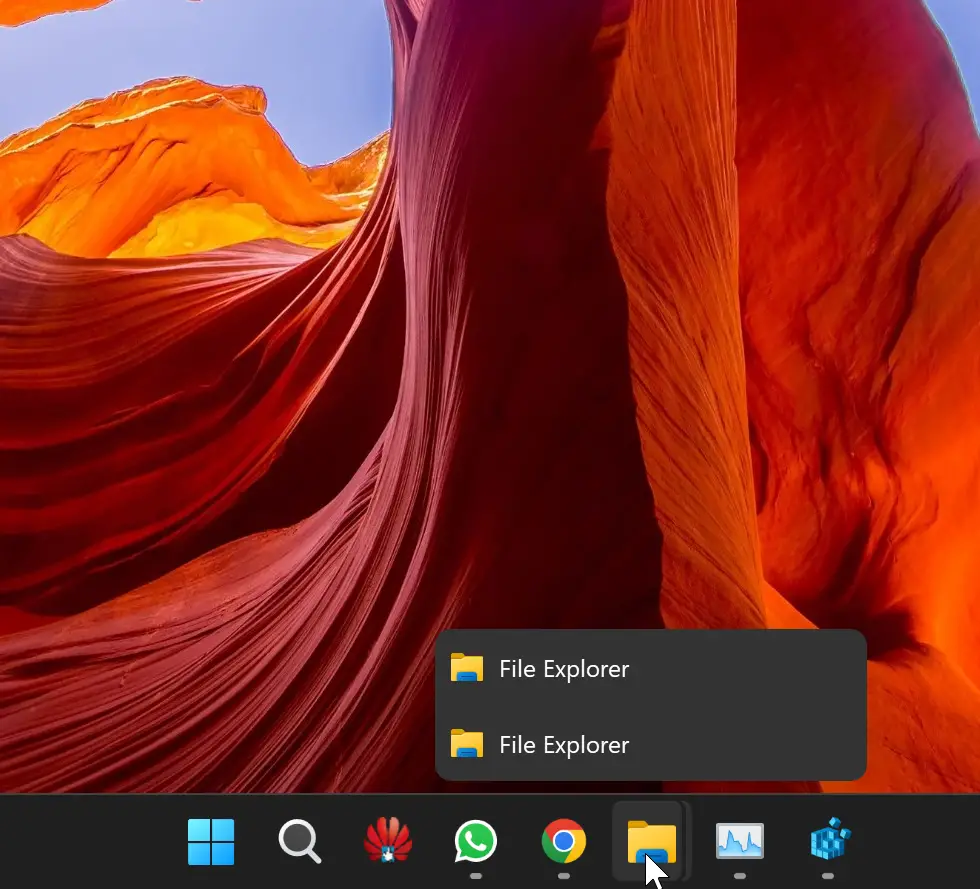
Once you complete the above steps, if one instance of an app is opened, it will show the thumbnail of that opened window. However, if multiple instances of an app are opened, Windows 11 or 10 will display a list instead of thumbnails.
To restore the default behavior or Taskbar Thumbnails, just delete the NumThumbnails REG_DWORD.
How to Disable Thumbnail Preview on Windows 11 or 10 Taskbar?
To enable or disable Taskbar Thumbnail Preview on Windows 11 or 10 using Local Group Policy Editor, do these steps:-
Step 1. Open Local Group Policy Editor.
Step 2. Then, navigate or browse to the following path in the left sidebar of the Local Group Policy Editor window:-
User Configuration > Administrative Templates > Start Menu and Taskbar
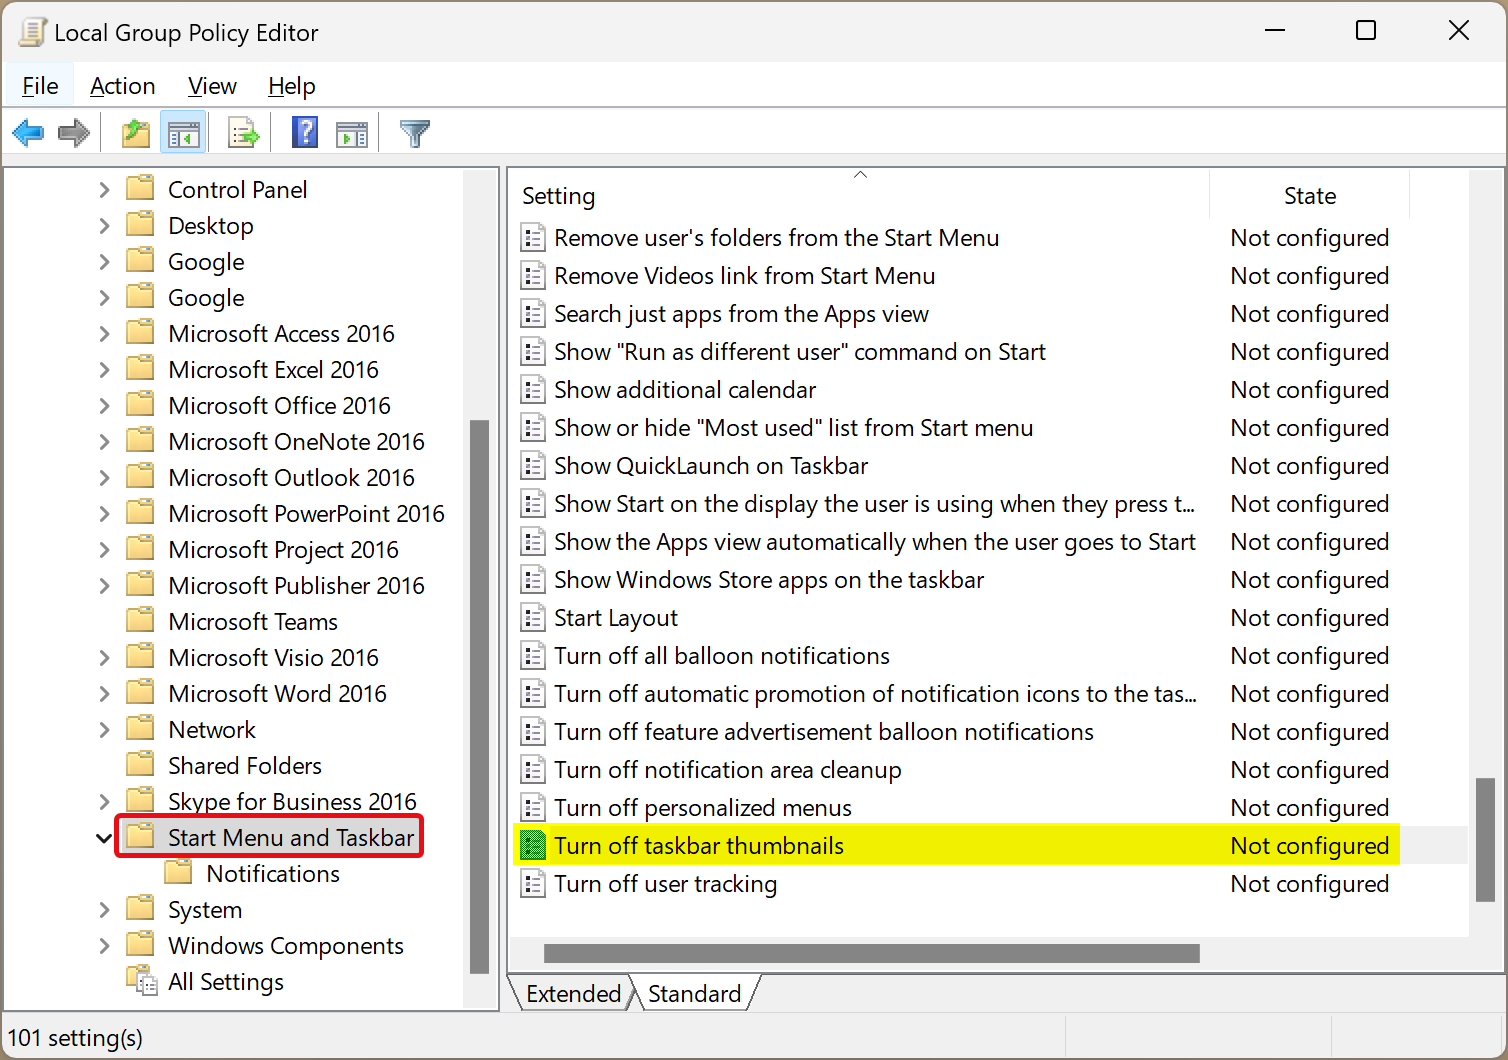
Step 3. On the opposite side of the “Start Menu and Taskbar” folder, double-click on the policy name Turn off Taskbar Thumbnails to open its settings.
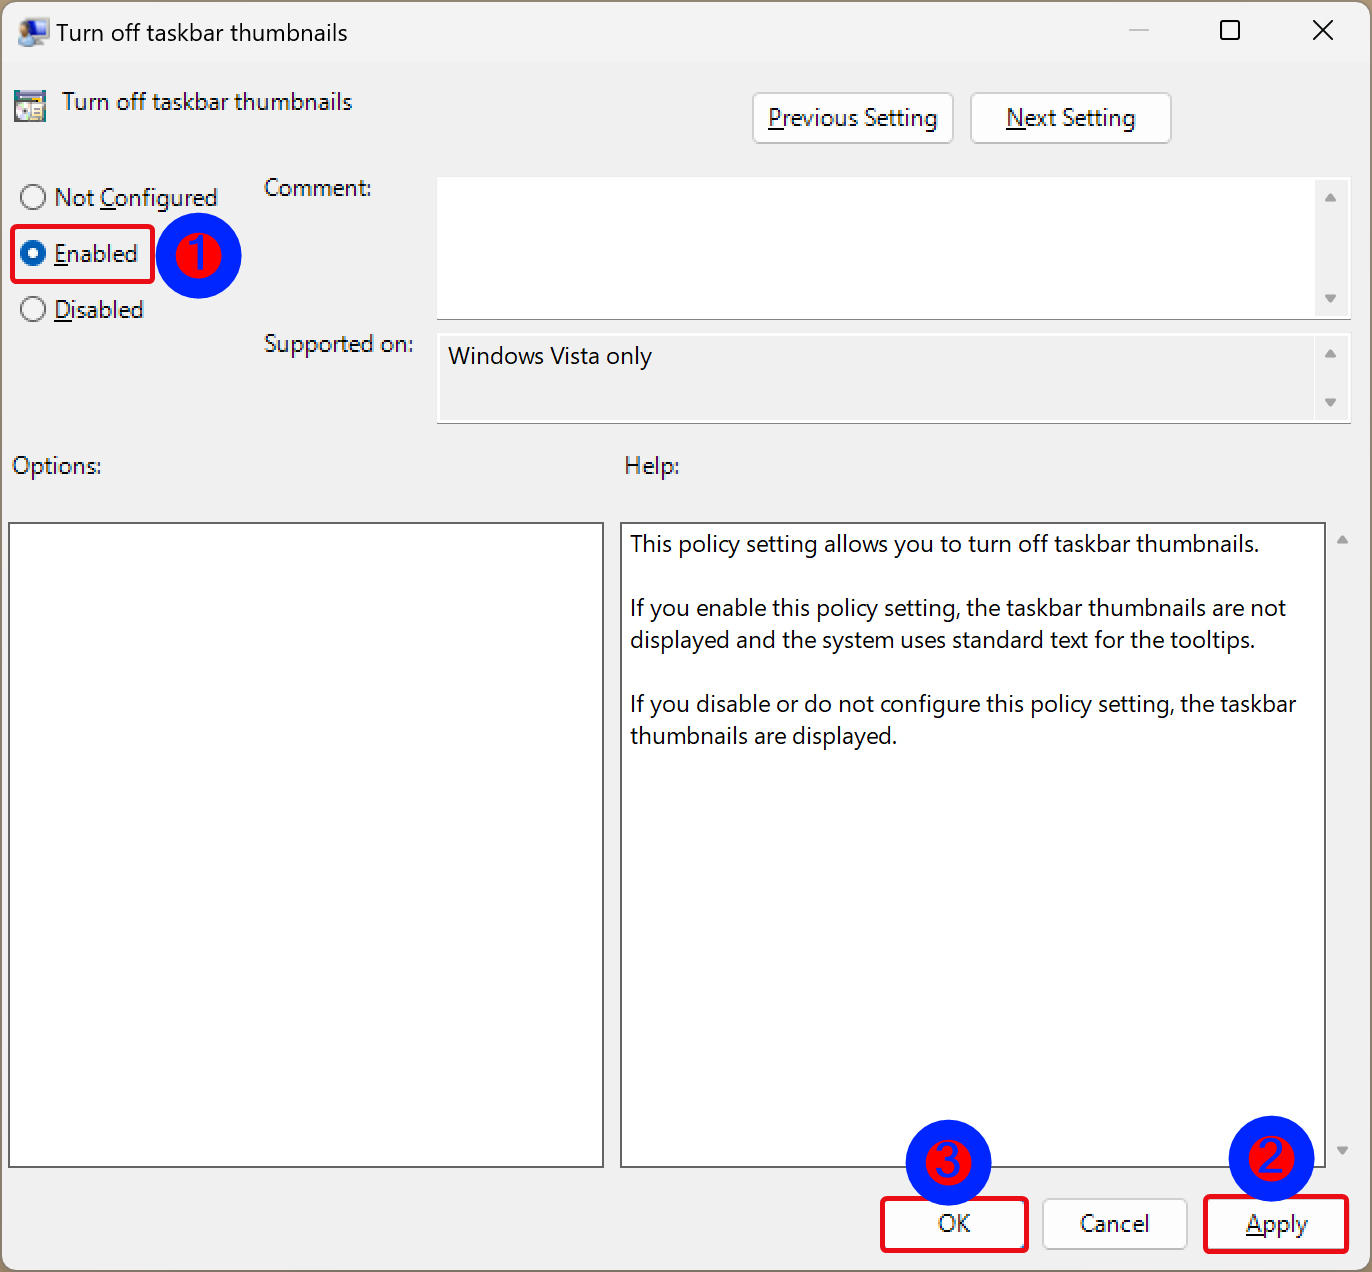
Step 4. Select Enabled.
Step 5. Click Apply.
Step 6. Click OK.
Step 7. Finally, restart your computer to apply the changes.
To revert the changes, repeat the above steps, and in step 4 above, select the Not Configured option.
Conclusion
In conclusion, Windows 11 and 10 provide users with the ability to preview open windows by hovering the mouse cursor over the app icon on the taskbar. However, this feature has a limit on the number of thumbnail previews displayed. When the number of open windows exceeds the threshold, the taskbar starts showing a list instead of thumbnails. Users can modify this default behavior using Registry Editor or Local Group Policy Editor to either always show a list or disable thumbnail previews altogether. By following the steps outlined in this article, users can customize their Windows 11 or 10 taskbar to their preferences.
This does not work in Windows 10. When did you last check this?