Google Chrome is the best browser on the internet and allows Windows users to browse the internet without signing into a Gmail account. Signing in to the Chrome browser has its advantages. Some people sign in, but they do not enable the Sync feature to sync all the data, including the bookmarks, which can be available everywhere.
Several times we bookmark our favorite websites to access them later quickly. If you want to export these bookmarks to import on another computer or another user account on your PC, this gearupwindows article will guide you.
How to Export the Google Chrome Bookmarks in Windows 11/10?
To export Chrome’s bookmarks in Windows 11/10, use the following steps:-
Step 1. First, open the Chrome browser from the desktop shortcut or Start menu.
Step 2. Then, open a new tab and paste the following in the address bar:-
chrome://bookmarks/
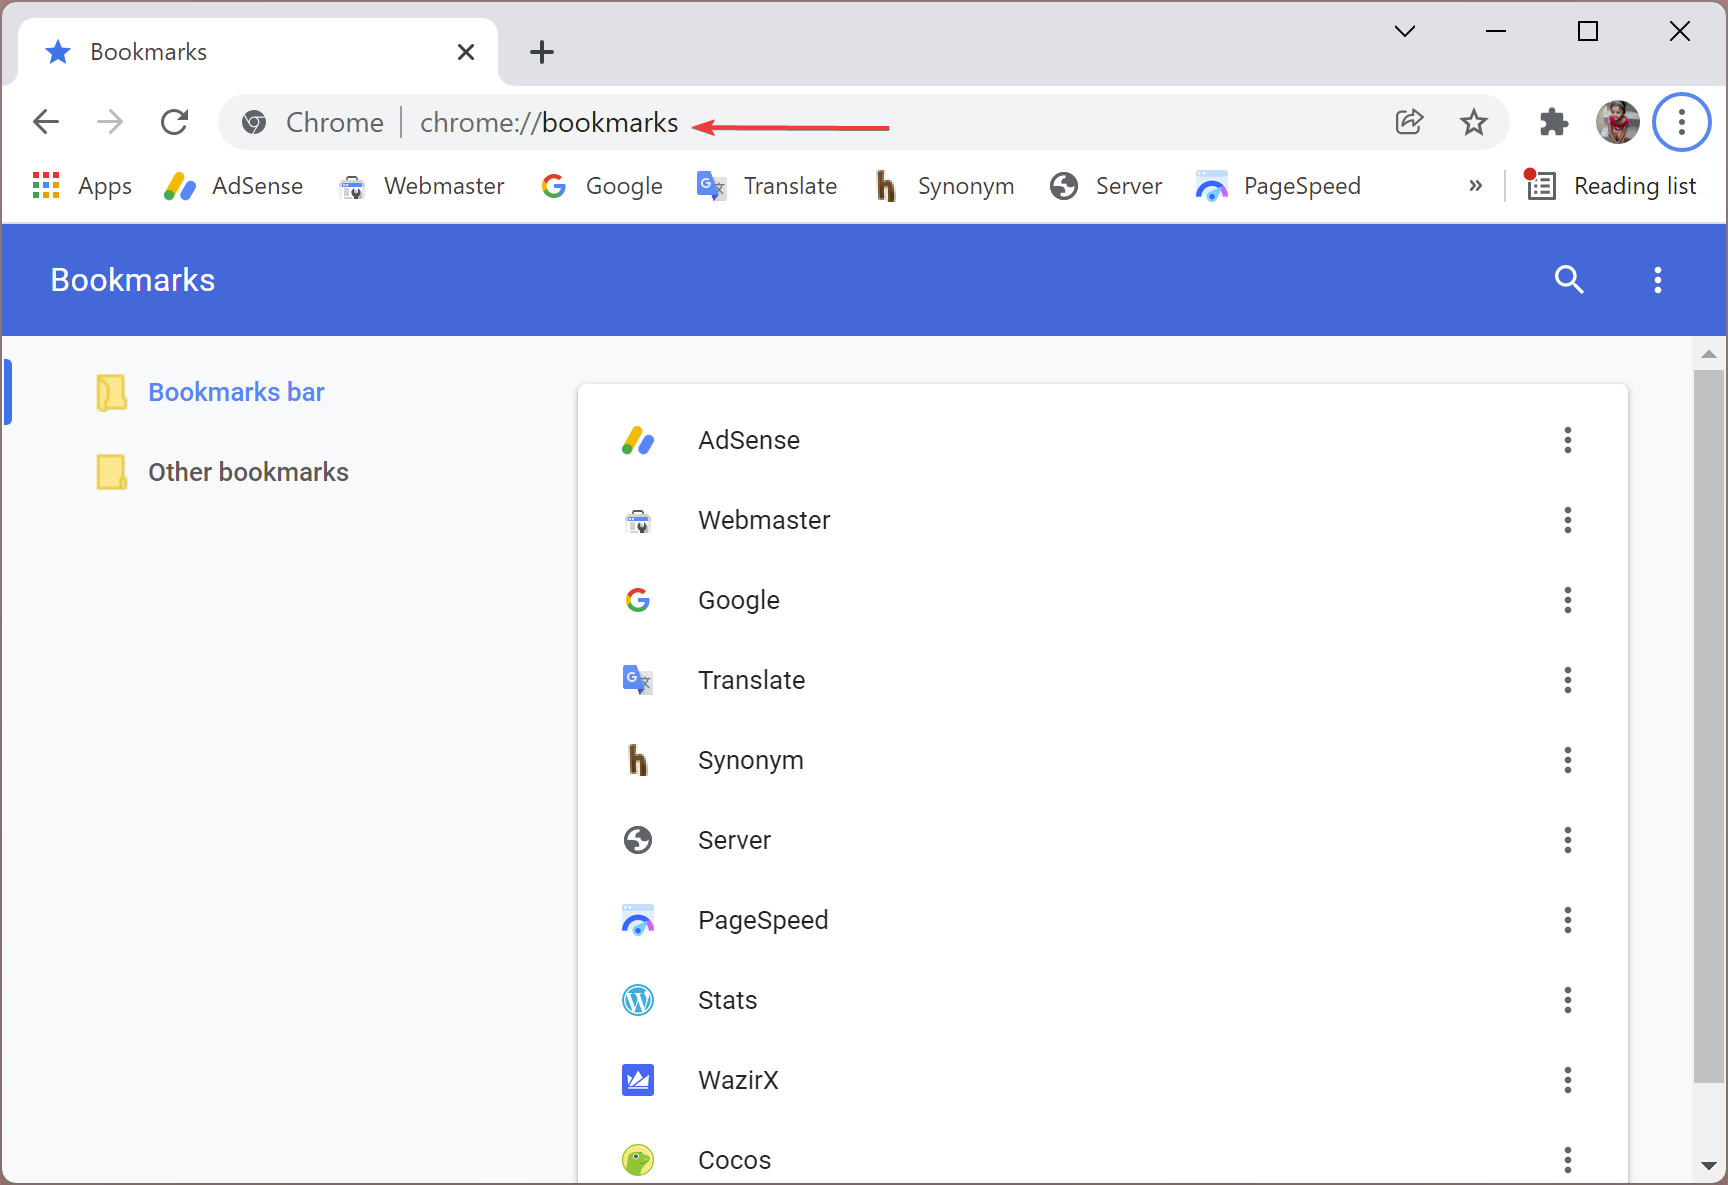
Step 3. After that, press the Enter key on the keyboard.
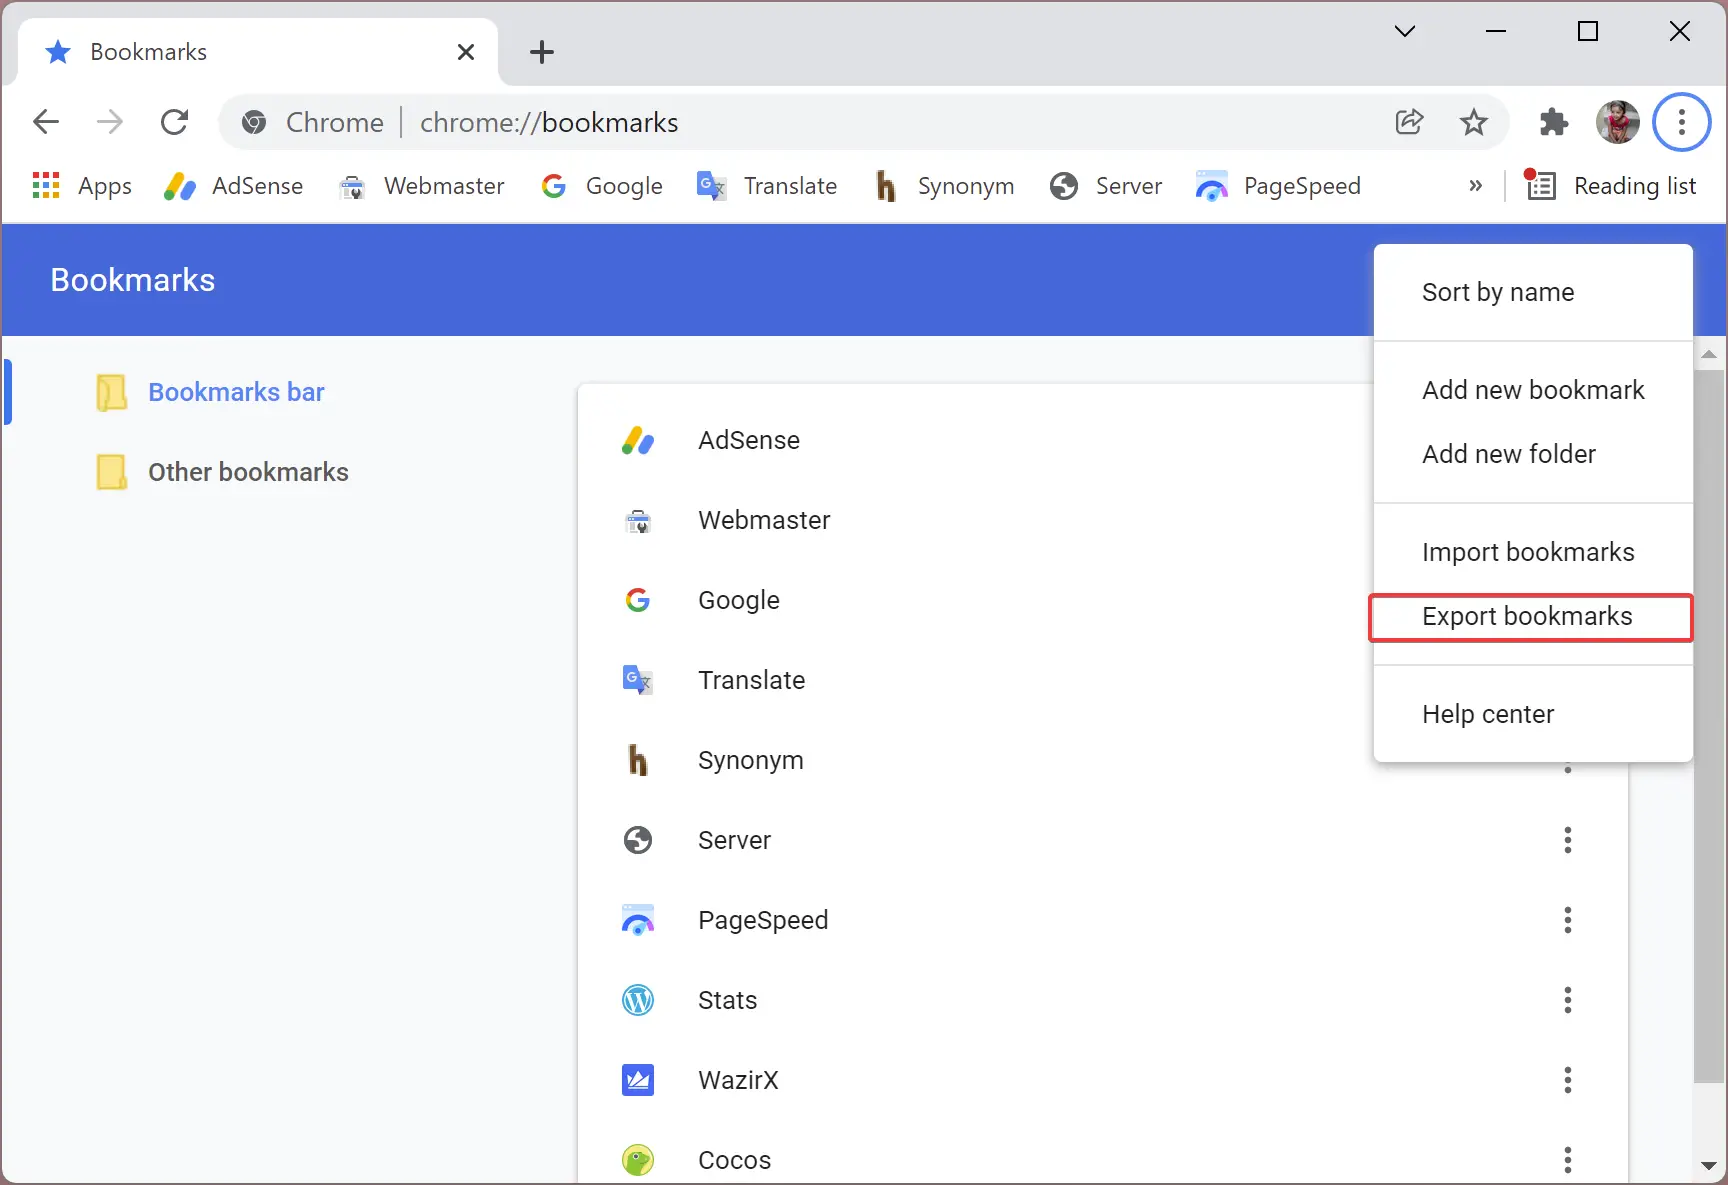
Step 4. Next, click on the three vertical dots (show more options) at the rightmost corner of the bookmarks page.

Step 5. Select the Export bookmarks option in the drop-down menu that appears.
Step 6. Then, select the location to save the bookmarks in the ‘Save as’ pop-up window.
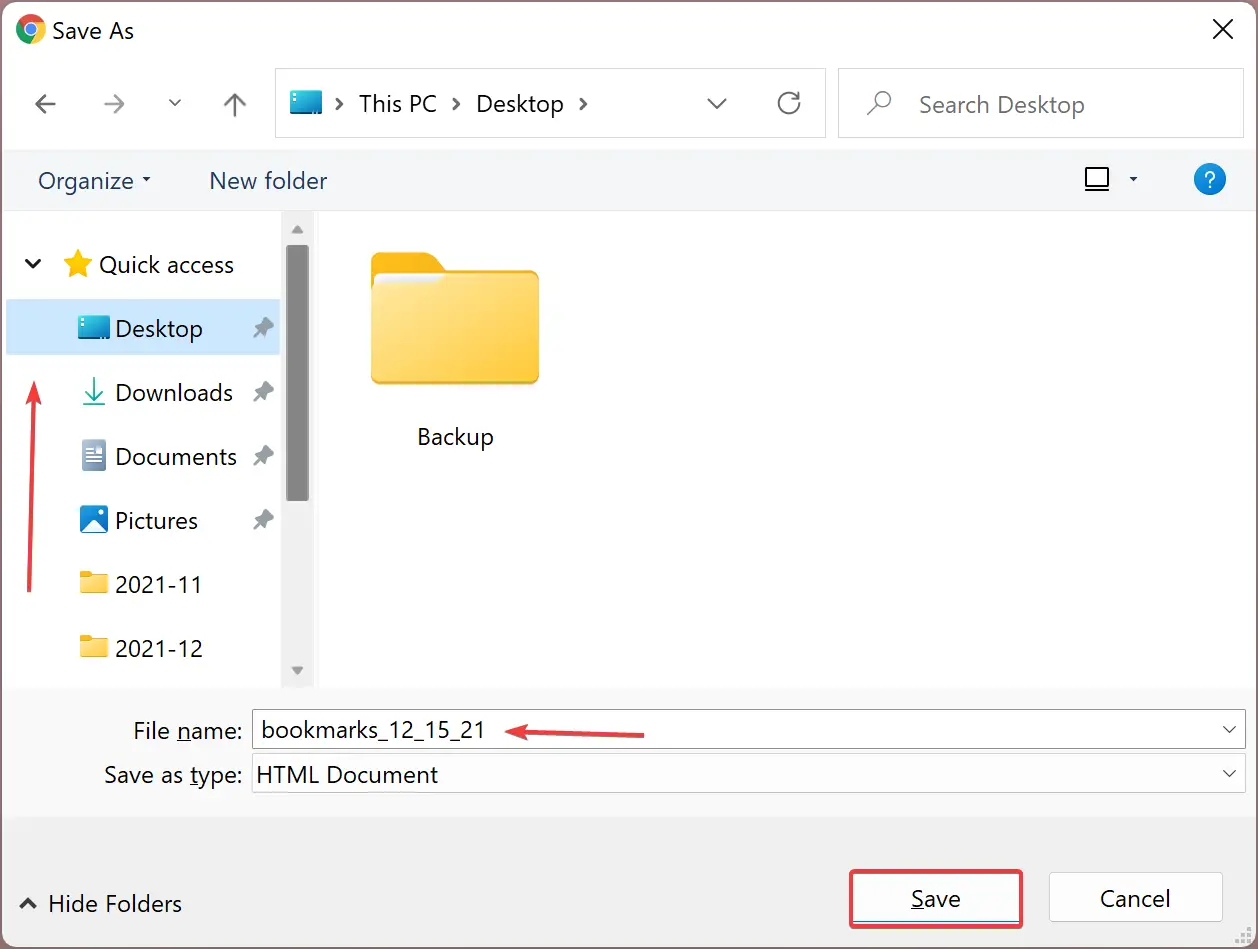
Step 7. Change the “File name” if you wish.
Step 8. Finally, hit the Save button.
Once you complete the above steps, bookmarks get exported immediately to your chosen location.
How to Import the Google Chrome Bookmarks in Windows 11/10?
To import Chrome’s bookmarks in Windows 11/10, use the following recommended steps:-
Step 1. First, open the Chrome browser from the desktop shortcut or Start menu.
Step 2. Then, open a new tab and paste the following in the address bar:-
chrome://bookmarks/
Step 3. After that, press the Enter key on the keyboard.
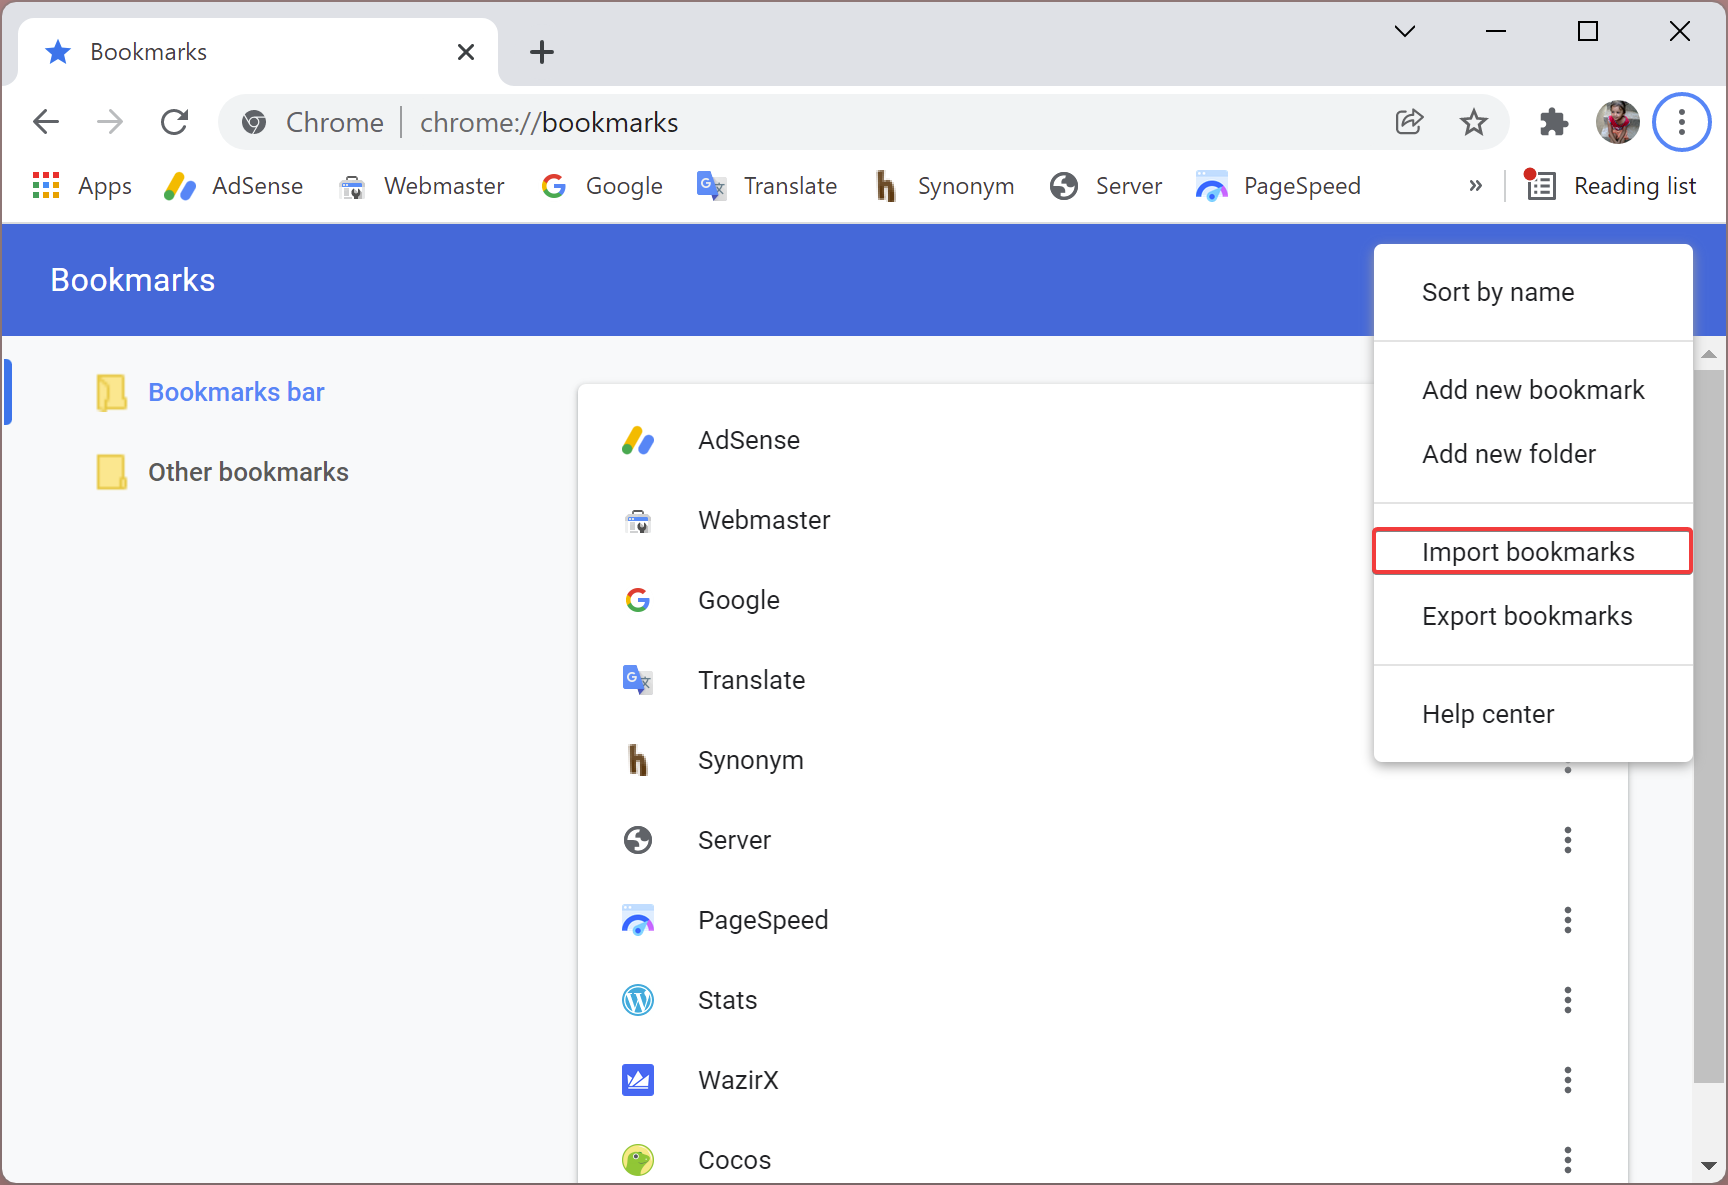
Step 4. Next, click on the three vertical dots (show more options) at the rightmost corner of the bookmarks page.
Step 5. Select the Import bookmarks option in the drop-down menu that appears.
Step 6. A new pop-up window, “Open,” will appear when you’re done. Select the bookmarks file that you have already saved on your computer.
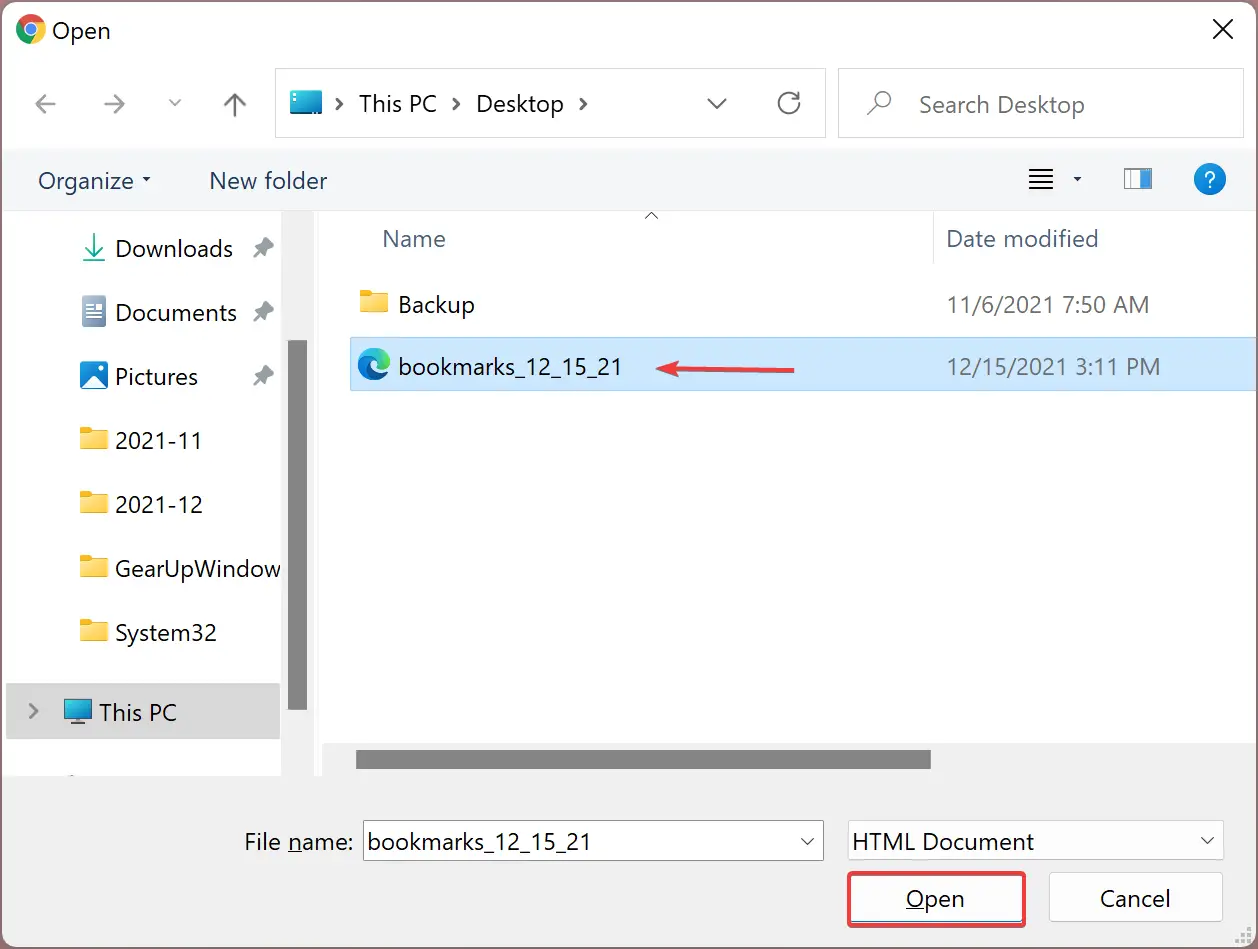
Step 7. Next, hit the Open button at the bottom of the screen.
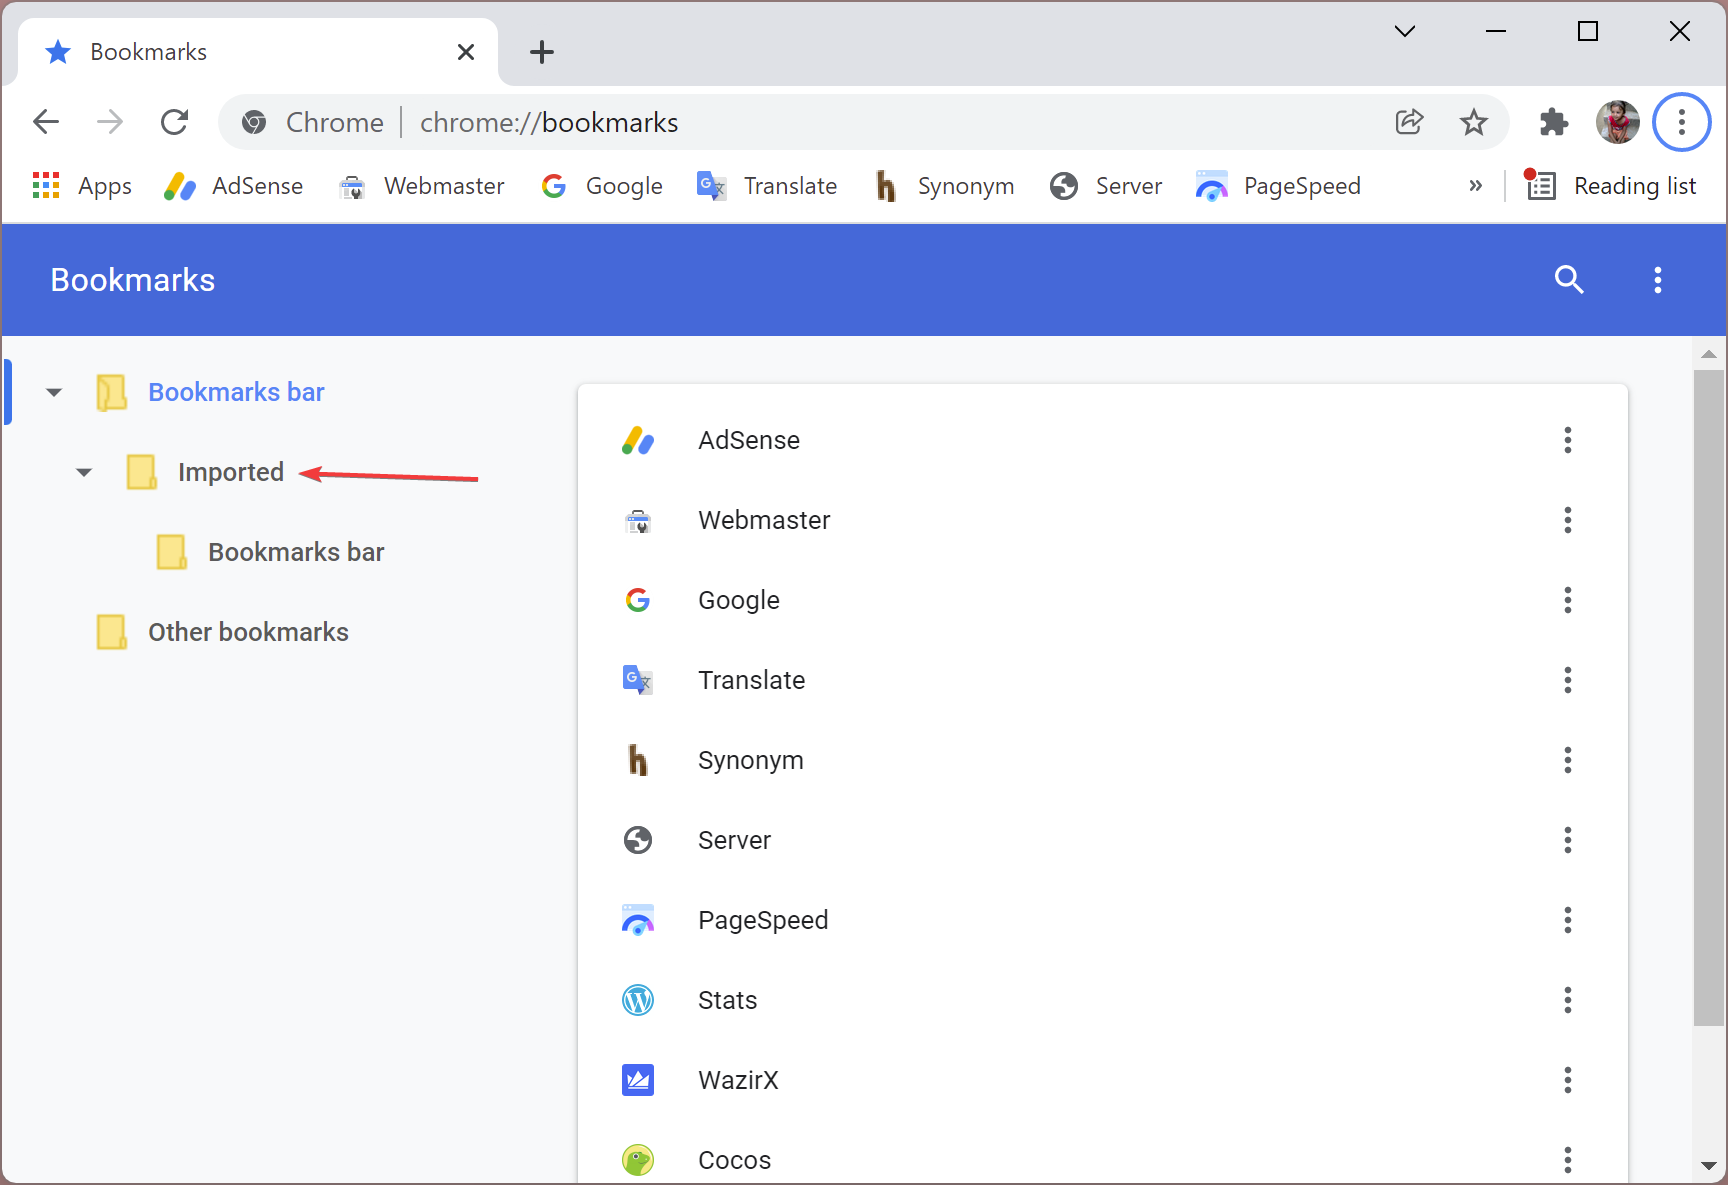
After completing the above steps, on the Bookmarks page, you will see a folder named “Imported,” which has all the bookmarks imported recently.
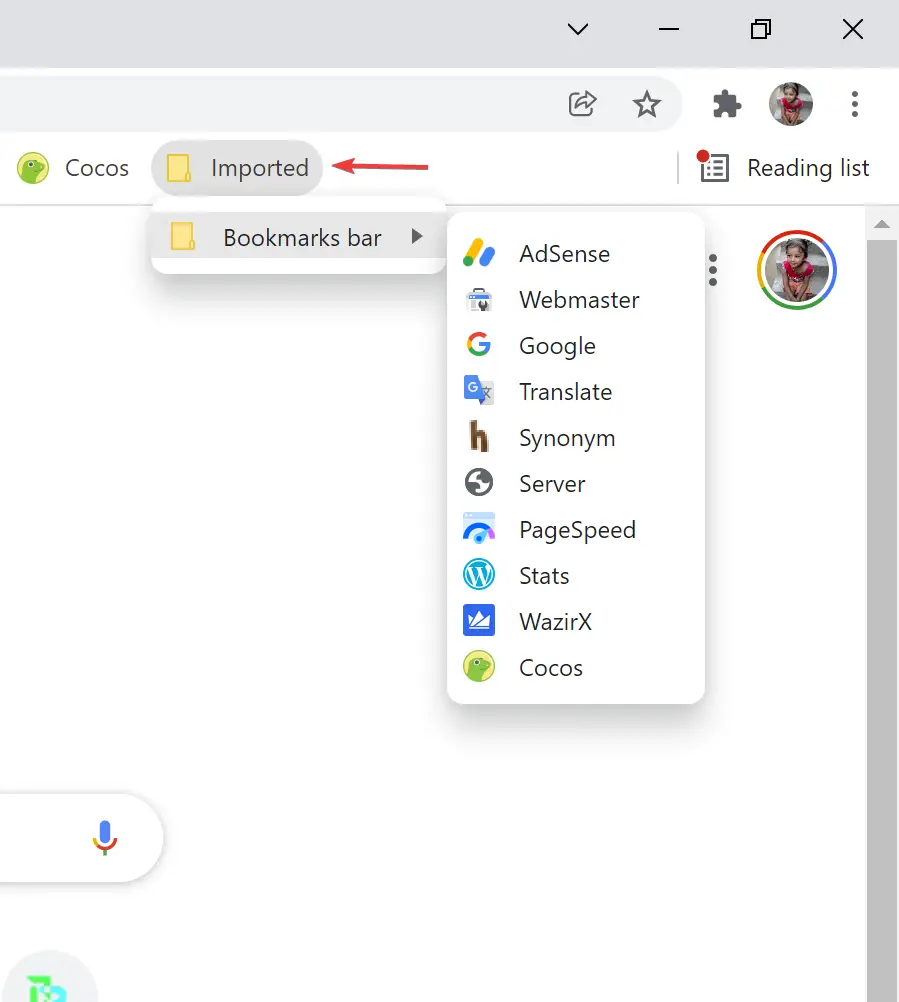
Next time, when you open the Chrome browser, the Imported folder should appear. Clicking on it, you can see your bookmarked page.
That’s it.
Conclusion
In conclusion, bookmarks are an essential feature of web browsers that allow users to save their favorite websites and access them quickly. Google Chrome, being the most popular browser, provides several options to export and import bookmarks. Exporting bookmarks can help users to save them to another location, and importing bookmarks can help users to restore them on another computer or user account. This article has provided step-by-step guidance on how to export and import bookmarks in Google Chrome for Windows 11/10. By following these steps, users can easily transfer their bookmarks to another location or device and access their favorite websites.
Also Read: How to Delete or Remove Bookmarks in Chrome?