This gearupwindows article will guide you through several methods to find out how many CPU cores and threads are in a Windows 11 or 10 PC. The number of CPU cores and threads (Logical Processor(s)) on Windows 11/10 can be found in several ways, and we’ll explain the most popular ones.
Everyone eventually discovers that a CPU has a variable number of cores, and that number influences its performance. The next logical step is to figure out how many cores your CPU has. Windows 11 and 10 make that process extremely simple.
Based on its model, core count, generation, and whether it supports simultaneous multithreading (SMT) like hyperthreading, your CPU will have a different number of threads. Since newer generation processors have more cores, they have more threads than older generation CPUs. Having more threads means your CPU has more workers (resources) available to it, so the better the performance is. An increased thread count is advisable when multitasking, playing multithreaded games and rendering professional videos.
How to Find CPU Cores and Threads in Windows 11 or 10?
There are multiple ways to find CPU cores and threads in Windows 11/10. Follow these steps to find CPU cores and threads in Windows 11/10:-
Using the System Information panel
As the name implies, the System Information panel displays all information regarding your system hardware, including the processor, so it is probably the easiest way to find the CPU cores and threads on Windows 11 or 10.
Here’s how to find the CPU cores and threads in Windows 11/10:-
Step 1. Open System Information panel.
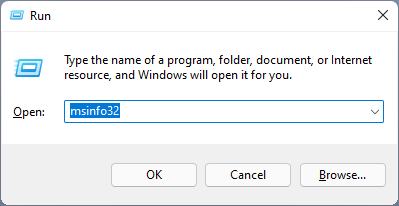
To do that, press Windows + R on the keyboard to open the Run dialog box. Type msinfo32 in the dialog box and press Enter.
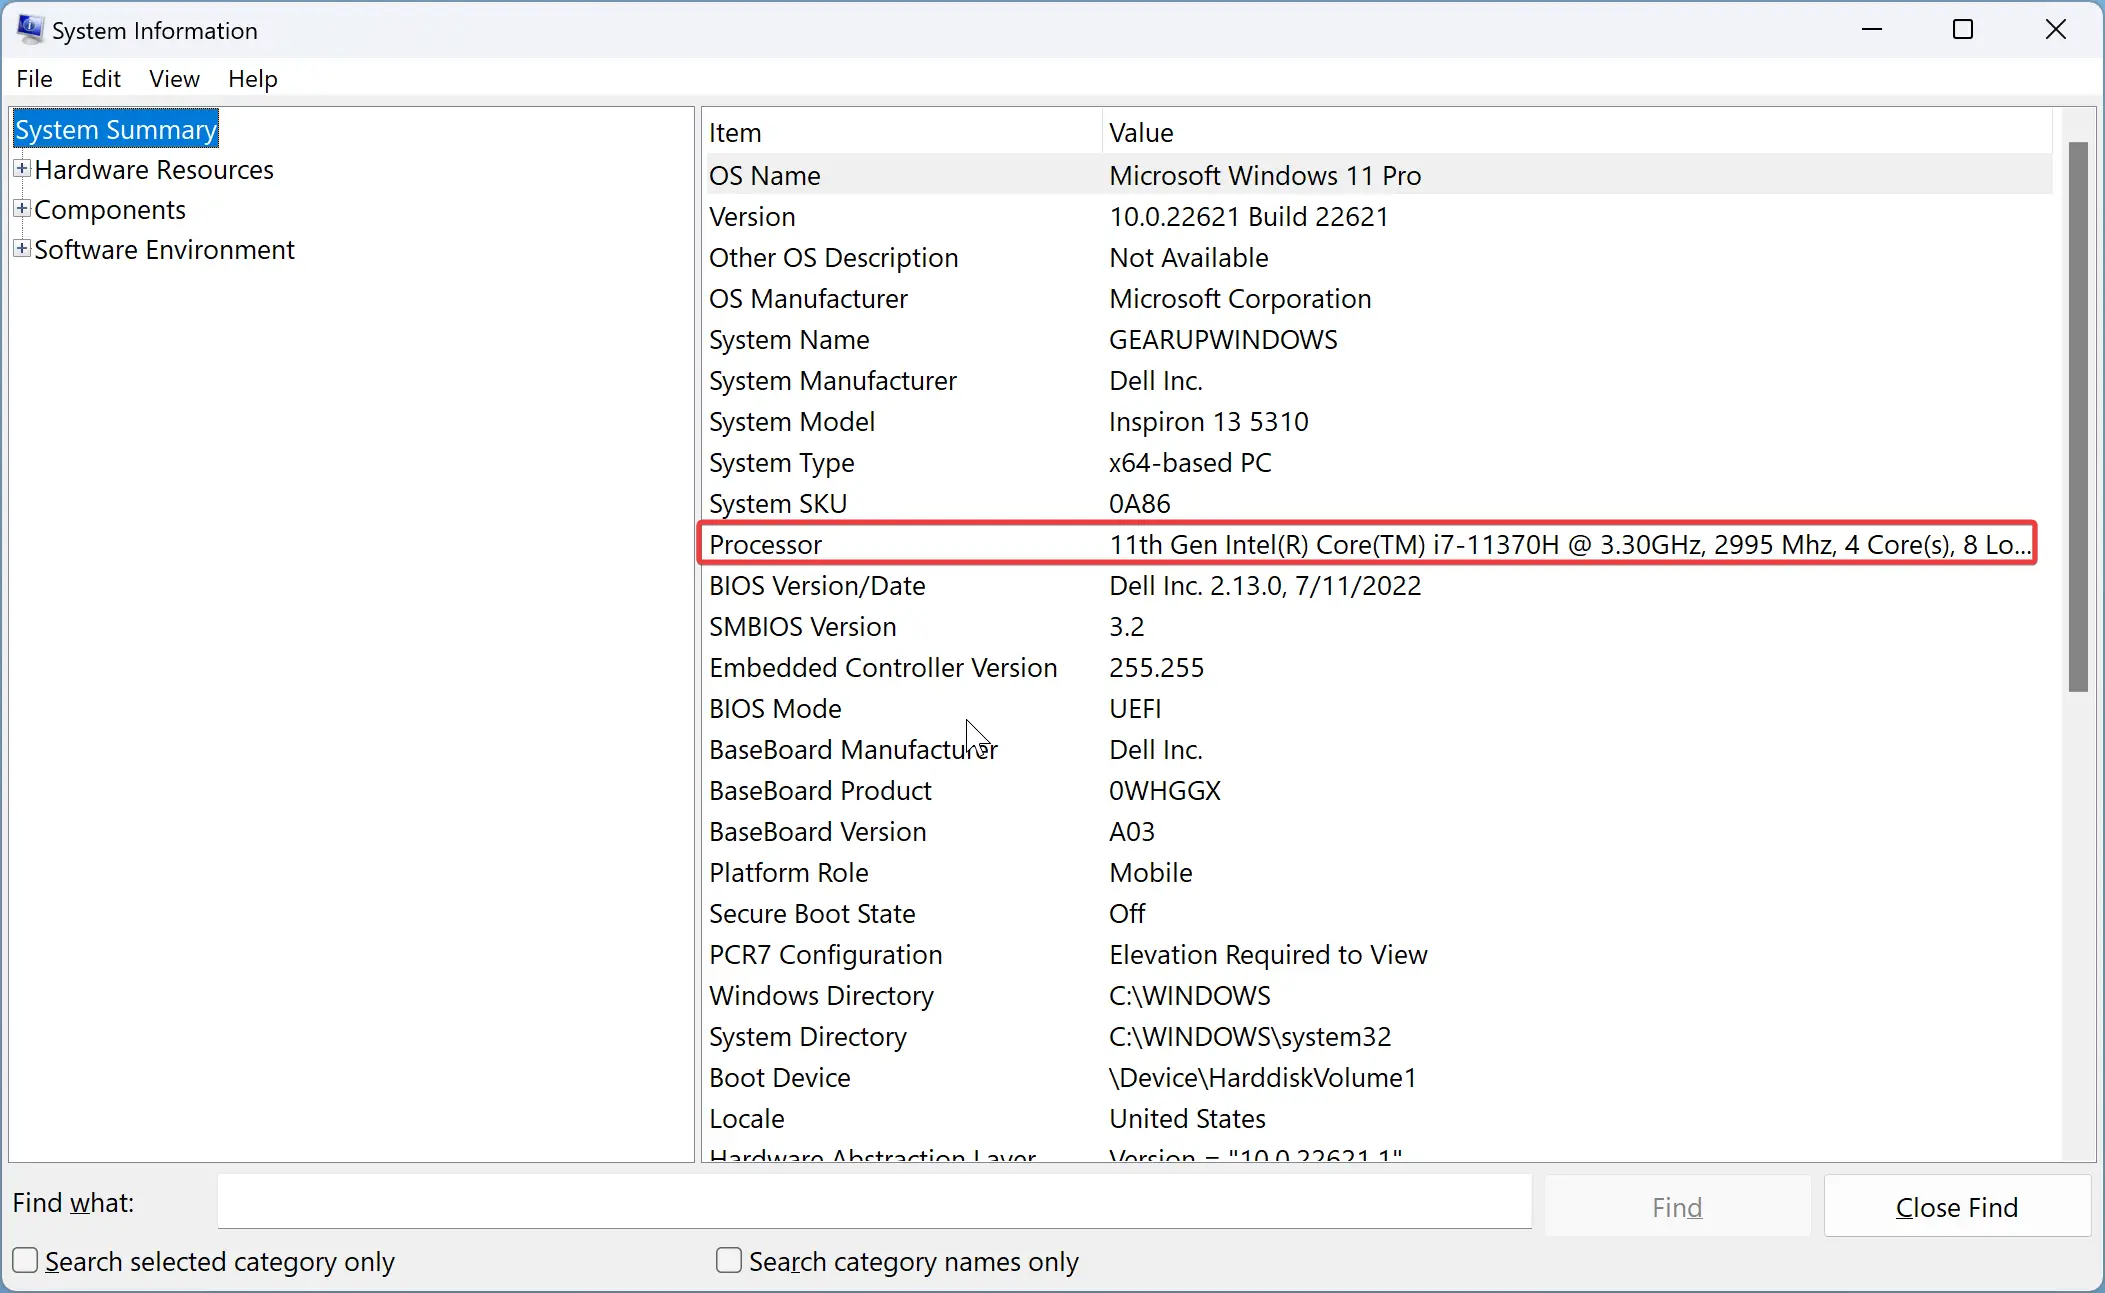
Step 2. Select System Summary on the left sidebar, and next to Processor, you’ll find the CPU cores and threads (Logical Processor(s)).
Through Task Manager
Task Manager displays a variety of information about your computer, whether it’s about the hardware or the software. Here’s how to locate CPU cores and threads in Task Manager:-
Step 1. Open Task Manager on your computer.
Select Task Manager from the menu by right-clicking on the Start button. Or, a Task Manager window can also be accessed by pressing Ctrl + Shift + Esc keys.
Step 2. Then, click on Performance tab.
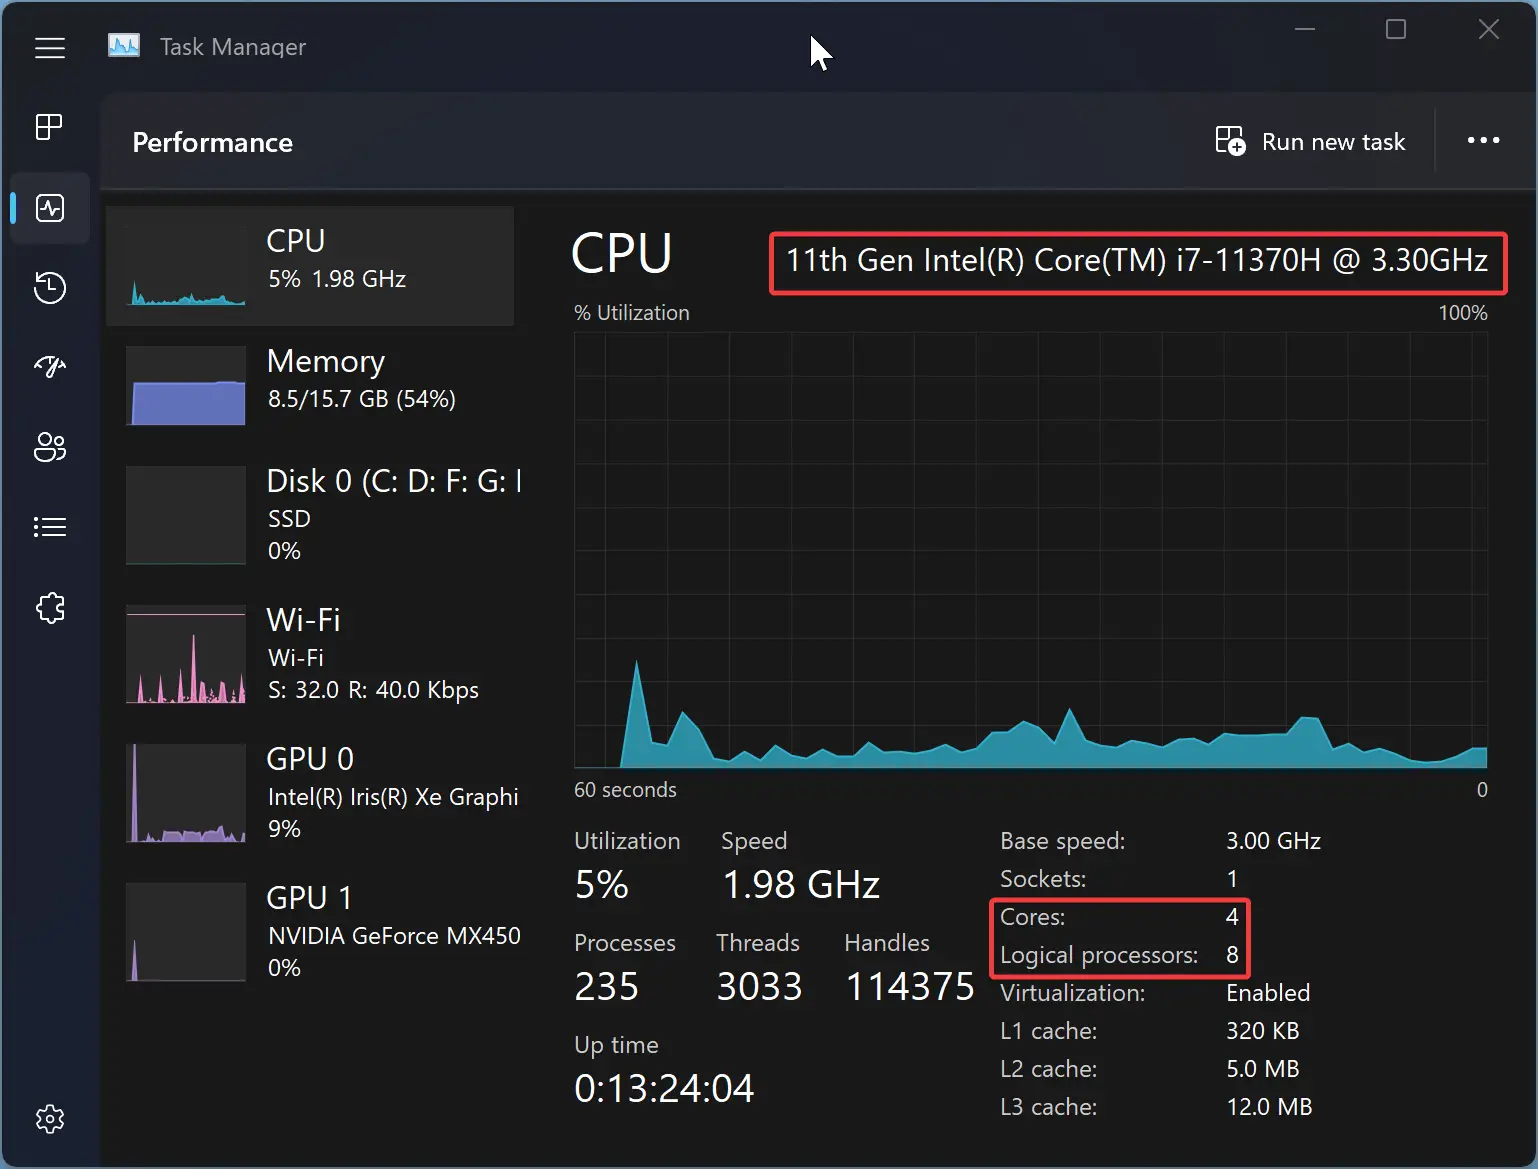
Step 3. At the top right of the window, you’ll see your processor’s name and the number of cores. You’ll also see a graph of your CPU’s usage in real time, along with more detailed information, like the base clock speed, the number of cores, and the number of logical processors (also known as threads).
By Windows PowerShell
This information is also available through Windows PowerShell. To get it, follow these steps:-
Step 1. Open Windows PowerShell as an administrator.
On the taskbar, click the Start button and enter Windows PowerShell. Right-click on the Windows PowerShell entry and select the Run as administrator option.
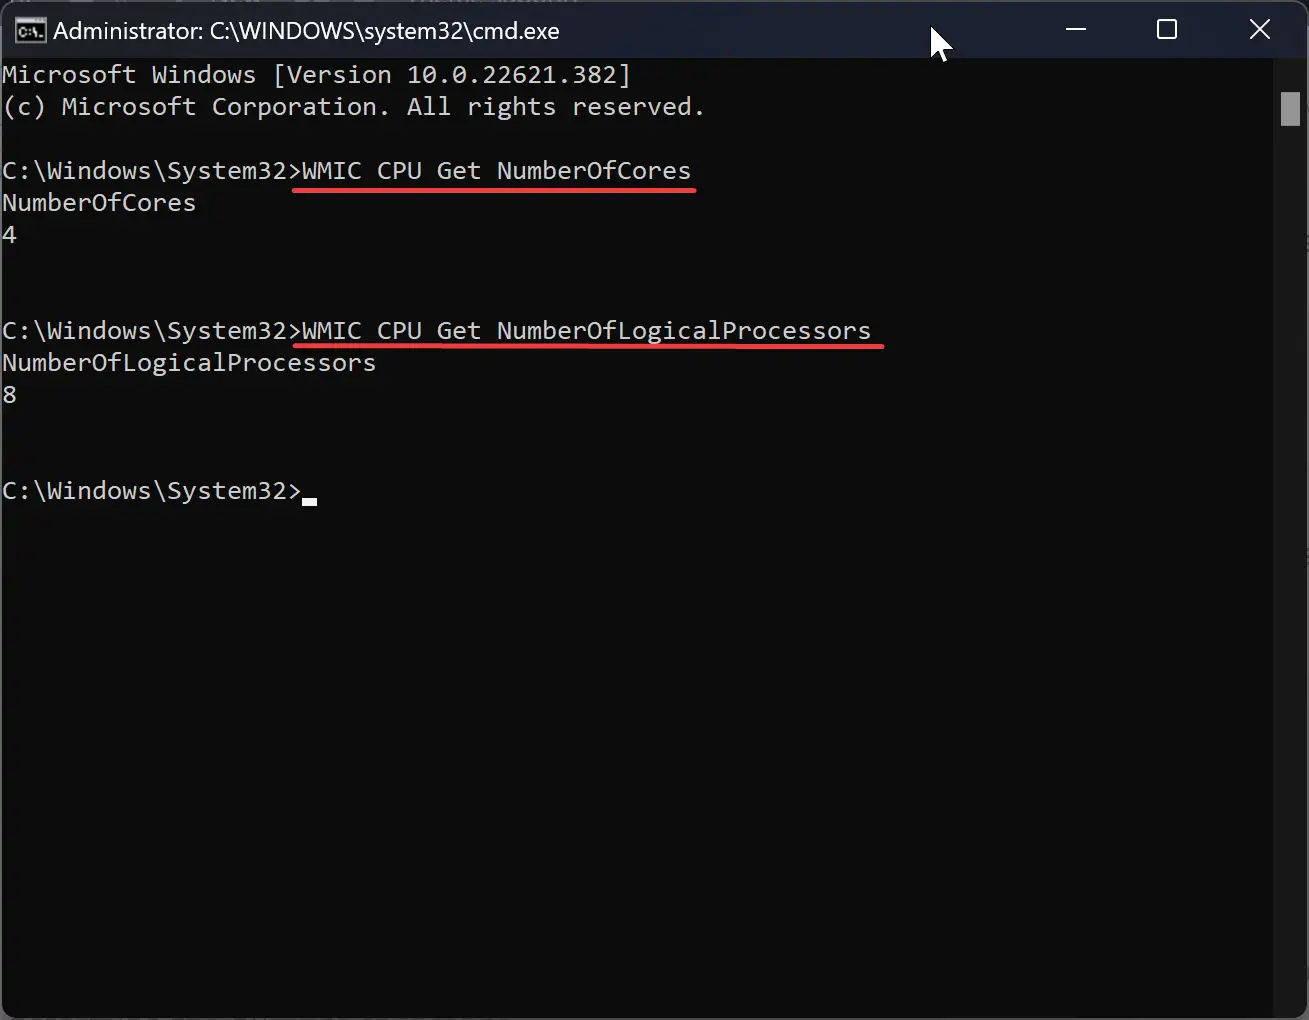
Step 2. Then, enter WMIC CPU Get NumberOfCores and hit Enter to determine the number of CPU cores.

Step 3. Now, enter WMIC CPU Get NumberOfLogicalProcessors to determine the number of threads.
With Command Prompt
The same WMIC command that you used above in Windows PowerShell can also be used on the Command Prompt to find CPU information. The steps are as follows:-
Step 1. Open Command Prompt as an administrator.
On the taskbar, click the Start button and enter Command Prompt. Right-click on the Command Prompt entry and select the Run as administrator option.
Step 2. Then, enter WMIC CPU Get NumberOfCores and hit Enter to determine the number of CPU cores.
Step 3. Now, enter WMIC CPU Get NumberOfLogicalProcessors to determine the number of threads.
Using Third-Party Software
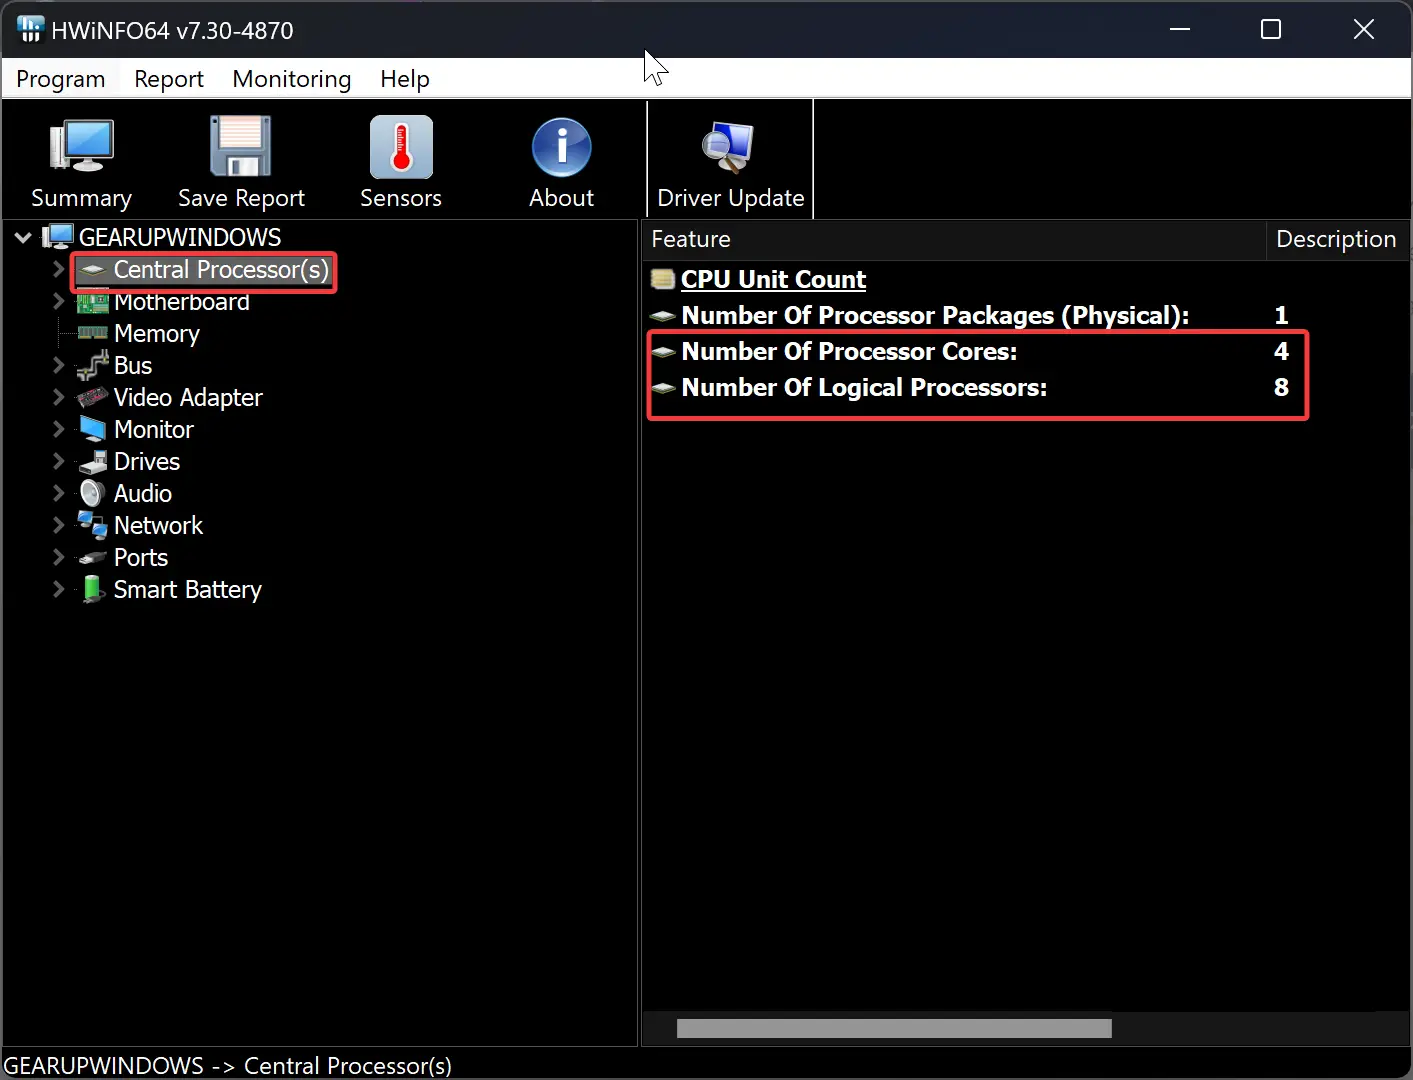
It is also possible to learn about the hardware of your PC, including the CPU, by using free third-party software like CPU-Z and HWiNFO. Although you do have to download and install these, they are some of the most comprehensive free tools out there if you want to learn every single detail about your system. In general, third-party software is dense with information and is used by professionals.
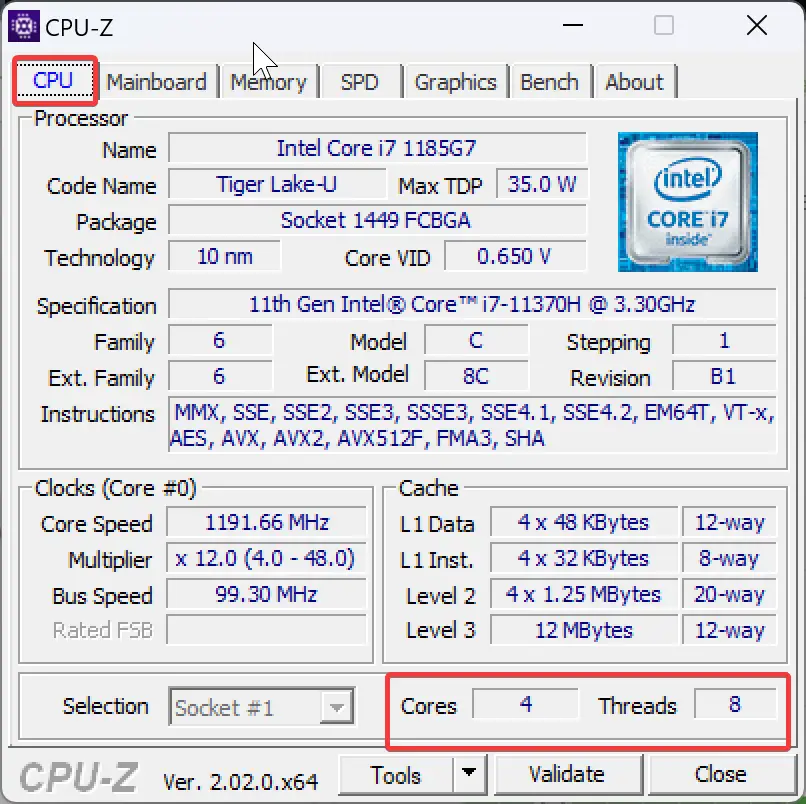
In the CPU-Z application, you can find cores and threads in the CPU tab. Whereas the HWiNFO tool displays information about cores and threats after selecting the “Central Processor(s)” option in the left sidebar.
Conclusion
In conclusion, knowing the number of CPU cores and threads is important for optimizing your computer’s performance, especially when multitasking, playing multithreaded games, or rendering videos. Fortunately, Windows 11 and 10 provide various ways to find this information. You can use the System Information panel, Task Manager, Windows PowerShell, or Command Prompt. Alternatively, third-party software like CPU-Z and HWiNFO can provide comprehensive details about your system’s hardware. By following these simple steps, you can quickly and easily find out how many CPU cores and threads your Windows 11 or 10 PC has.
