Bluetooth technology has become an integral part of our daily lives, enabling wireless communication between devices with ease. Whether it’s a wireless keyboard, mouse, headphones, or any other Bluetooth-enabled device, Windows 11 makes the pairing process straightforward. In this gearupwindows guide, we’ll walk you through the step-by-step process of pairing a Bluetooth device with your Windows 11 PC.
How to Pair a Bluetooth Device with Windows 11?
To pair a Bluetooth device with your Windows 11 PC, follow these steps:-
Step 1. Before attempting to pair a Bluetooth device, make sure that Bluetooth is enabled on your Windows 11 PC. To do this:-
- Click on the “Start” button on the taskbar of your screen, or press the Windows key on your keyboard.
- Select “Settings” (the gear-shaped icon).
- In the Settings menu, click on “Bluetooth & devices.”
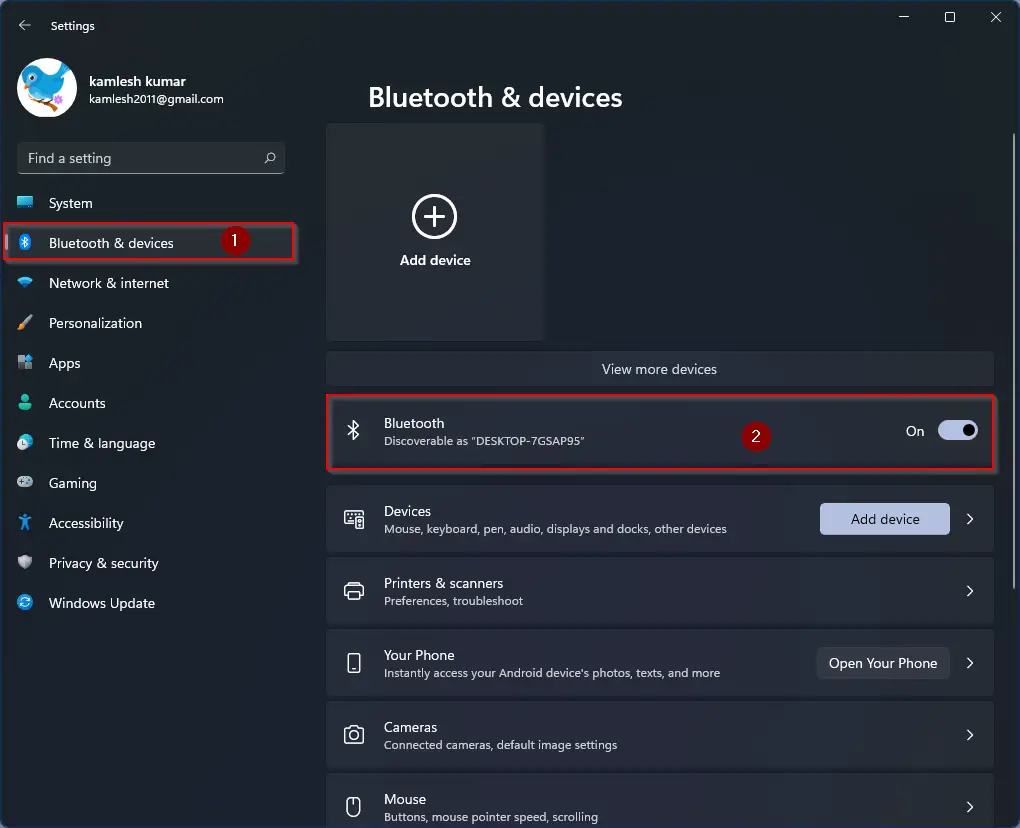
- Toggle the switch to turn on Bluetooth.
Step 2. Most Bluetooth devices need to be in discovery or pairing mode to be detected by your PC. Refer to the device’s manual for instructions on how to enable discovery mode. Generally, this involves holding down a specific button for a few seconds until a light starts blinking or an indicator shows that the device is ready to pair.
Step 3. Once Bluetooth is enabled on your PC and your Bluetooth device is in discovery mode, it’s time to search for devices:-
-
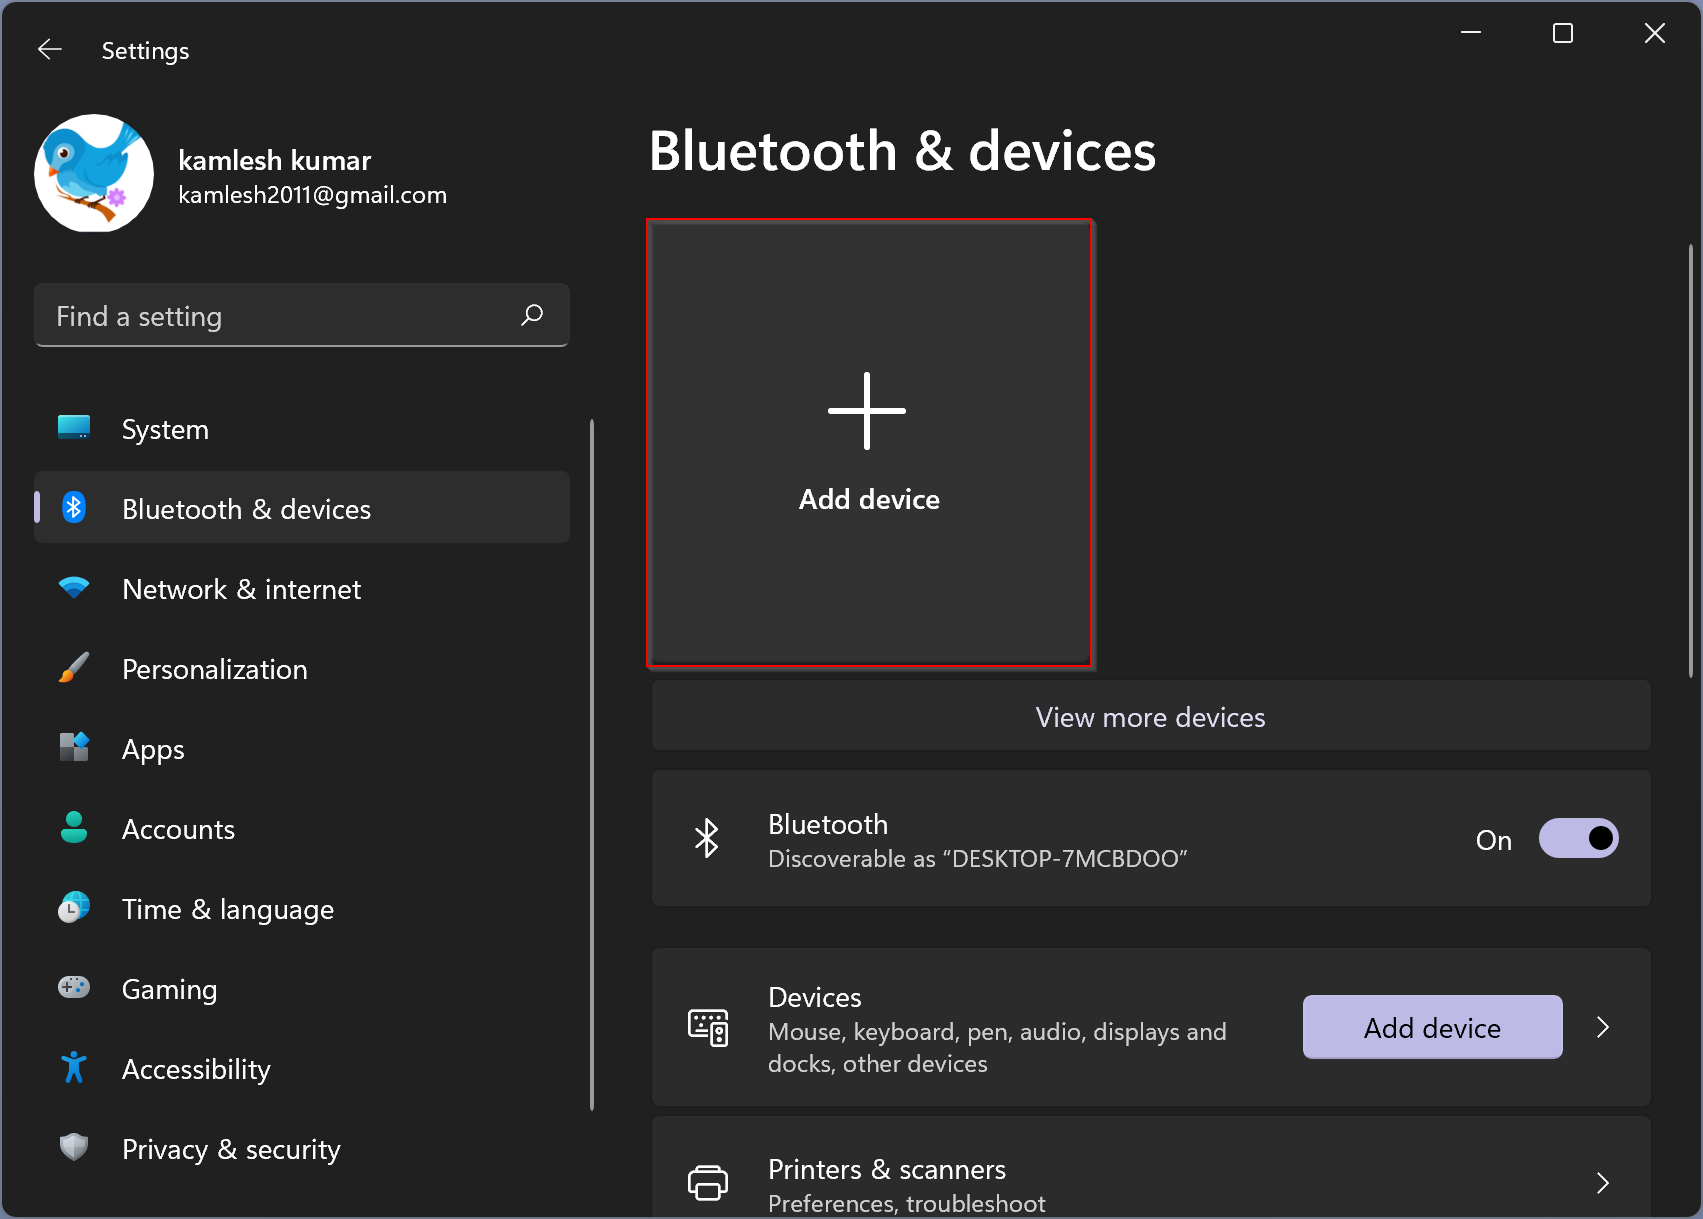
- In the Bluetooth & devices menu (Settings > Bluetooth & devices), make sure the Bluetooth switch is turned on.
- Click on “Add device.”
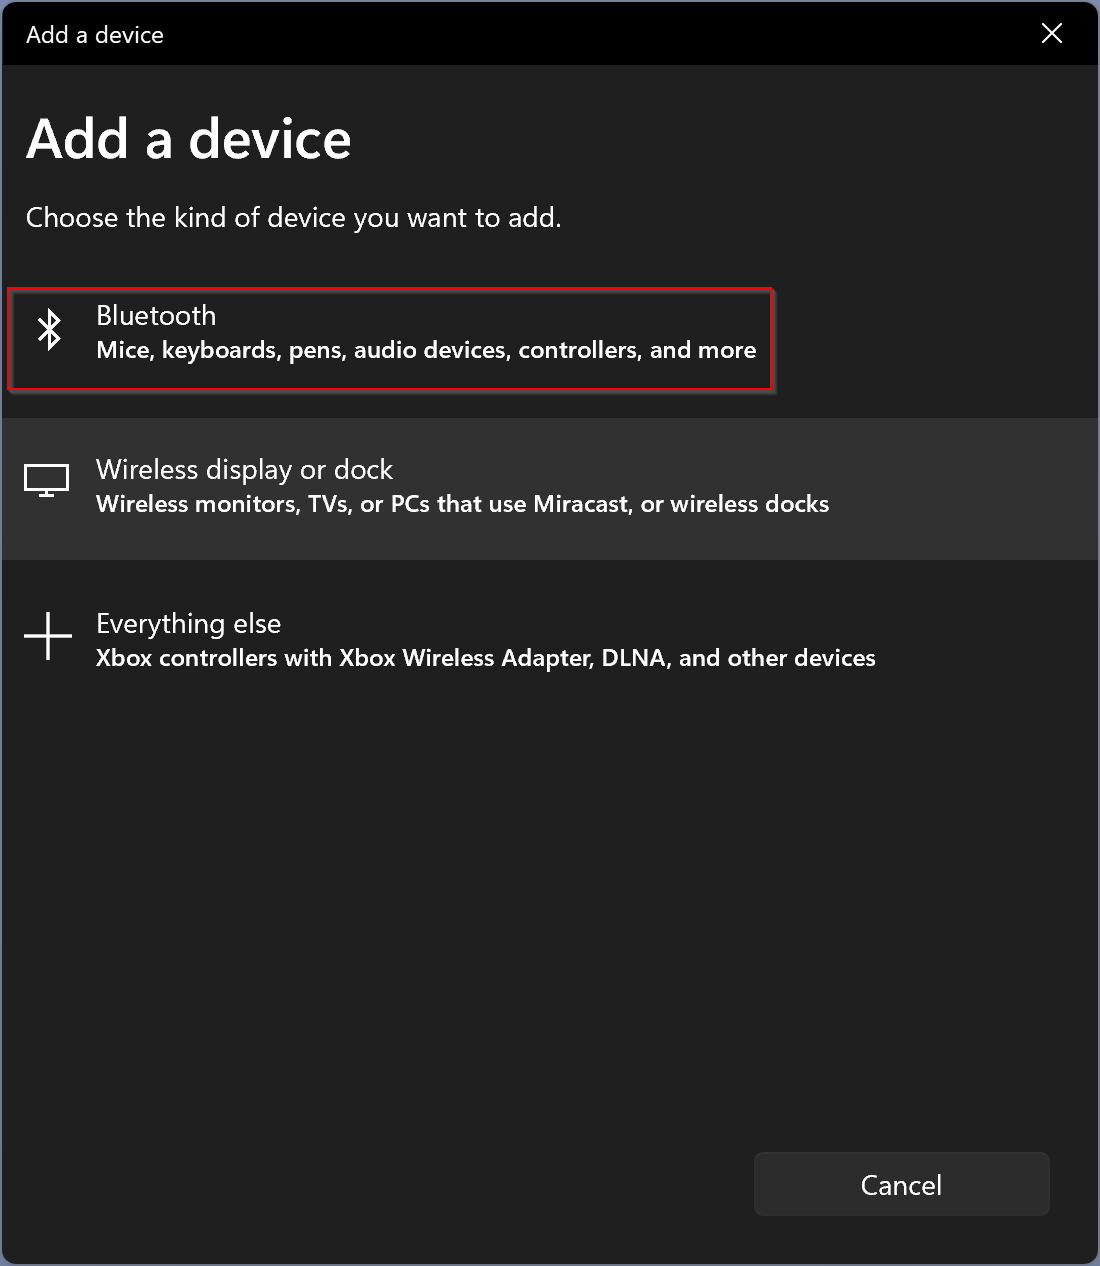
Step 4. Select the Bluetooth option on the pop-up window that appears.
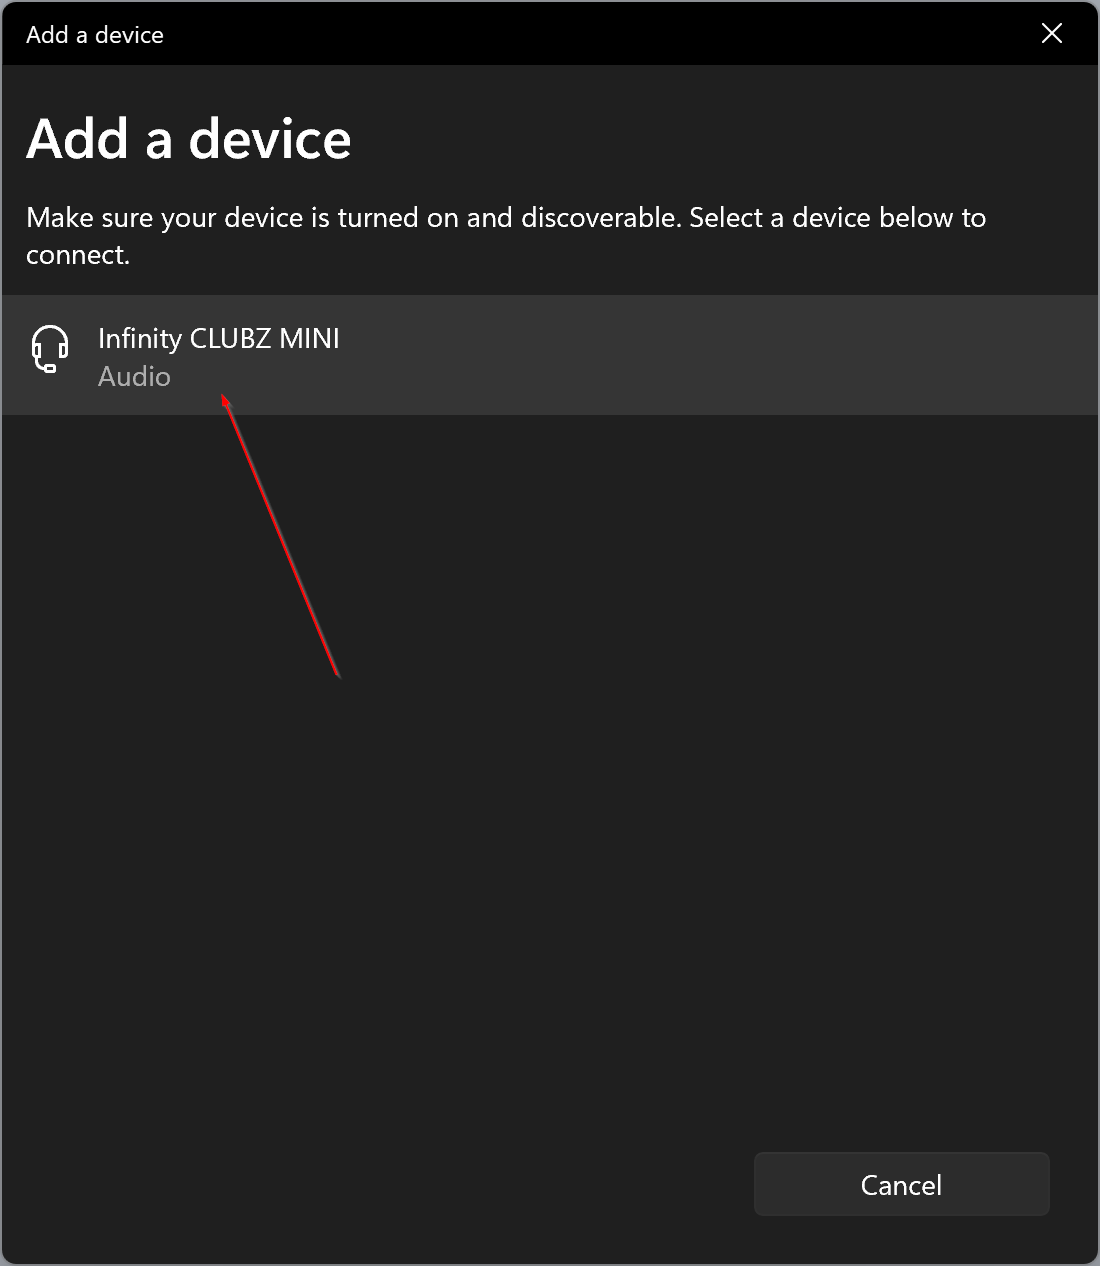
Step 5. After clicking “Bluetooth,” Windows 11 will start searching for available Bluetooth devices. Once your device appears in the list, click on it to initiate the pairing process.
-
- Click on your Bluetooth device’s name in the list of available devices.
- If prompted, enter a PIN or follow any on-screen instructions to complete the pairing process.
Step 6. Once the pairing process is successful, your Bluetooth device will be listed as “Connected.” You may also receive a notification confirming the connection.
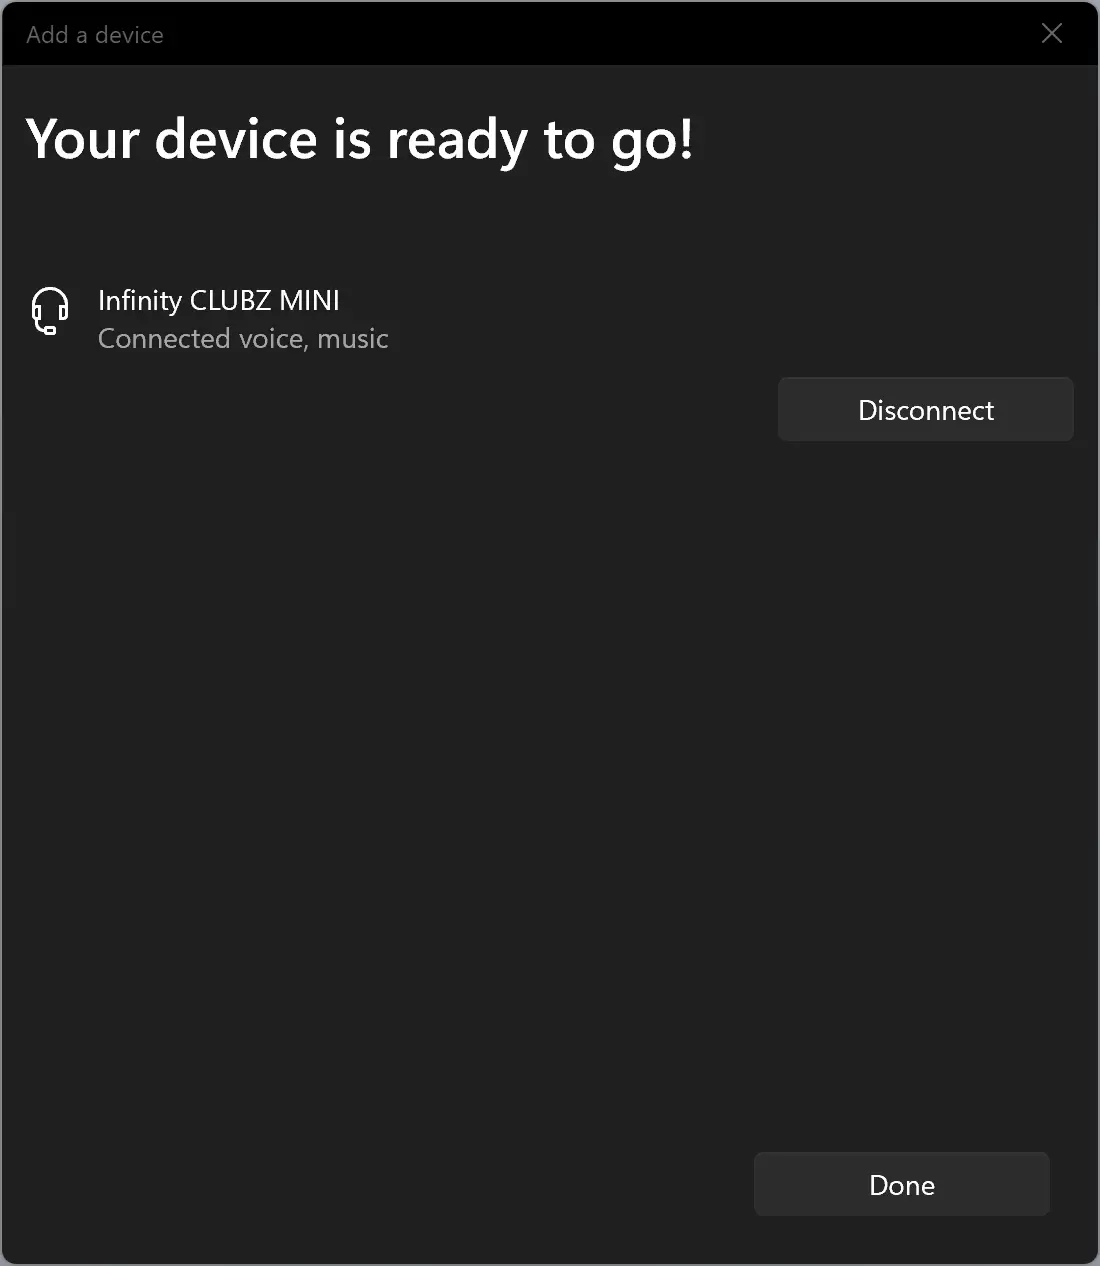
Step 6. To ensure the successful pairing of your Bluetooth device, test its functionality. If it’s a speaker, play some music; if it’s a keyboard or mouse, test the input. This step ensures that the device is properly connected and functioning as expected.
Troubleshooting Tips
If you encounter any issues during the pairing process, consider the following troubleshooting tips:-
1. Check Device Compatibility: Ensure that your Bluetooth device is compatible with Windows 11.
2. Update Drivers: Make sure your PC’s Bluetooth drivers are up-to-date. You can do this through the “Device Manager” in the Control Panel.
3. Restart Bluetooth Service: In the “Bluetooth & devices” settings, you can restart the Bluetooth service if you encounter connectivity issues. To do this, disable and enable Bluetooth.
Conclusion
Pairing a Bluetooth device with Windows 11 is a straightforward process, provided you follow these step-by-step instructions. With the increasing prevalence of Bluetooth-enabled devices, this guide will help you seamlessly connect and enjoy the benefits of wireless technology on your Windows 11 PC.
