Windows 11 has introduced several new features and improvements to enhance user experience. However, as with any operating system, there might be some quirks or redundant features that bother users. One such issue is the presence of duplicate ‘Share‘ options in the context menu of Windows 11’s File Explorer. This can be annoying and clutter the menu when you’re trying to quickly share files. In this gearupwindows guide, we’ll walk you through the process of removing those duplicate ‘Share‘ options.
Just right-click on a file in the File Explorer and you can either click the Share icon at the top/bottom of the context menu or select the “Share” option.
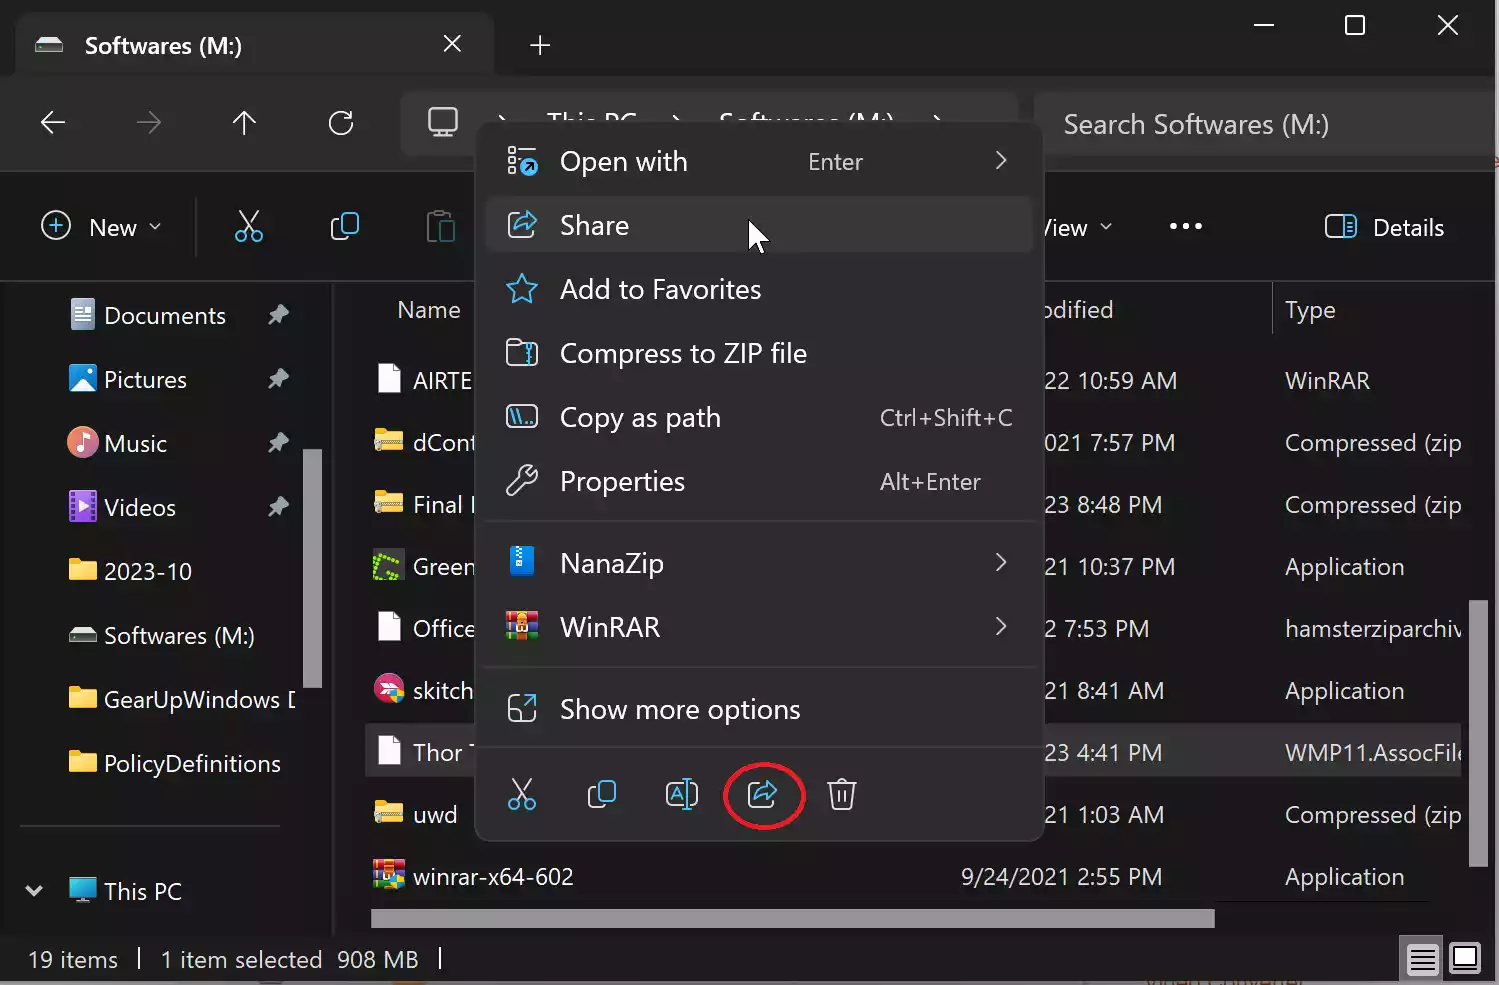
And, if you select “Show more options” from the context menu, the “Share” option will appear once again.

Before You Begin
Before making any changes to your Windows Registry, it’s crucial to back up your system. Incorrectly modifying the Registry can lead to system instability or even prevent your computer from starting. To avoid any mishaps, follow these steps:-
How to Remove Duplicate ‘Share’ Options from Windows 11 Context Menu?
Now that you have created a system restore point and a Registry backup, you can proceed with removing the duplicate ‘Share’ options:-
Step 1. Open the Registry Editor.
To do that, press `Windows + R`, type “regedit,” and press Enter.
Step 2. In the Registry Editor, navigate to the following key:-
HKEY_CLASSES_ROOT\AllFilesystemObjects\shellex\ContextMenuHandlers\ModernSharing

Step 3. In the right pane, you will see a value named “(Default).” Double-click on “(Default)” to edit its value.
Step 4. In the “Value data” field, add a character or characters of your choice to the beginning of the existing value data. For instance, you can add an underscore (_) or any other character.

Step 5. Click “OK” to save the changes.
Step 6. Close the Registry Editor.
Once you complete the above steps, the next time you right-click any file in File Explorer, the “Share” item will appear only once in the context menu. The Share button will no longer be visible.

