If you’re using a Windows PC, it can be frustrating when you’re connected to a router, modem, or WiFi and there’s no internet. Even I have experienced this. Recently, my brother called me because he couldn’t get his internet to work, even after trying a different modem/router and WiFi. We did a factory reset on his Windows 10 PC and router, but the problem persisted. Despite no specific error while browsing websites, we found out that the network was set up incorrectly, which had been changed by an unknown software.
If you’re dealing with a similar issue, there are some basic options you can try before seeking further help. First, try resetting the router/modem and see if that works. You can also connect your PC to another device’s WiFi/router to determine if the issue is with the device or the network. Disabling and enabling the network connection can also help.
If none of these options solve your internet connection problem, this post will provide you with more solutions.
How to fix the “No Internet” issue on Windows 11 or 10?
Follow these steps to fix the “No Internet” issue on Windows 11 or 10:-
Step 1. Click on the Start button and type Network and Sharing Center.
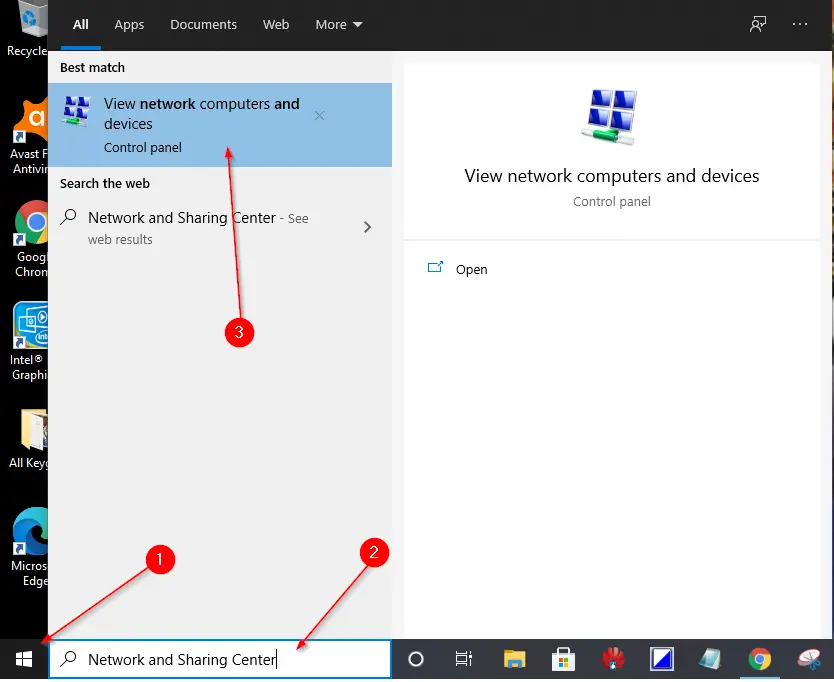
Step 2. From the available results, click on View network computers and devices to open the Network window.
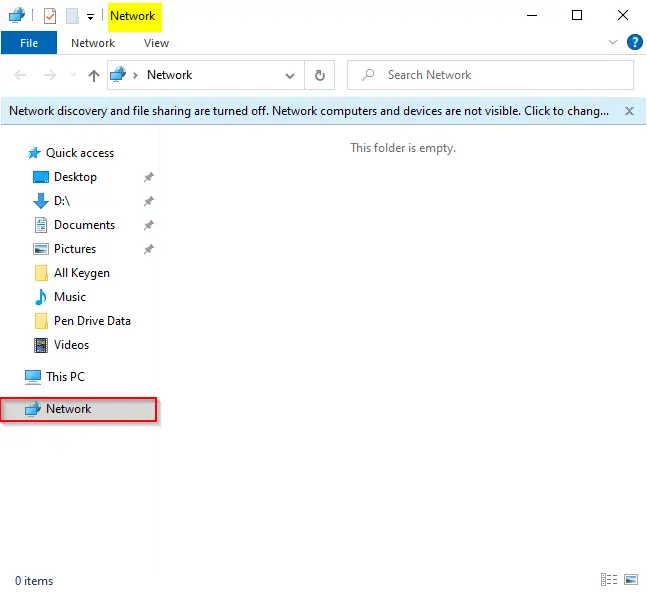
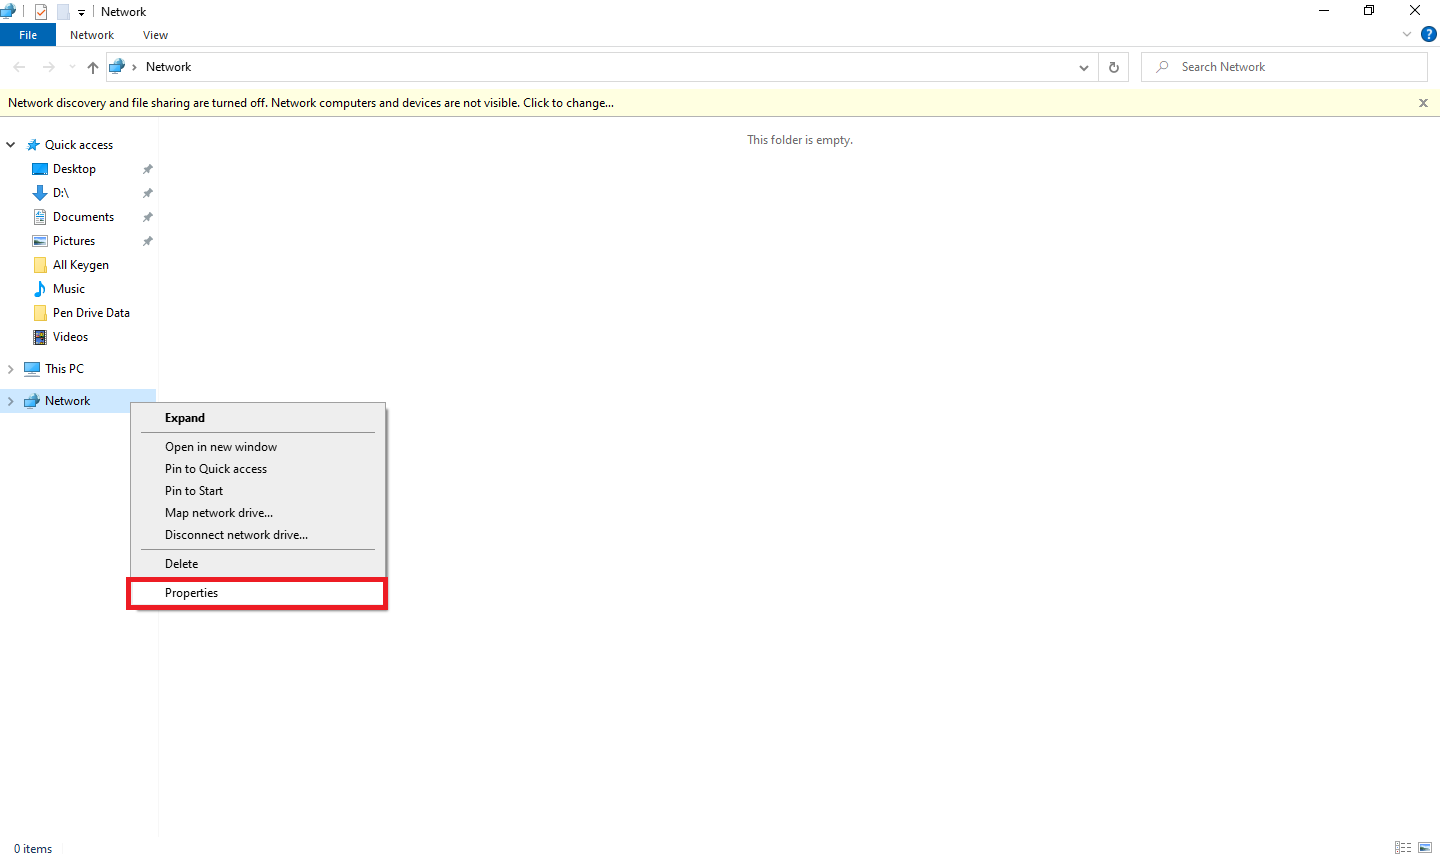
Step 3. Right-click on Network from the left side and select Properties.
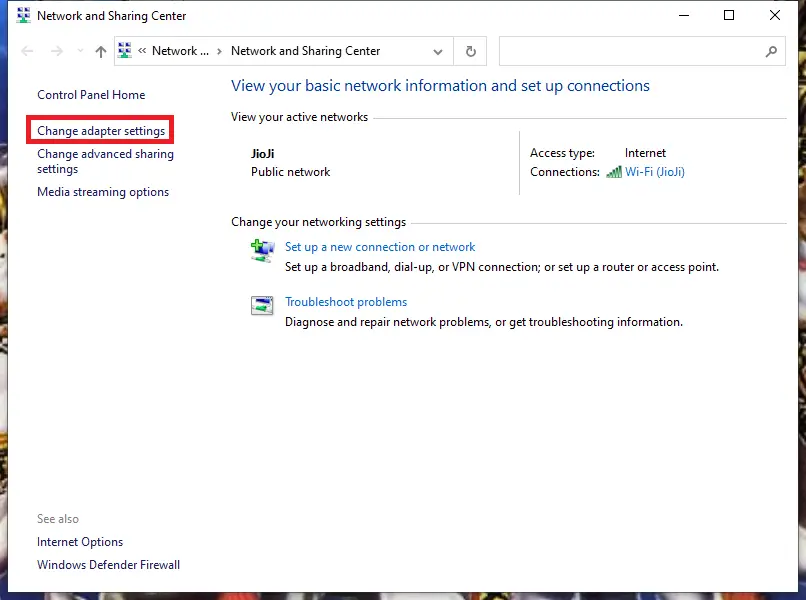
Step 4. The Network and Sharing Center window will open.

Step 5. From the left side options, click on Change Adapter Settings.
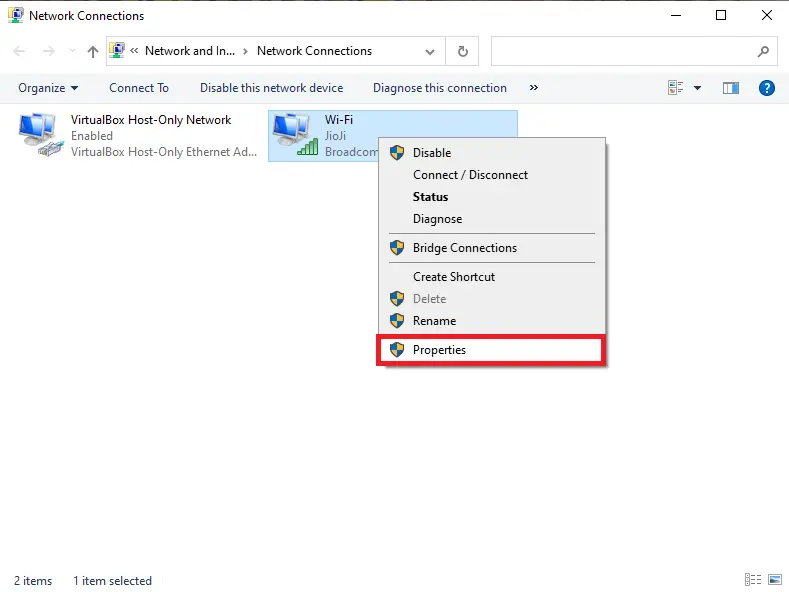
Step 6. Select the Ethernet/Network/WiFi adaptor and right-click, and select Properties from the available options.
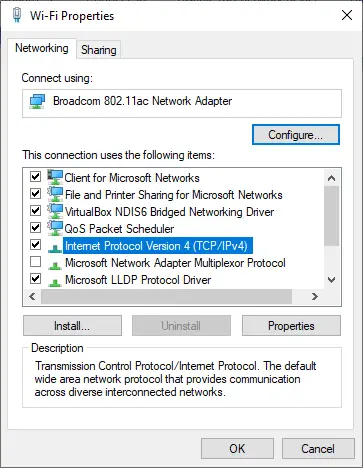
Step 7. Under the Network adapter’s Properties, under the Networking tab, click on Internet Protocol Version 4 (TCP/IPv4).
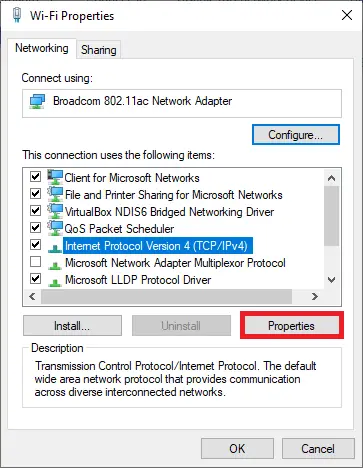
Step 8. Now, click the Properties button.
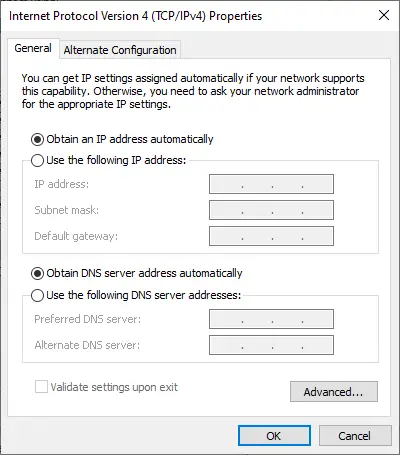
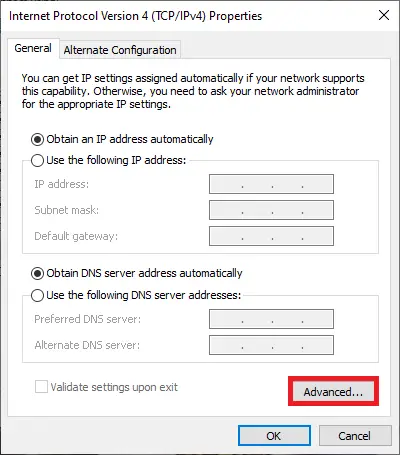
Step 9. On the Internet Protocol Version 4 (TCP/IPv4) Properties window, on the General tab, select both the options, Obtain an IP address automatically and Obtain DNS server address automatically.
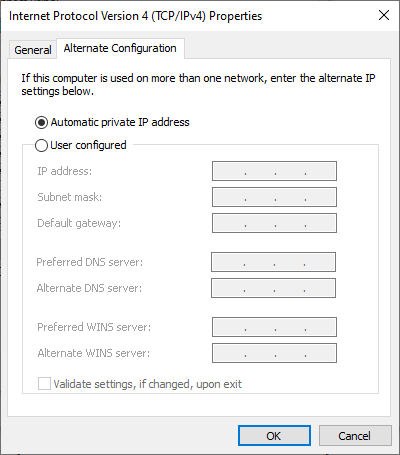
Step 10. On the Alternate Configuration tab, select the Automatic private IP address option.
Step 11. Navigate back to the General tab, and click on the Advanced button.
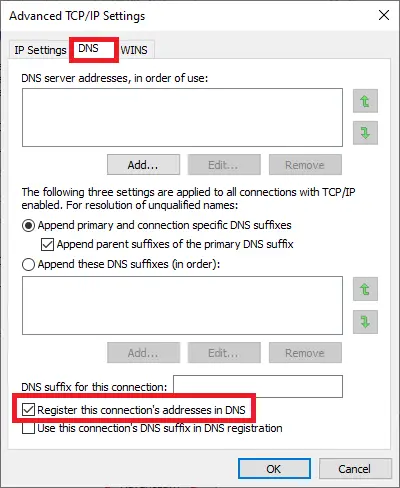
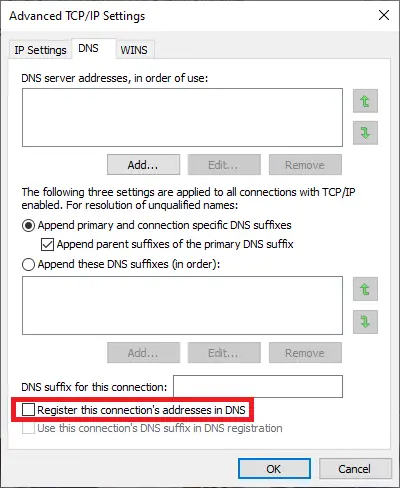
Step 12. On Advanced TCP/IP Settings, navigate to the DNS tab and uncheck the option Register this connection’s addresses in DNS.
Step 13. Once you have unchecked “Register this connection’s addresses in DNS,” click on OK, again OK, and then Close.
Now check your internet connection; it should work 100%. The above-mentioned method can solve the No Internet problem from Windows 11, 10, 8.1, 8, 7, Vista, and Win XP.
Let me know via comment if the problem persists.
Conclusion
In conclusion, internet connectivity issues on a Windows PC can be frustrating, but there are some basic options you can try before seeking further help. These include resetting the router/modem, connecting to another device’s WiFi/router, and disabling/enabling the network connection. If these options do not work, you can try the step-by-step guide provided in this post to fix the “No Internet” issue on Windows 11 or 10. By following these steps, you can ensure that your PC is set up correctly and your internet connection should work seamlessly. However, if the problem persists, you can always seek further help or explore other solutions.
You might also be interested in our guide on disabling Internet Connection Sharing (ICS) in Windows 10.