In Windows 11 and 10, Hyper-V is Microsoft’s in-house virtualization solution that lets you create virtual machines, run OS on virtual hardware, and not affect PC performance. However, by default, it is turned off. In order to use Hyper-V on your computer, you must enable it first.
This gearupwindows article will show you how to enable Hyper-V in Windows 11 or 10, so you can create virtual machines without third-party tools.
Windows 11 and 10 support Hyper-V as an optional feature, which is available on Pro, Enterprise, and Education editions of Windows. If you’re not sure what edition of Windows you have, go to Settings > System > About and check the Windows specifications section.
Also Read: How to install Hyper-V on Windows 11 or 10 Home?
How to Check if your Computer supports Hyper-V?
To run Hyper-V, your computer must meet the minimum hardware specifications:-
- 64-bit processor with Second Level Address Translation (SLAT).
- A processor must support VM Monitor Mode Extension (VT-c on Intel chips).
- Minimum 4GB RAM.
You should also check whether the Virtualization Technology and Hardware Enforced Data Execution Prevention options are enabled on the system firmware. To confirm, do the following:-
Step 1. Open the Run dialog box by pressing Windows + R on your keyboard.
Step 2. Type the following in the Run box and hit Enter to open Command Prompt window:-
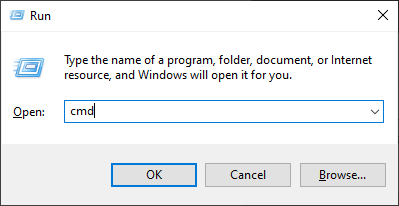
Step 3. Hit Enter on the keyboard after typing the following in the Command Prompt:-
systeminfo
Check the Hyper-V Requirements section; all results should be Yes.

How to Enable Hardware Virtualization in BIOS?
In some old compatible systems, Hardware Virtualization may be disabled on the BIOS/UEFI, and you need to enable it. To enable Hardware Virtualization in BIOS, do the following:-
Step 1. Turn off your PC.
Step 2. Then, press the Power button to turn on the PC and start pressing the Esc key on the keyboard to enter into Startup Menu or something like that. Depending on the manufacturer, you may need to press Esc, F10, F2, F12, F1, or DEL to enter the BIOS setup process.
Step 3. Now, navigate through menus and search for Virtualization Technology and Enable the same.
Step 4. Finally, hit the F10 key to save the changes and exit BIOS.
When you’re done, your PC will restart to apply the changes.
Once Virtualization is enabled in BIOS, using any of the following methods, you can enable Hyper-V on Windows 11 or 10 machines.
How to Enable Hyper-V in Windows 11 or 10 using Windows Features?
Follow these steps to turn on Hyper-V in Windows 11 or 10 through Windows Features:-
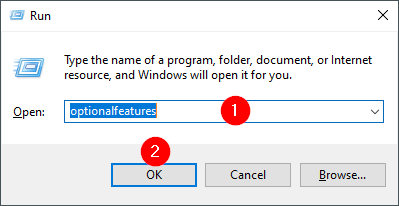
Step 1. From the keyboard, press Windows + R to open the Run dialog box.
Step 2. To open the Windows Features dialog, type optionalfeatures into the Run box and click OK.
Step 3. Check Hyper-V and all of its components.
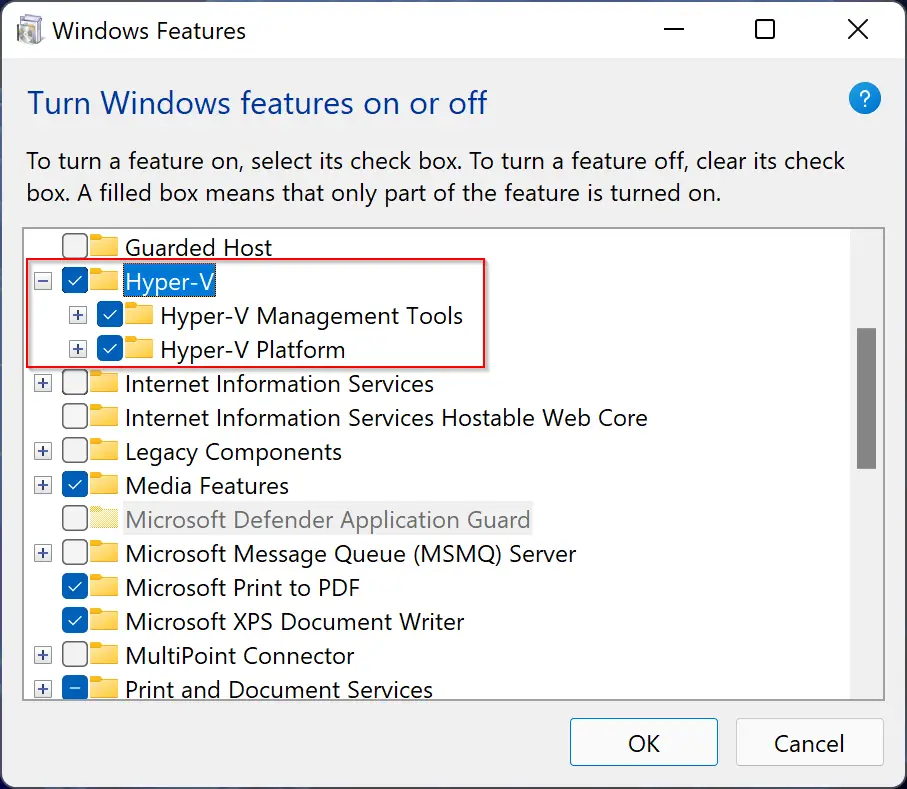
Step 4. Click on the OK button.
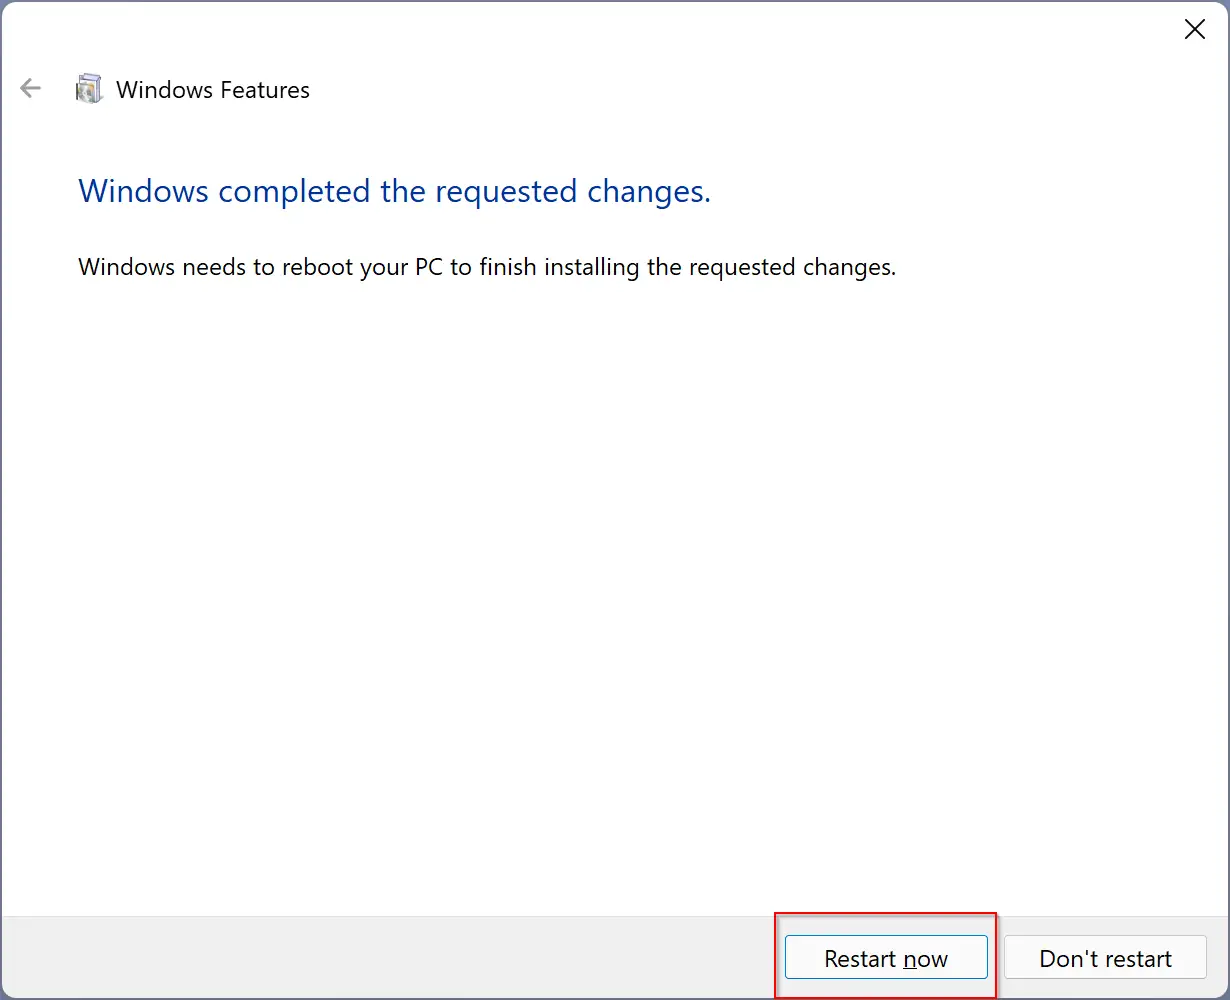
Step 5. Restart your computer to complete the Hyper-V setup by clicking the Restart now button.
How to Turn On Hyper-V on Windows 11 or 10 through Command Prompt?
The DISM command-line tool allows you to access and install optional Windows features via Command Prompt. Here’s how.
Step 1. Open an elevated Command Prompt.
Step 2. Then, type the following command and hit Enter to execute:-
DISM /Online /Enable-Feature /All /FeatureName:Microsoft-Hyper-V
The Deployment Image Servicing and Management tool will then enable Hyper-V on your PC. If the operation is successful, you will need to restart your PC by pressing Y on your keyboard.
How to Add Hyper-V on Windows 11/10 via PowerShell?
Follow these steps to enable Hyper-V on Windows 11 or 10 using PowerShell:-
Step 1. Open PowerShell as an administrator.
Step 2. In the PowerShell window, type the following and hit Enter:-
Enable-WindowsOptionalFeature -Online -FeatureName Microsoft-Hyper-V-All
Step 3. Finally, reboot your computer to apply the changes.
How to Remove Hyper-V on Windows 11 or 10 using PowerShell?
Follow these steps to uninstall Hyper-V on Windows 11 or 10 through PowerShell:-
Step 1. Open PowerShell as an administrator.
Step 2. In the PowerShell window, type the following and hit Enter:-
Disable-WindowsOptionalFeature -Online -FeatureName Microsoft-Hyper-V-All
Step 3. At last, restart your PC to save the changes.
Conclusion
In conclusion, Hyper-V is a useful virtualization tool that allows you to create and run virtual machines on your Windows 11 or 10 computer. To enable Hyper-V, you need to ensure that your computer meets the minimum hardware requirements, including a 64-bit processor with SLAT, a processor that supports VM Monitor Mode Extension, and a minimum of 4GB of RAM. You should also check that the Virtualization Technology and Hardware Enforced Data Execution Prevention options are enabled on your system firmware. Once your system is compatible, you can enable Hyper-V through the Windows Features dialog, Command Prompt, or PowerShell. With Hyper-V enabled, you can create and run virtual machines without the need for third-party tools.
