Windows 11 stable version has been released. It may arrive on your computer anytime if it meets minimum hardware requirements. If your PC doesn’t support the processor, TPM 2.0, or Secure Boot, you can still install Windows 11 on unsupported hardware. If you can’t wait and want to install Windows 11 immediately on your computer, you need to download Windows 11 ISO and make a bootable USB flash drive.
Microsoft has made this process more straightforward. Using Microsoft’s “Windows 11 Installation Assistant,” you can easily upgrade your computer to Windows 11. If you want to upgrade your PC from Windows 10 to Windows 11, this gearupwindows article will be a handy guide for you.
Before going ahead with the steps, you should note that:-
- Your PC must support Windows 11 in terms of hardware. Otherwise, you will be unable to use this method to install or upgrade to Windows 11.
- You will need an active internet connection to download Windows 11 and complete the installation.
- If you need, you to keep your Windows 10 settings, apps, and files intact. However, it is also possible to remove everything and install a clean Windows 11 OS.
- You must have a valid Windows 11 or Windows 10 product key.
- Your PC should run Windows 10 version 2004 or later. Otherwise, the Windows 11 Installation Assistant won’t work.
- You must have the PC Health Check app on your PC.
If you and your computer are ready with the above requirement, you can proceed with the steps.
How to Use Windows 11 Installation Assistant to Install Windows 11?
To use Windows 11 Installation Assistant to install Windows 11, do the following steps:-
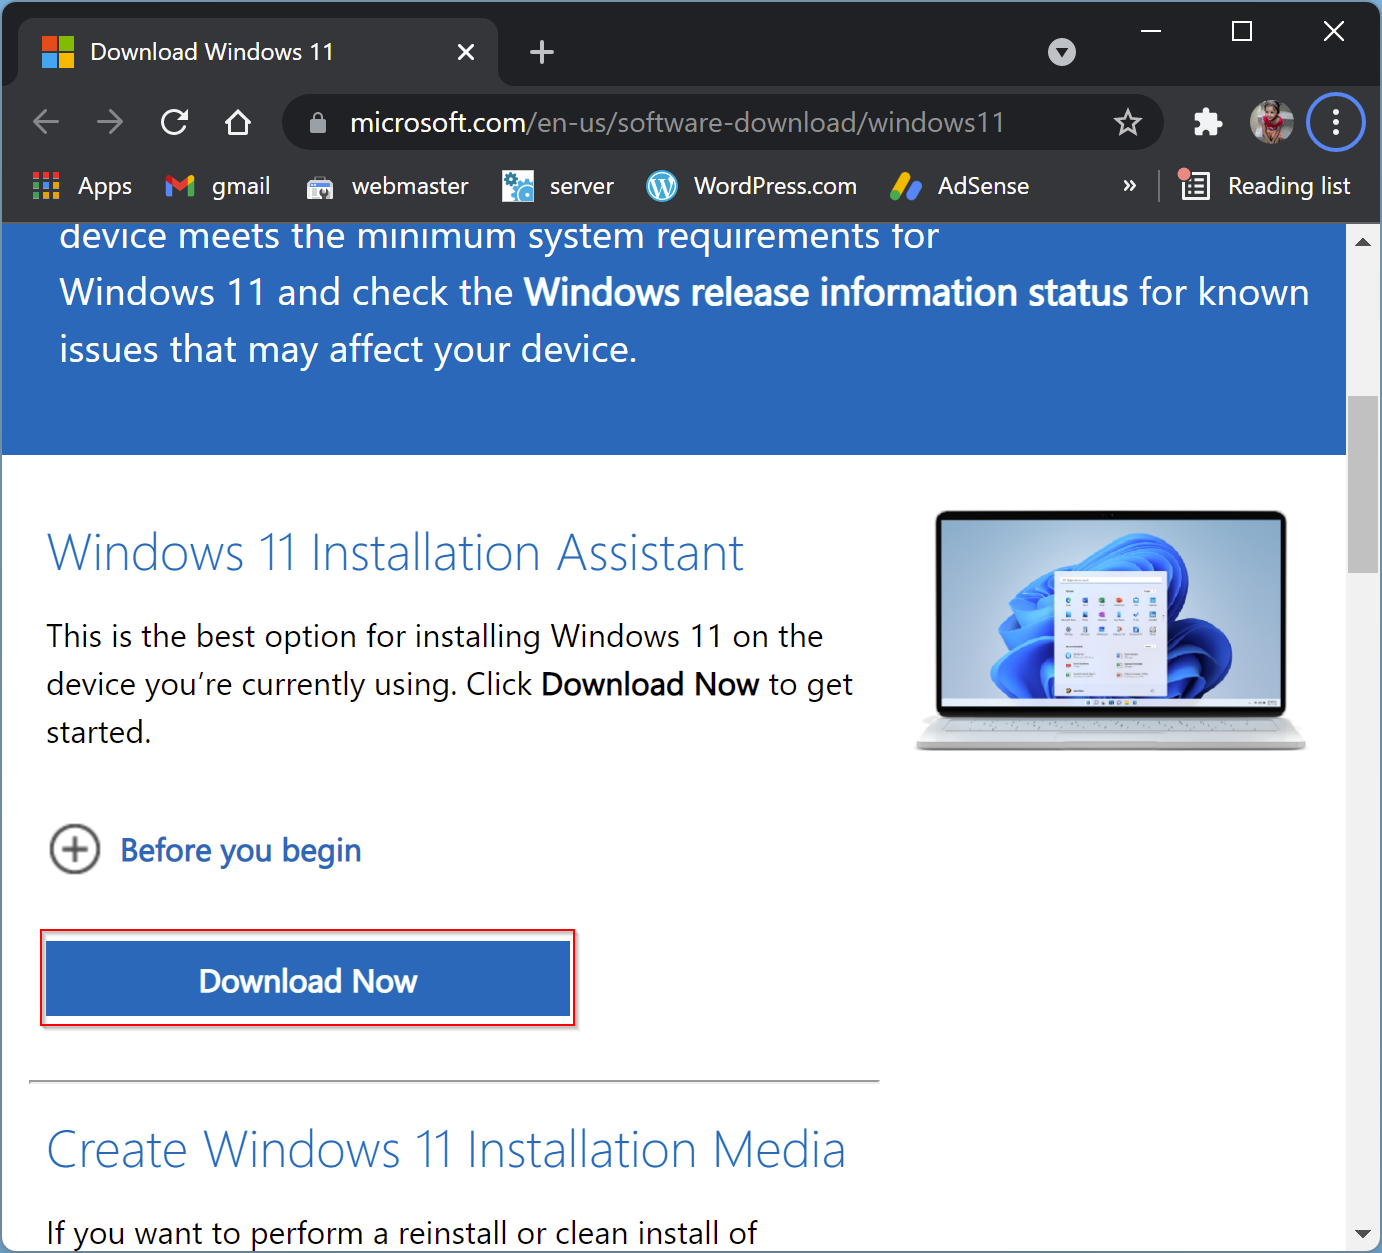
Step 1. Navigate to the official Microsoft website.
Step 2. Click the Download Now under the “Windows 11 Installation Assistant” header.
Step 3. When downloading is completed, double-click on the setup file.
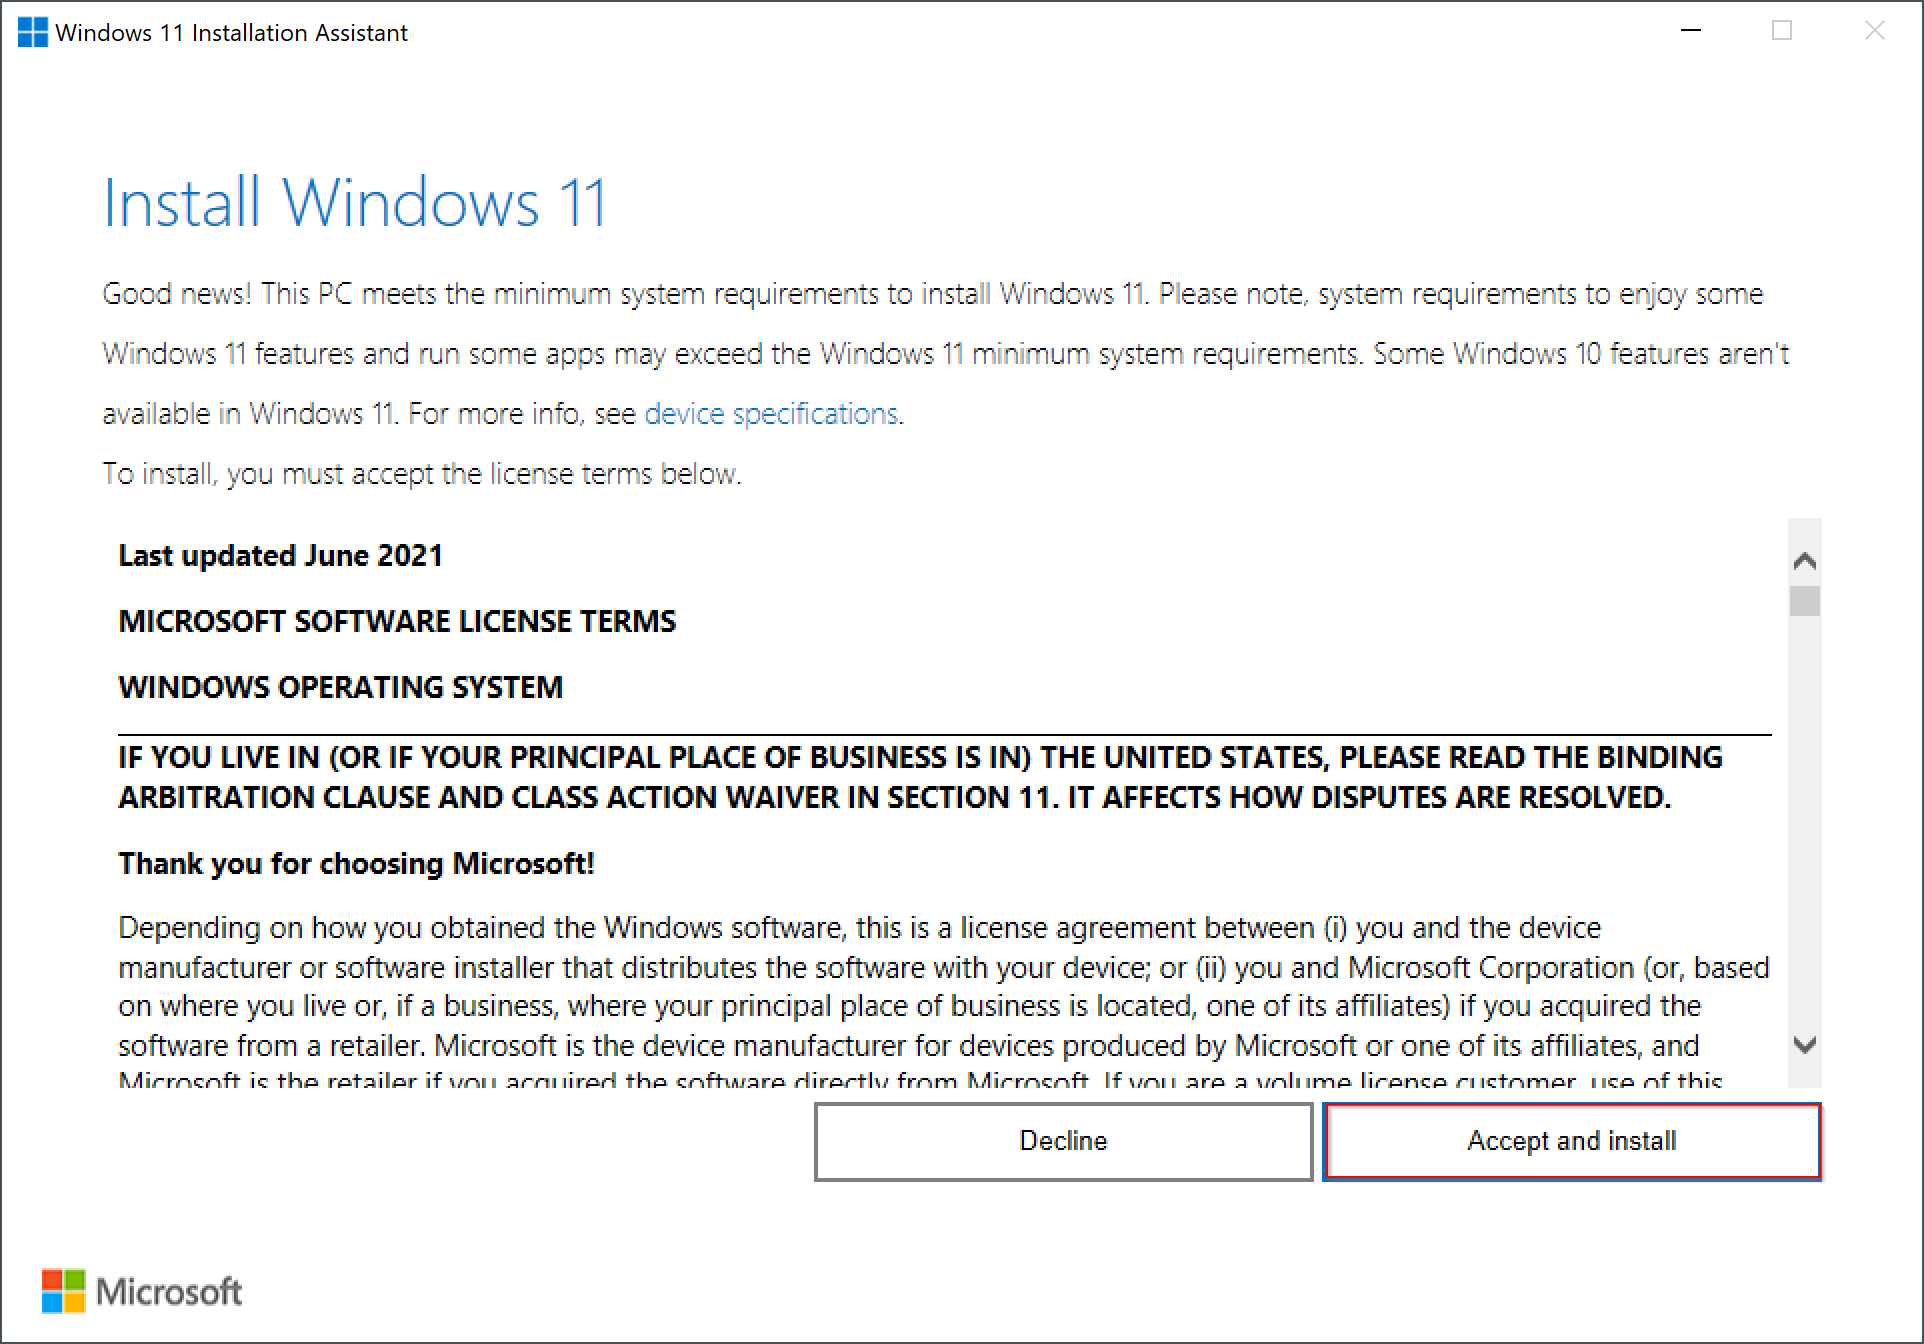
Step 4. When the application opens, select Accept and install button.
Step 5. Now, Windows 11 files will begin downloading automatically on your computer.

Step 6. When downloading is completed, click the Restart now button.
After that, it will continue with the installation. Please don’t turn off your computer while Windows 11 installation is in progress. When Windows 11 installation is finished, you can see the lock screen of your computer. You can enter into your account using a password or PIN as you were doing before.
Good luck!
Conclusion
In conclusion, upgrading to Windows 11 can be an easy process if your PC meets the minimum hardware requirements and runs on Windows 10 version 2004 or later. Microsoft has made it easy for users to upgrade their operating systems using the Windows 11 Installation Assistant. However, it is important to note that you need an active internet connection, a valid Windows 11 or Windows 10 product key, and the PC Health Check app installed on your computer to proceed with the installation. Also, if you prefer a clean installation, you can use the bootable USB drive method, which we have covered in another article. We hope this guide helps you to upgrade your PC to Windows 11 smoothly.
