By default, Microsoft Word automatically saves your document’s changes in the background, which lets you restore the file in case of power failure. However, to work this feature, your system uses additional RAM. If you do not want to allocate more resources to allow Microsoft Word to save the changes in the background, you can disable Background Saves. You can turn off the background saved in MS Word using the Word Options panel, Local Group Policy Editor, or Registry Editor.
When you enable the Background Saves feature in Word, Microsoft Word automatically saves a soft copy of the document on your disk as you continue to write. It helps you restore the file or revert a change in case of power failure.
In this gearupwindows article, we will guide you on enabling and disabling Word Background Saves in Windows 11 and 10 using three different methods.
How to Turn On or Off Background Saves in Word Using Word Options Panel?
To enable or disable the background saves in Word using the Word Options panel, use these steps:-
Step 1. Open a Microsoft Word Document.
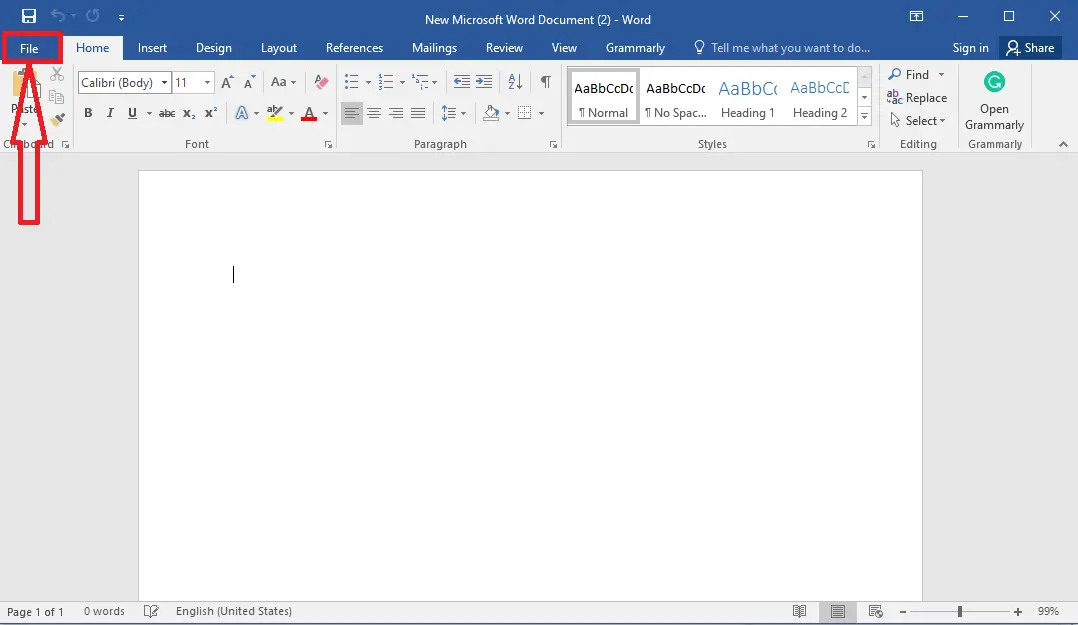
Step 2. Click the File menu.
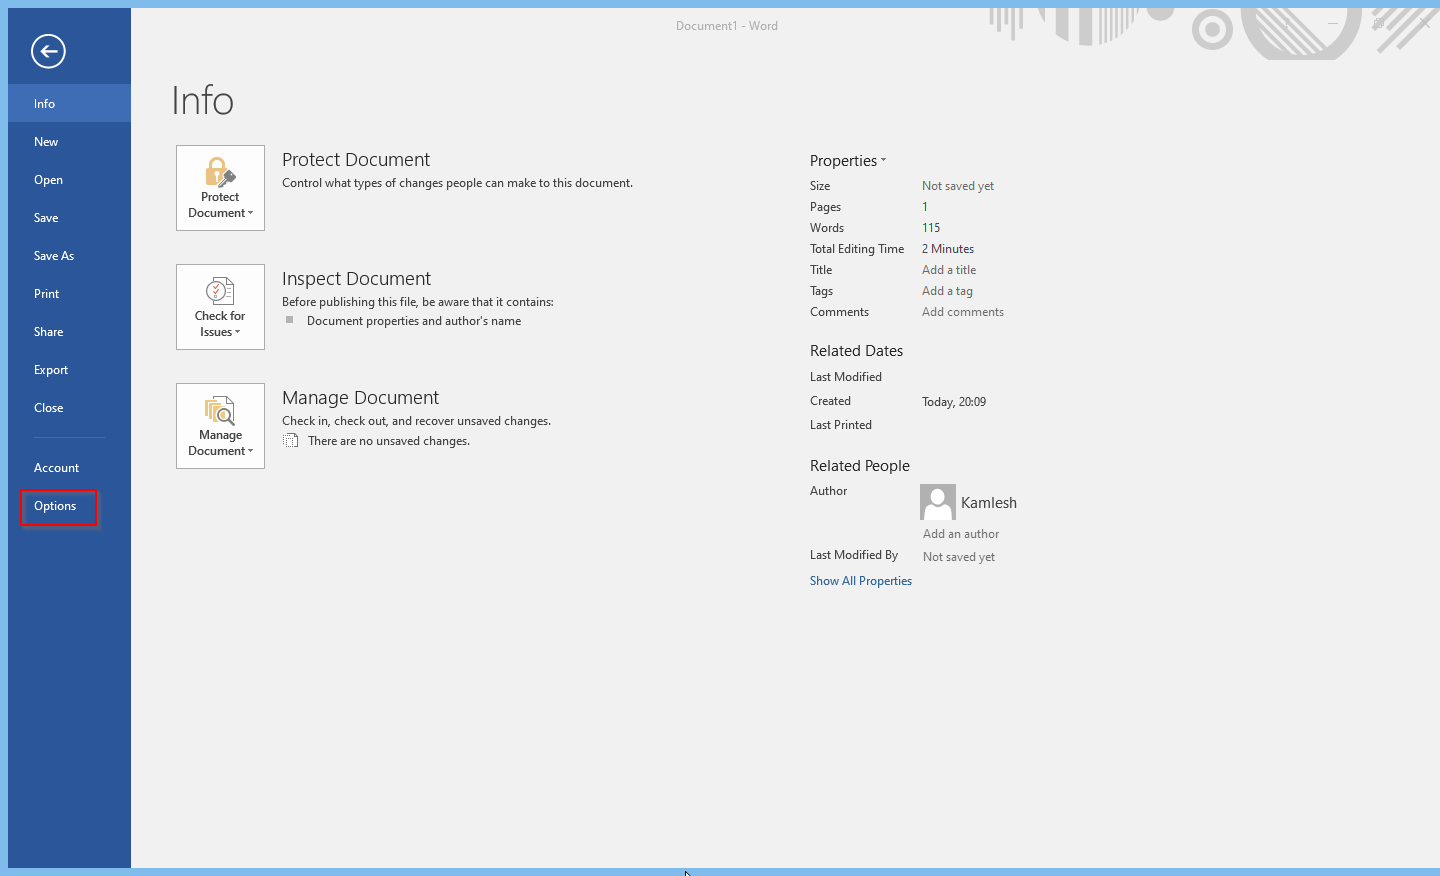
Step 3. Select Options in the left sidebar.
Step 4. When the Word Options panel appears on the screen, switch to the Advanced tab.
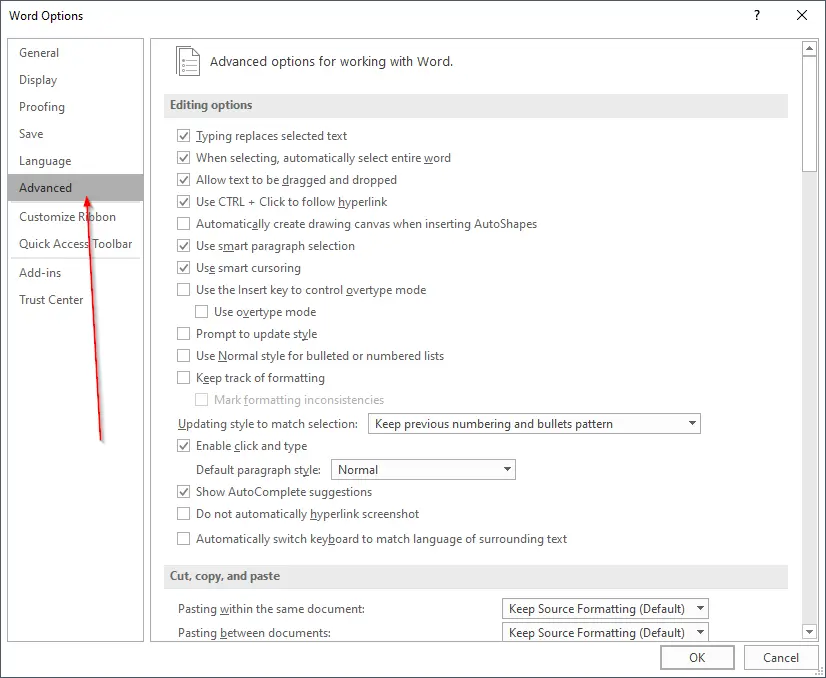
Step 5. Here, under the Save section, check or uncheck the option Allow background saves to enable or disable the setting.

Step 6. At last, click the OK button.
How to Enable or Disable Background Saves in Word through Local Group Policy Editor?
To turn on or off background saves in MS Word via Group Policy, use these steps:-
Step 1. Very first, open Local Group Policy Editor on Windows 11 or 10 machines.
Step 2. Then, navigate to the following path in the left sidebar of the Local Group Policy Editor window:-
User Configuration > Administrative Templates > Microsoft Word 2016 > Word Options > Advanced
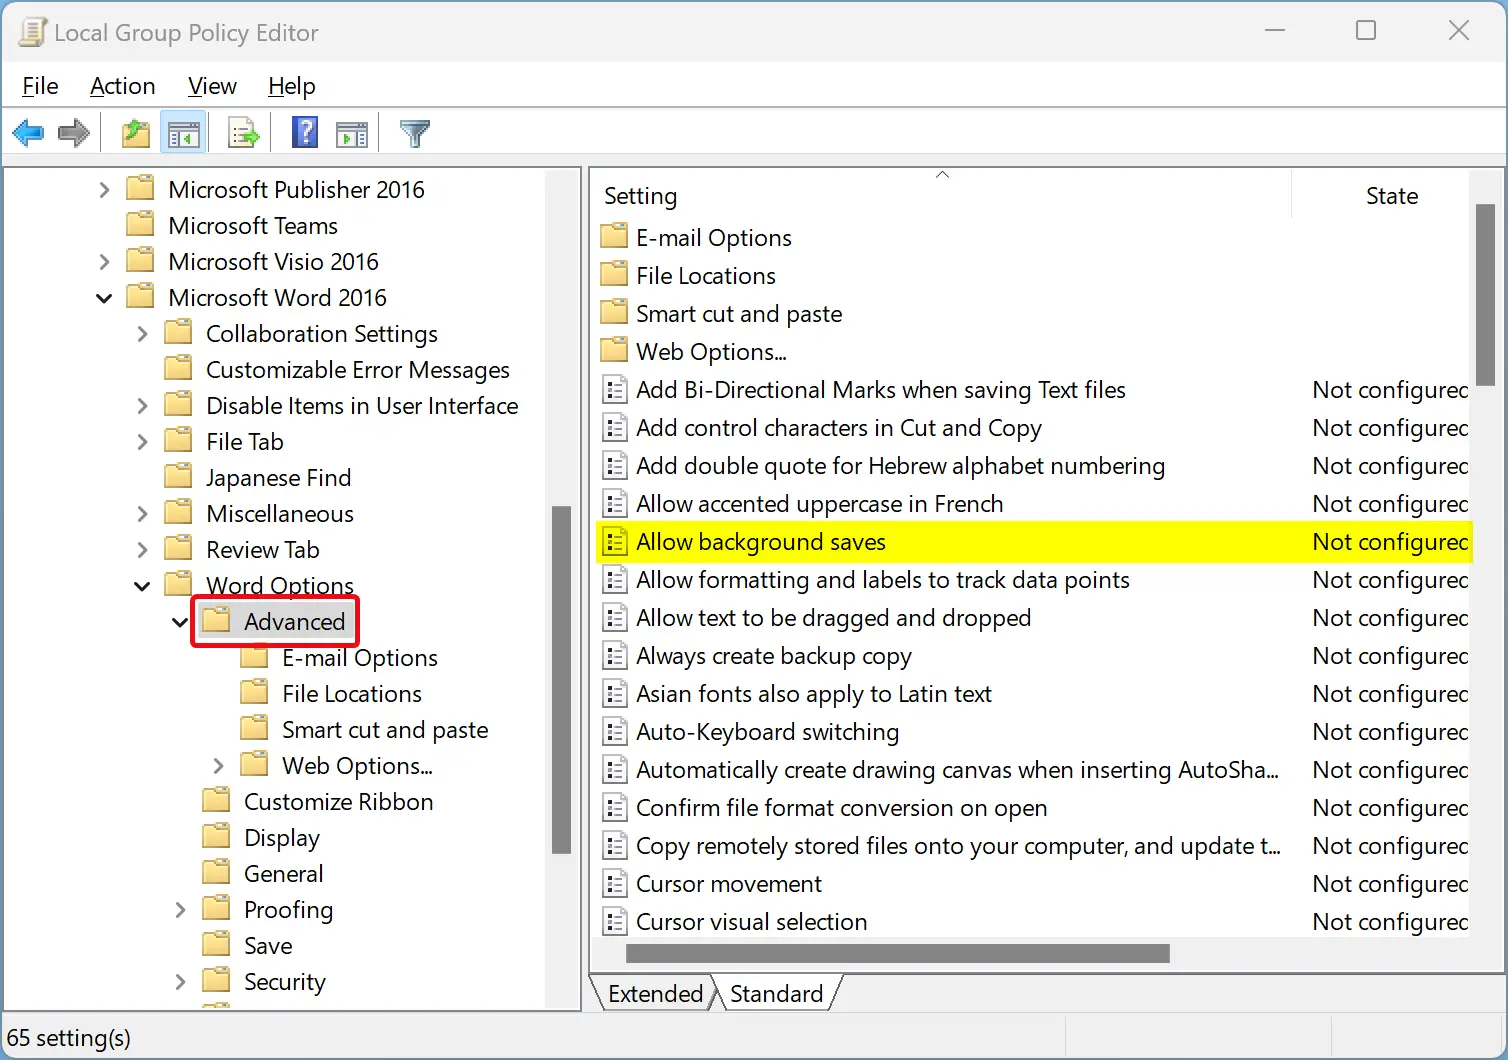
Step 3. On the right side of the “Advanced” folder, double-click on the policy name Allow background saves.
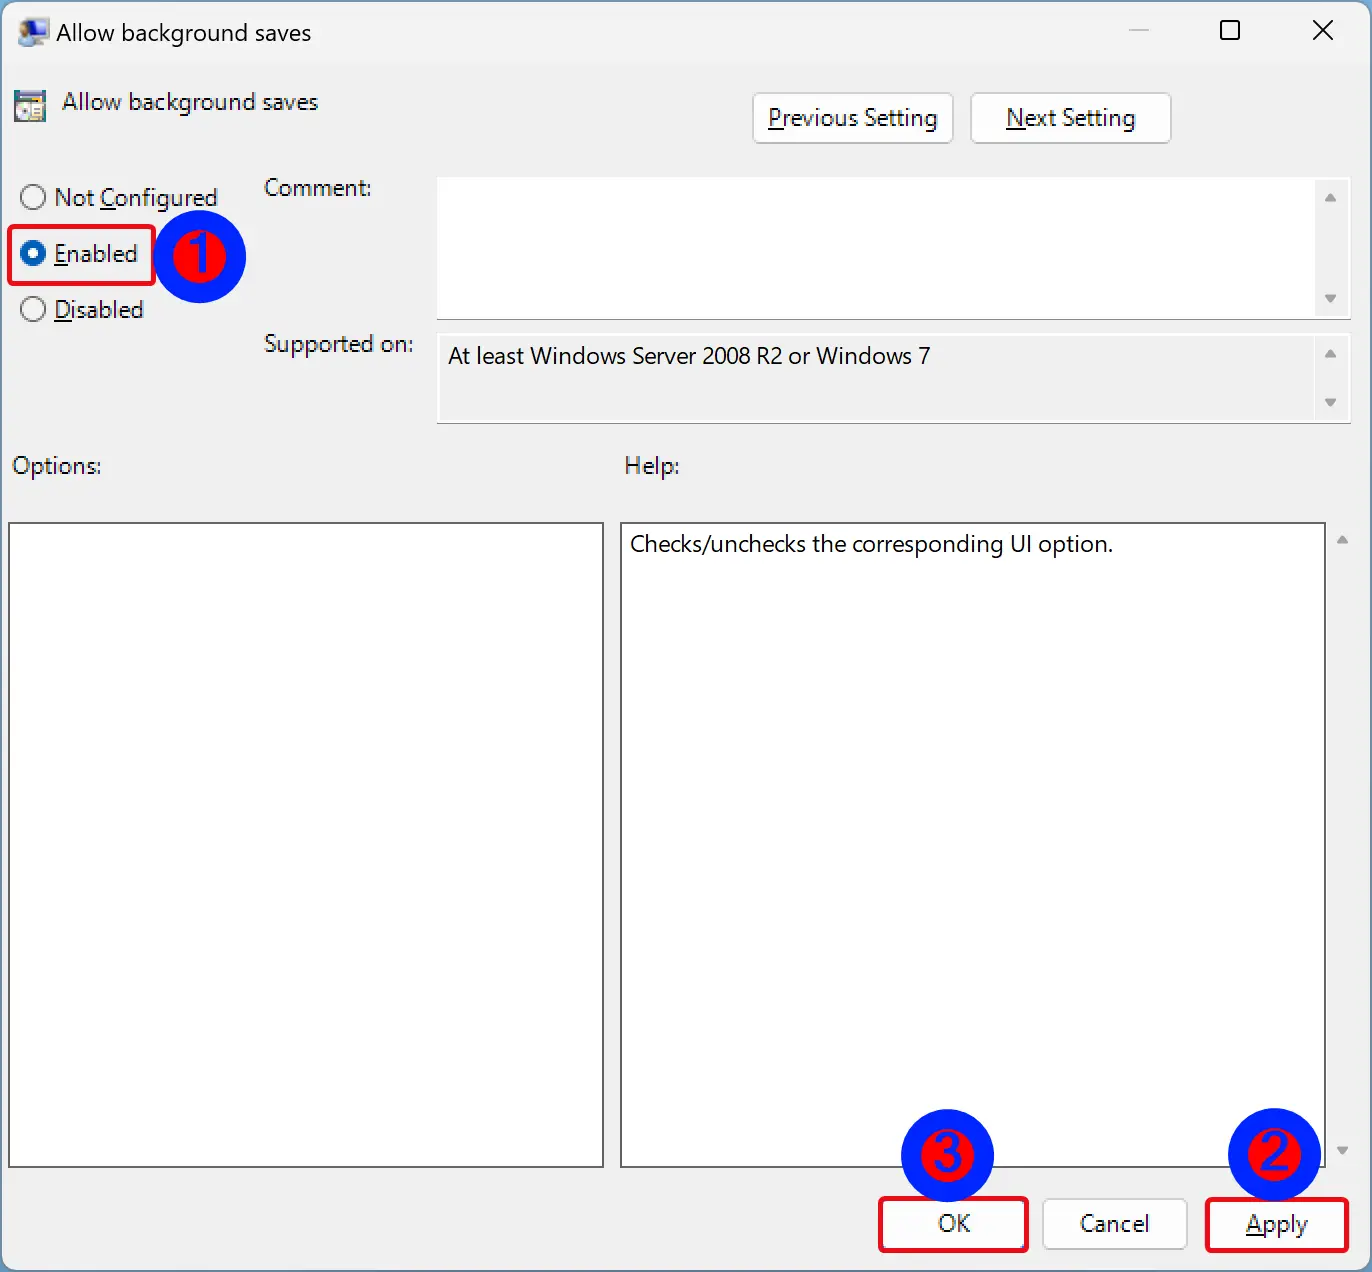
Step 4. Select Enabled.
Step 5. Click Apply.
Step 6. Click OK.
Step 7. Finally, restart your computer to apply the changes.
If you want to disable this setting in the future, repeat the above steps, and in step 4, choose the Not Configured option.
How to Turn On or Off Background Saves in Word via Registry Editor?
To enable or disable background saves in Word through Windows 11 or 10 Registry Editor, do these steps:-
Step 1. Open Registry Editor.
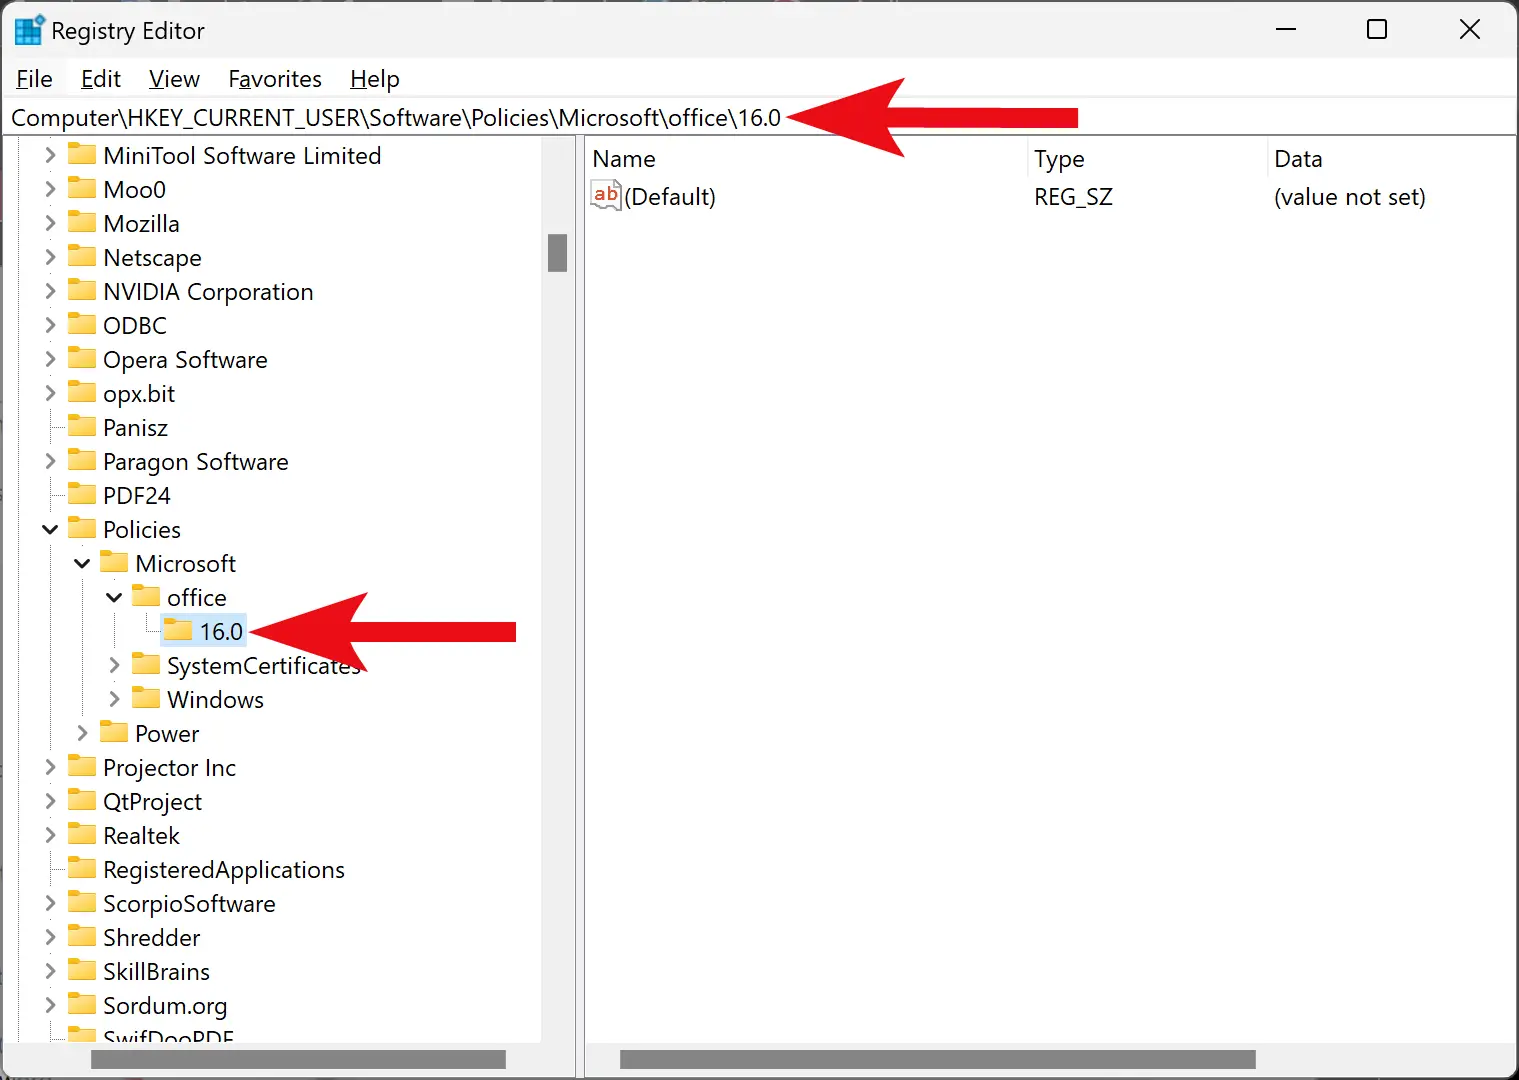
Step 2. Navigate or browse to the following key in the left sidebar of Registry Editor:-
HKEY_CURRENT_USER\Software\Policies\Microsoft\office\16.0
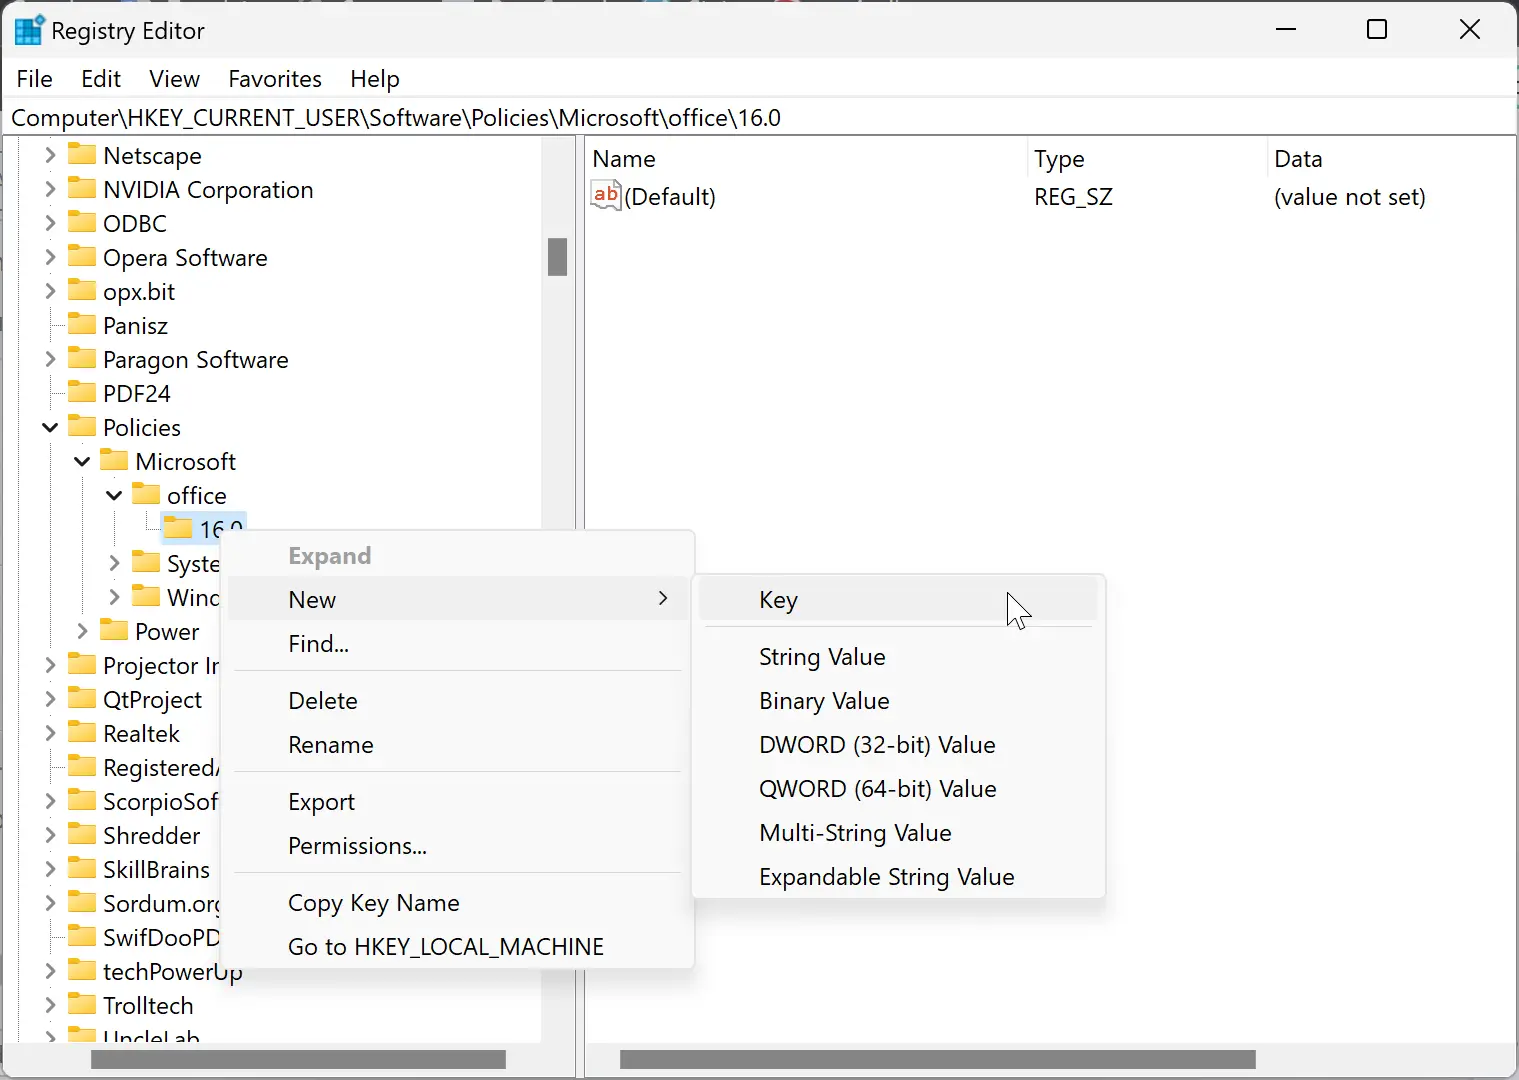
Step 3. Right-click on the 16.0 folder and select New > Key.
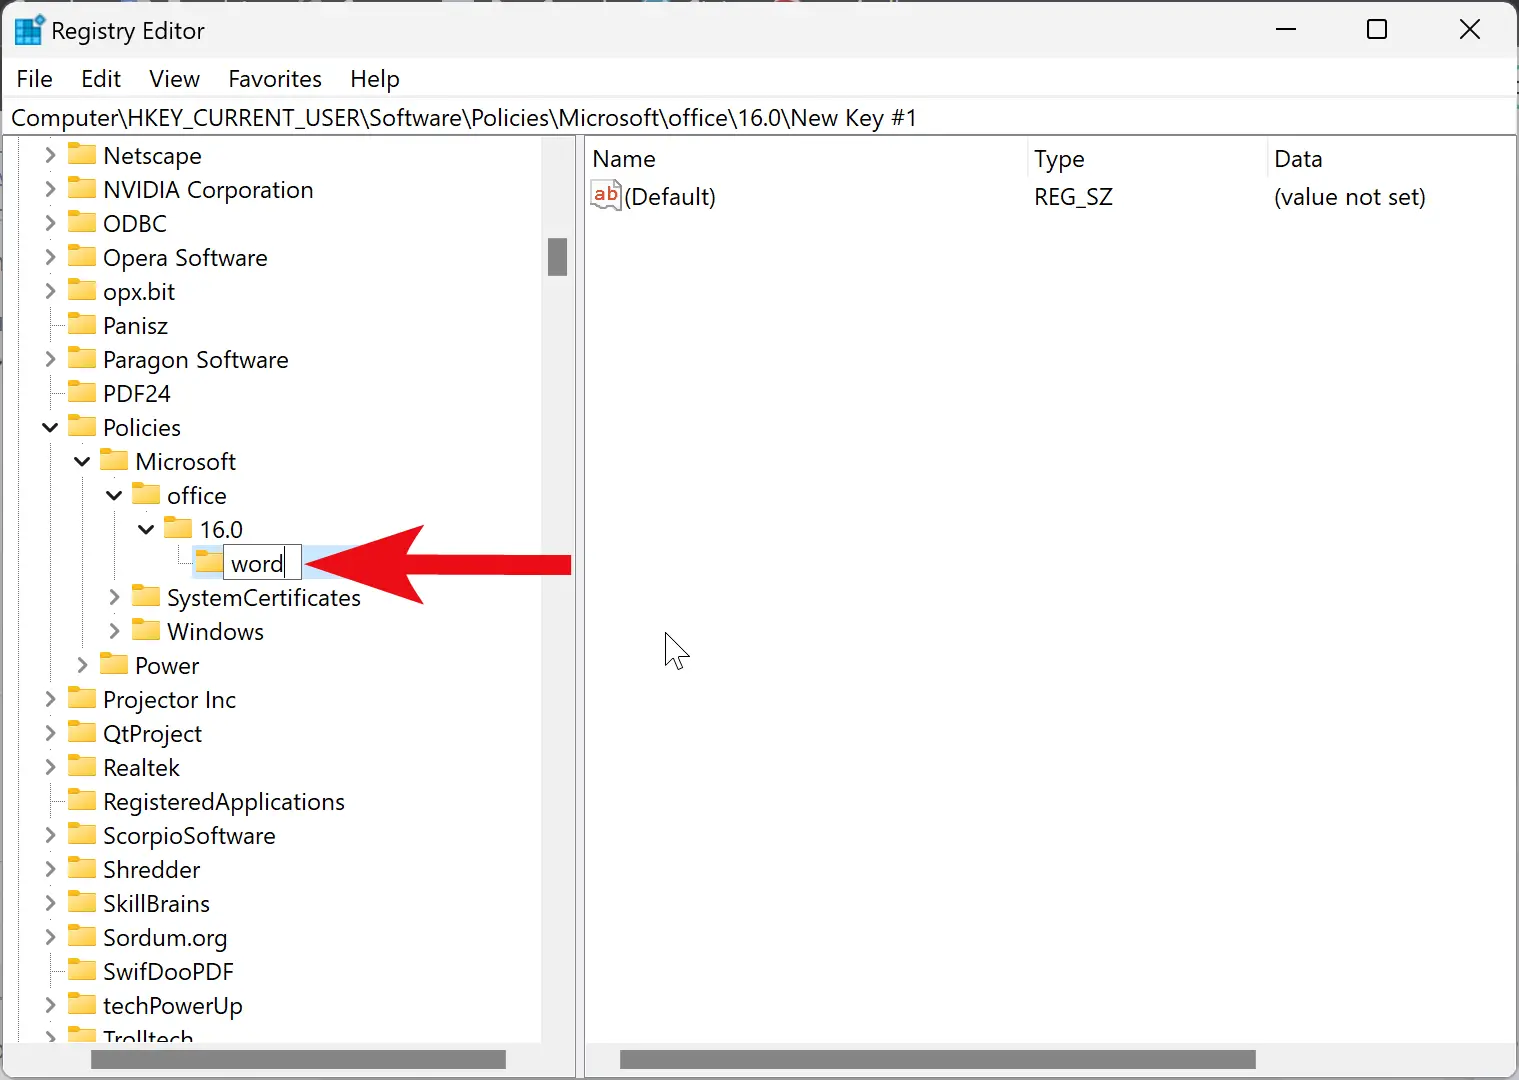
Step 4. Name the newly created key word.
Step 5. Right-click on the word folder and choose New > Key.
Step 6. Name the newly created key as options.
Step 7. Right-click on the options folder and select New > DWORD (32-bit) Value.
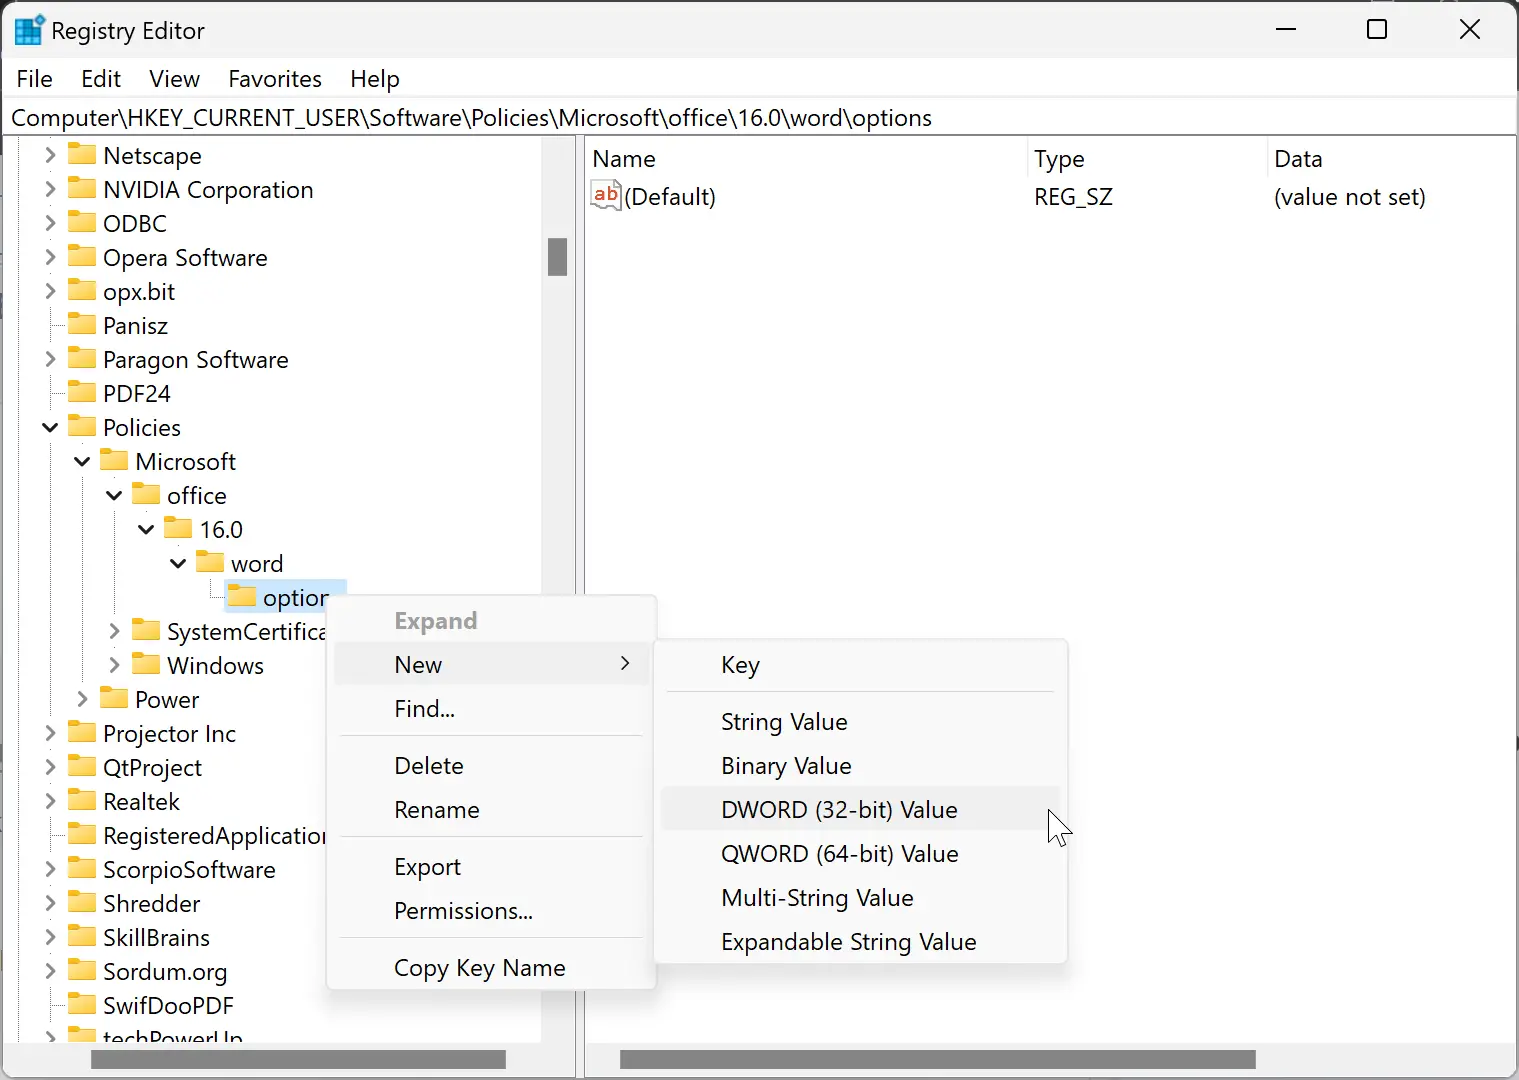
Step 8. Name the newly created REG_DWORD as backgroundsave.
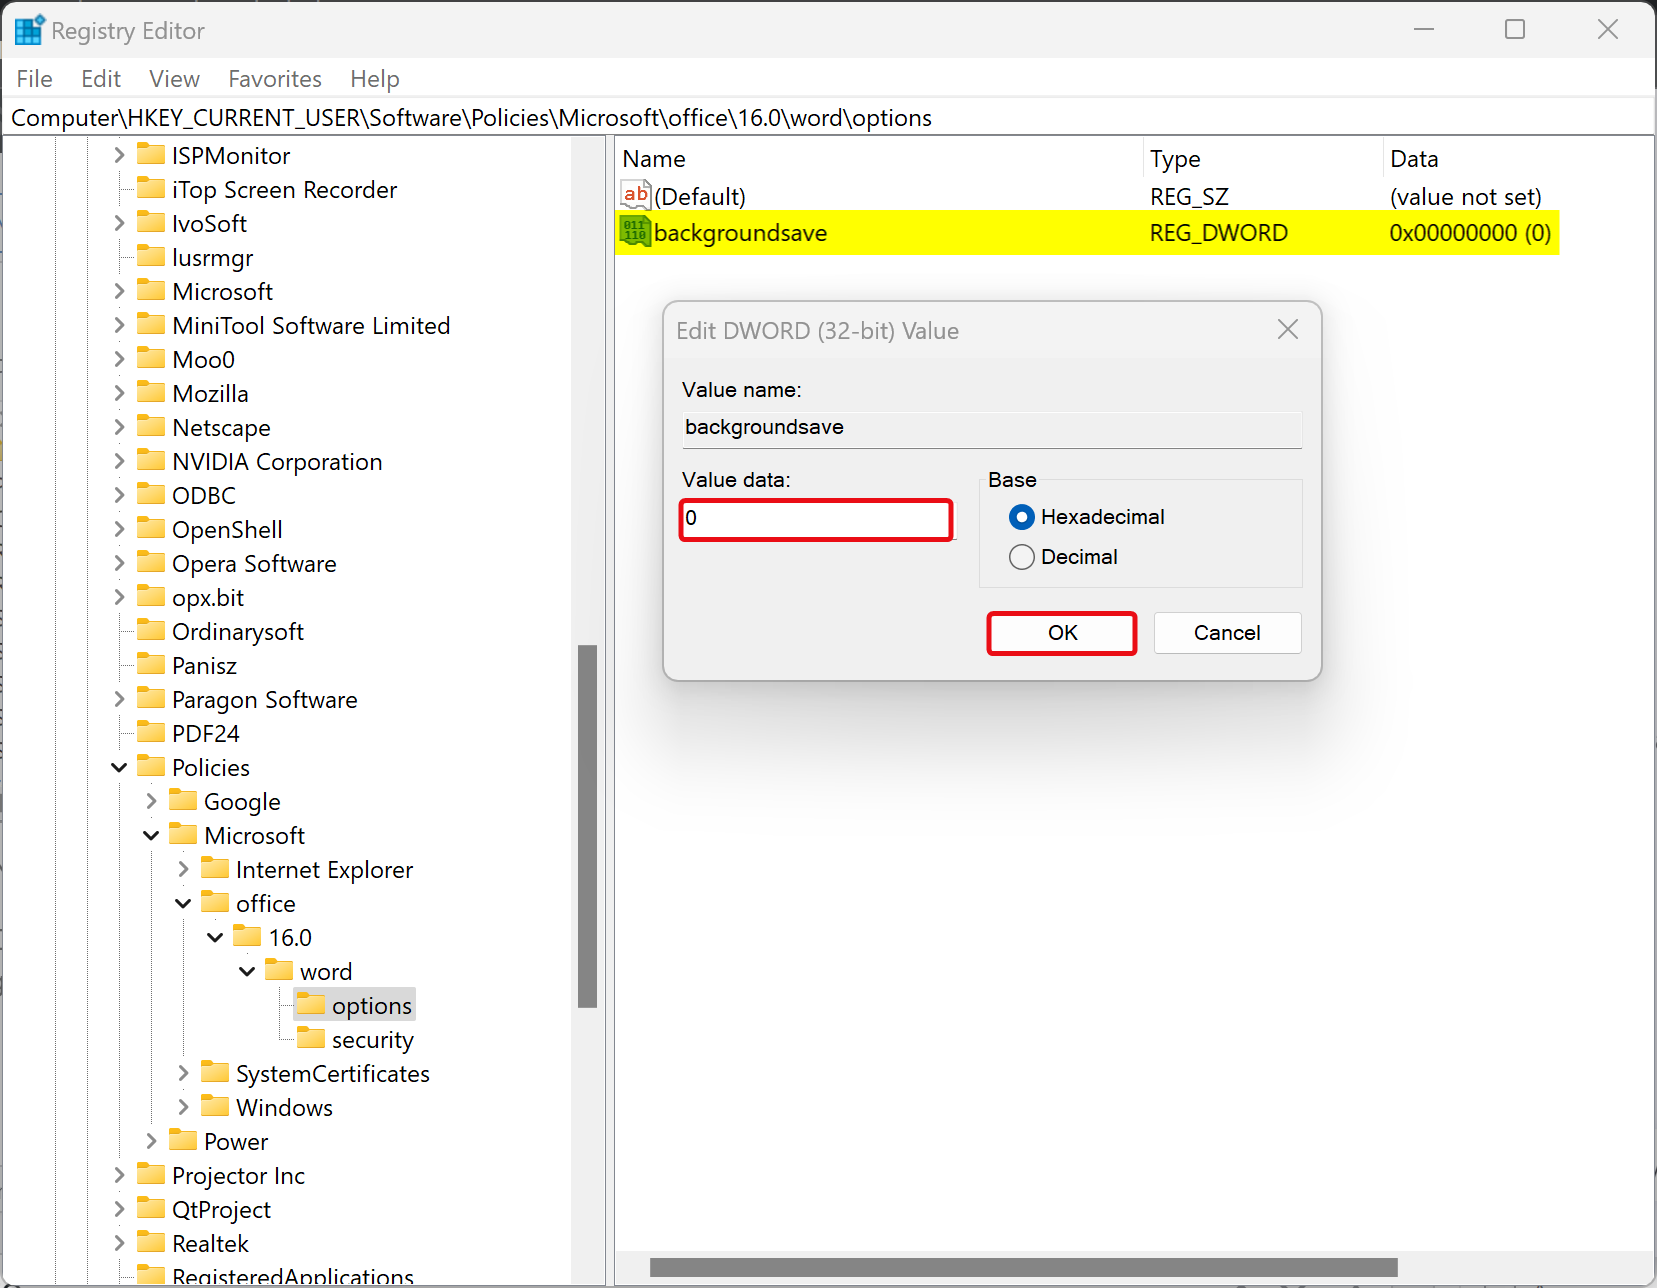
Step 9. Double-click on the backgroundsave REG_DWORD and set its “Value data” to the following:-
- 0: To disable background saves.
- 1: To enable background saves.
Step 10. Click OK.
Step 11. Finally, reboot your computer to apply the changes.
Conclusion
In conclusion, enabling or disabling background saves in Microsoft Word can be useful for those who want to manage their system resources or prefer to save their documents manually. While background saves allow for the automatic backup of your work, it can consume additional RAM. However, with the Word Options panel, Local Group Policy Editor, or Registry Editor, users can easily toggle this feature on or off. By following the steps outlined in this article, you can adjust your settings according to your preferences and needs.
