Windows Sandbox feature was first introduced on Windows 10 and is still part of Windows 11. This is a handy isolated environment feature. It is just like a virtual machine that uses Microsoft’s hypervisor and hardware virtualization to run a separate kernel to isolate a Windows Sandbox session from the host. It is around 100MB and installs and runs untrusted classic applications isolated from the main installation.
“Isolated” means that the application you will run on Sandbox will not have access to files, Registry, and other resources of your primary Windows OS. Once you close the Sandbox, it will automatically erase all the data from its application.
Also Refer: How to Install Windows 11 on VirtualBox Virtual Machine?
Microsoft Windows Sandbox is efficient as it uses an integrated kernel scheduler, smart memory management, and virtual graphics, and it’s disposable. The best part of the Windows Sandbox is that every data gets deleted once you close this app. This means every time you run the Windows Sandbox feature, you’ll start with a clean install of Windows 11. It is a handy feature if you want to download and run software from an untrusted source.
In short, we can say, running Windows Sandbox is just like running another copy of your Windows 11 on a virtual machine. The only difference is that Sandbox is built-in to Windows 11, and changes are not saved when you exit it. On the other hand, if you use a third-party virtual machine, Oracle VirtualBox, your data remains stored on your virtual PC, and you can access them when you start your virtual machine.
By default, the Windows Sandbox feature remains turned Off, and to use it, you need to enable it. Once you install or turn on the Sandbox feature, you can access this application. This gearupwindows article will guide you on enabling and disabling the Windows Sandbox feature on Windows 11.
How to Enable or Disable Windows Sandbox on Windows 11 using Windows Features Dialog?
Follow these steps to turn on or off Windows Sandbox on Windows 11 with Windows Features:-
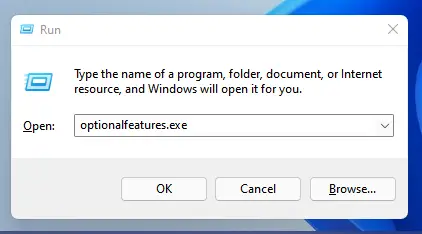
Step 1. Press Windows + R keys simultaneously to bring the Run dialog box.
Step 2. In the Run box, type the following and hit Enter from the keyboard to call up the Windows Features dialog box:-
optionalfeatures.exe
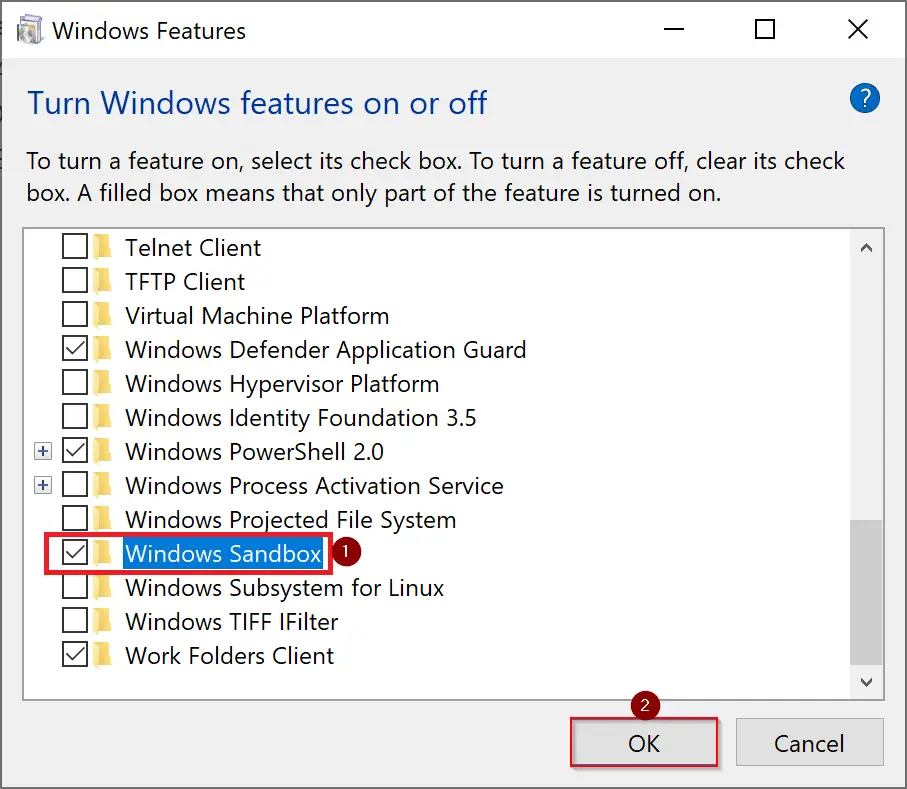
Step 3. Scroll down and check the Windows Sandbox option, and then click the OK button.
Step 4. Now, click on the Restart now button.
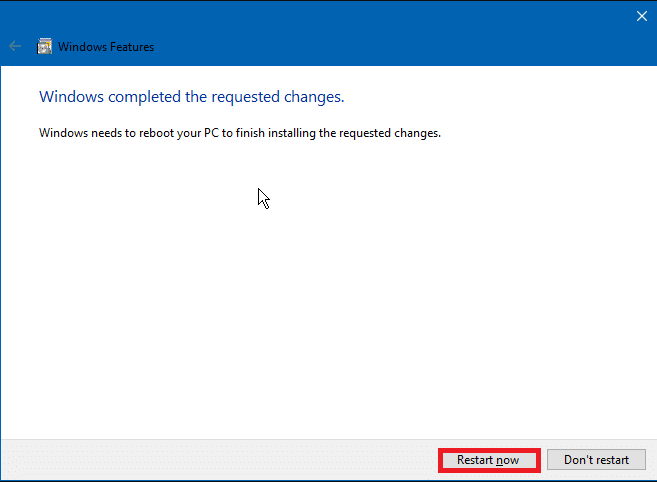
Your computer will reboot to install and enable the Windows Sandbox feature on Windows 11. If you want to turn off the Sandbox functionality on your PC, repeat the above steps, and in step 3, uncheck the option “Windows Sandbox.” Click OK to reboot your PC and remove or disable the Sandbox feature.
If Windows Sandbox is greyed out on your PC or you cannot select it, either your PC does not support Hardware Virtualization or is not enabled on BIOS/UEFI.
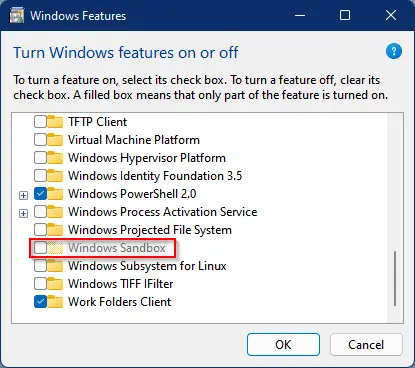
To access the Windows Sandbox, click on the Start button and type Sandbox. From the search result, click on Windows Sandbox to launch it. Furthermore, one should note that the Sandbox feature is not available in home editions of Windows 11. It is exclusively available for Pro and Enterprise editions.
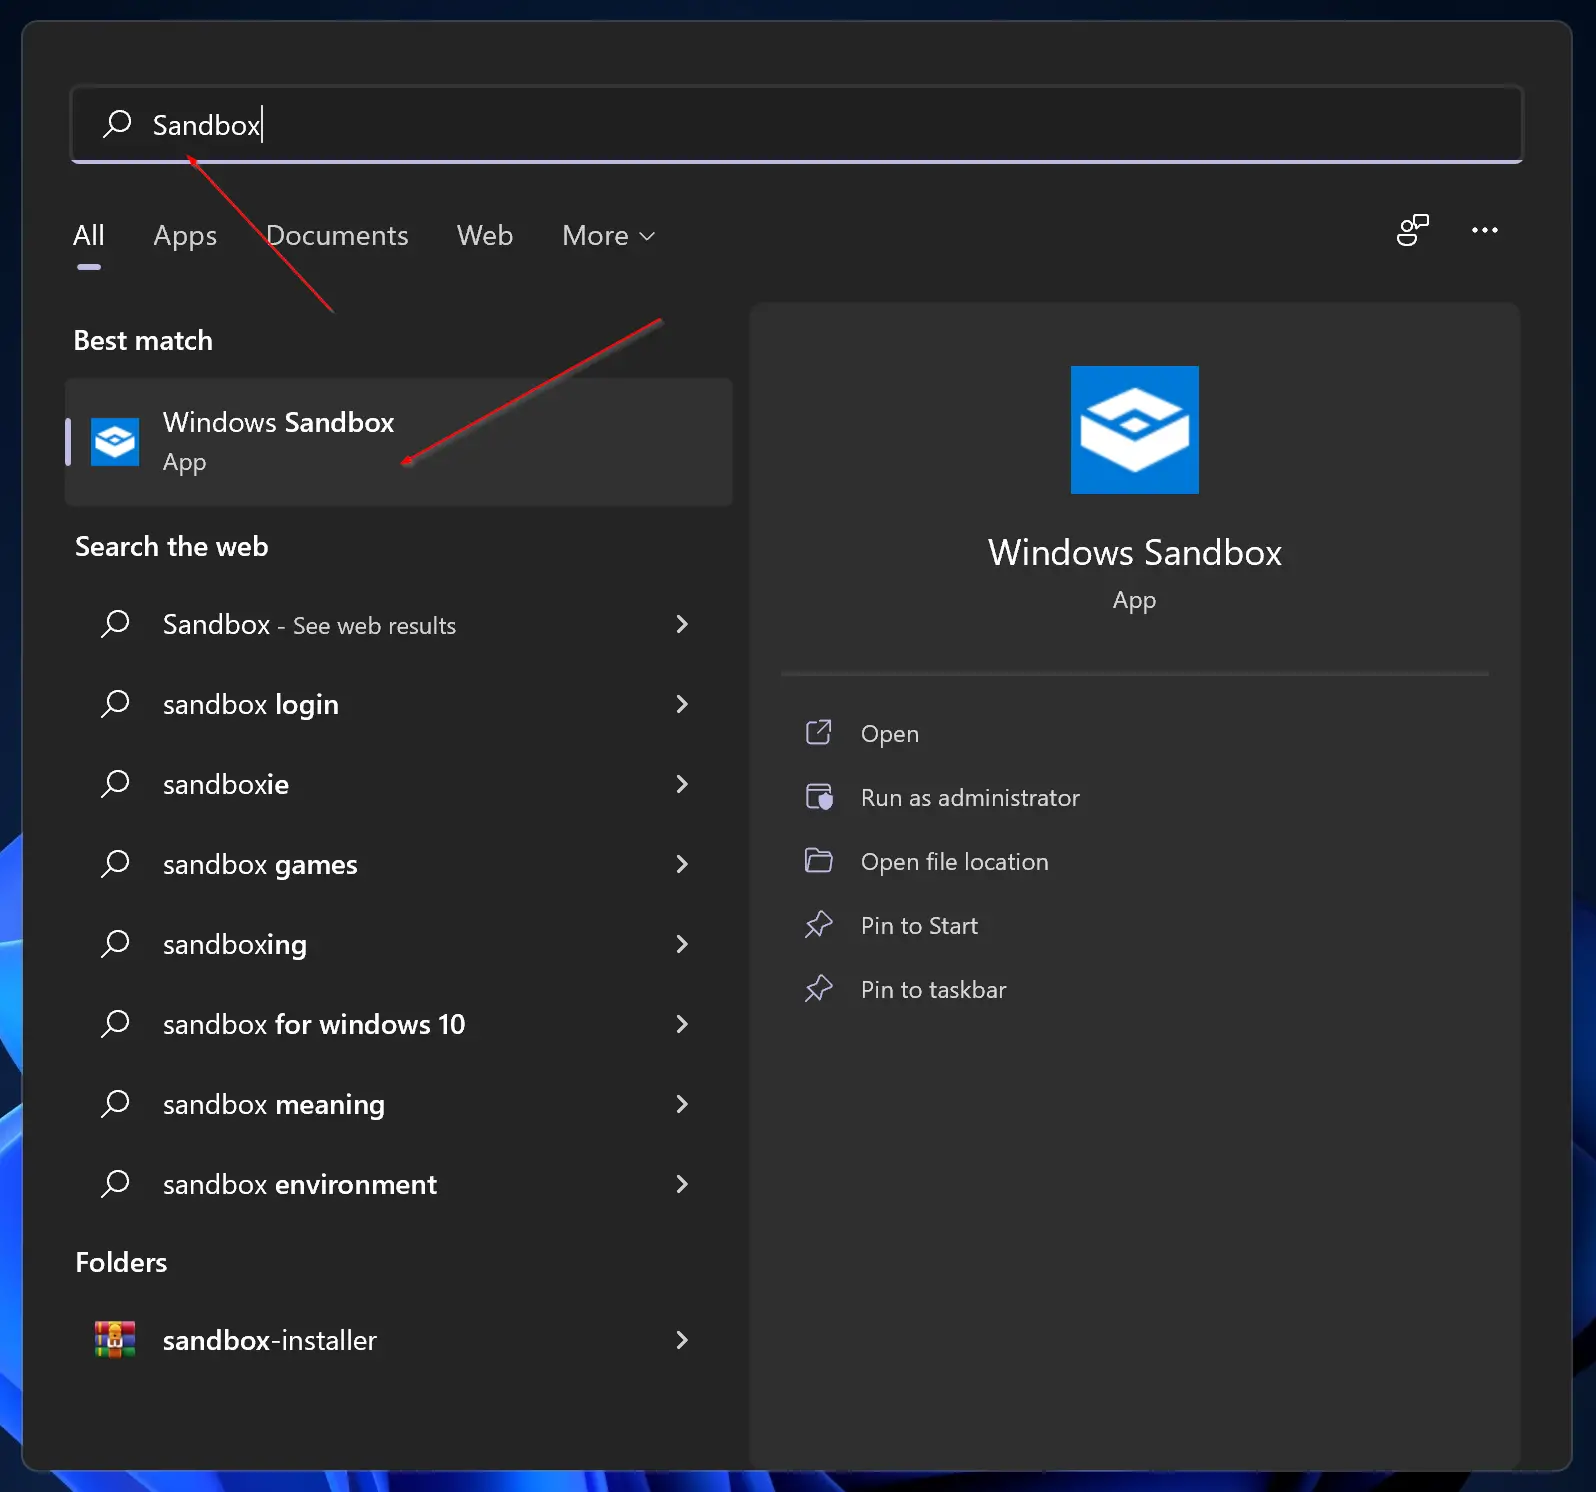
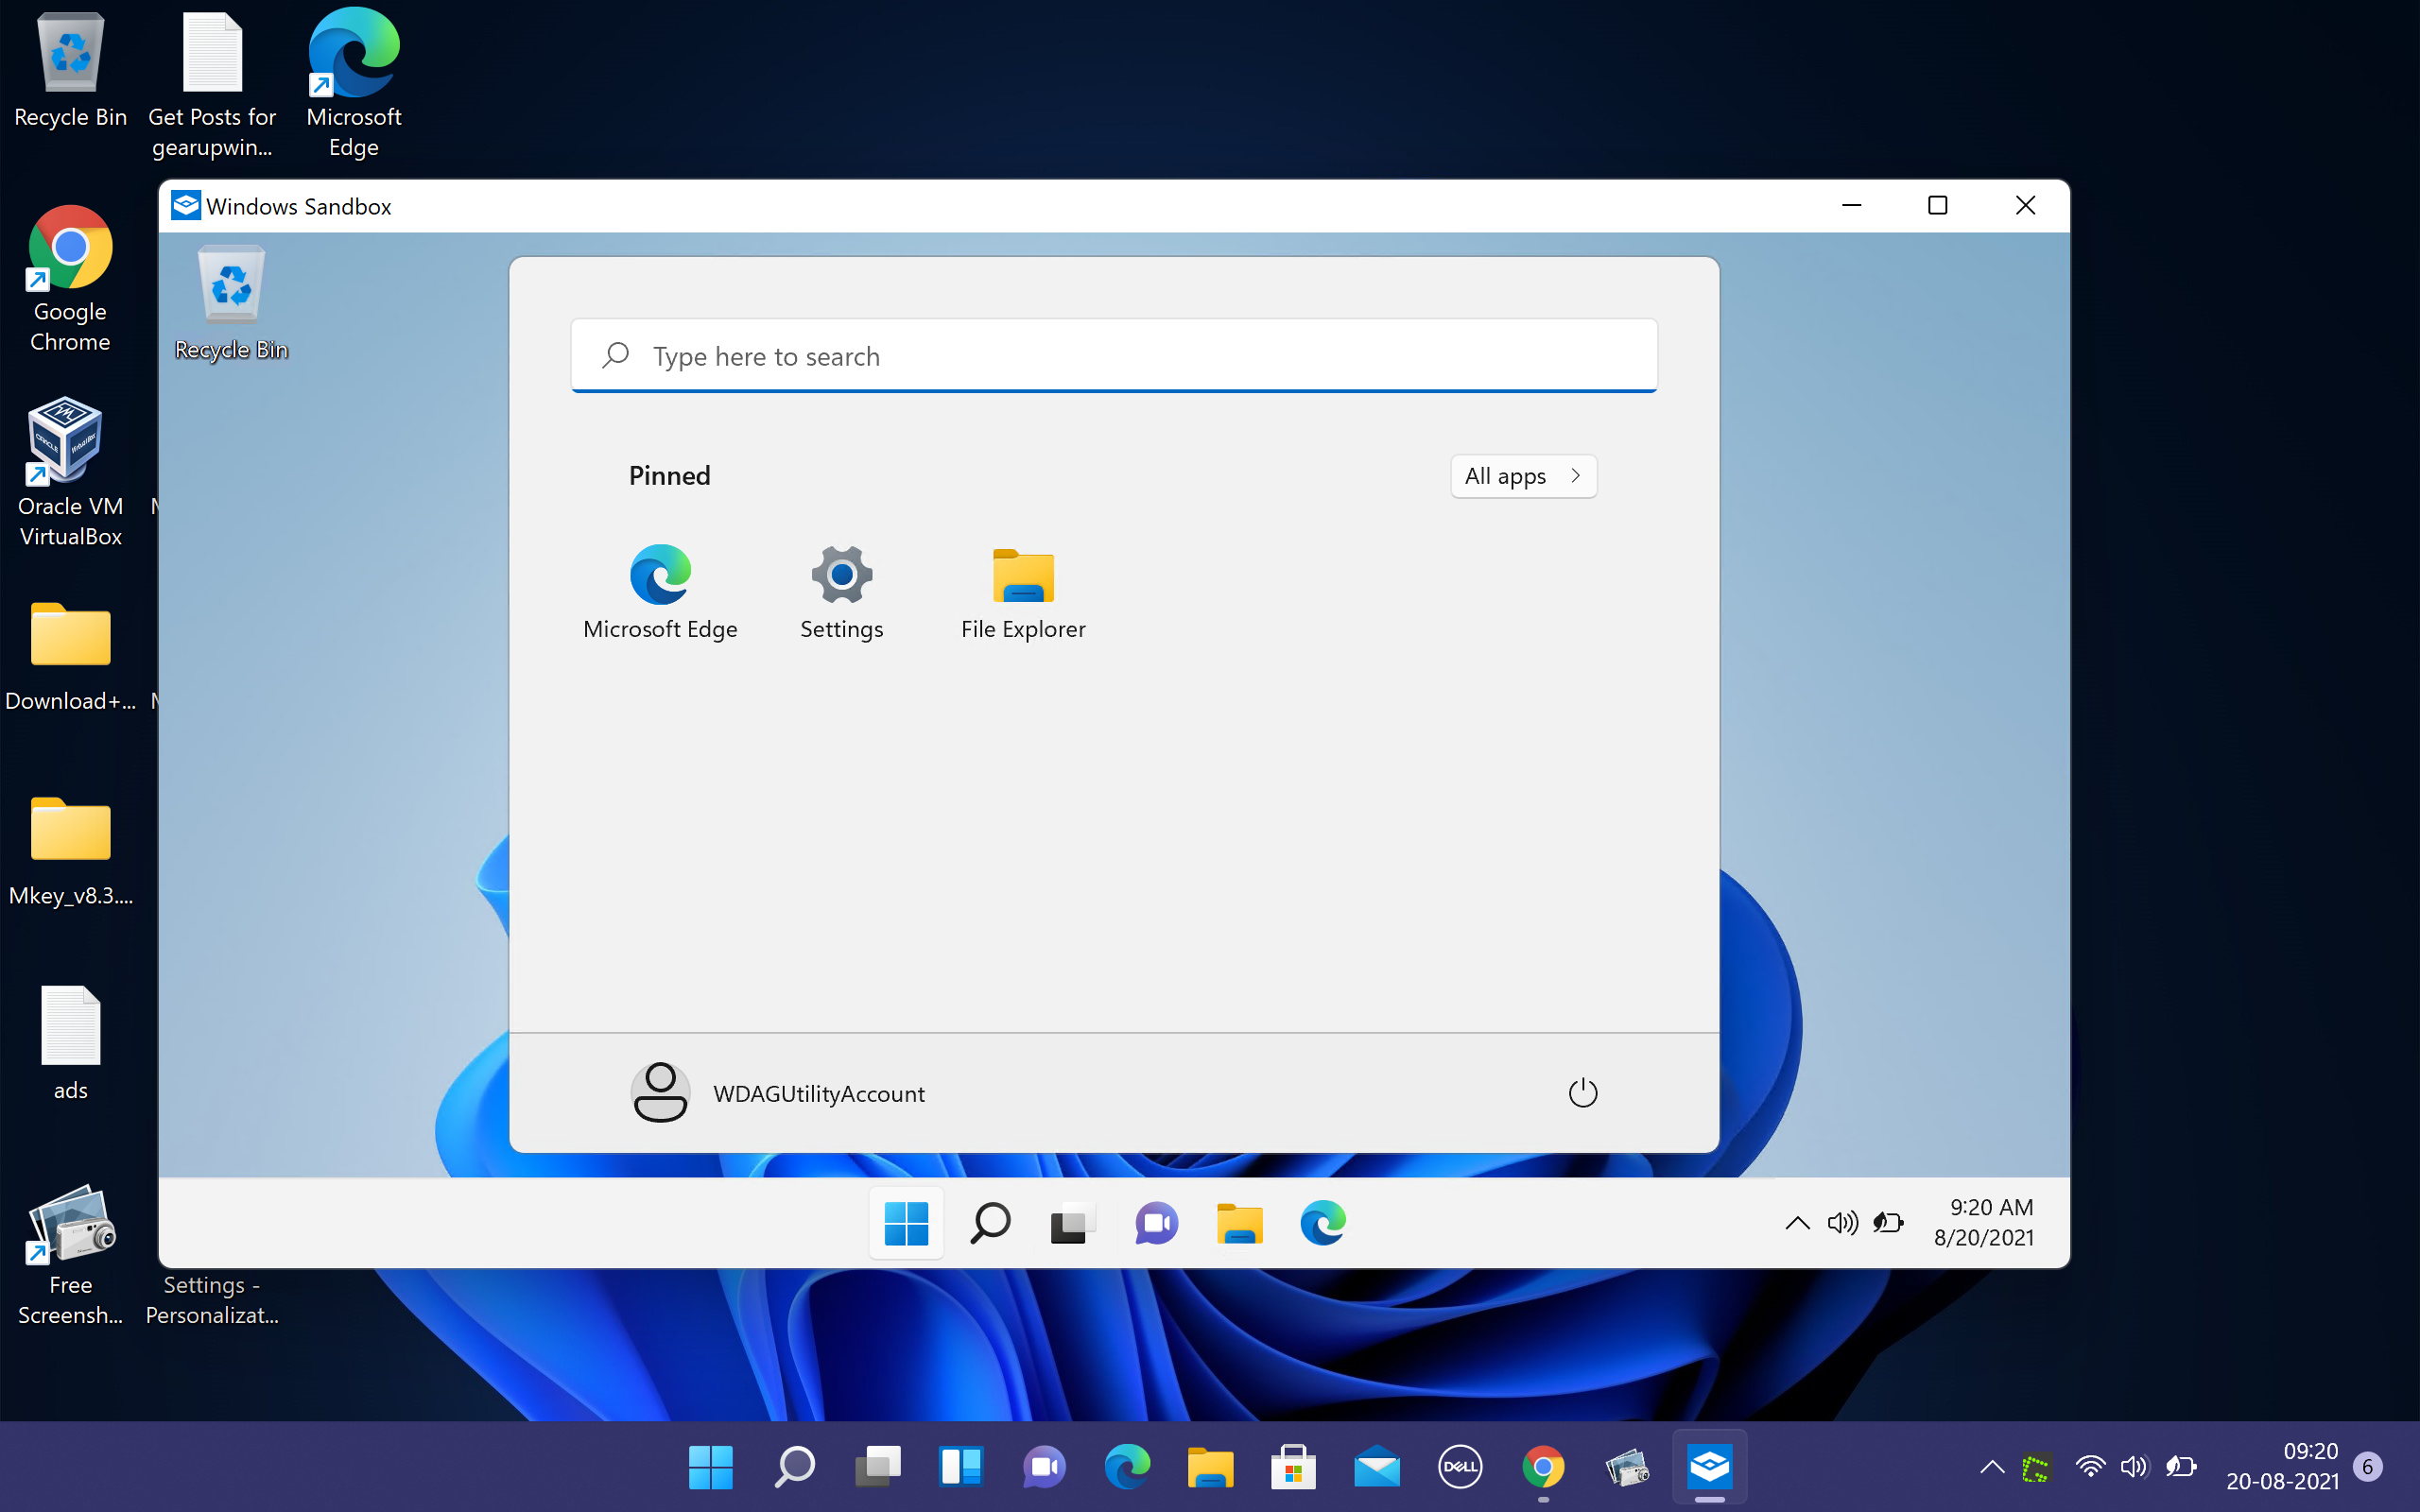
Now, Windows Sandbox will open, where you can download and execute suspicious applications. It does not harm the host PC as it runs in a separate environment. After closing the Sandbox application, all the data will be erased automatically.
How to Turn On or Off Windows Sandbox on Windows 11 using PowerShell or Command Prompt?
To enable or disable Windows Sandbox on Windows 11 through PowerShell or Command Prompt, do these steps:-
Step 1. Open an elevated Windows PowerShell or Command Prompt.
Step 2. In the administrative PowerShell window, type the following and press Enter:-
Enable-WindowsOptionalFeature -Online -FeatureName "Containers-DisposableClientVM" -All
If you use Command Prompt, use the following command instead:-
dism /online /Enable-Feature /FeatureName:"Containers-DisposableClientVM" -All
Step 3. When prompted, type Y to restart your PC.
Step 4. If you need to uninstall Windows Sandbox, run the following command in an elevated PowerShell window:-
Disable-WindowsOptionalFeature -Online -FeatureName "Containers-DisposableClientVM"
and for Command Prompt, use the command to disable & uninstall Windows Sandbox from your PC:-
dism /online /Disable-Feature /FeatureName:"Containers-DisposableClientVM"
Conclusion
To sum up, Windows Sandbox is an essential feature of Windows 10 and Windows 11 that provides a secure and isolated environment to run untrusted software or applications. It uses Microsoft’s hypervisor and hardware virtualization to create a separate kernel, keeping Sandbox sessions isolated from the host. With a size of around 100MB, Sandbox installs and runs untrusted classic applications without accessing files, registry, or other resources of the primary Windows OS. Additionally, Sandbox is disposable, meaning that all data is automatically erased when you close the Sandbox application.
To enable or disable the Windows Sandbox feature, you can use the Windows Features dialog box, PowerShell, or Command Prompt. It is important to note that the Sandbox feature is not available in the home editions of Windows 11 and is exclusively available for Pro and Enterprise editions.
Overall, Windows Sandbox is a useful feature that enhances the security of your PC and enables you to run untrusted applications safely. It is a great tool for developers, IT professionals, and users who want to test or experiment with software without risking their primary Windows installation.
Also Read: How to Enable Windows Sandbox Feature in Windows 11/10 Home Edition?
Hello Pammi,
Another great guide man.
Thanks
Windows Sandbox is not listed in the optionalfeatures menu in my Windows 11 Home
Since Sandbox is not a part of any Windows Home edition, you need to enable it first.
Please try https://gearupwindows.com/how-to-enable-windows-sandbox-feature-in-windows-10-home-edition/