Windows 11/10 allows you to set a screen saver that runs automatically after a specified time when your PC is idle. There are several ways to configure the screen saver on your Windows computer. Screensavers give an additional option to protect our PC from unwanted use by others. If you don’t use your PC for some time, the screensaver will automatically run and start protecting your computer from unauthorized access. Once you click from the mouse or press a key from the keyboard, windows will prompt you to log in if the password option is enabled.
In the old CRT monitors, a screensaver uses to avoid burnout in the display of monitors. As technology grew up on monitors, burnout is not an issue. Now, screensavers are used to display some beautiful pictures or gif animations while the PC is not in use.
This gearupwindows article will guide you to protect your PC by setting up a password on Screensaver on your Windows 11/10 PC.
How to Set a Password on Screensaver in Windows 10?
To password-protect screensaver on Windows 10 PC, perform the following steps:-
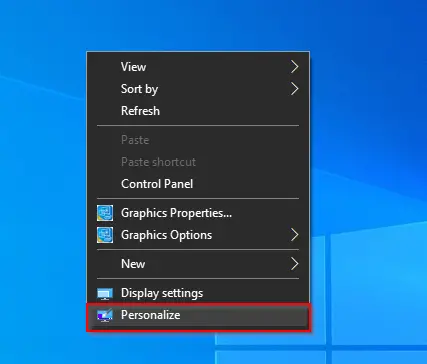
Step 1. Right-click on the empty area on the desktop and select the Personalize option.
Step 2. The above option will take you up to the Personalization section under the Settings app.
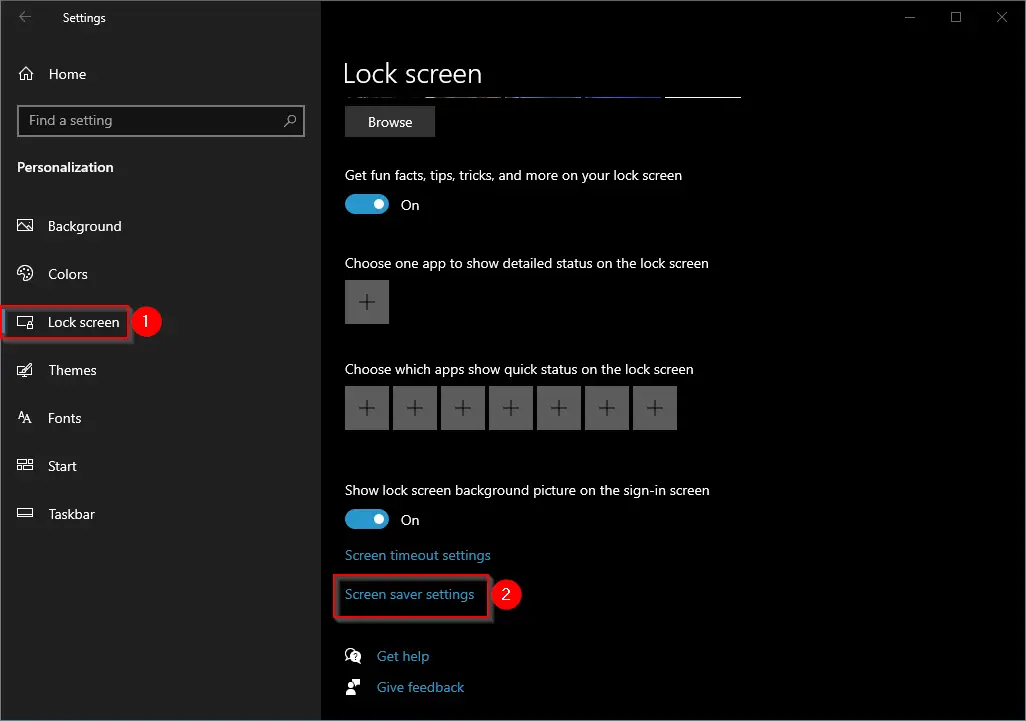
Step 3. On the left side, select the Lock screen option, and on the right-side pane, click on the Screen saver settings link.
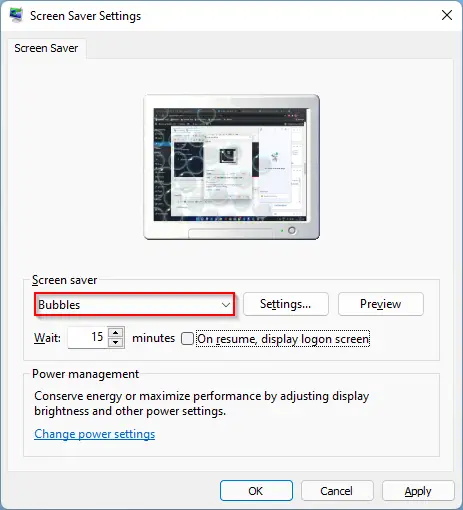
Step 4. Screen Saver Settings dialog opens. Select your preferred Screen saver from the drop-down. Increase or decrease the time in minutes when the screen saver will start protecting your monitor while you leave your PC idle. Finally, check the checkbox “On resume, display logon screen.”
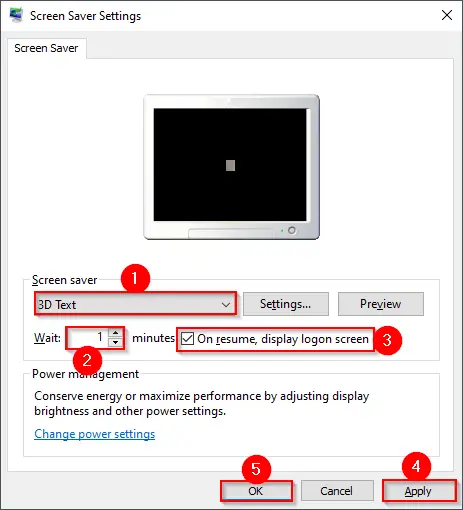
Step 5. Click Apply.
Step 6. Click OK.
Once you complete the above steps, a screensaver will automatically start protecting your PC from unauthorized access when it is idle after a specified time. When you click from the mouse or press a key from the keyboard, Windows Logon Screen will activate and ask you to provide login credentials.
How to Assign a Password on Screensaver in Windows 11?
To set or assign a password on a screensaver in Windows 11, use the following steps:-
Step 1. Open the Settings app by pressing Windows + I hotkey.
Step 2. Then, click the Personalization category from the left side pane of the Settings window.
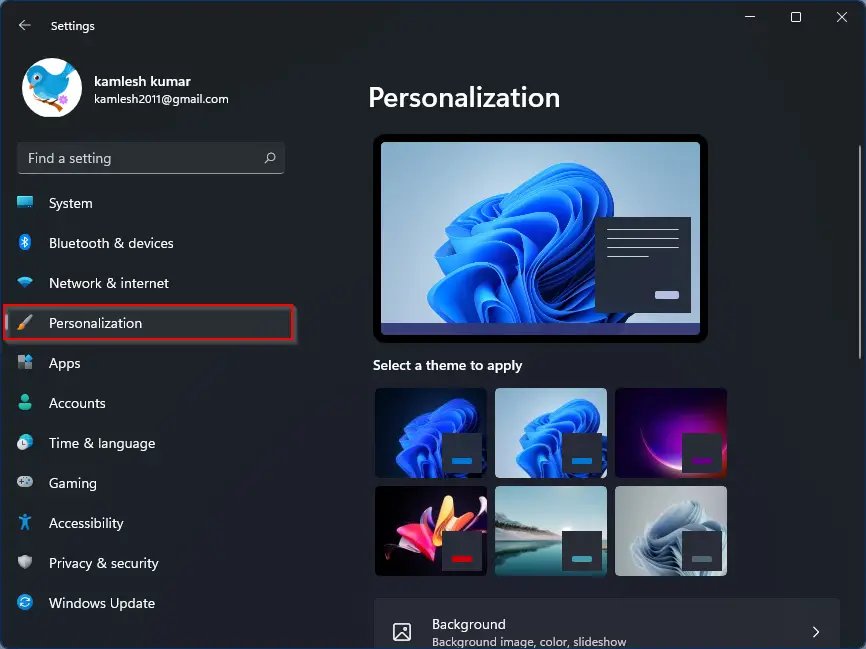
Step 3. After that, click on the Lock Screen option on the right-side pane of Personalization.
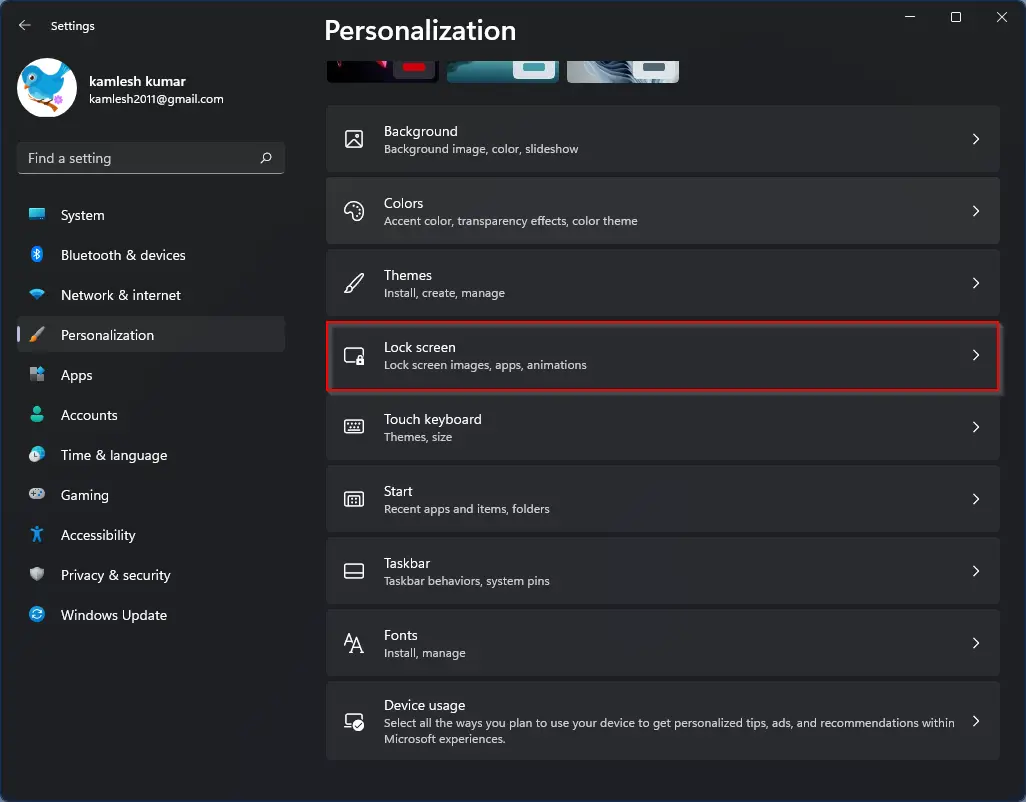
Step 4. Next, click the Screen saver option.

Step 5. Once you complete the above steps, the Screen Saver Settings window will open up on your computer. Select your desired screensaver in the “Screen saver” drop-down menu.
Step 6. Set the wait time in minutes and ensure to check the option “On resume, display logon screen.”
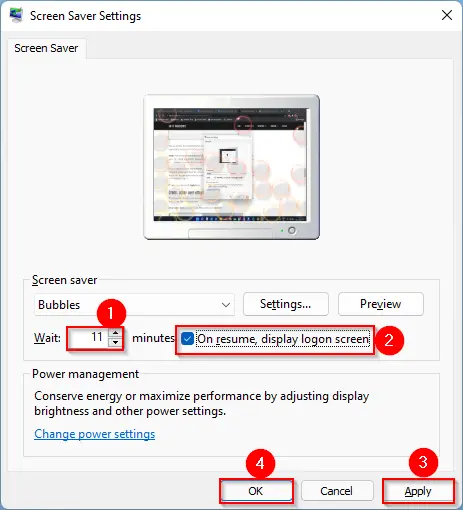
Step 7. Then, click the Apply button.
Step 8. Finally, hit the OK button.
Conclusion
In conclusion, setting up a password on the screensaver is an essential feature to ensure the security of your Windows computer. With the help of screensavers, you can protect your computer from unauthorized access when you leave your PC idle for some time. Windows 11 and 10 offer easy ways to set up a screensaver with a password prompt that appears on the Logon Screen when you return. By following the steps outlined in this guide, you can ensure that your computer is protected from unwanted access and keep your data secure.
You might also be interested in a freeware tool to change the Windows Logon Screen background.