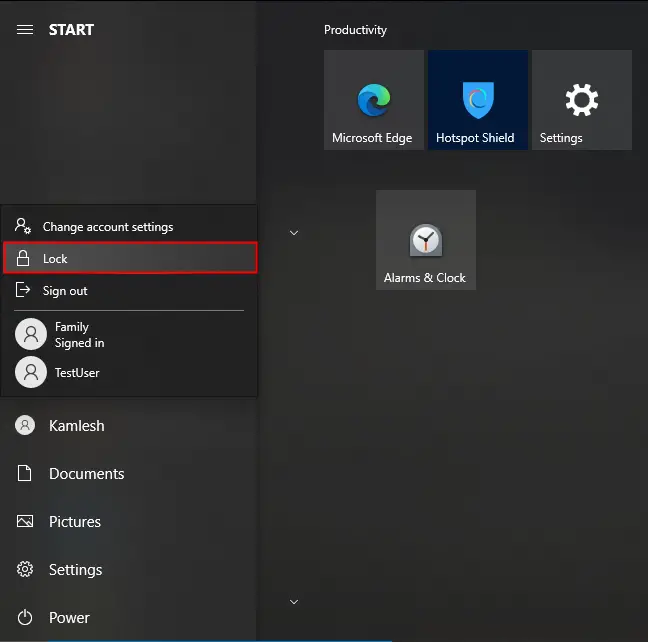
You can find the Lock option in all versions of Windows, including Win 10, Win 8, and Win 7. You can access the Lock option in the Start Menu or Start Screen to lock your computer. If you are doing some urgent work on your PC and want to leave your PC for a few minutes, it is better to Lock your PC than to shut it down. For any reason you want to remove the Lock option from your Windows 10/8/7, it is possible using a registry hack or Group Policy.
In this post, we will guide you to remove the Lock option from Windows 10/8/7 using two following methods:-
- Remove the Lock option from Windows 10/8/7 Start Menu using Group Policy Editor.
- Remove the Lock option from Windows 10/8/7 Start Menu via Registry Editor.
How to remove the Lock option from Windows 10/8/7 Start Menu using Group Policy Editor?
Gentle Reminder:- Local Group Policy Editor is not a part of Windows 10/8/7 Home edition. If you want to remove the Lock option from Windows Start Menu or Start Screen, enable gpedit.msc first, then perform the following steps:-
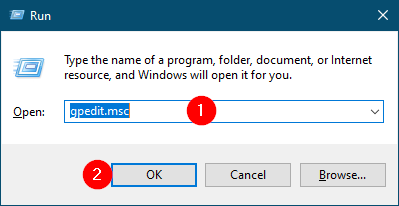
Step 1. Press and hold the Windows logo key, and then press the R key to open the Run dialog box.
Step 2. In the Run dialog box, type gpedit.msc and hit Enter from the keyboard to launch the Local Group Policy Editor.
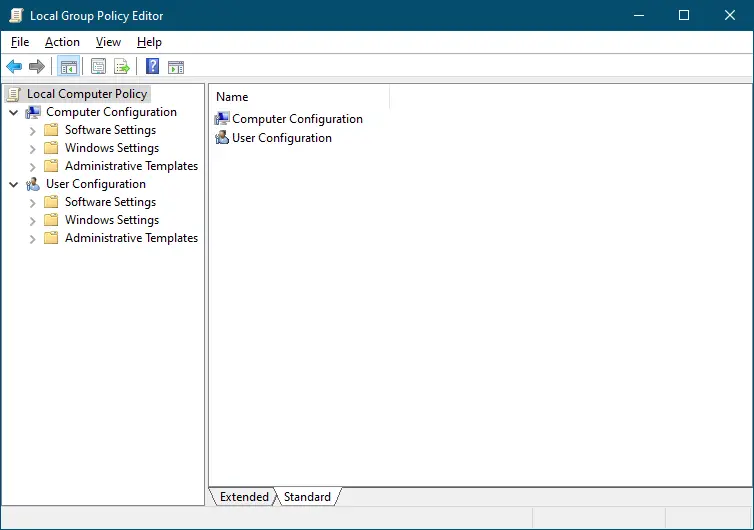
Step 3. In the Local Group Policy Editor window, navigate to the following setting:-
Computer Configuration > Administrative Templates > Windows Components > File Explorer
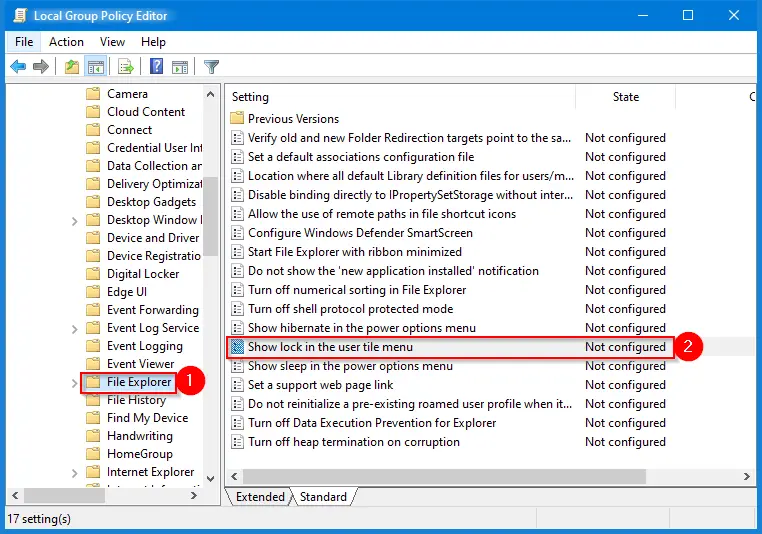
Step 4. On the right side of File Explorer settings, double-click on the policy name “Show lock in the user tile menu” to open its Properties.
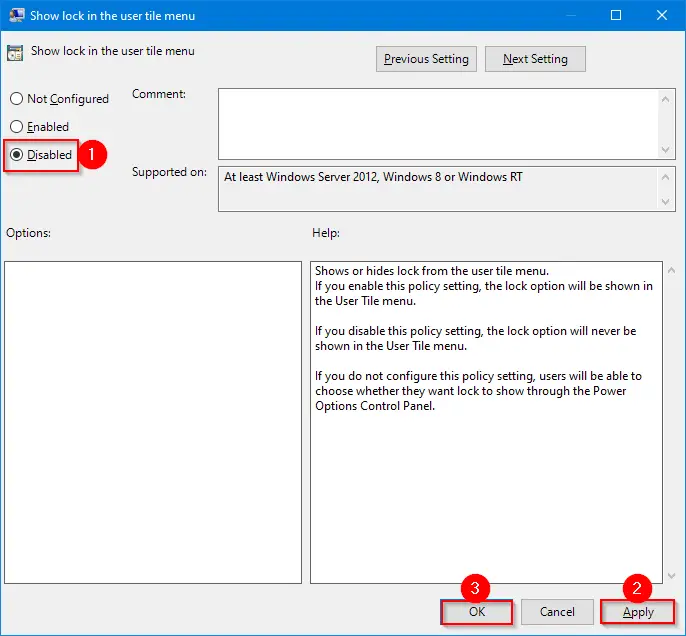
Step 5. Select the “Disabled” option.
Step 6. Click Apply.
Step 7. Click OK.
Step 8. Reboot your computer.
Now, for all user accounts on your computer, the Lock option will no more available on Windows 10/8/7 Start Menu or Start Screen.

If you want to see the Lock option in Windows 10/8/7 Start Menu or Start Screen, repeat the above steps, and in step 5, select the “Not Configured” option.
How to Remove the Lock option from Windows 10/8/7 Start Menu via Registry Editor?
Registry hacking is an alternate method to remove or disable the Lock option from Windows 10/8/7 Start menu or Start screen. Before proceeding with the steps, we recommend creating a full backup of the Registry and creating a system restore point.
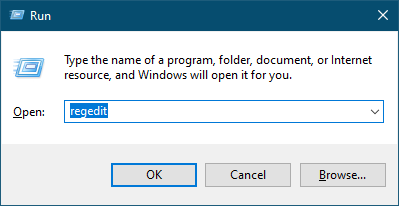
Step 1. Press the Windows logo key + R to open the Run command box.
Step 2. Type regedit in the Run box and press Enter from the keyboard to launch Registry Editor.

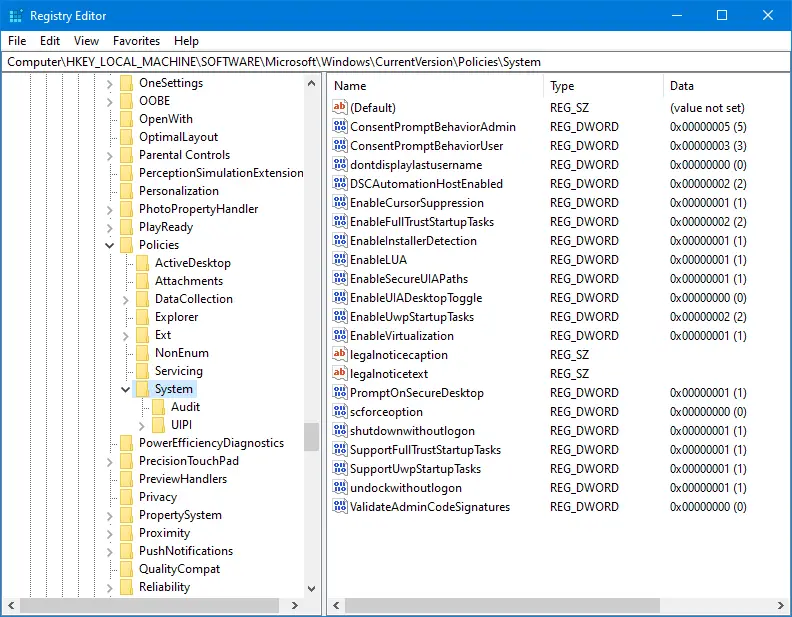
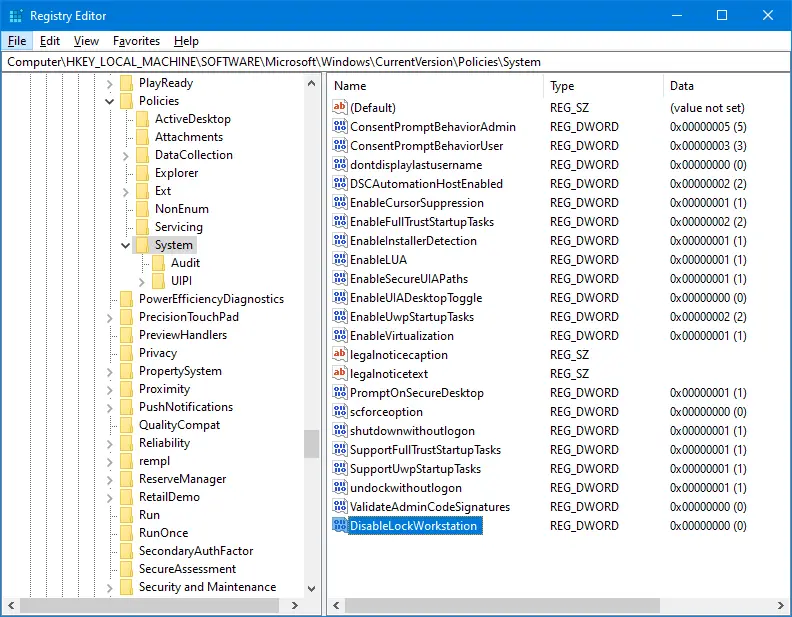
Step 3. In the Registry Editor window, browse for the following key:-
HKEY_LOCAL_MACHINE\SOFTWARE\Microsoft\Windows\CurrentVersion\Policies\System
Step 4. Right-click on the System key, select New, and then DWORD (32-bit) Value.
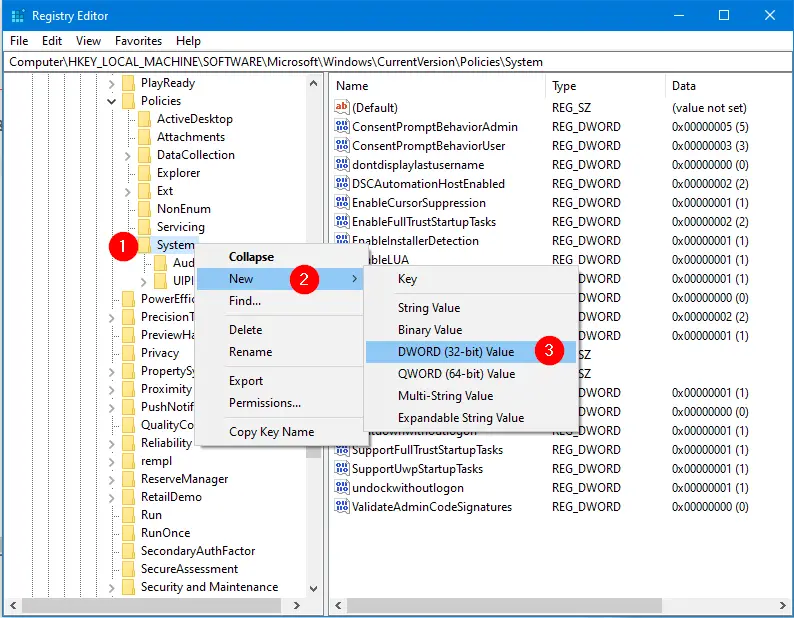
Step 5. Name the newly created DWORD 32-it value as DisableLockWorkstation.
Step 6. Now, double-click on the DisableLockWorkstation and change its value data from 0 to 1.
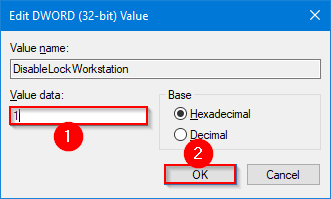
Step 7. Click OK.
Step 8. Close the Registry Editor window.
Step 9. Restart your computer.
Now, for all user accounts on your computer, the Lock option will be gray or disappear on Windows 10/8/7 Start Menu or Start Screen.
That’s it!
Conclusion
In conclusion, the Lock option is a useful feature in Windows 10/8/7 that allows you to lock your PC while leaving it on. However, if you want to remove or disable the Lock option, it is possible to use either the Group Policy Editor or the Registry Editor. The Group Policy Editor method is only available in Windows 10/8/7 Pro or Enterprise versions, while the Registry Editor method can be used on all versions. Before making any changes in the Registry Editor, it is recommended to create a backup and a system restore point. By following the steps outlined in this post, you can easily remove the Lock option from the Windows 10/8/7 Start Menu or Start Screen.