Windows 11 introduced a revamped Taskbar that aligns its elements to the center of the screen by default. While this change is designed to improve accessibility, some users still prefer the classic left-aligned Taskbar found in previous Windows versions. Fortunately, Windows 11 provides options to change the alignment of your Taskbar. In this gearupwindows article, we will guide you through two methods to customize your Windows 11 Taskbar alignment: left or center.
How to Align Windows 11 Taskbar to Left or Center?
To align the Windows 11 Taskbar to the left or center, follow these steps:-
Method 1: Using the Settings App
Windows 11 offers a straightforward way to customize your Taskbar alignment through the Settings app. Here’s how to do it:-
Step 1. Open Windows 11 Settings.
To do that, click on the Windows icon on your screen or press the “Windows” key on your keyboard. From the Start menu, click on the “Settings” gear icon.
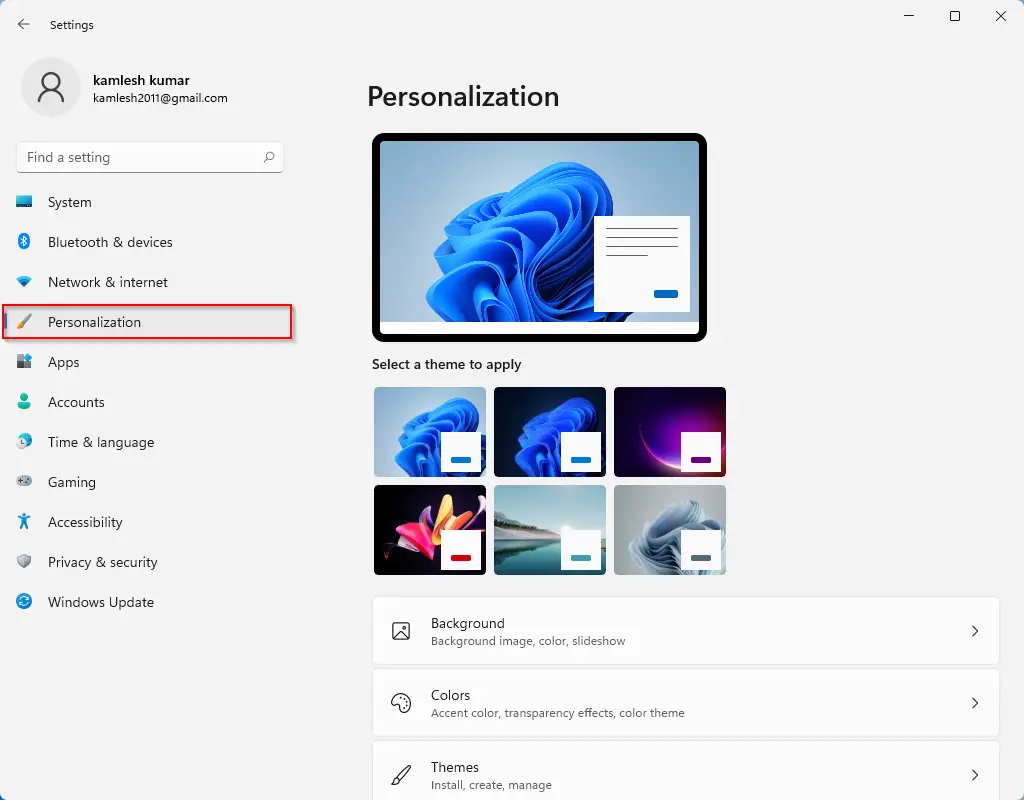
Step 2. In the Settings window, click on “Personalization.”
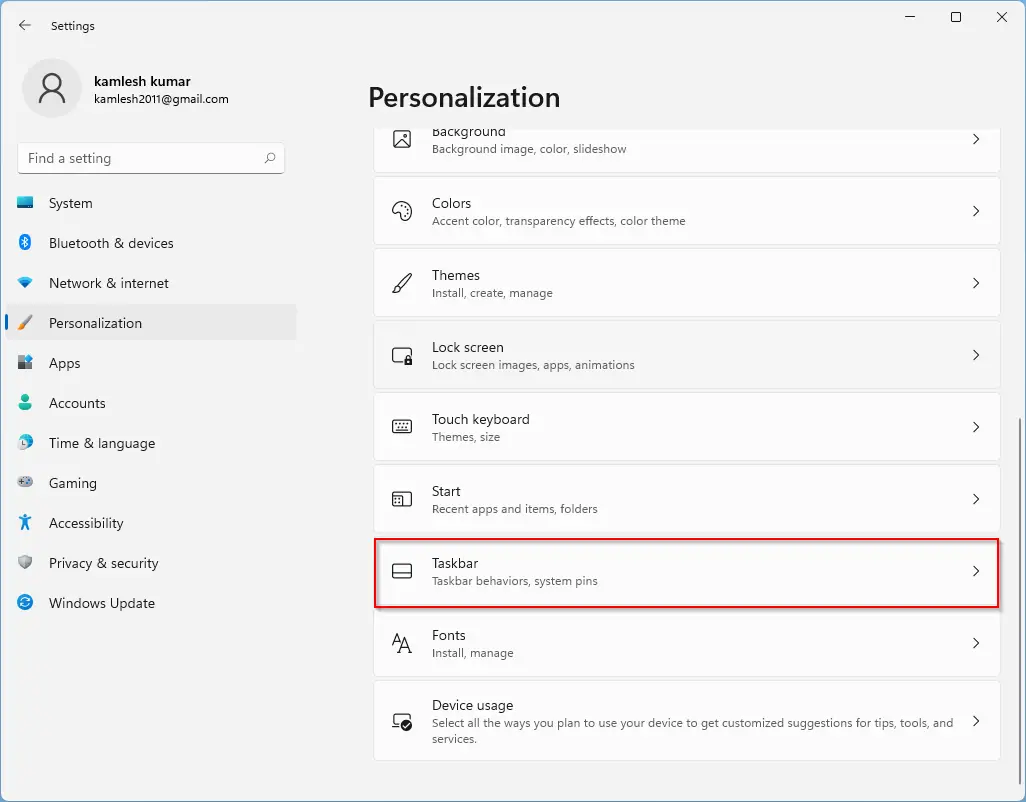
Step 3. In the Personalization menu, choose the “Taskbar” option on the right sidebar.
Step 4. Now, click on “Taskbar behaviors.”
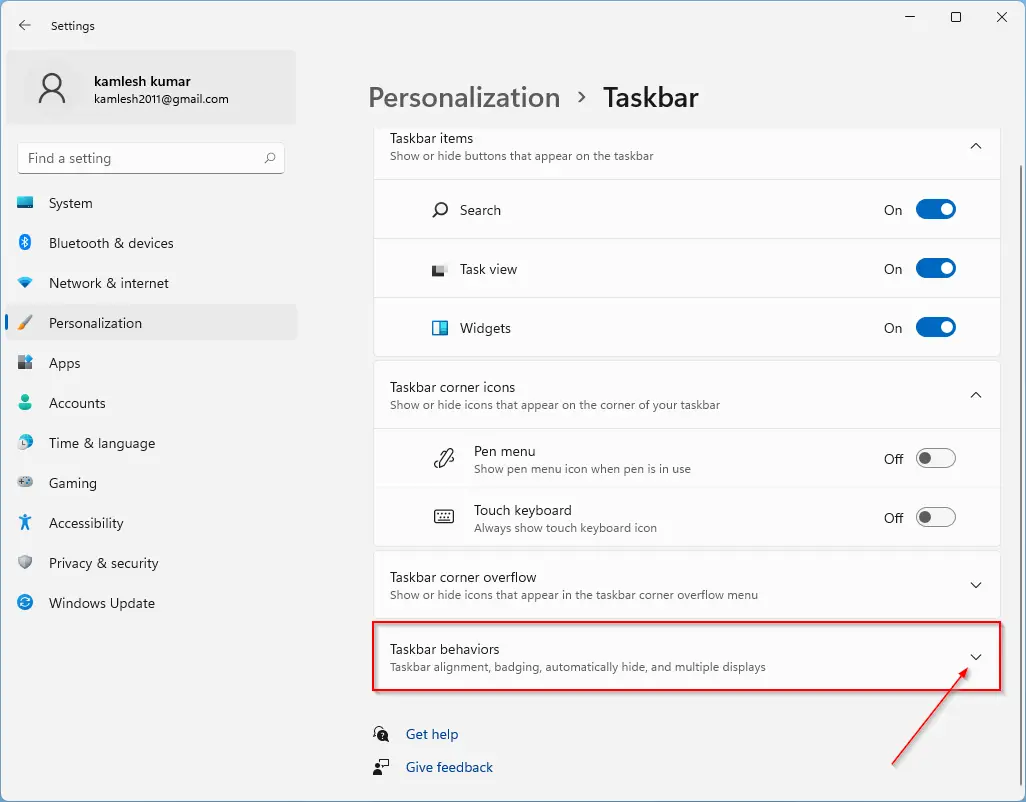
Step 5. In the “Taskbar alignment” setting, you will find two options: “Left” and “Center.” Select the “Left” option to align icons to the left side of your Taskbar. If you choose the “Center” option, this will align icons to the center of your Taskbar.
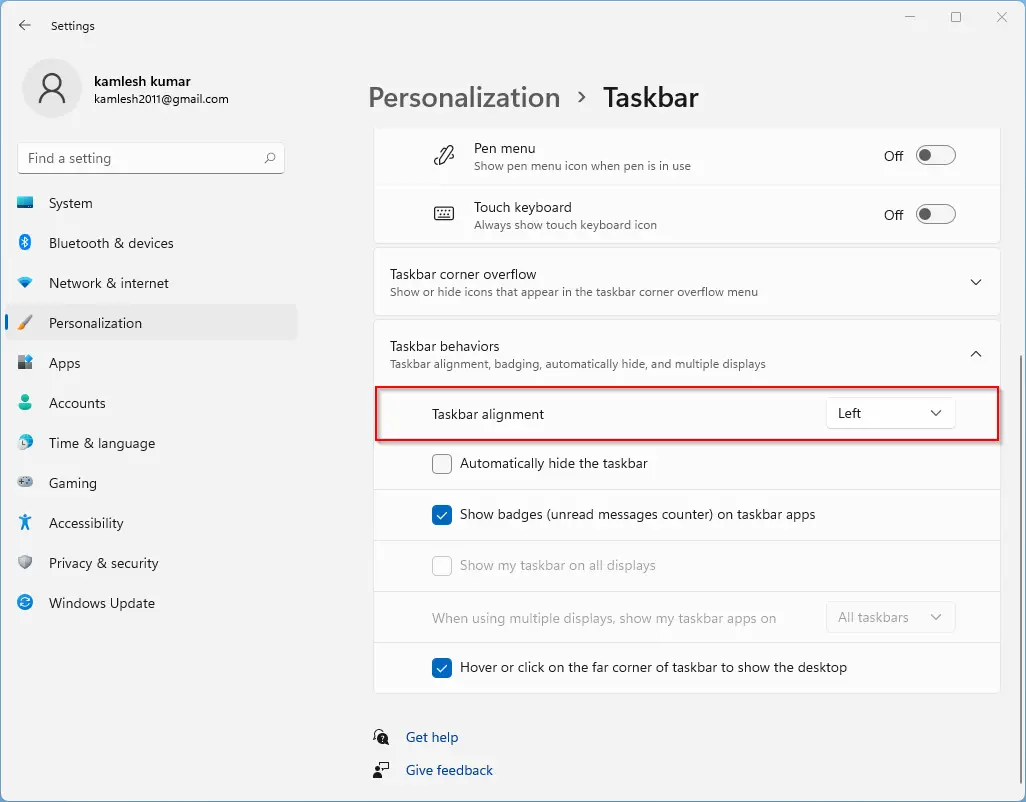
Step 6. Once you’ve chosen “Left,” the Start button and other icons on your Taskbar will move to the left side, mimicking the classic Windows configuration. To revert to the original center alignment, repeat these steps but select the “Center” option in step 5.
Method 2: Modifying the Registry
If you prefer to customize your Taskbar alignment via the Windows Registry, follow these steps:-
Step 1. Access the Registry Editor.
To do that, first open the Start menu by clicking on the Windows icon or pressing the “Windows” key. In the search bar, type “regedit” and select the top result to open the Registry Editor.
Step 2. In the Registry Editor, navigate to the following path:-
HKEY_CURRENT_USER\Software\Microsoft\Windows\CurrentVersion\Explorer\Advanced

Step 3. Now, right-click on the “Advanced” key. Hover over “New” and select “DWORD (32-bit) Value.”
Step 4. Name the newly created REG_DWORD value “TaskbarAl” and press Enter.
Step 5. Double-click the “TaskbarAl” DWORD to edit its value. Set the value to “0” to align the Taskbar to the left side of your screen. If you want to center align the Taskbar to your screen, set the value to “1.”

Step 6. Click “OK” to save your changes.
Step 7. The icons in your Taskbar will now appear on the left side of the screen if you set the value to “0,” mirroring the classic Taskbar configuration.
Step 8. If you wish to return to the center alignment, simply set the “TaskbarAl” DWORD value to “1” or just delete the “TaskbarAl” DWORD you created.
Conclusion
Customizing your Windows 11 Taskbar alignment is a great way to make your desktop experience feel more familiar or tailored to your preferences. Whether you choose to use the Settings app or the Registry Editor, these two methods provide you with the flexibility to set your Taskbar alignment to either the left or center. Just remember to exercise caution when modifying the Windows Registry, and consider creating a backup or system restore point before making changes.
